Point of Sale Receipt - Editing Cancellation Code & Text
This article will show you how to change the text for cancellation code at the bottom of the Point of Sale receipt or how to remove or re-enable it entirely.
Step 1 - Navigate to Receipt under Configuration
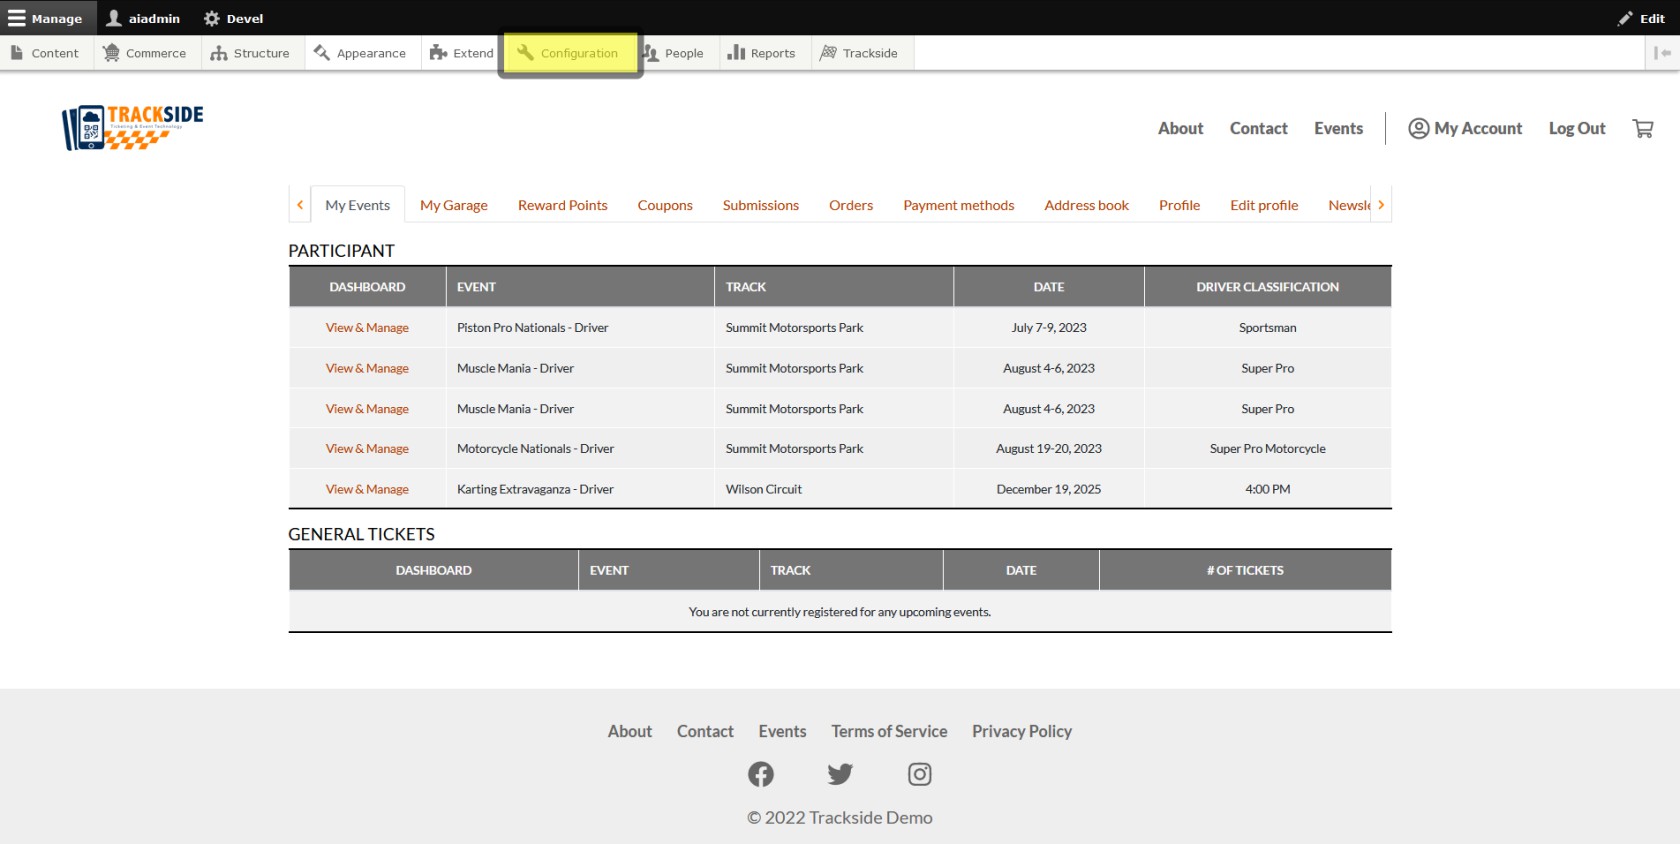
The cancellation code settings are under Receipt in the Configuration menu with your other basic receipt settings. Hover over Configuration. Don't forget you can also click on the following steps to go to a separate page where you can click on the next step as well. We'll end up at the same place.
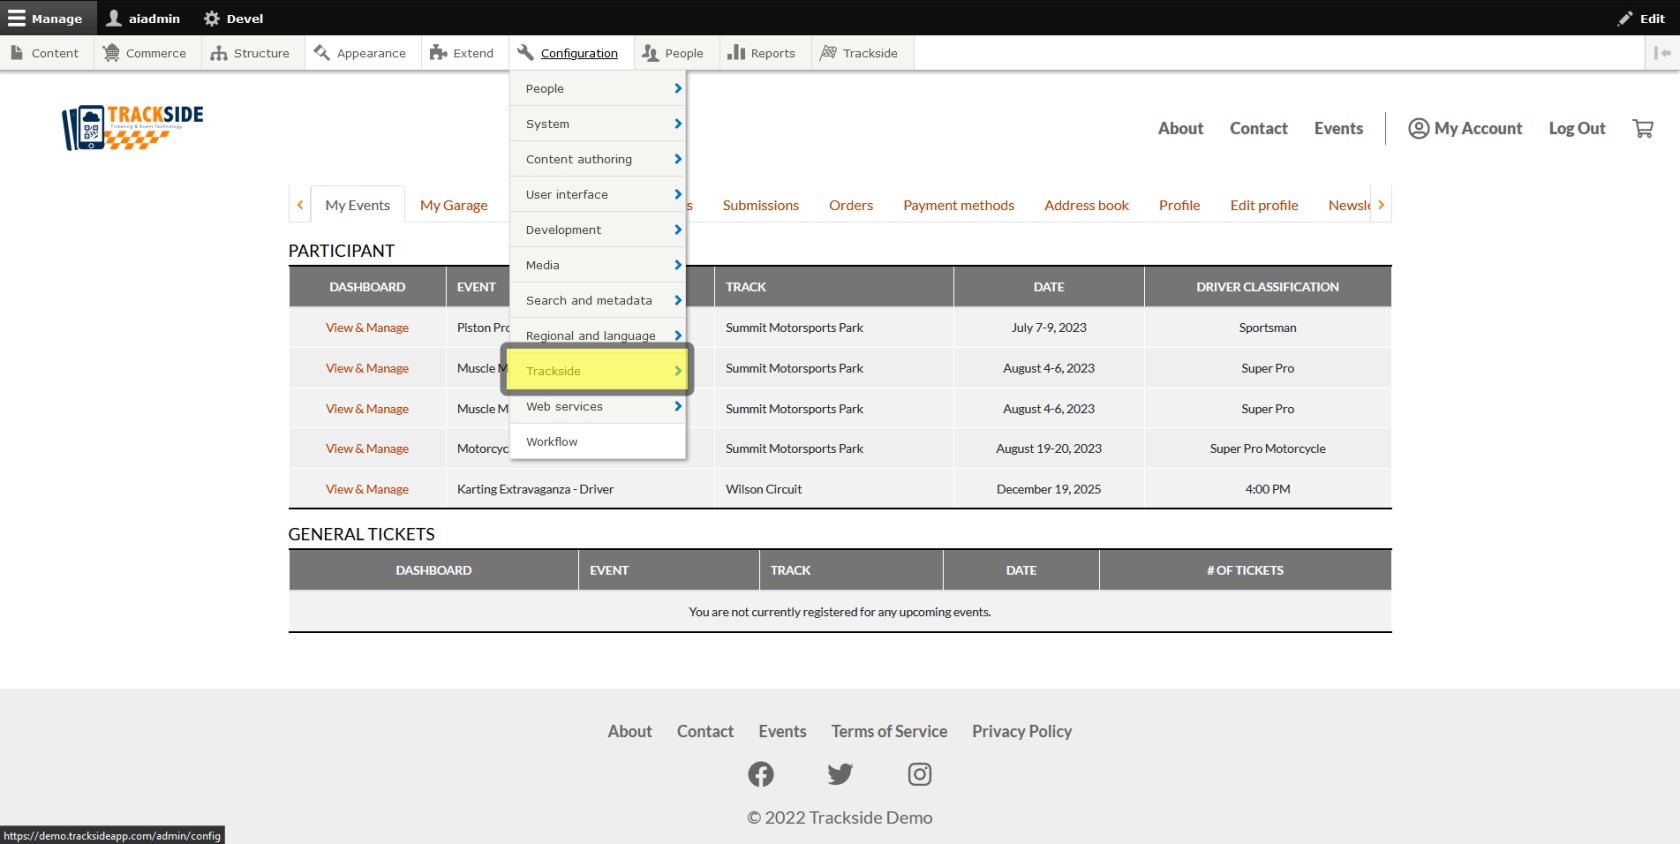
Hover over Trackside.
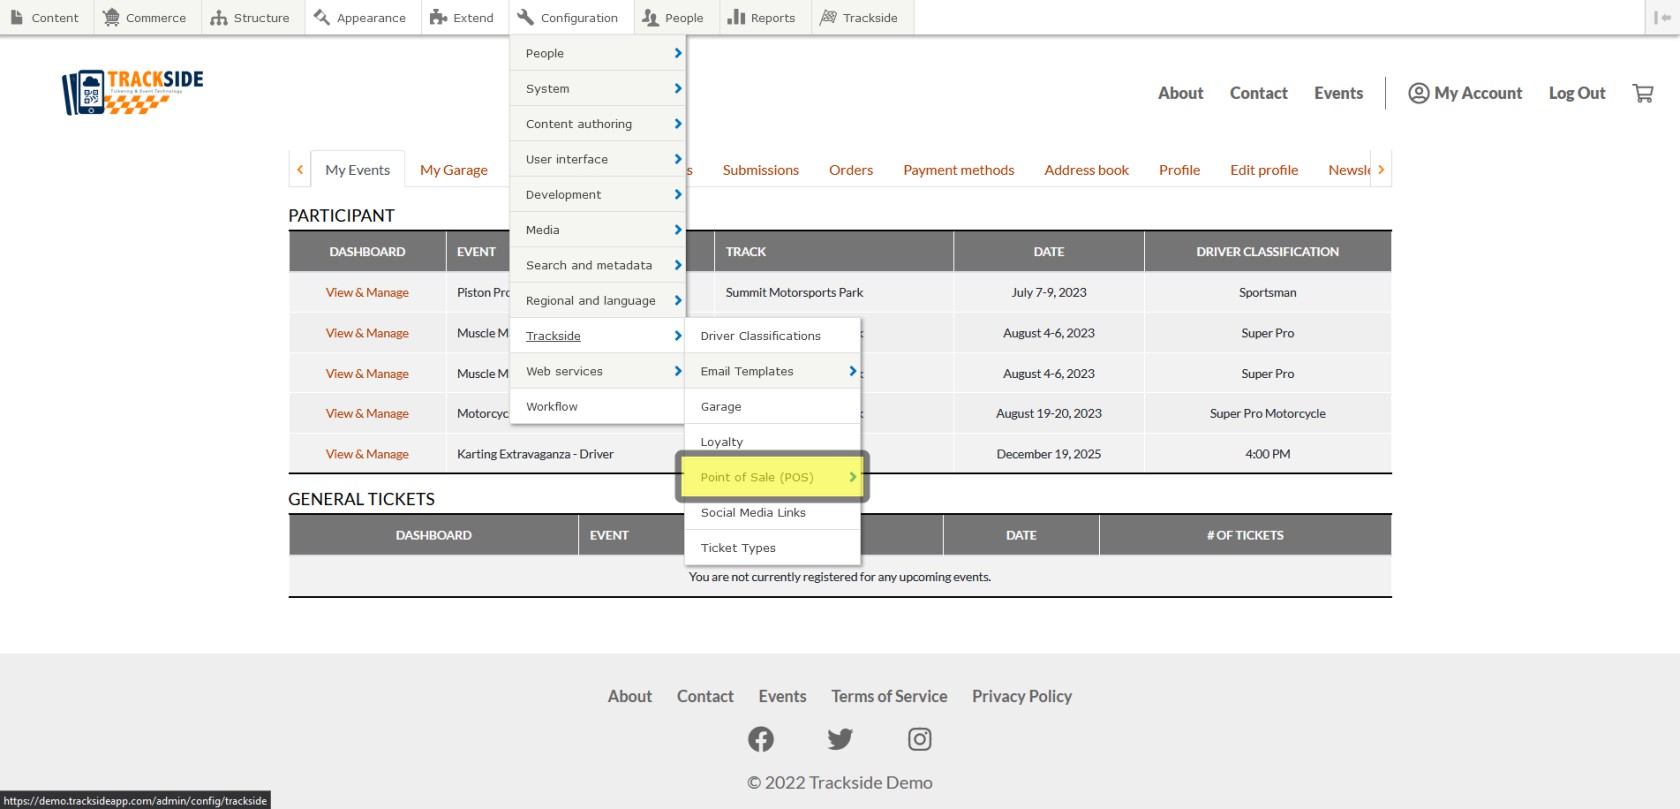
Hover over Point of Sale (POS).
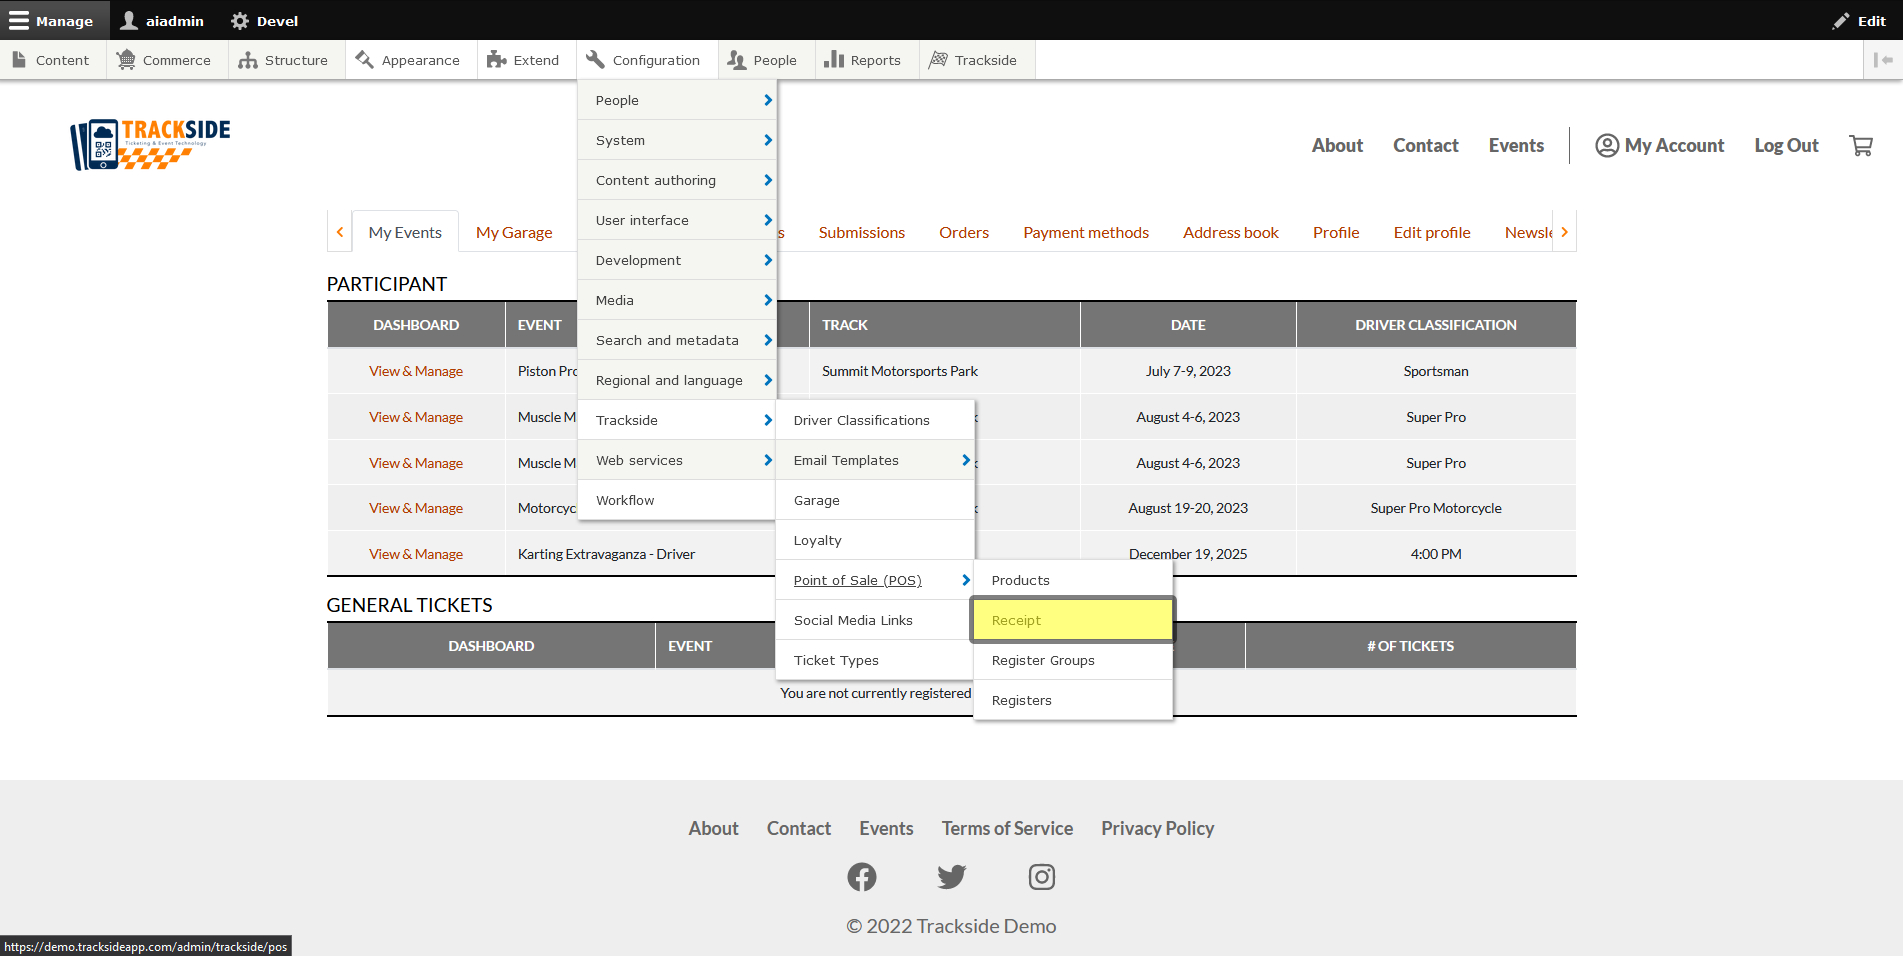
Click on Receipt.
Step 2 - Edit Cancellation Code Settings
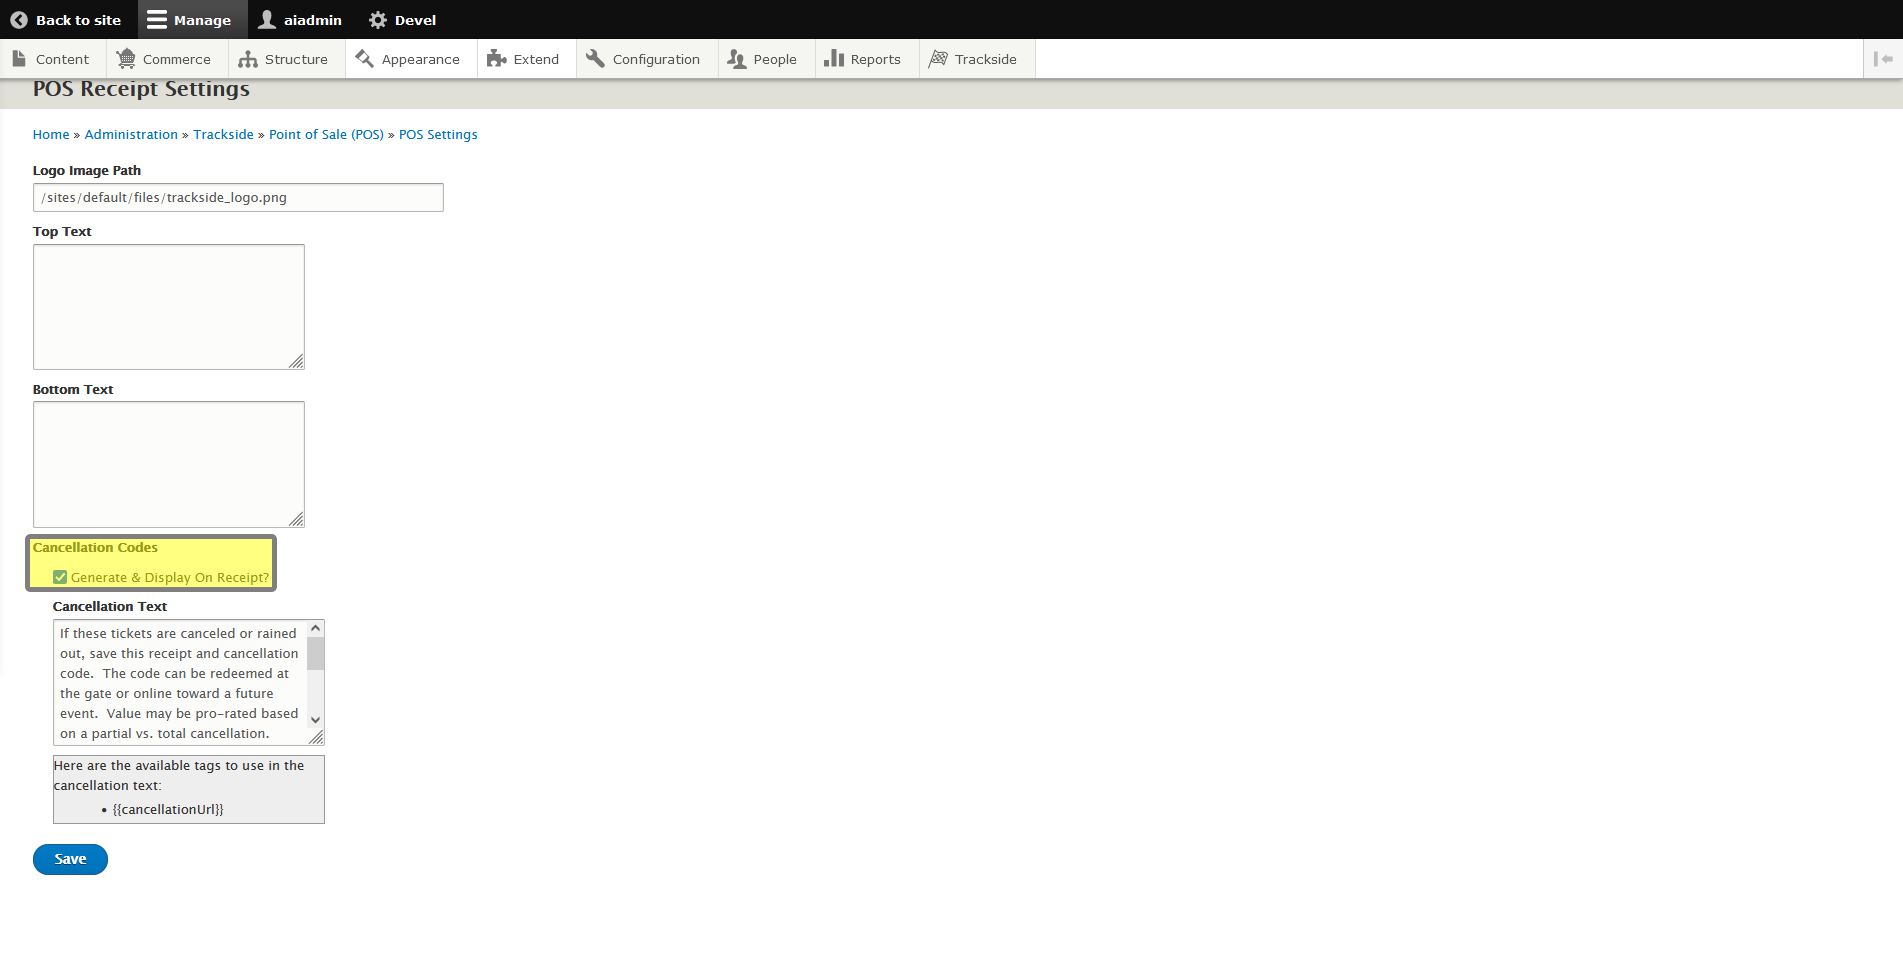
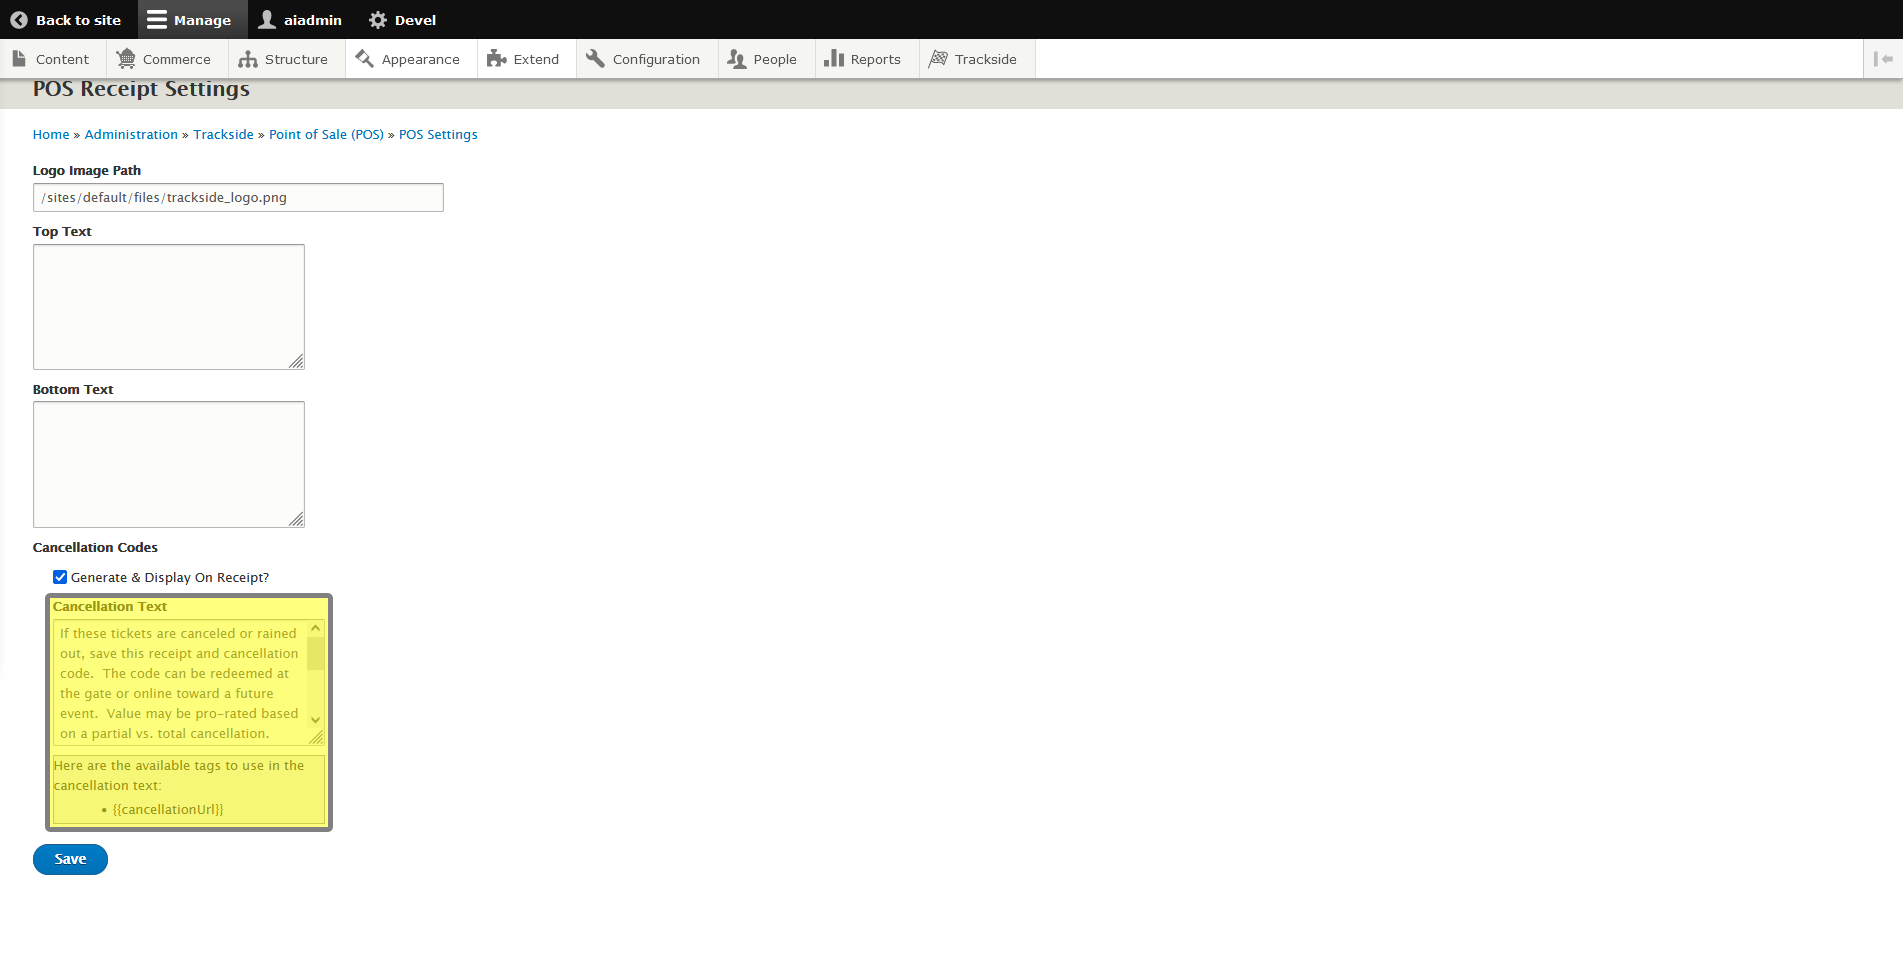
Toward the bottom of the page, there is a checkbox for enabling or hiding the cancellation code & text at the bottom of the Point of Sale receipt, and a text box for changing the text that goes along with the code where you can explain your cancellation policies. Edit these as needed.
Step 3 - Save changes & test
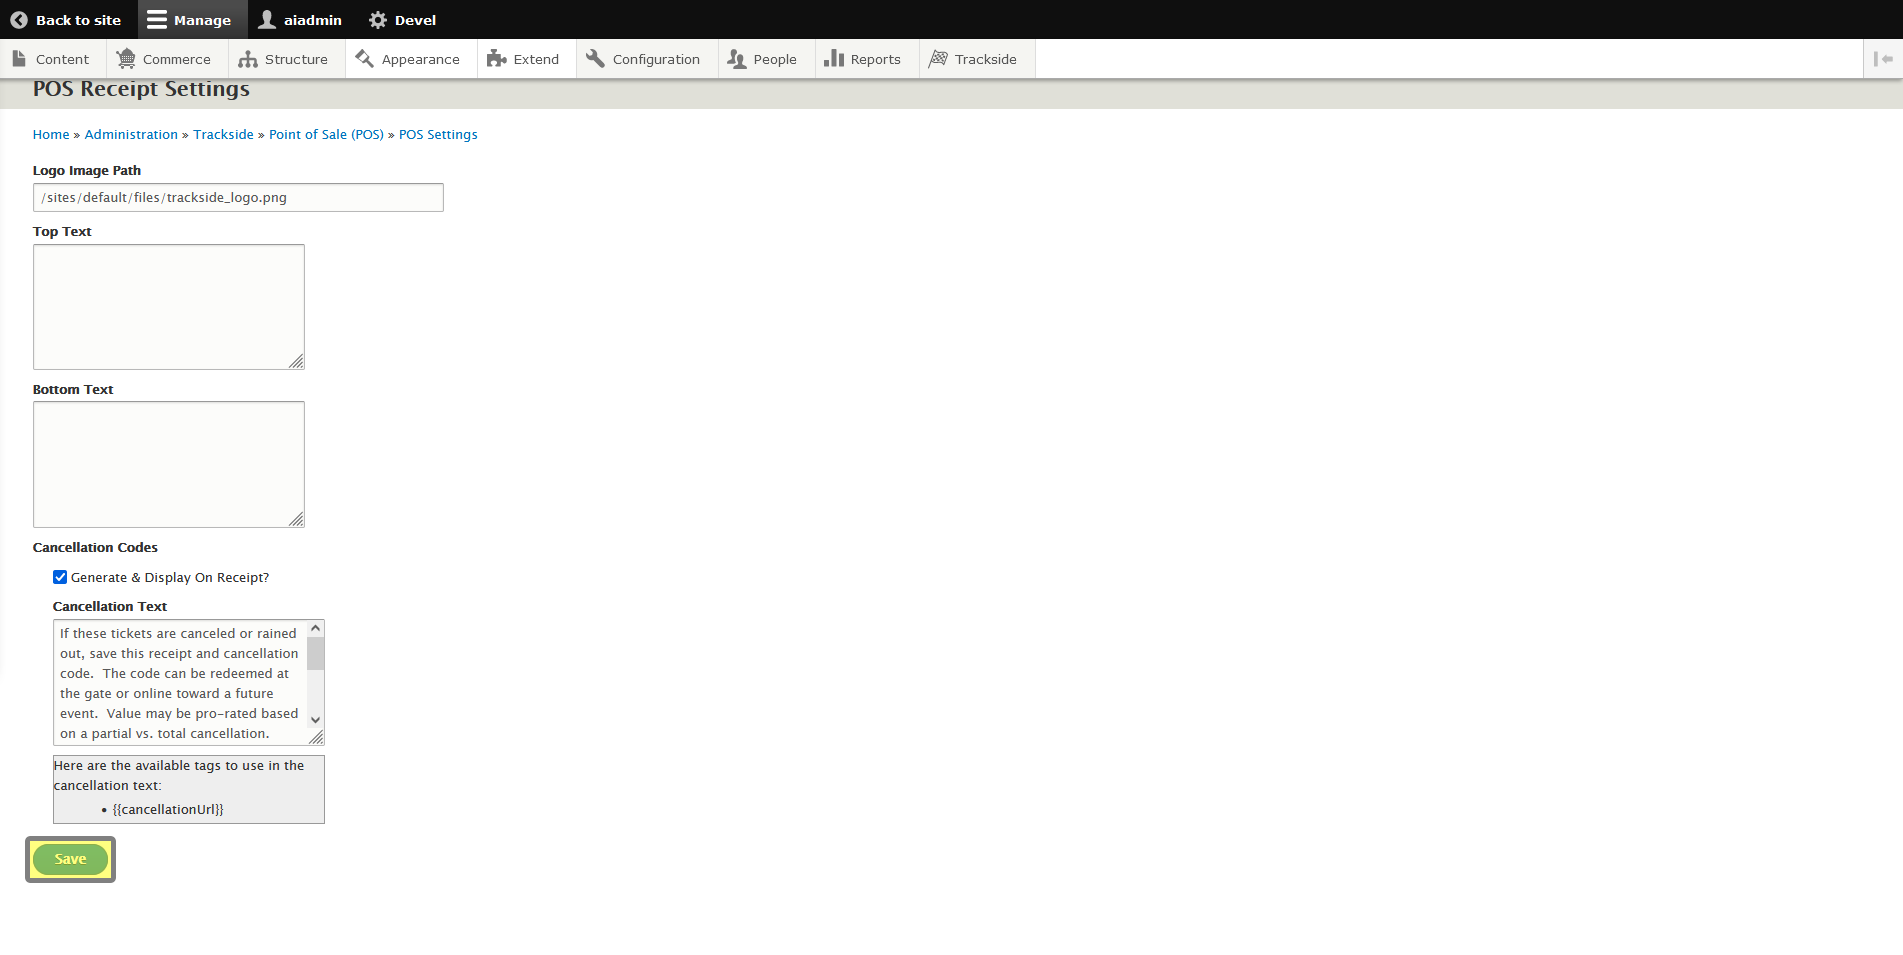
Once you've made your desired changes, don't forget to save them.
At this point, it's good practice to run a test transaction to make sure your receipt still prints ok and that you're happy with the end result of your changes.

