How Participants Sign Waivers & Complete Pre-check-in (Modified Plan Feature)
Note: This is a Modified Plan feature. If you are on a lower level plan, use of this feature may automatically change your per-ticket usage rate to the associated higher rate.
This article shows how Participants will complete Pre-Check-In prior to arriving at your event. If they don't complete it, your staff may have to assist them in completing these steps during Check-in.
If you're looking for how to check participants in at your event, see Participant Check-in.
Step 1 - Navigate to Pre-Check-Ins
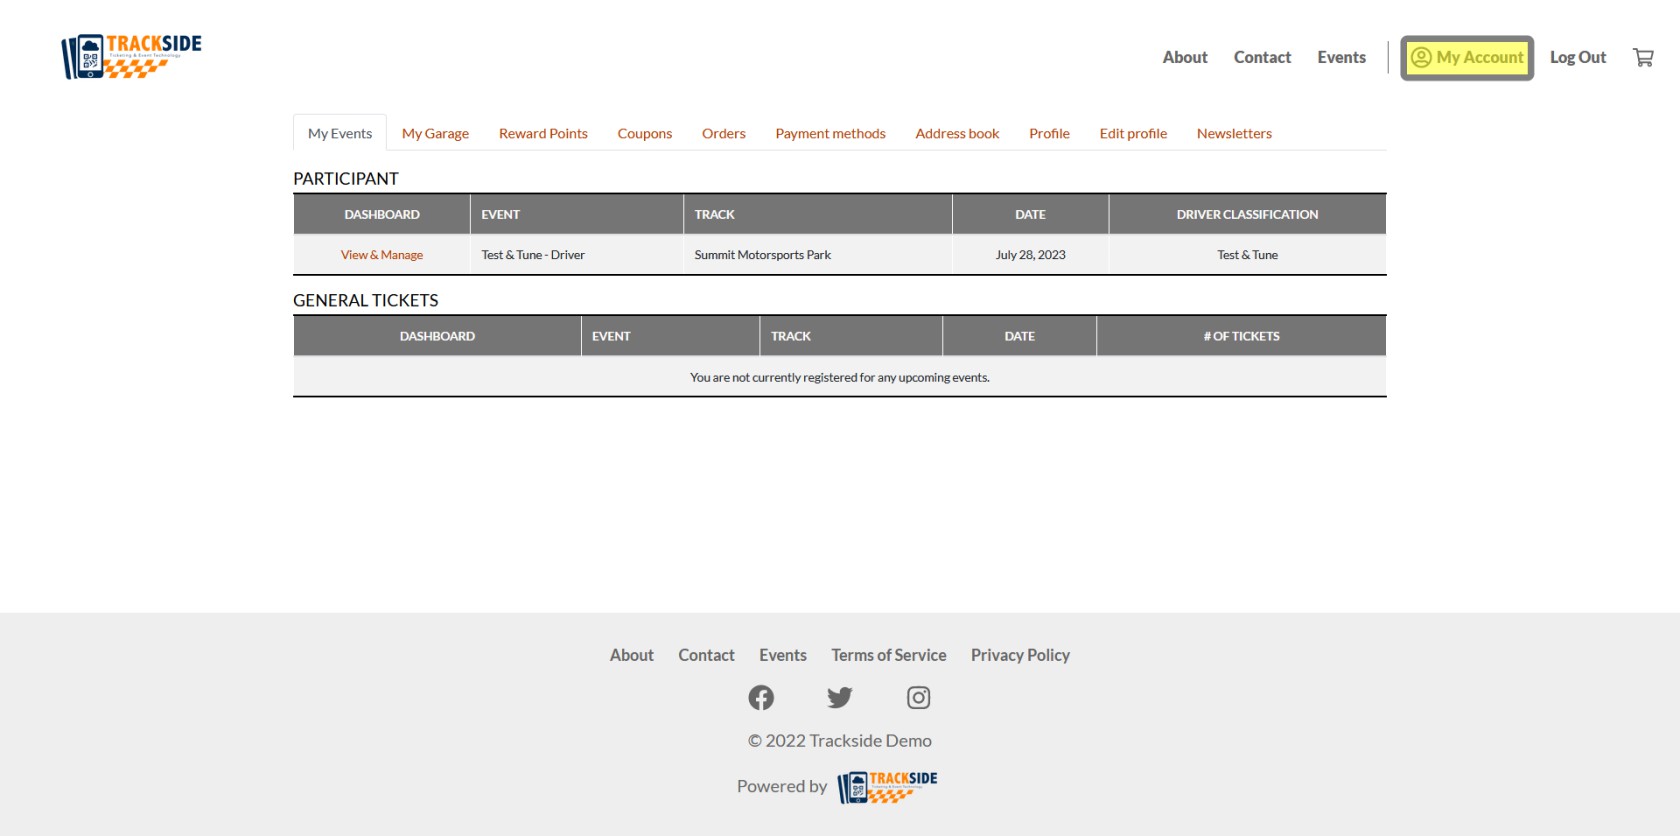
While the participant is logged into their account, click on My Account from anywhere on the site.
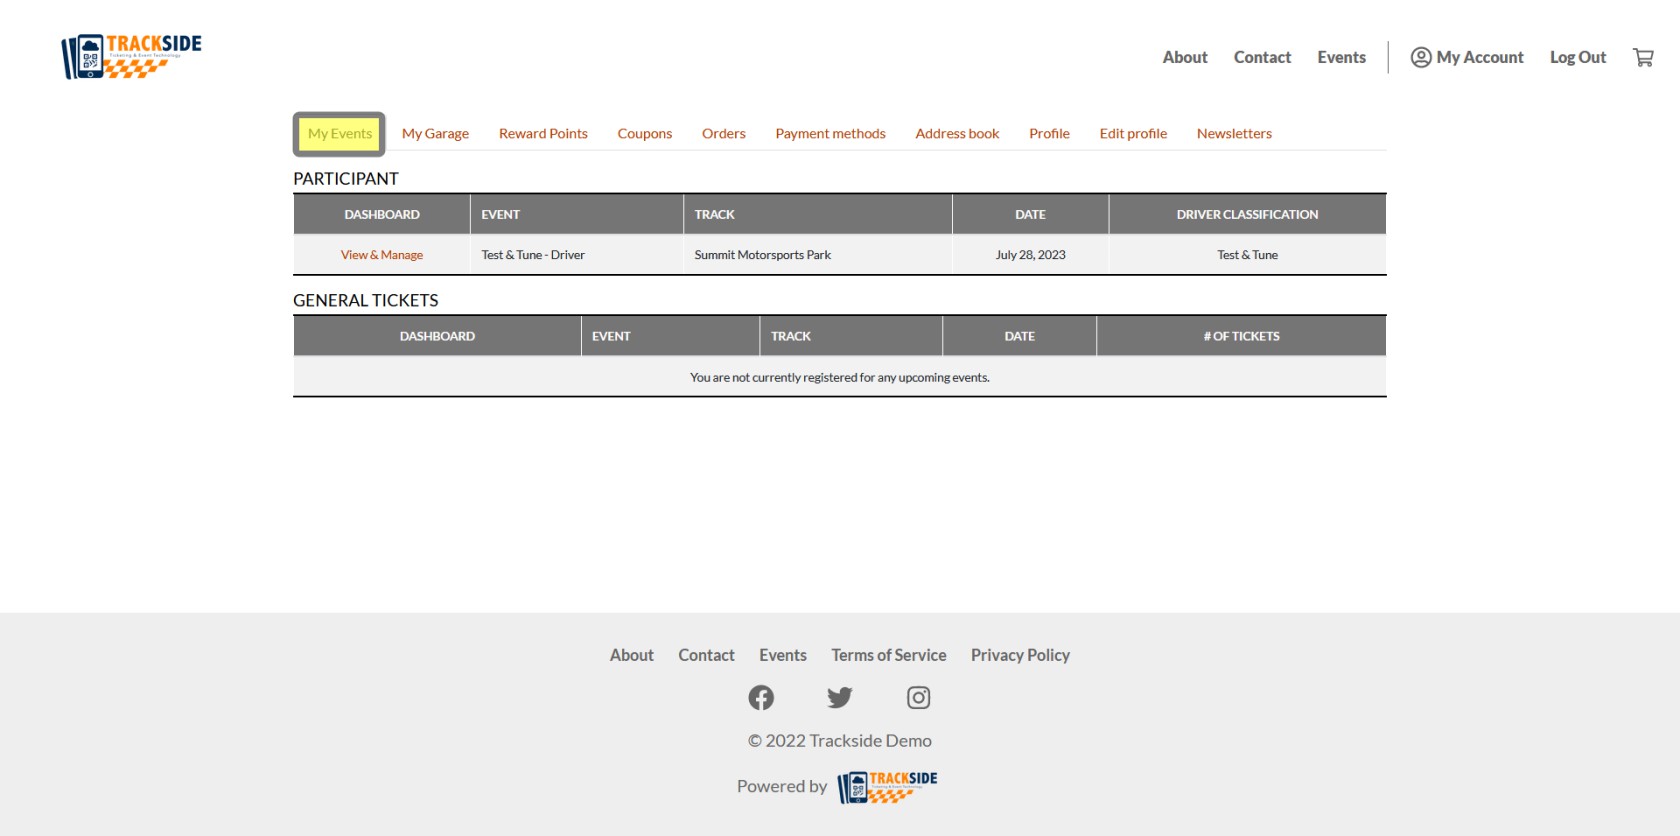
Click on My Events from My Account to view events the Participant is registered for.
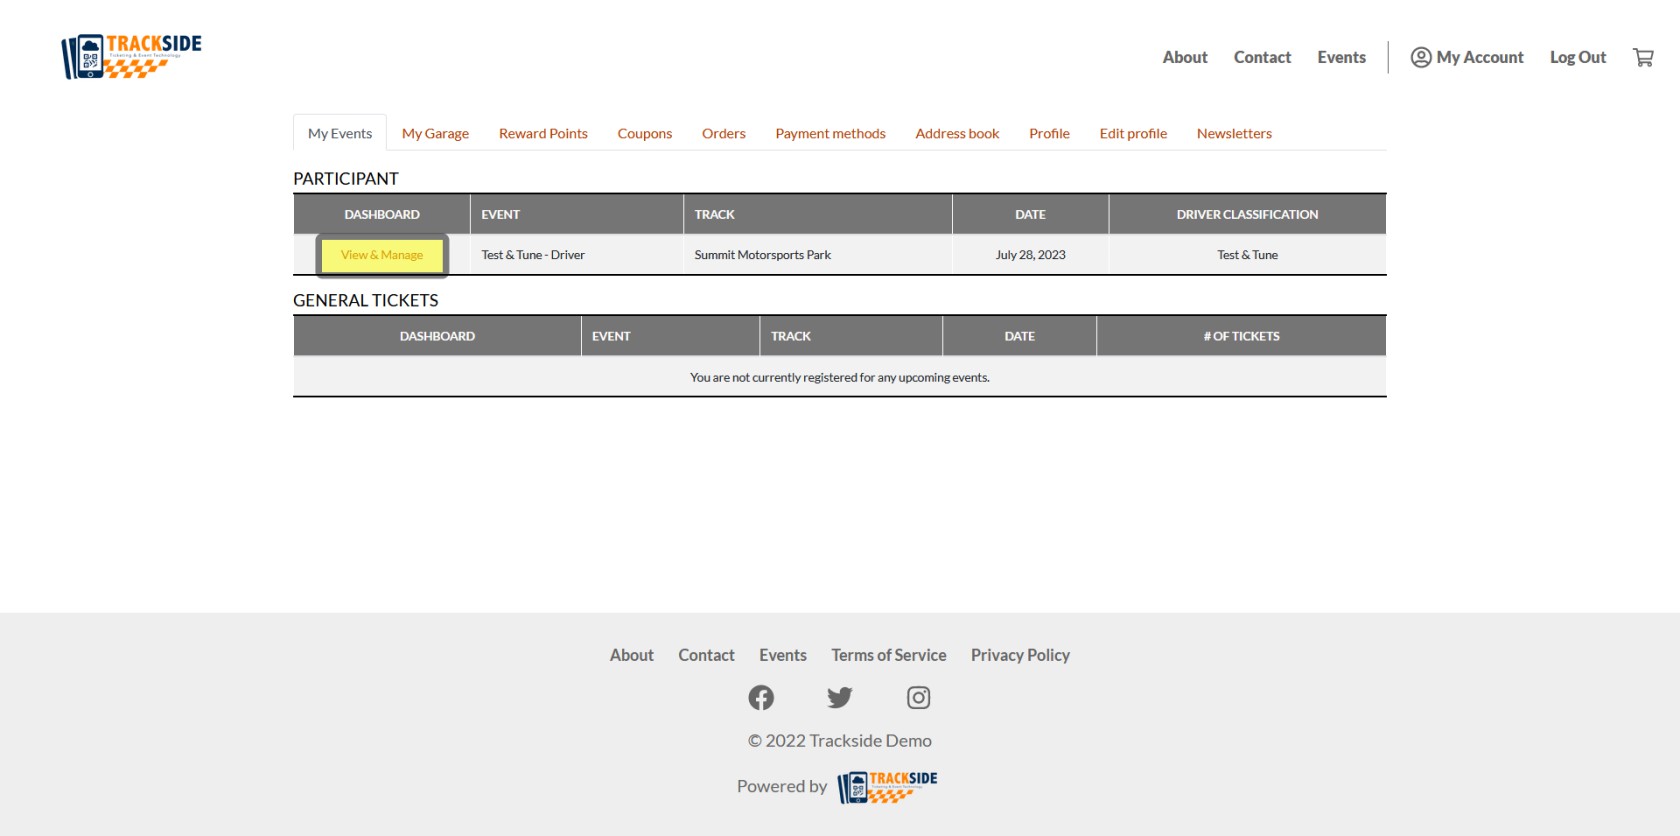
From My Events, click on View & Manage for the event the Participant wishes to complete Pre-Check-In for. There may be multiple events in this list, ensure the correct event is selected.
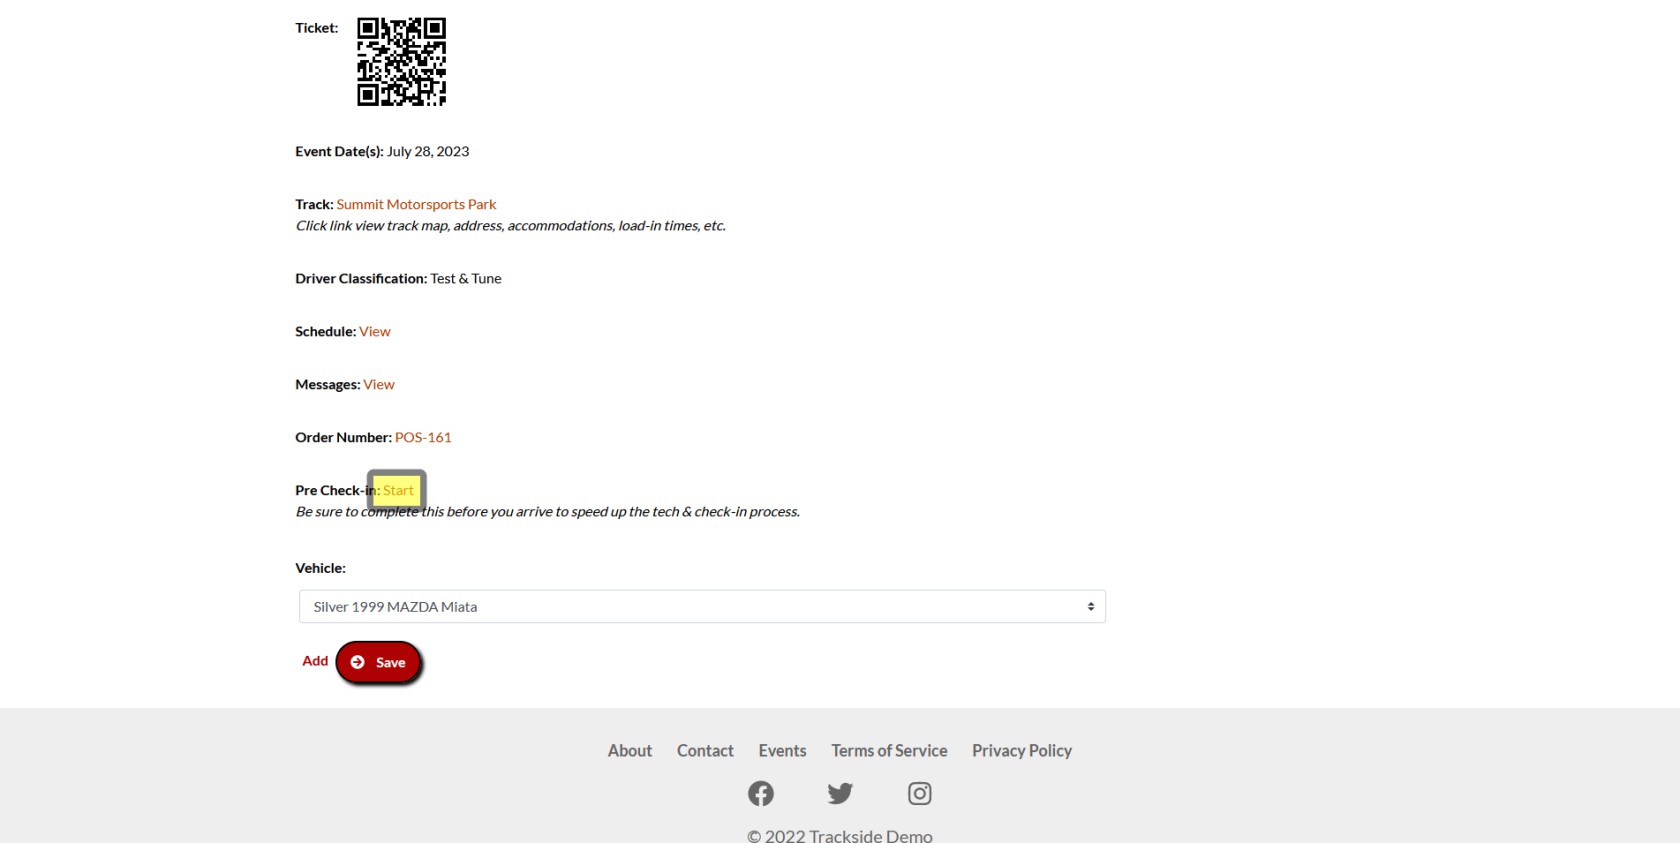
This page will display relevant info for the selected event they are signed up for. Toward the bottom you will see Start next to Pre-Check-In. Click on Start.
Step 2 - Sign Waiver
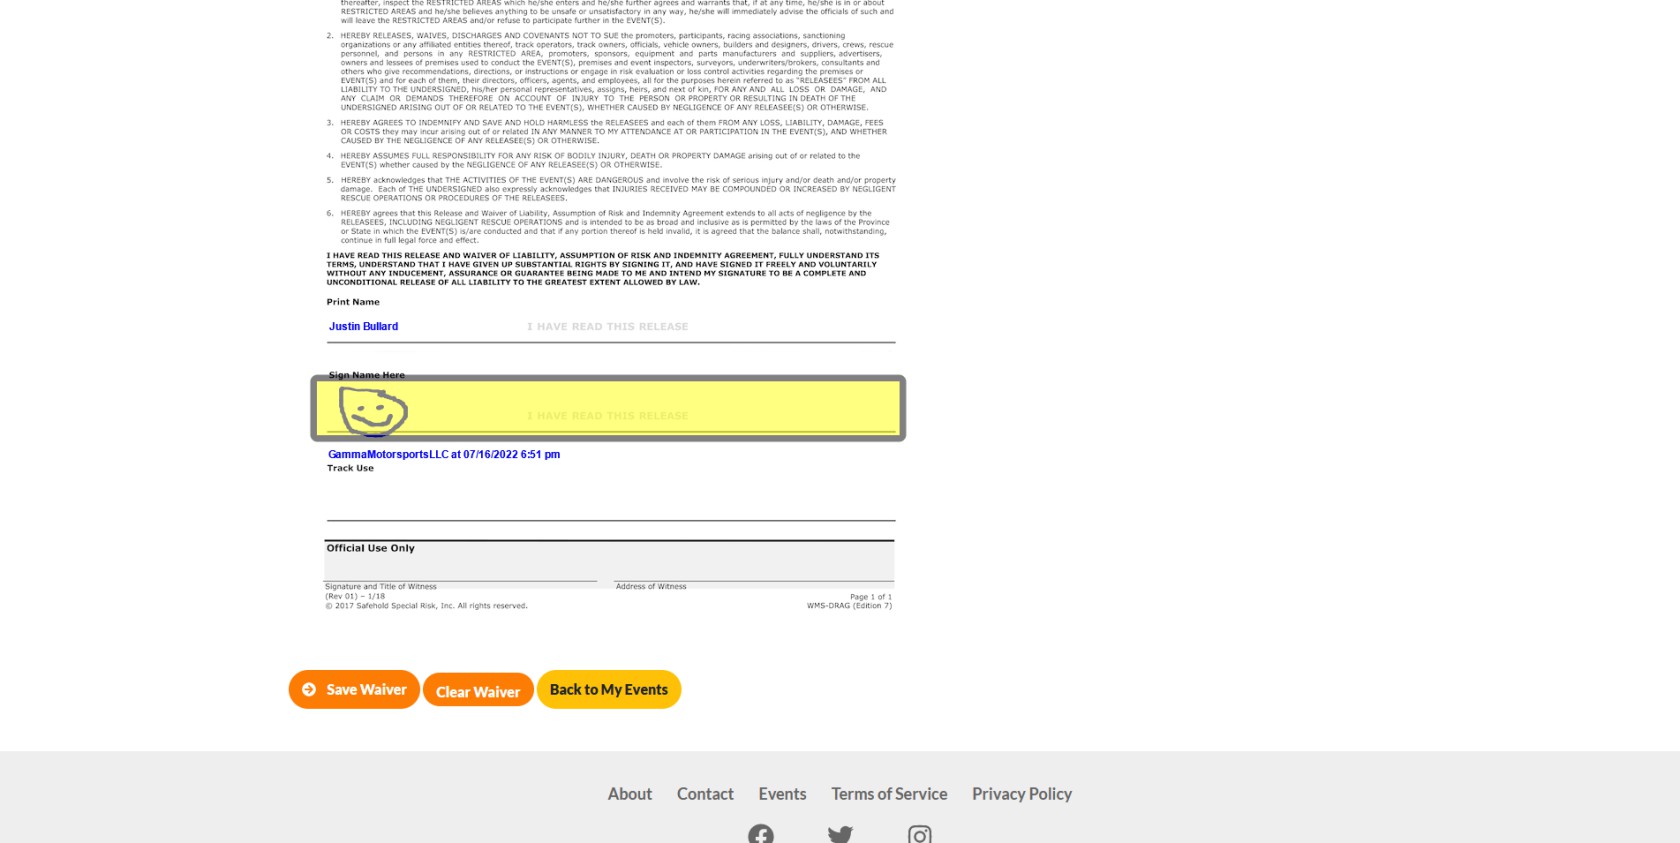
This will bring them to the Participant Waiver. They will need to read & sign in the signature box at the bottom. This will be done by touch or mouse.
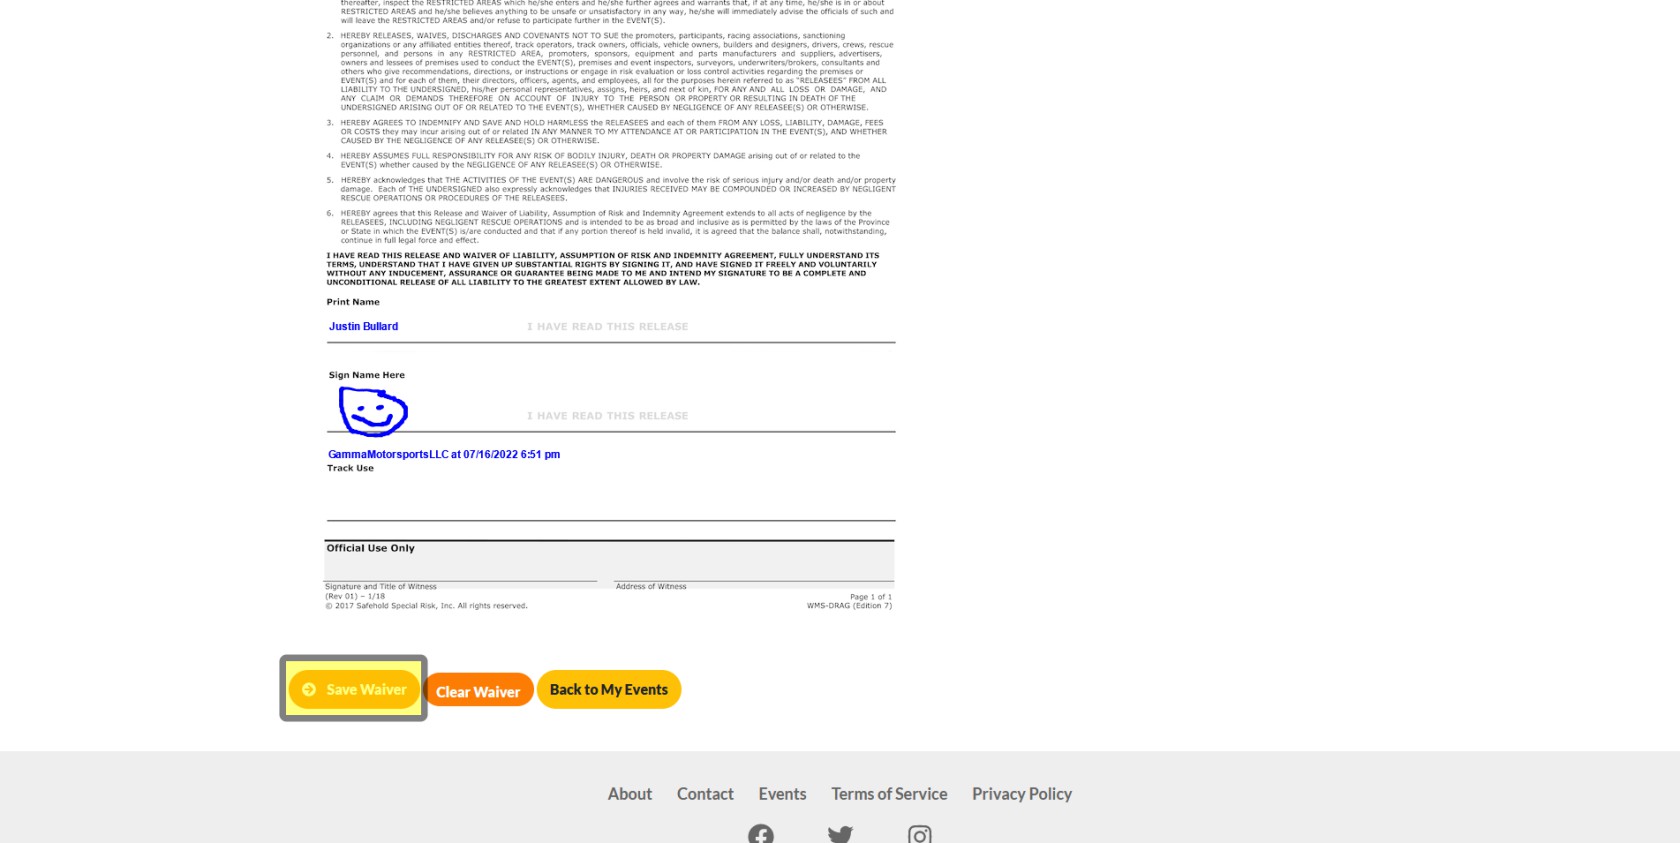
They will want to make sure to click Save Waiver, otherwise the signature will be lost. This will take them to the next step.
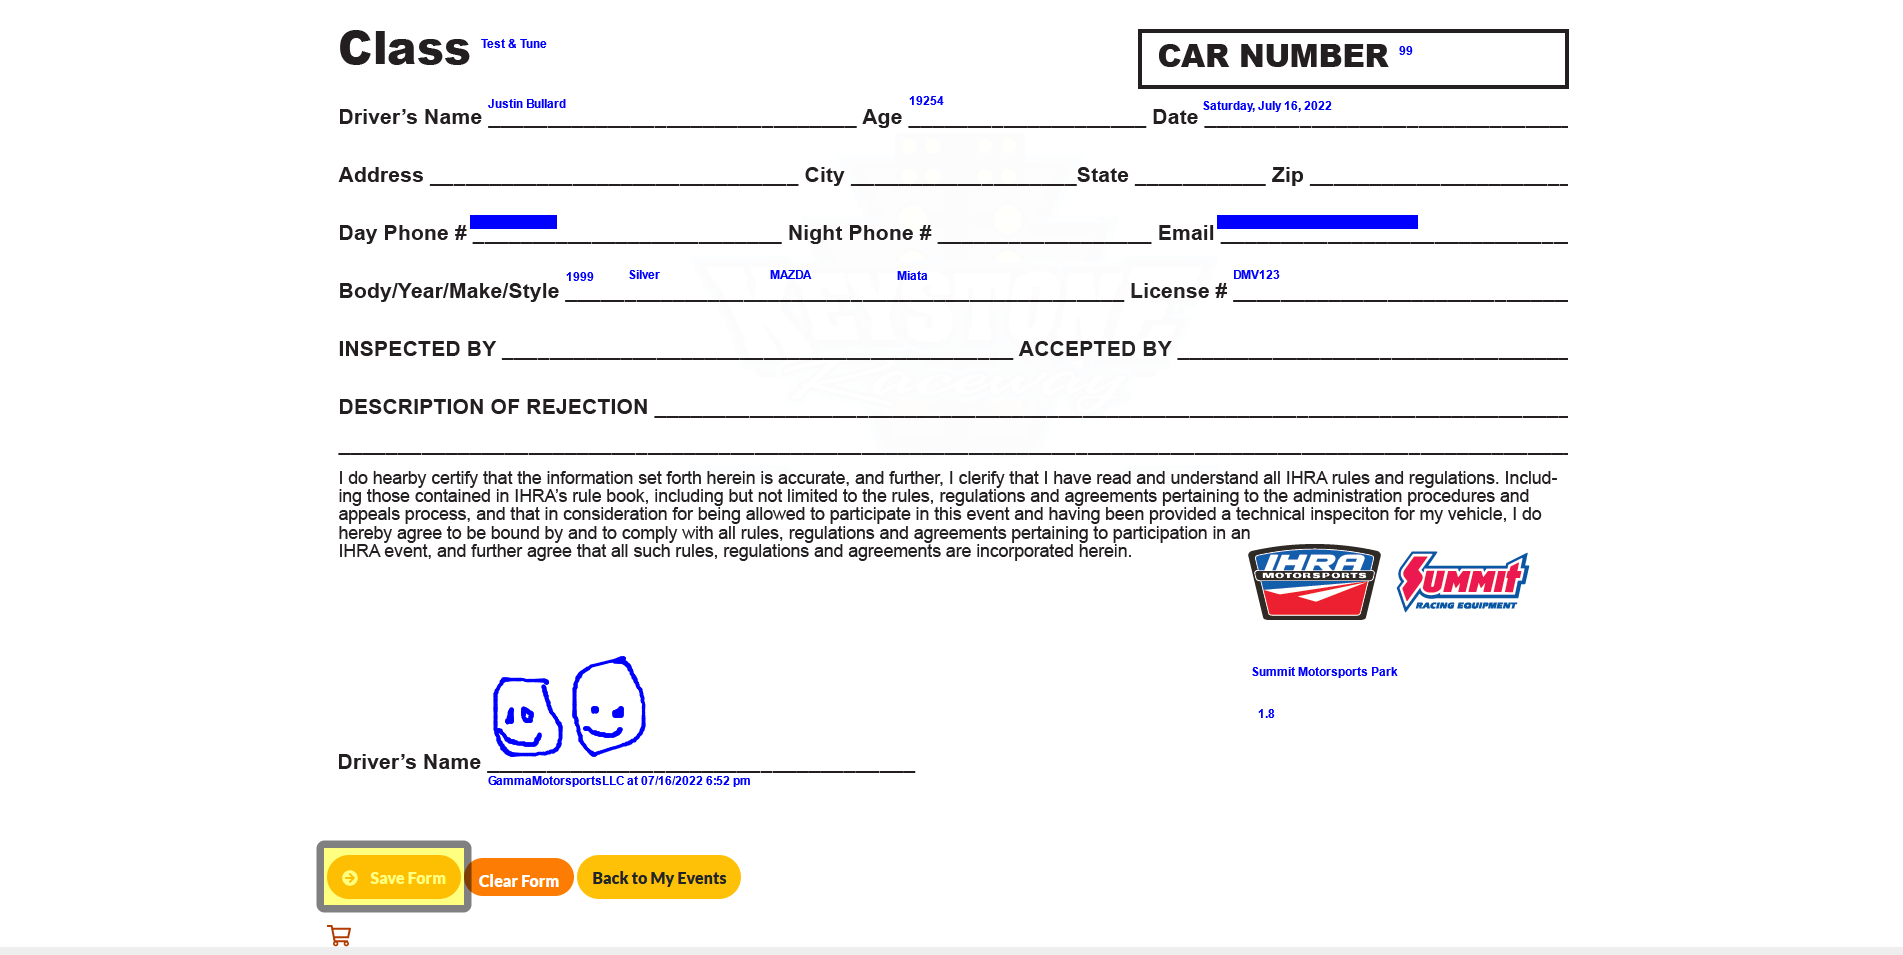
Step 3 - Complete & Sign Tech Card
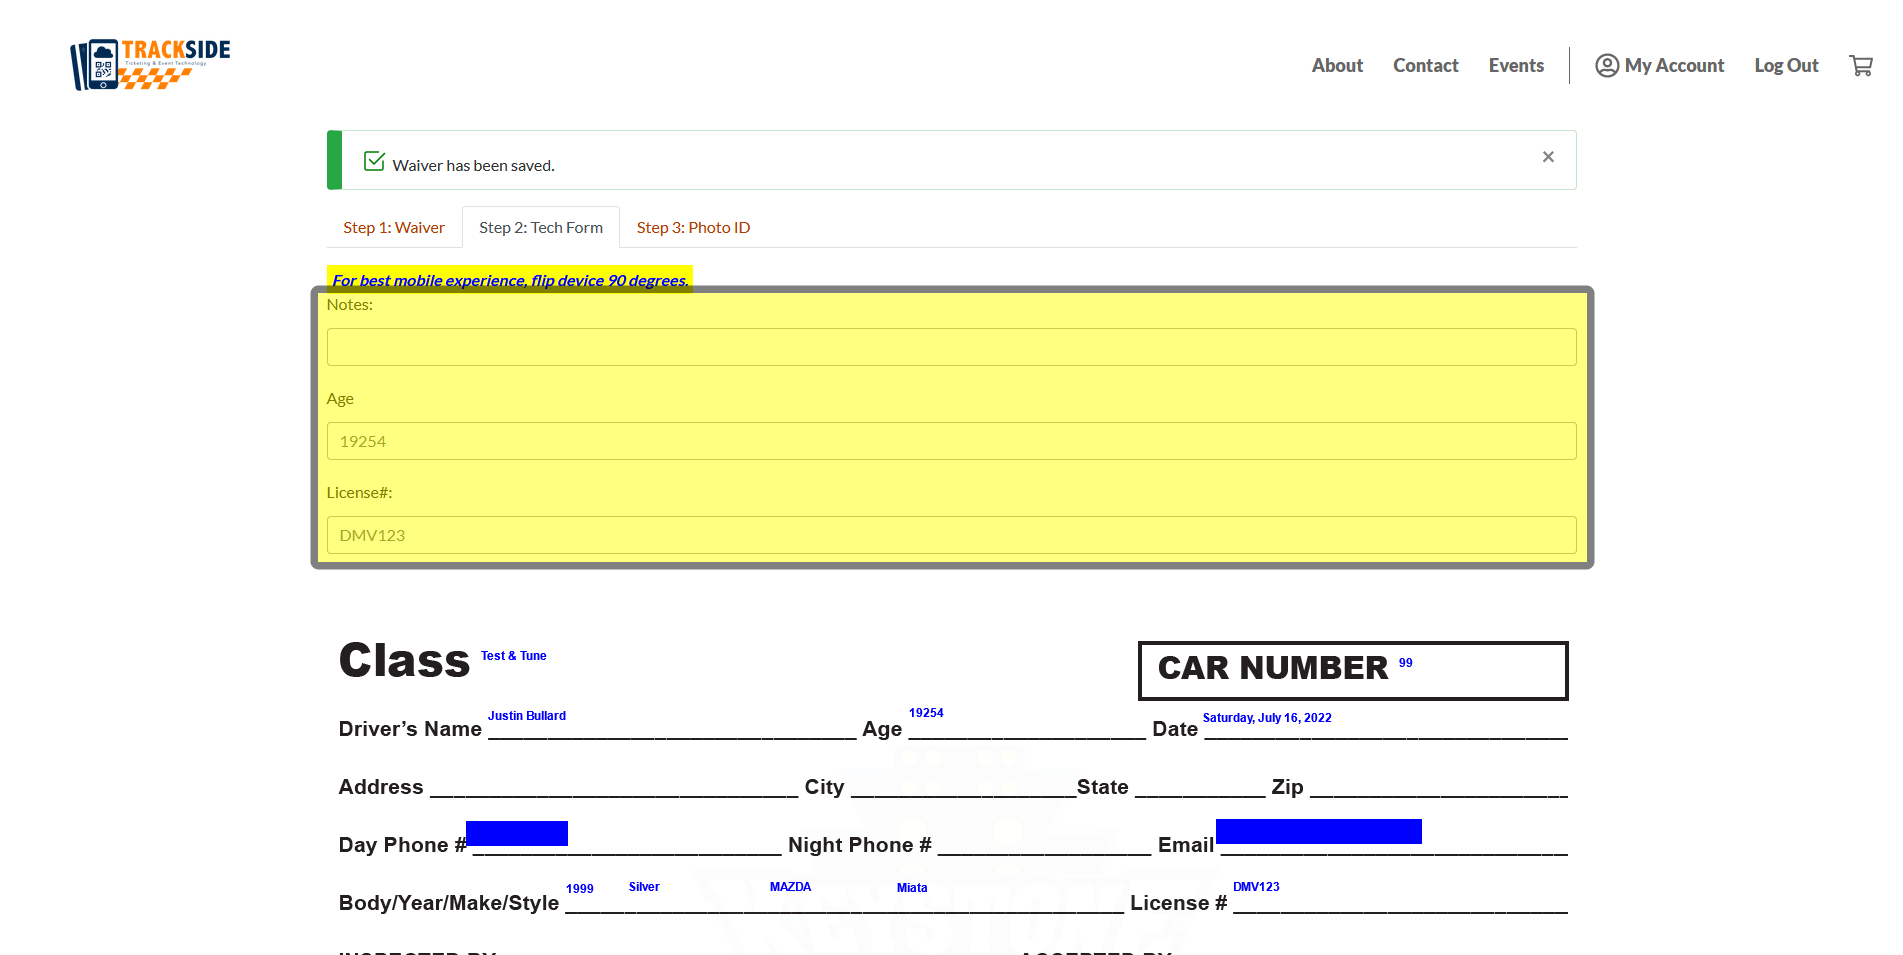
The Participant may fill out the custom fields for your tech card next if they have the required information.
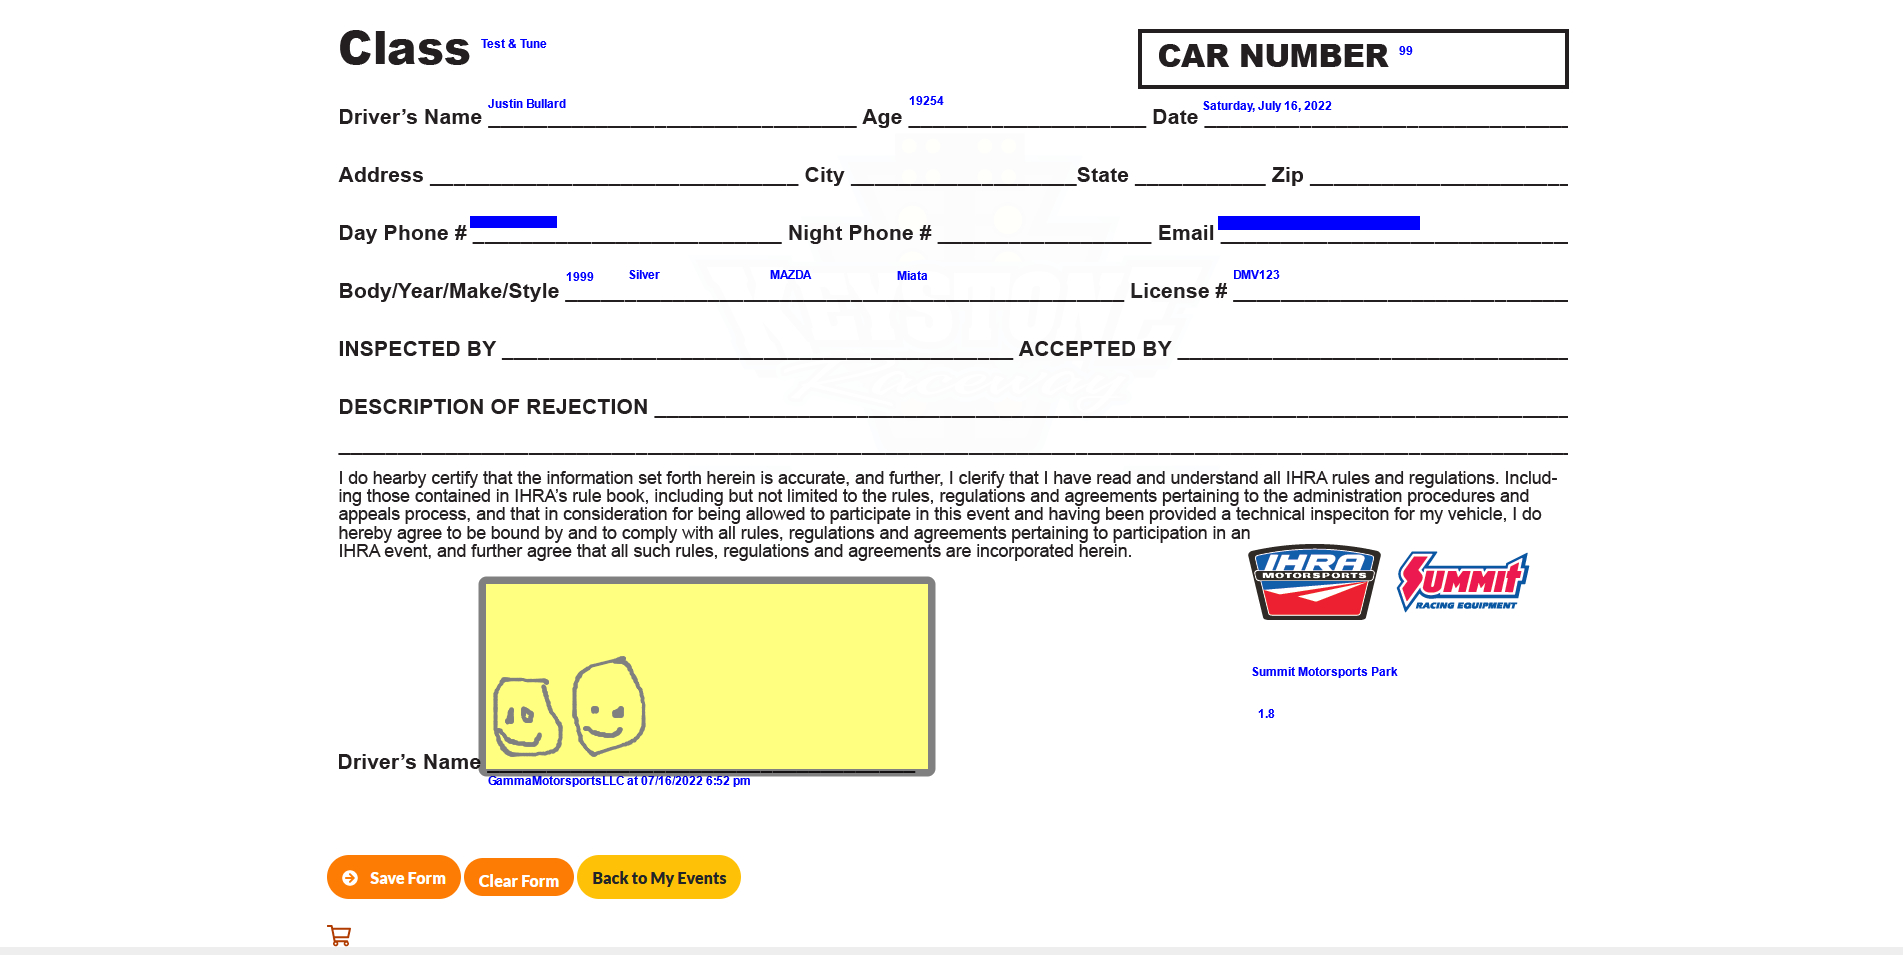
The Participant will then also need to sign their tech card.
Once again, be sure to save the form once complete to proceed to the next step. Leaving before clicking this button will cause changes to be lost.
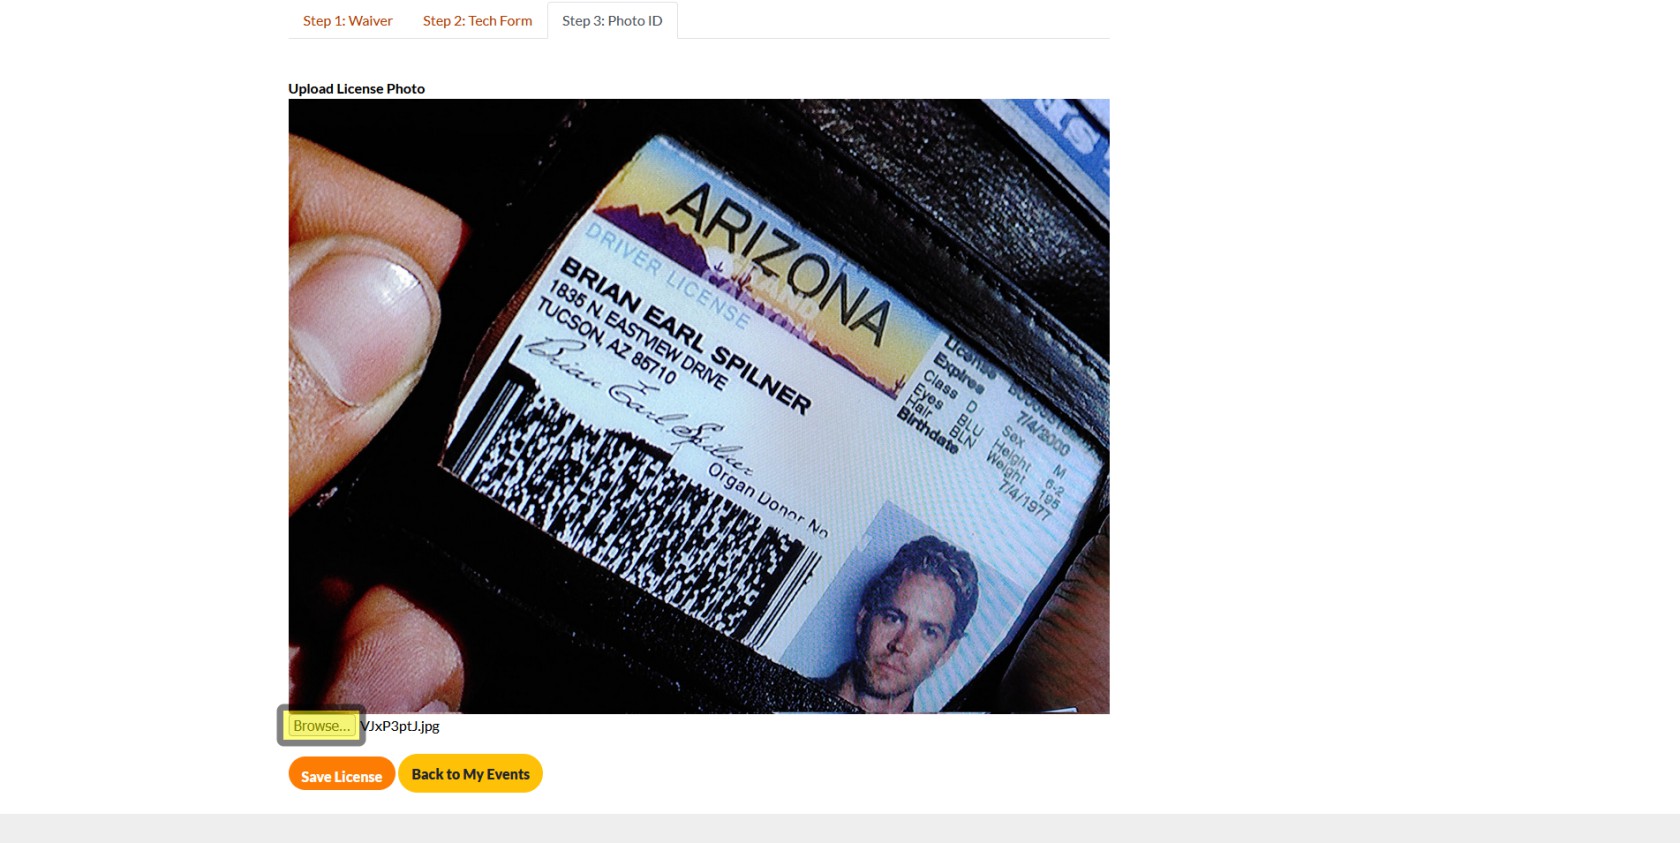
Step 4 - Provide Photo ID
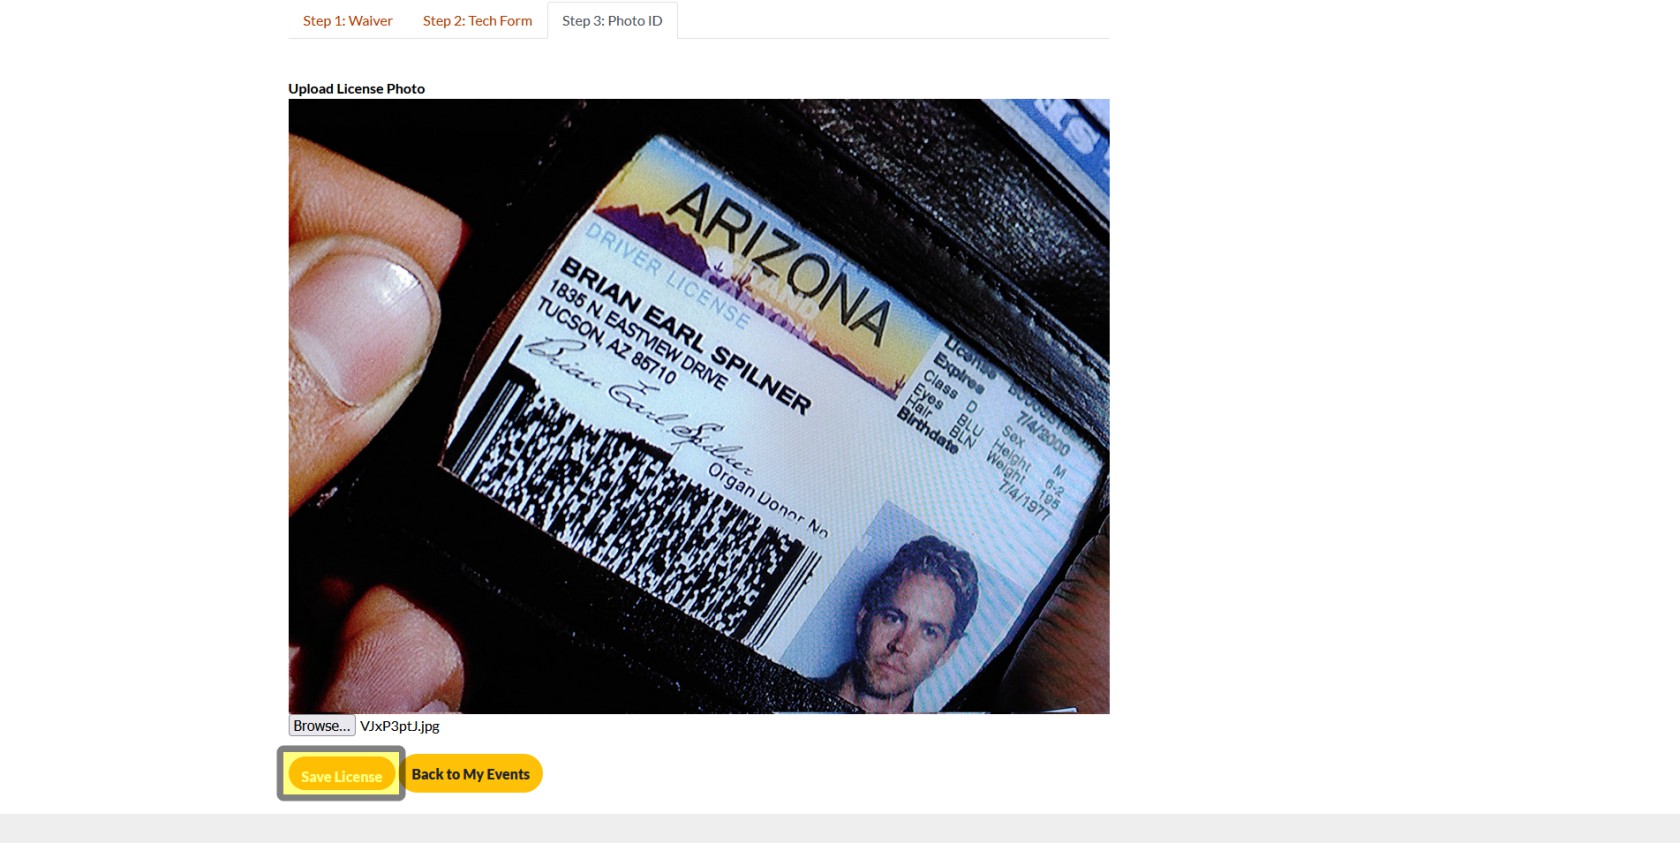
The Participant will then be prompted for a photo ID. They may either take a picture if the device is capable, or upload one from the device by clicking Browse and finding the file.
Finally they will click on Save License to complete the Pre-Check-In process.

