
Mapping a Gift Card Product to the Point of Sale
Note: This is a Modified Plan feature. If you are on a lower level plan, use of this feature may change your per-ticket usage rate to the associated higher rate.
This article will show how to create product mappings for the Virtual Point of Sale and a couple of the nuances that go along with this product type.
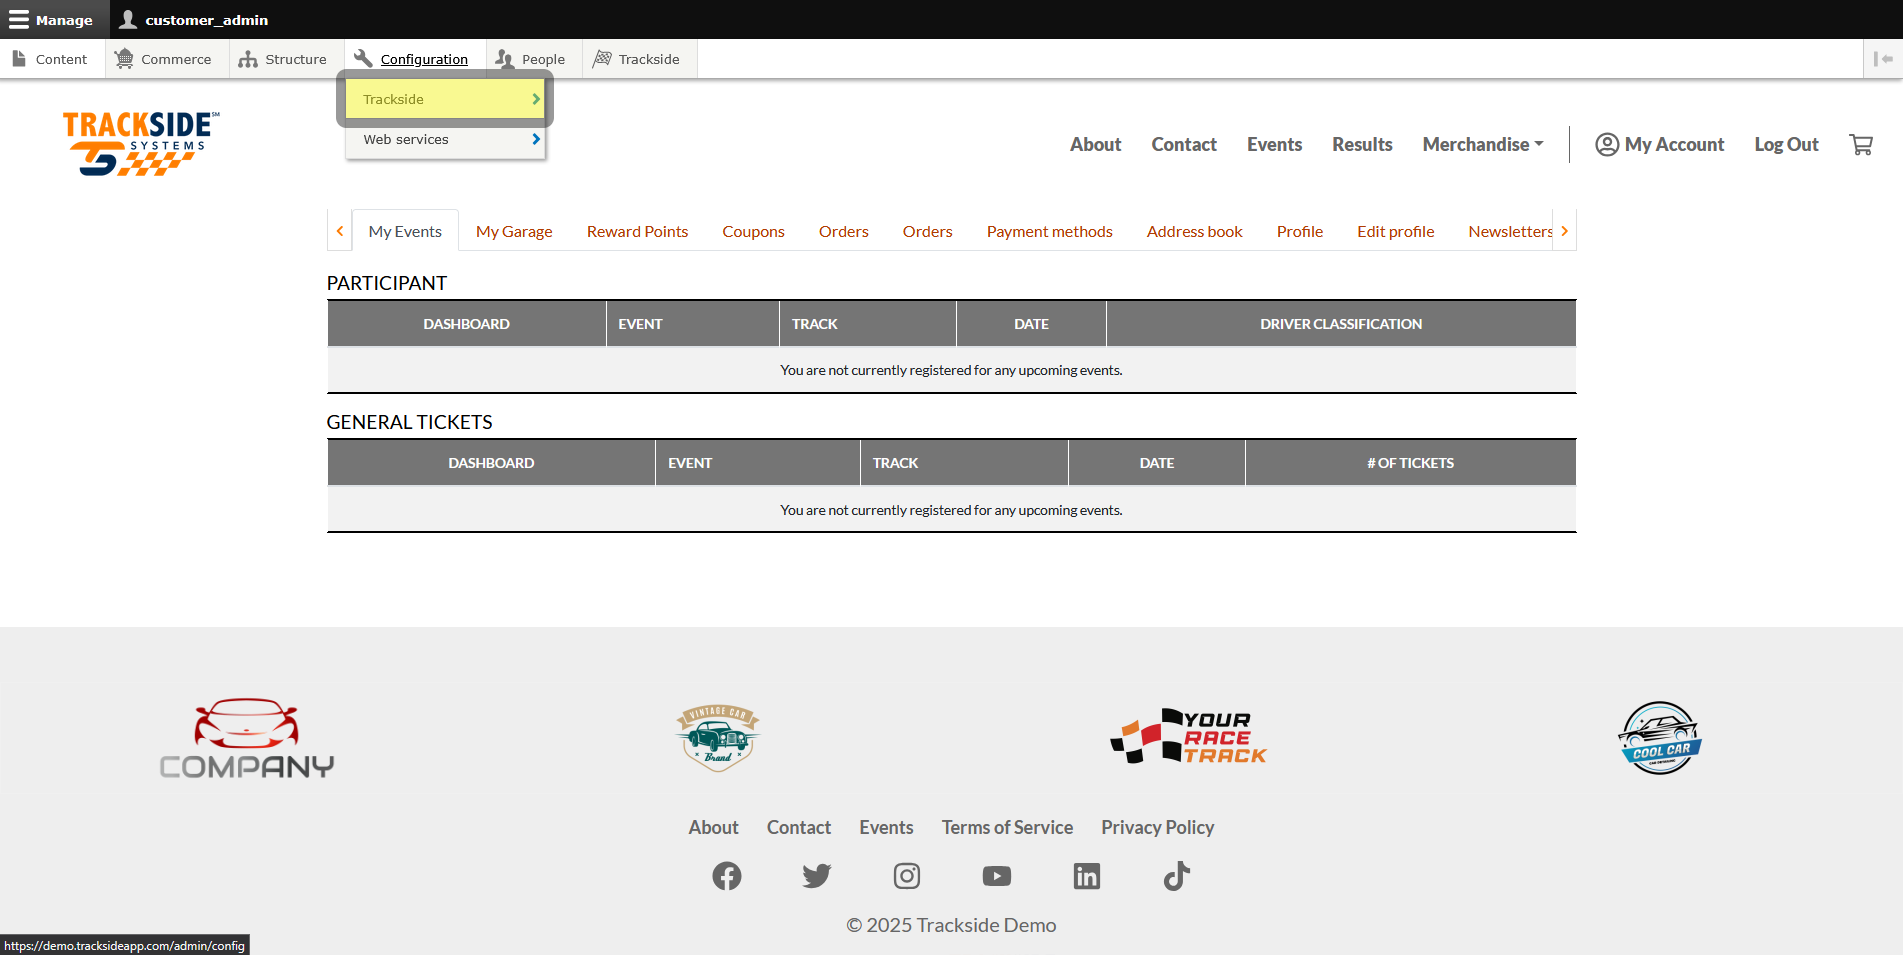
Step 1 - Navigate to Products
Then Trackside.
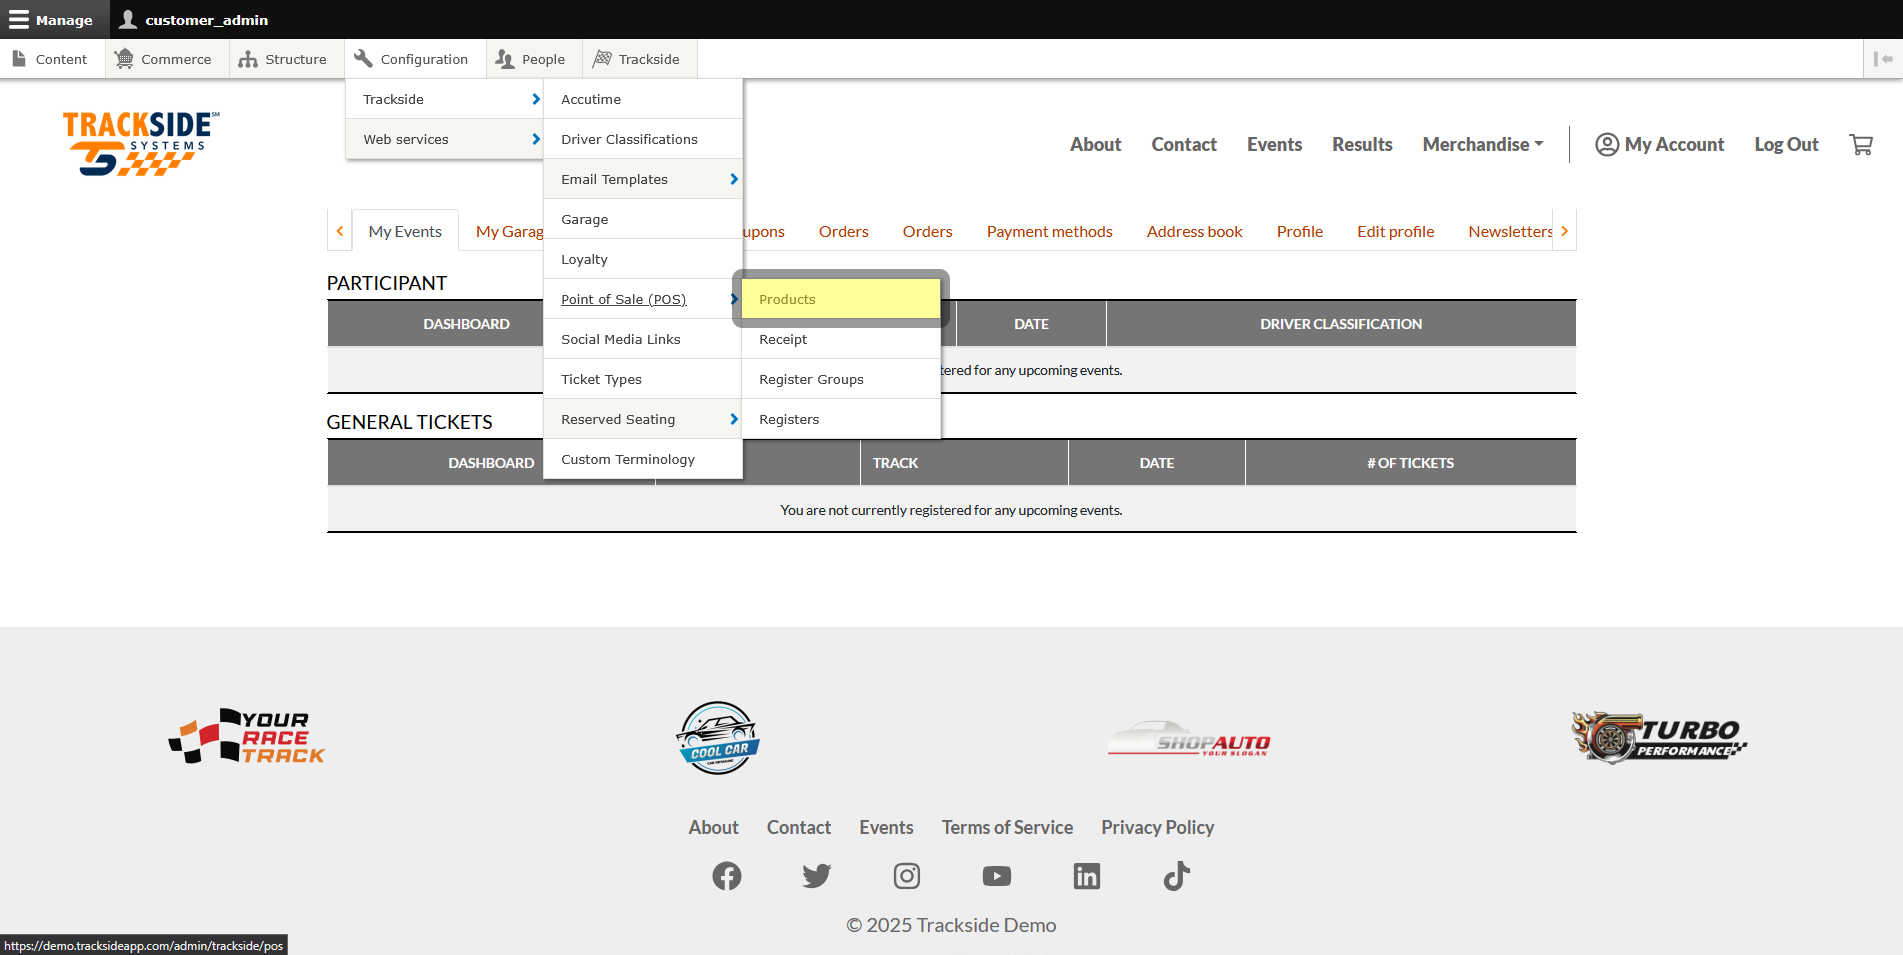
Then Point of SaleSale.
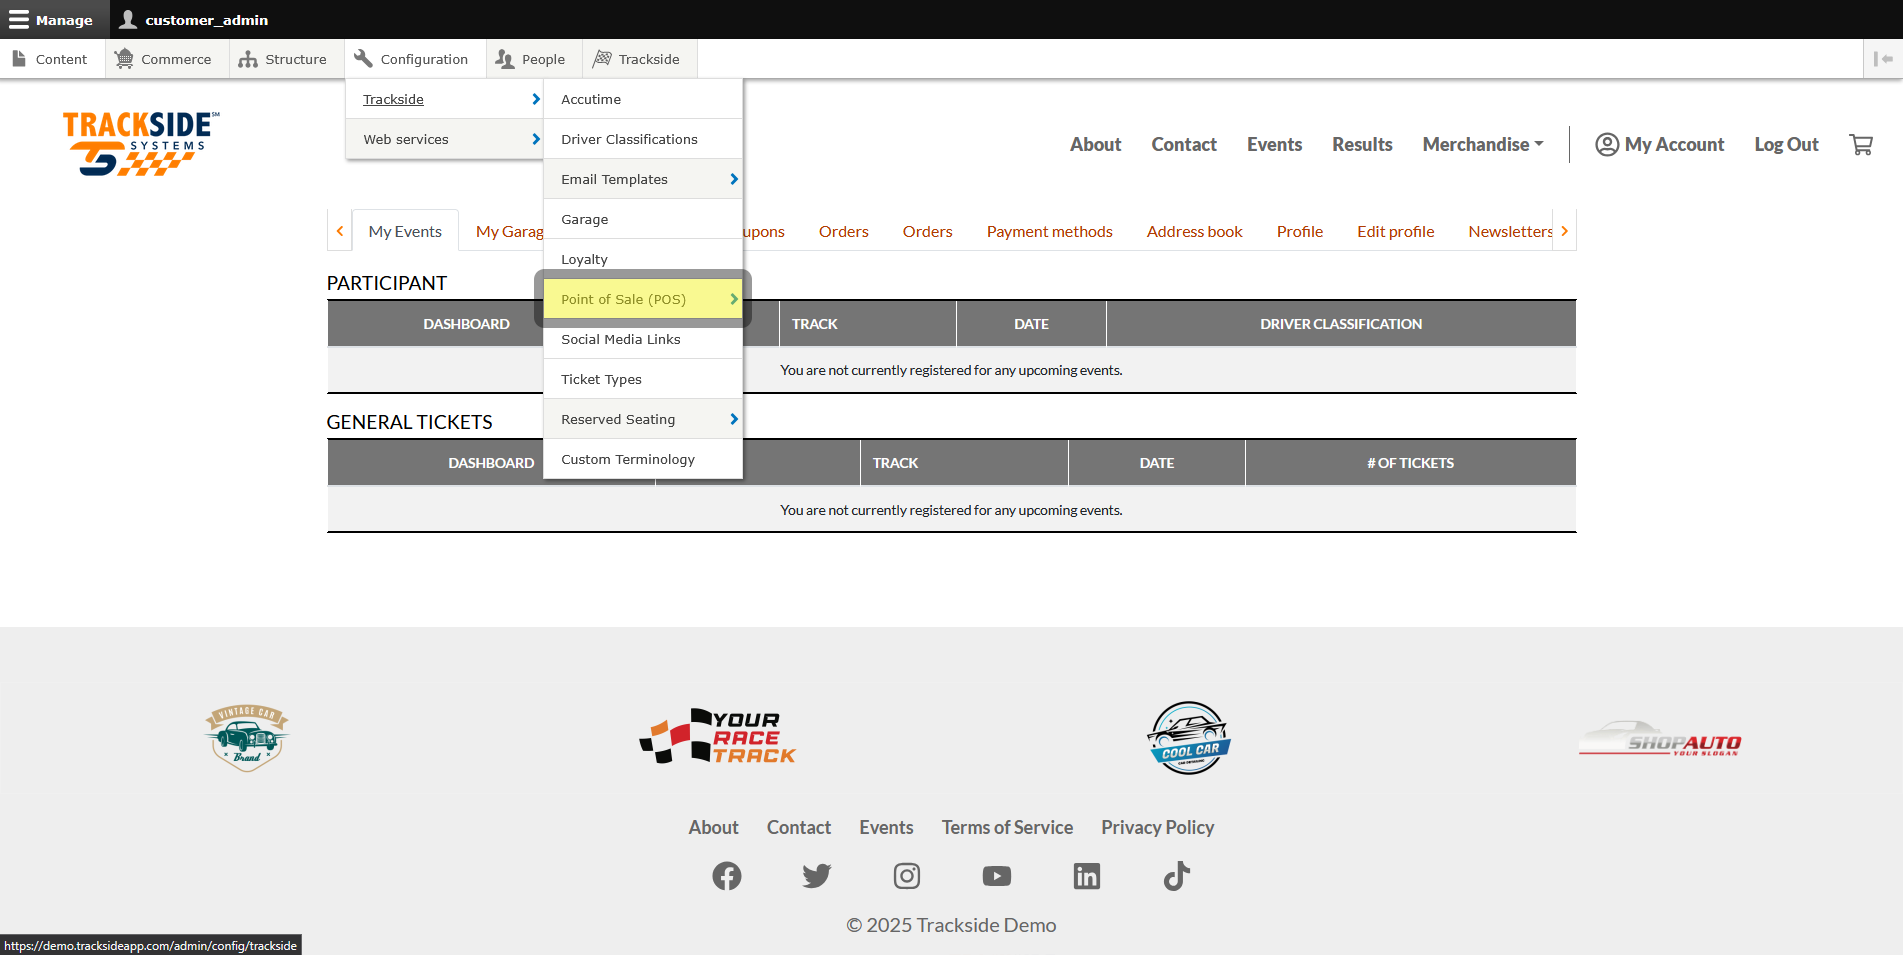
Then click on Products.
Step 2 - Add Product Mapping
Type > Gift Card
Product > POS Gift Card
Variation > either Hard for hard card or Printed for receipt printed
Give it a product display name for the POS button. Keep it short and sweet as possible.
Step 3 - Add the Mapping to the Desired Register Group
Add the new gift card product mapping to the appropriate Register Groups as desired the same as you would your other mappings. See Product Mapping - Assign to Register Group(s).