Mapping a Gift Card Product to the Point of Sale
Note: This is a Modified Plan feature. If you are on a lower level plan, use of this feature may change your per-ticket usage rate to the associated higher rate.
This article will show how to create product mappings for the Virtual Point of Sale and a couple of the nuances that go along with this product type.
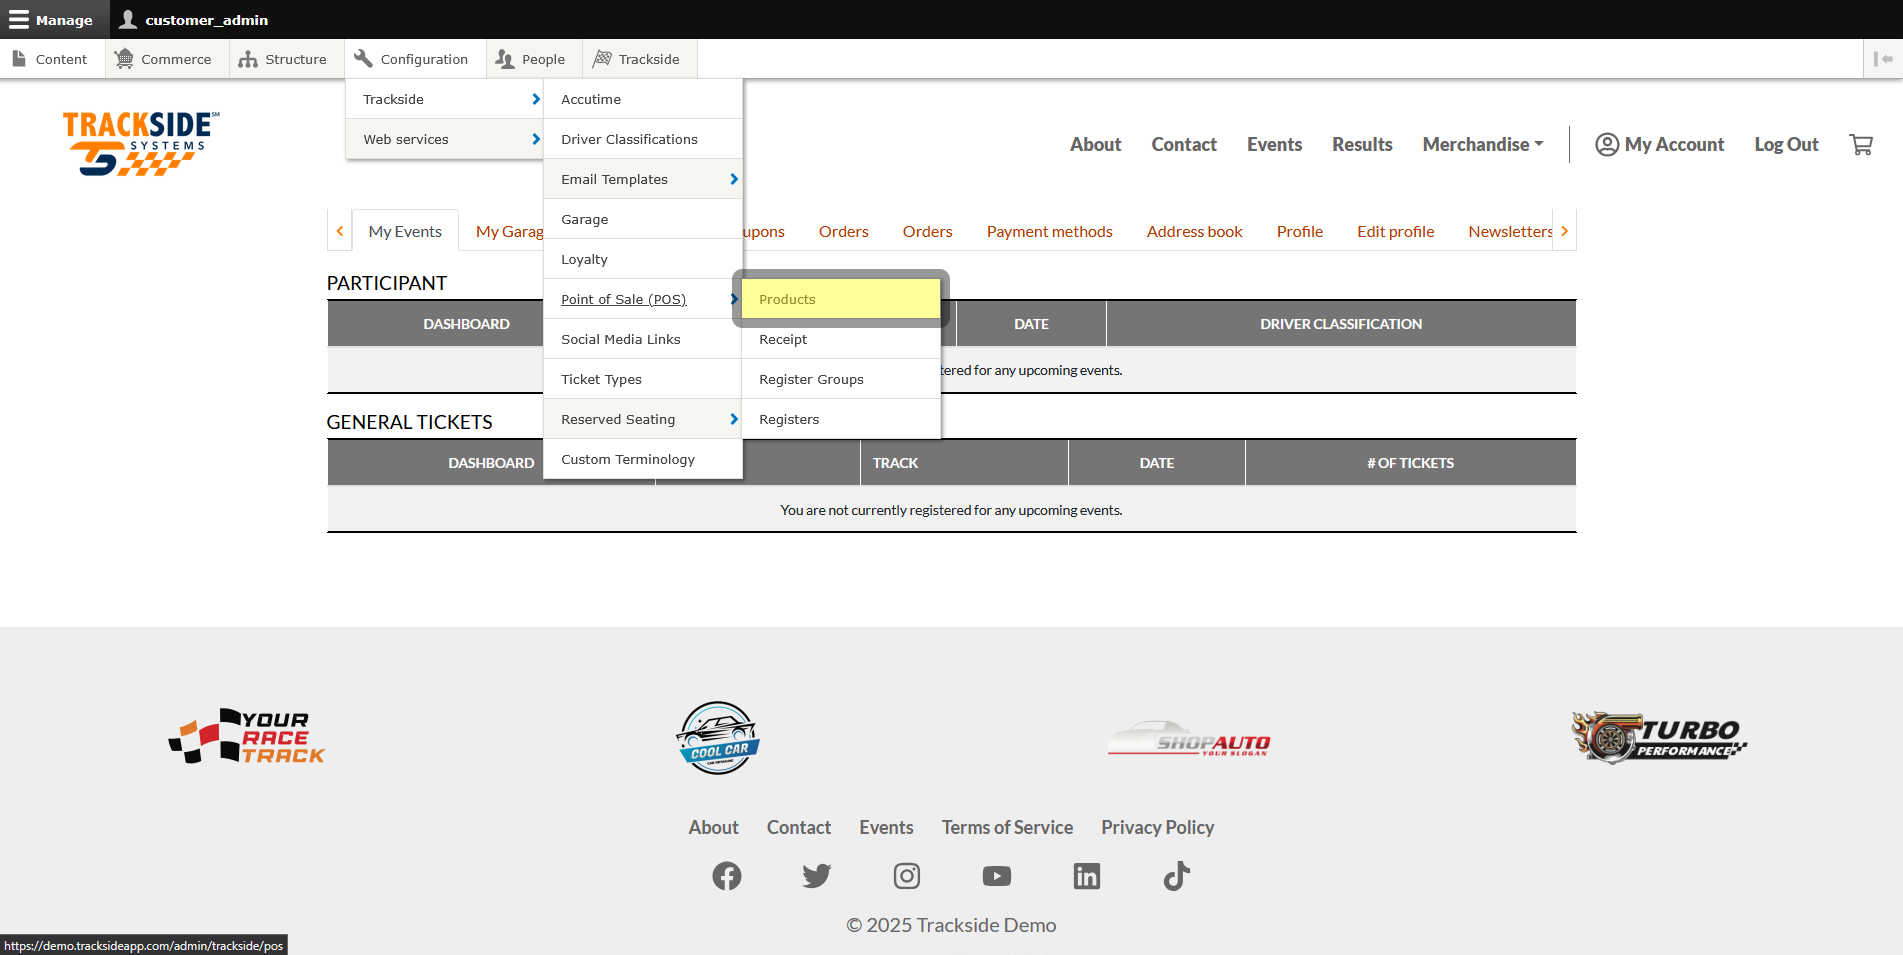
Step 1 - Navigate to Products
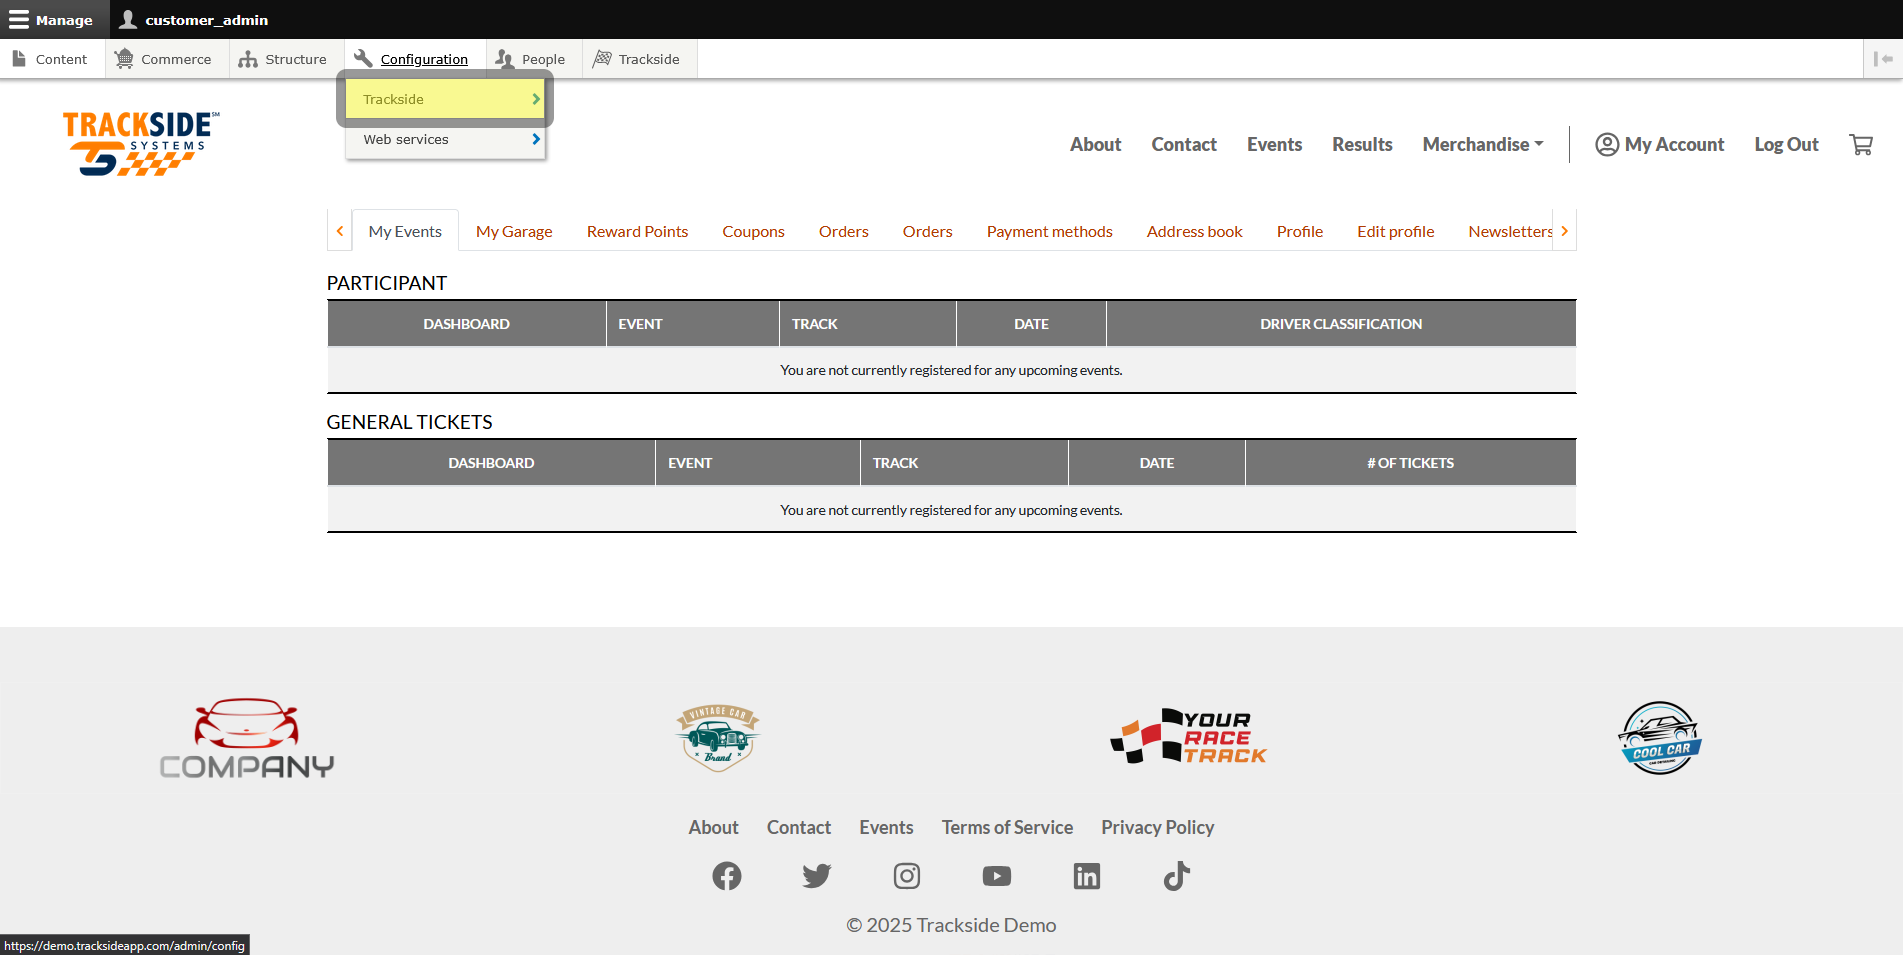
Then Trackside.
Then Point of Sale.
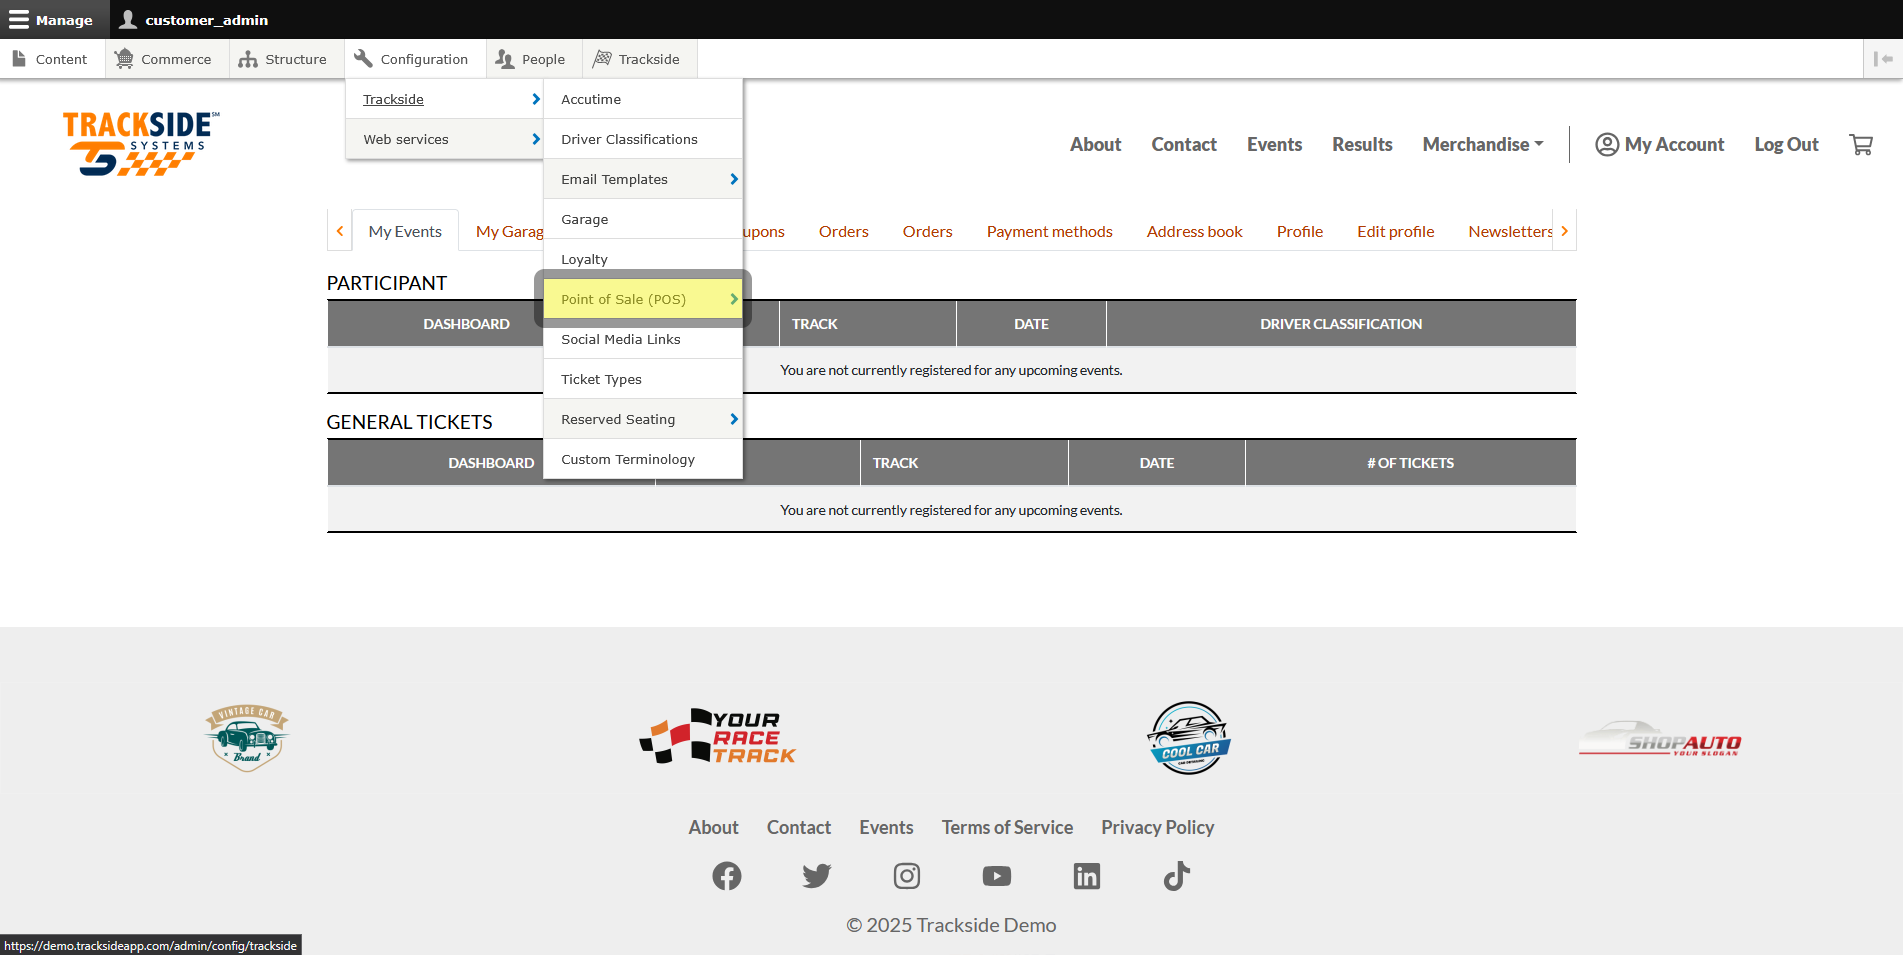
Then click on Products.
Step 2 - Add Product Mapping
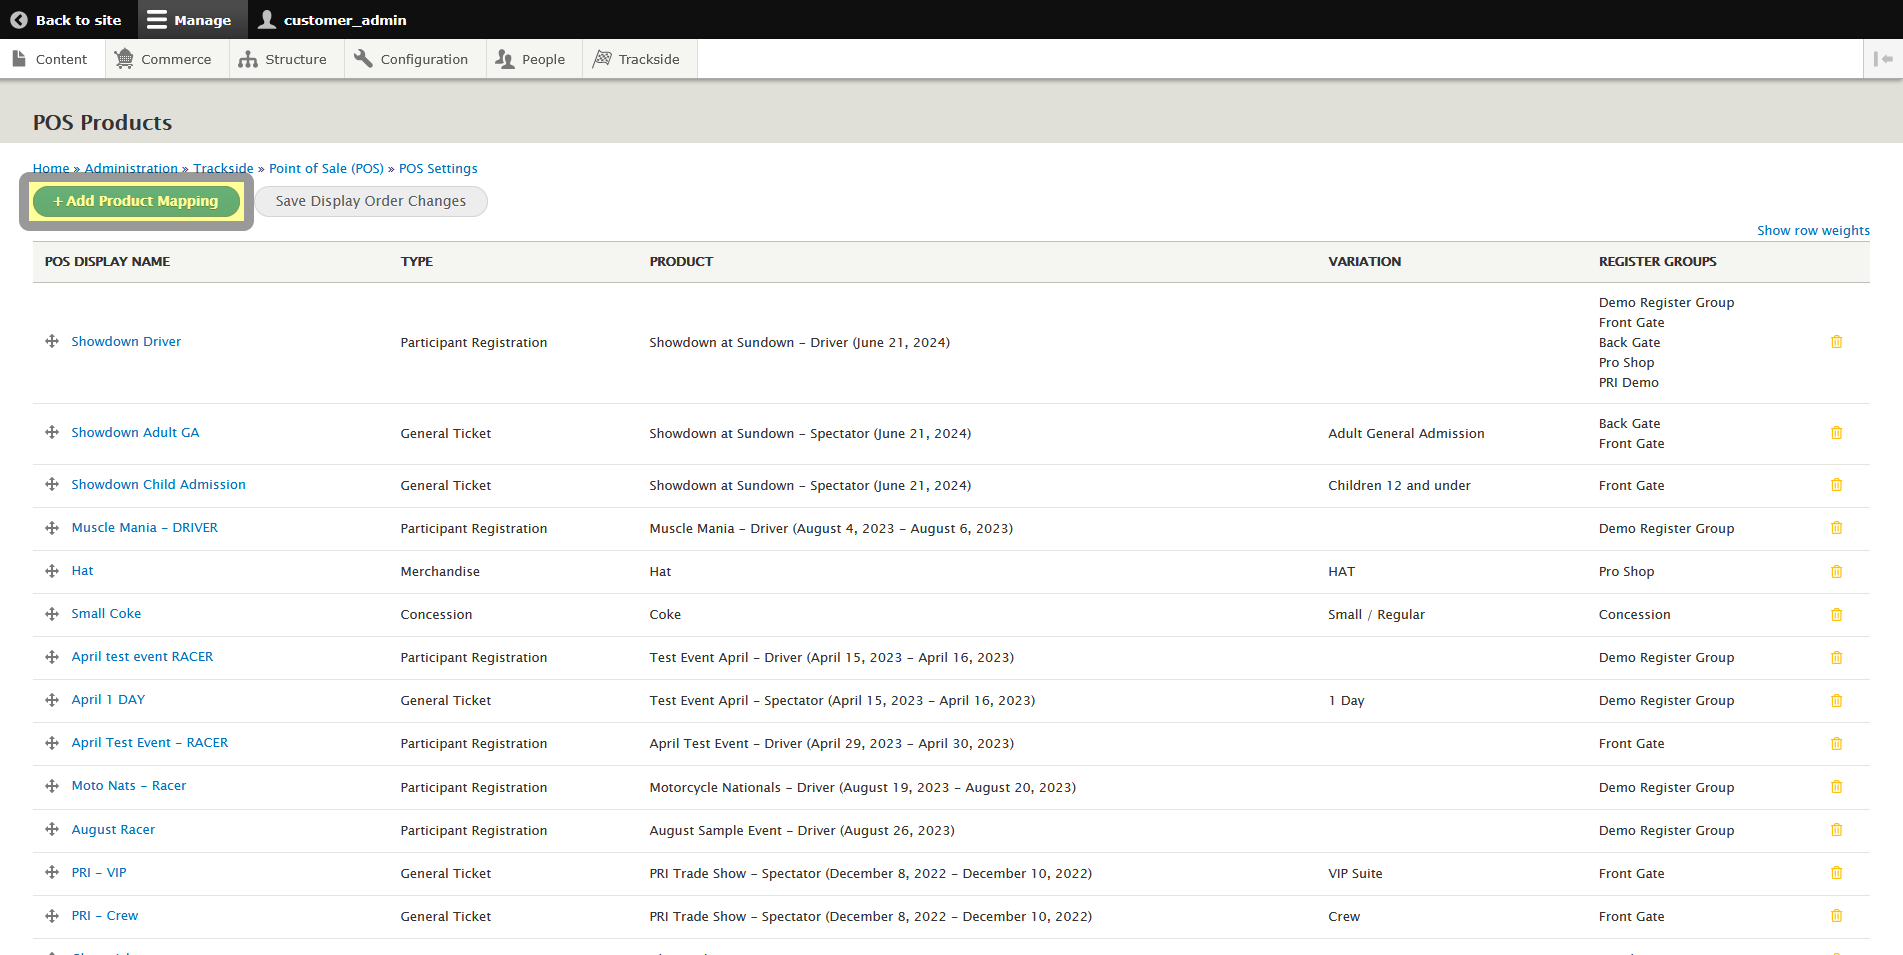
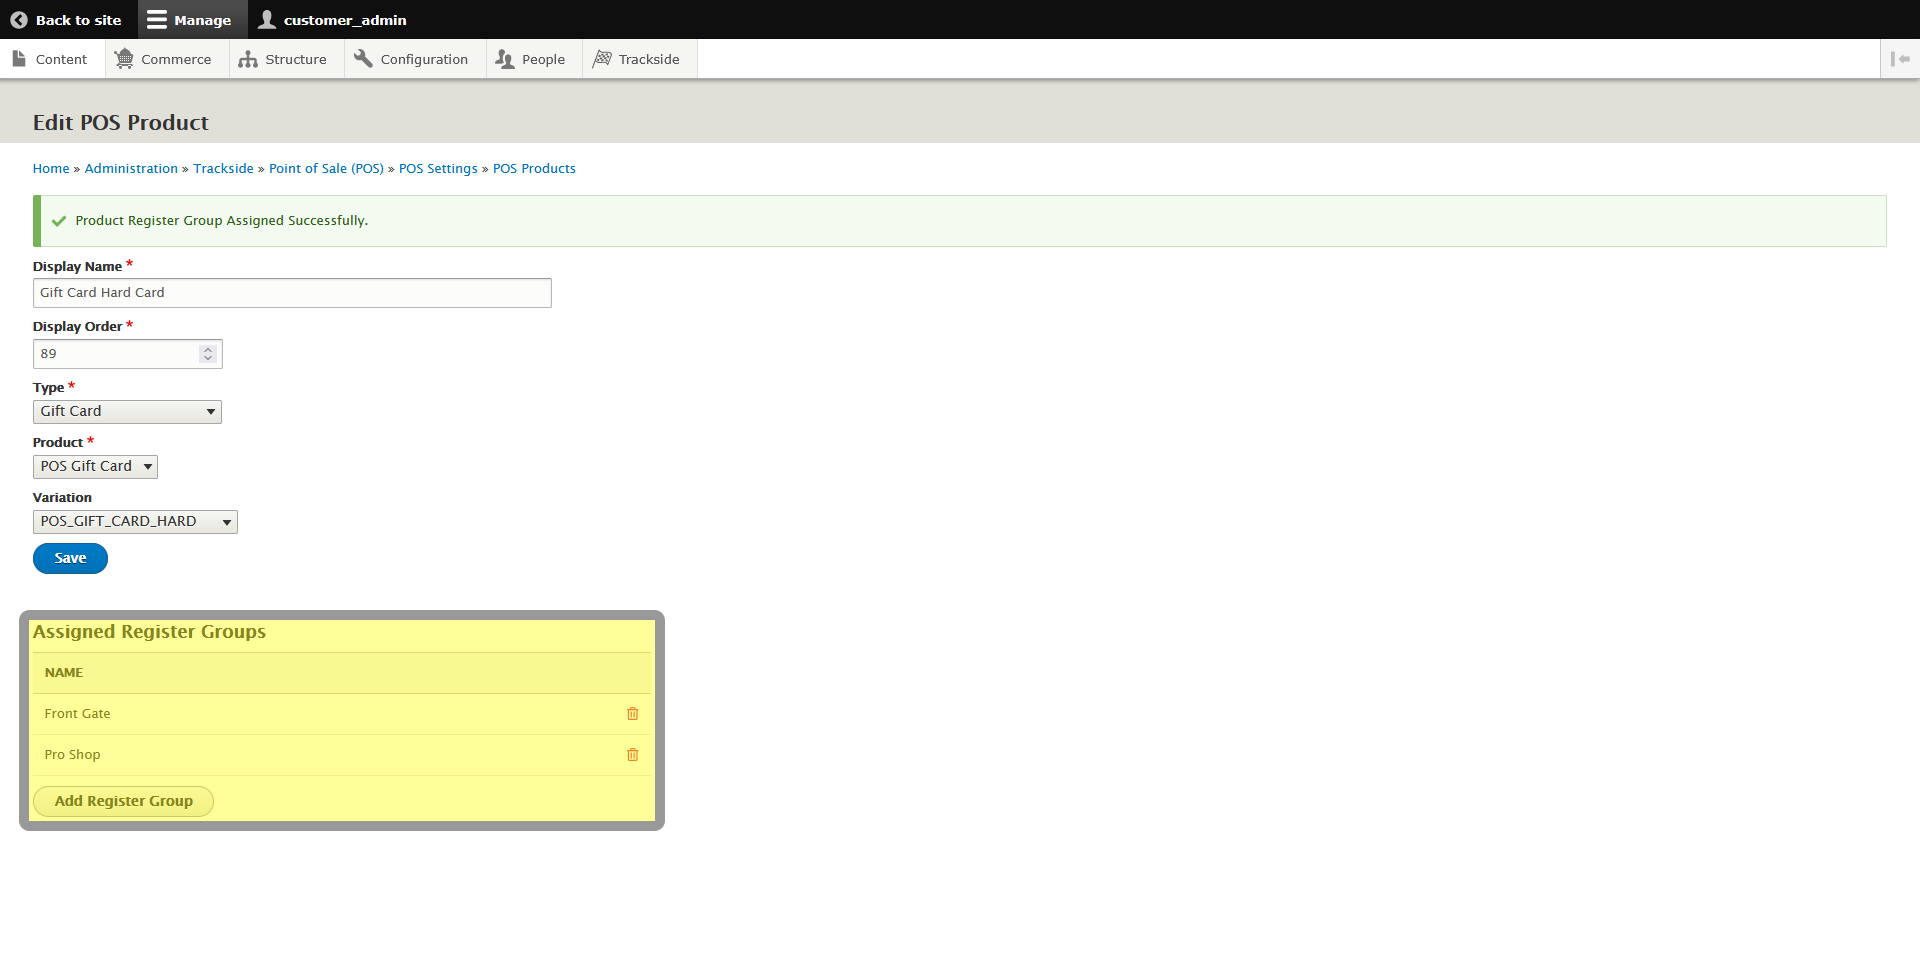
The beginning of setting up this mapping is the same as any other one. You can input the button name, remember shorter is better. Then you can allow it to automatically be assigned a display order number which will populate it at the bottom of your list of mappings, you can input 1 if you want it at the top, or whatever number suits you. You can always reorganize the list later if you need.
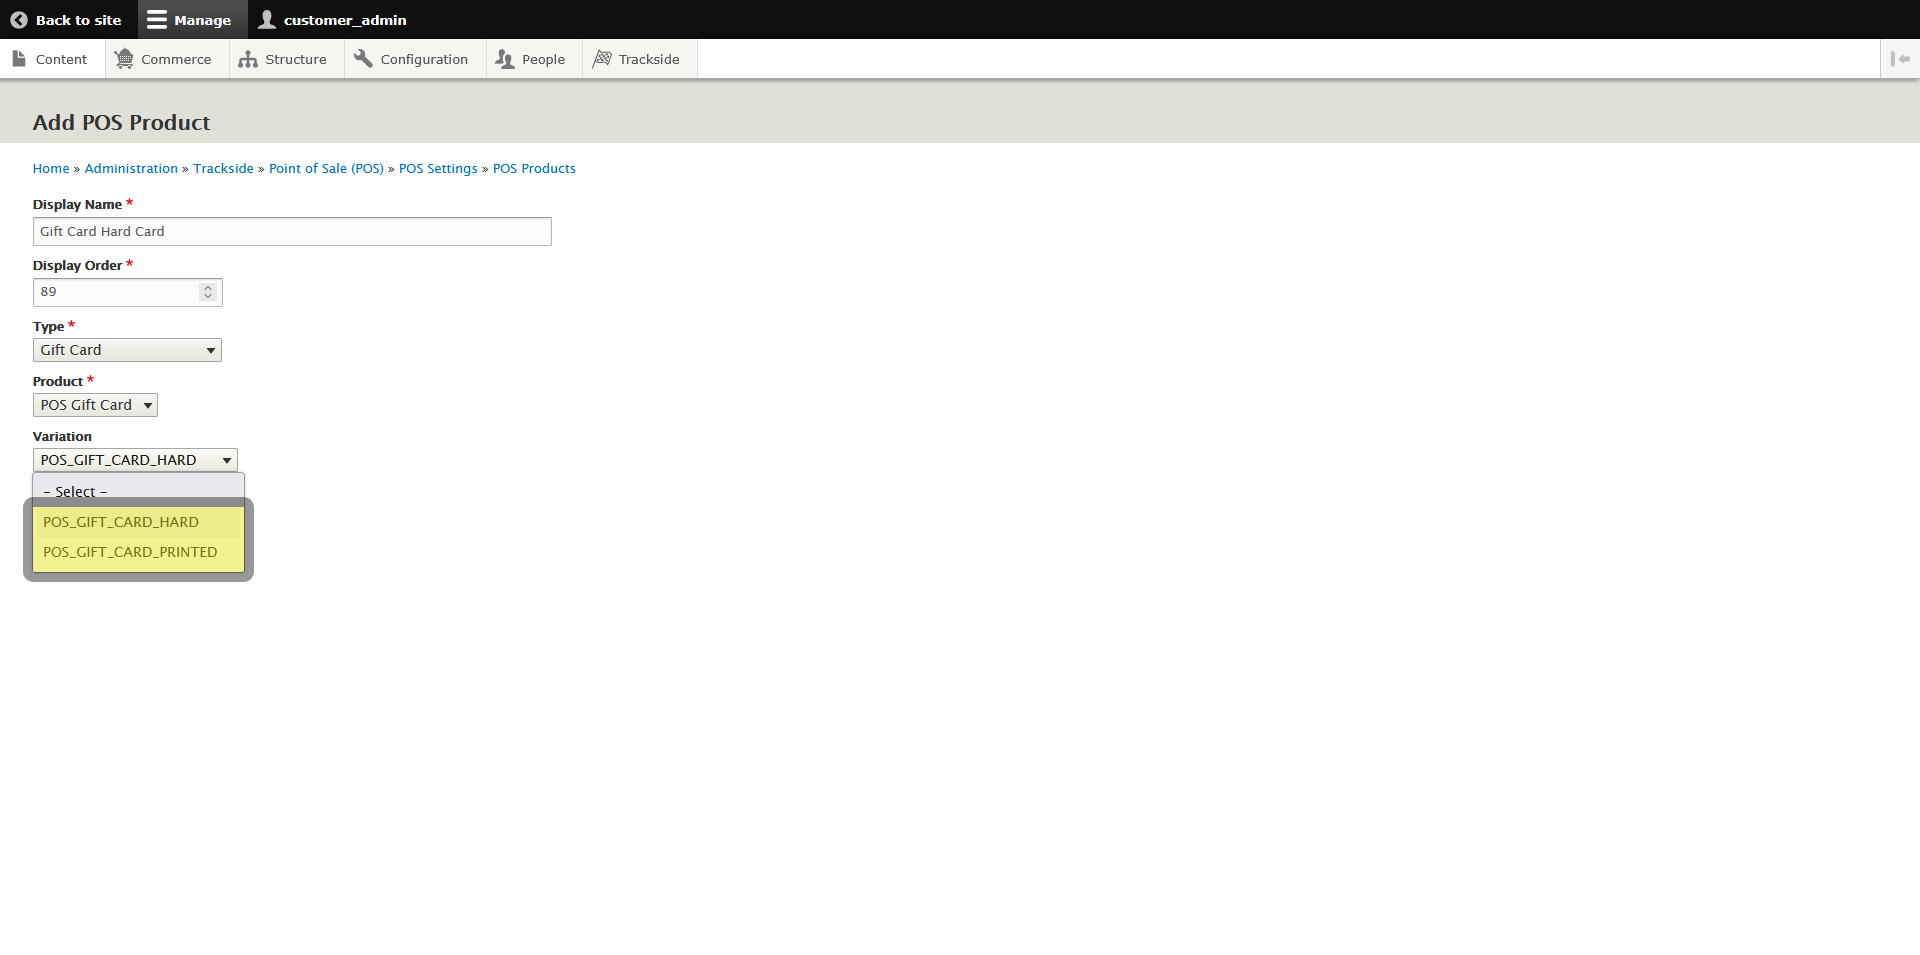
Where this mapping starts to get a little more unique, although still mostly self explanatory, is when you get to Type. You're going to select Gift Card in that menu.

Under Product, you should then have the option to select POS Gift Card.

This is where the important part comes into play. For Variation you have the option to select either Hard for hard cards or Printed for receipt printed. Obviously you're only going to want to choose Hard if you've received hard cards from Trackside. You can see a little more about those in Hard Card Gift Card Options. The process for creating these cards is different, so selecting the wrong type here will make the button lead your register worker down the wrong path. We'll cover those processes in some of the next articles in this chapter.
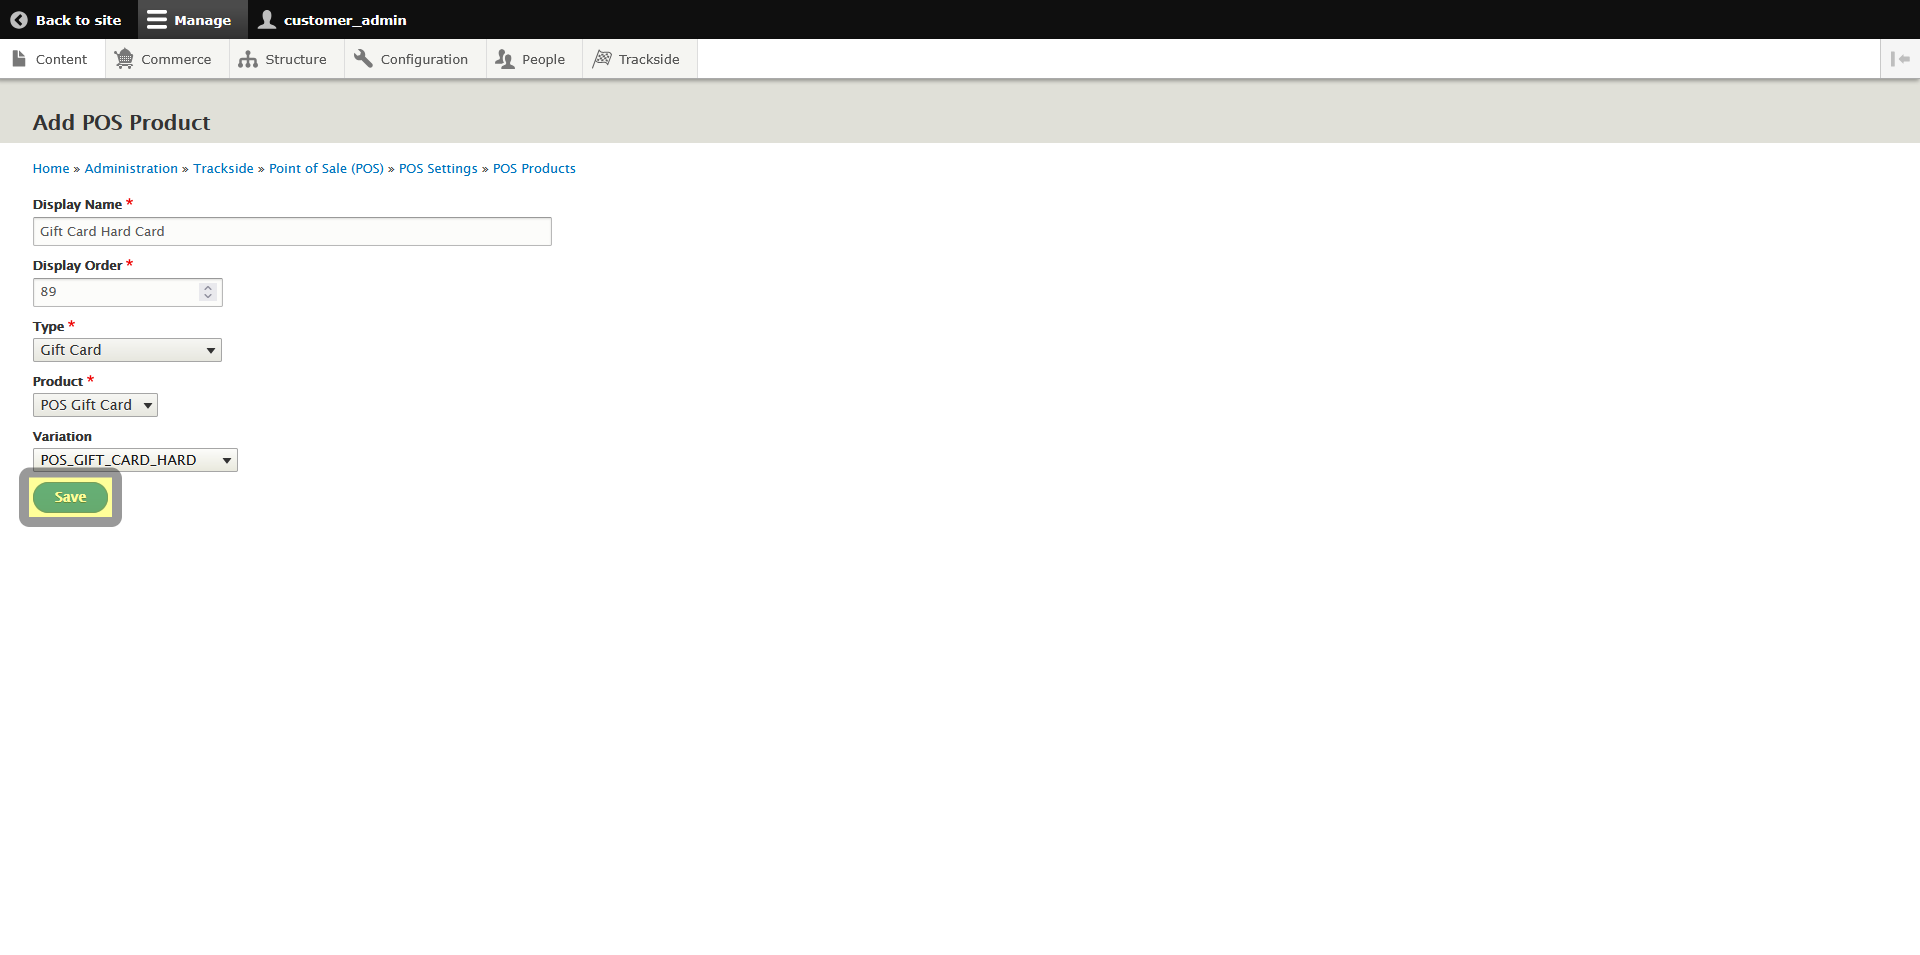
Once you've made your selection, don't forget to click Save at the bottom of the form. If you need buttons for both types, you'll just loop back and make one more mapping for the other Variation as well.
Step 3 - Add the Mapping to the Desired Register Group
Add the new gift card product mapping to the appropriate Register Groups as desired the same as you would your other mappings. See Product Mapping - Assign to Register Group(s).