
Cancel an Event
This article will show you how to cancel an event and issue refunds in one batch job instead of having to process them individually.
Step 1 - Navigate to Event Cancellation Assistant
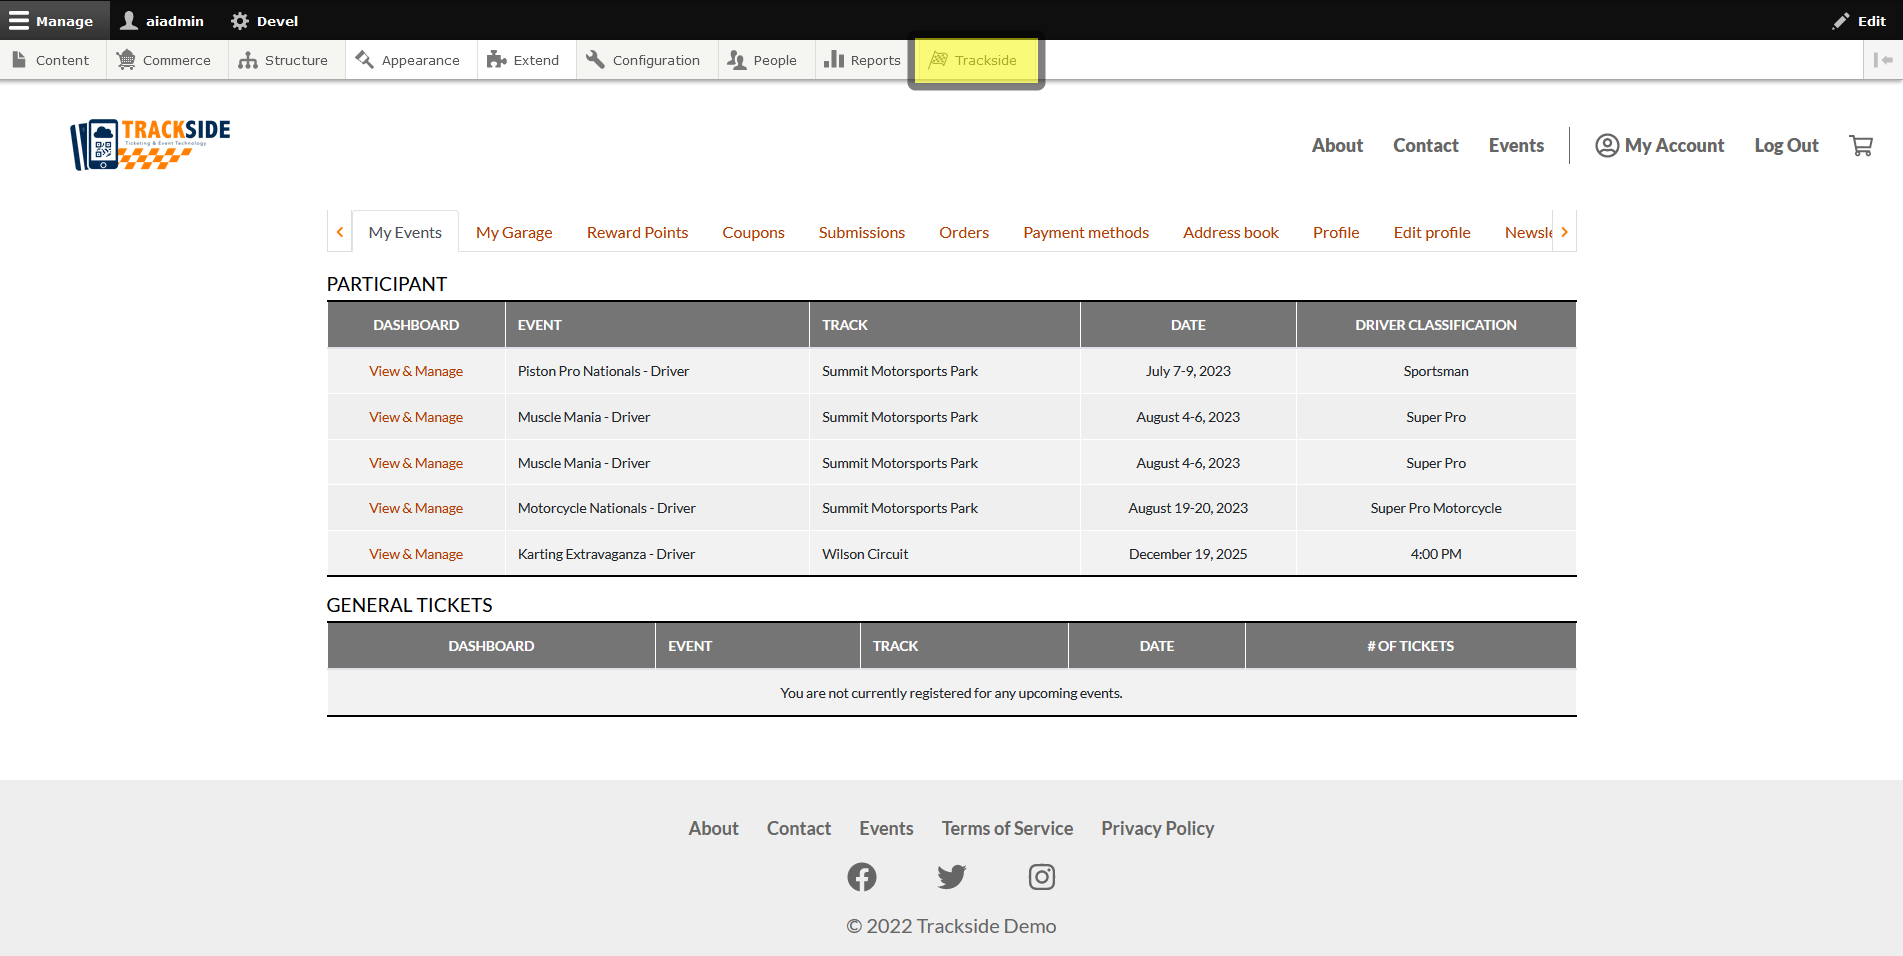
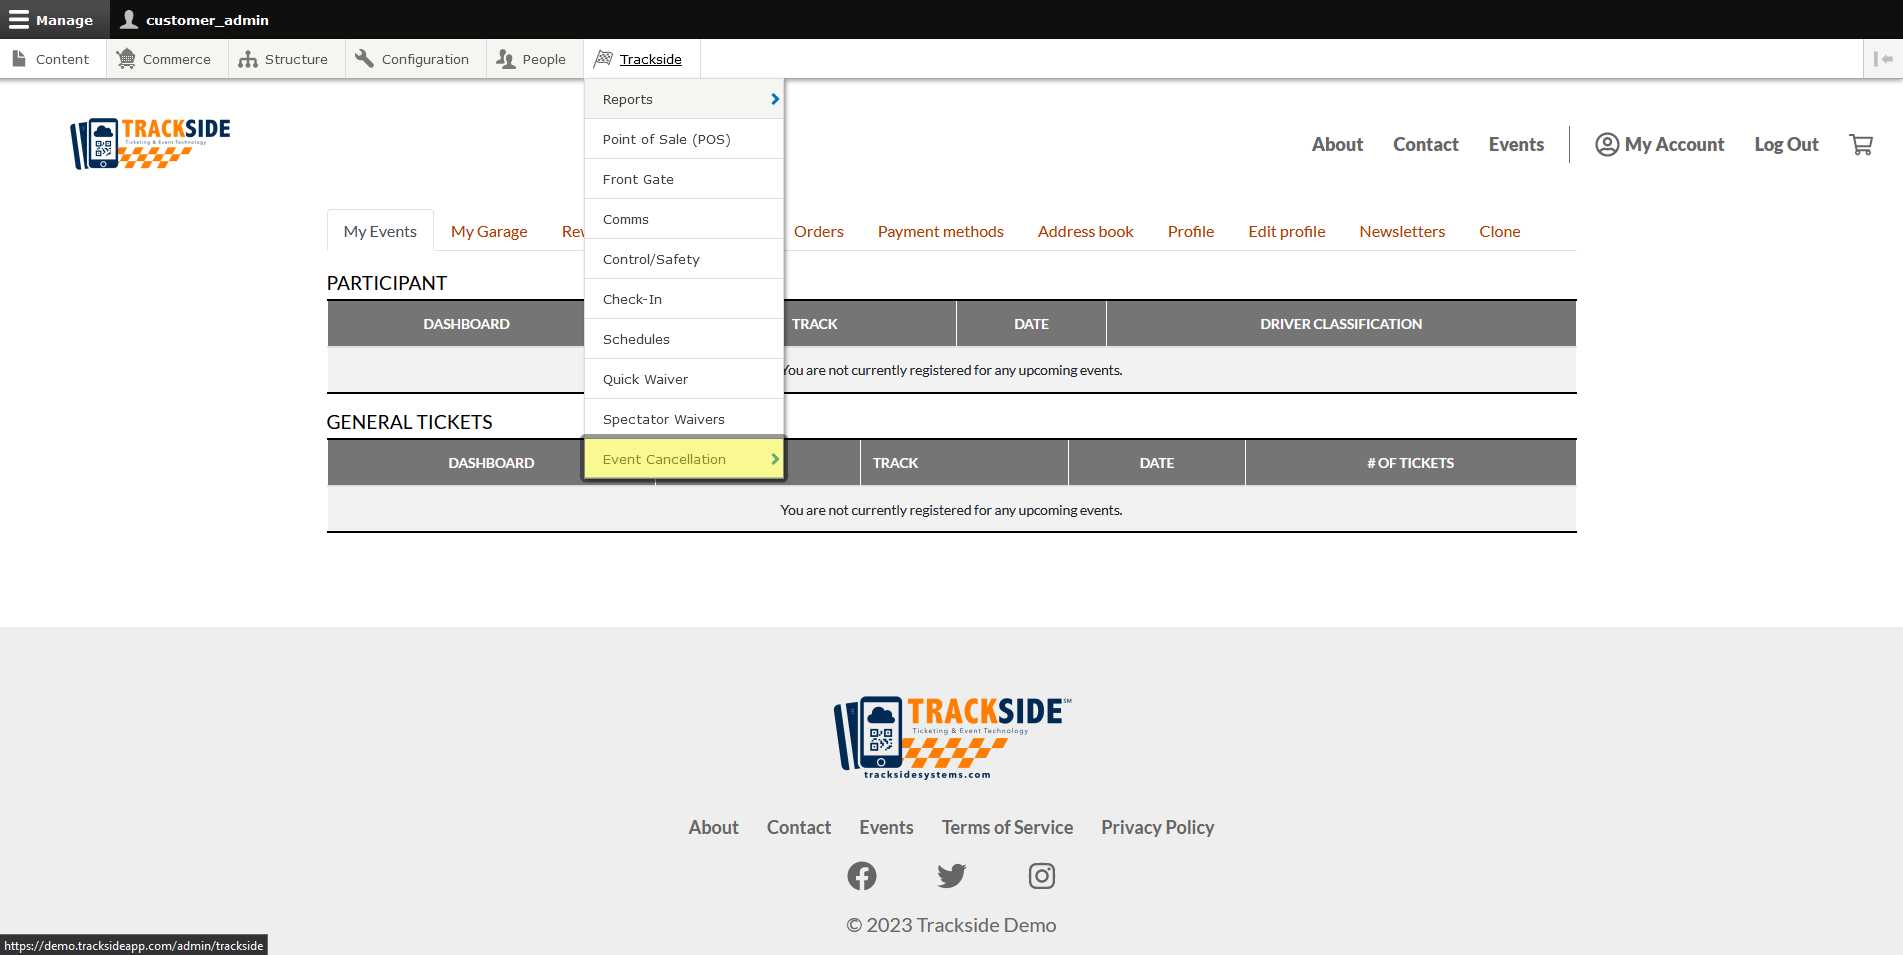
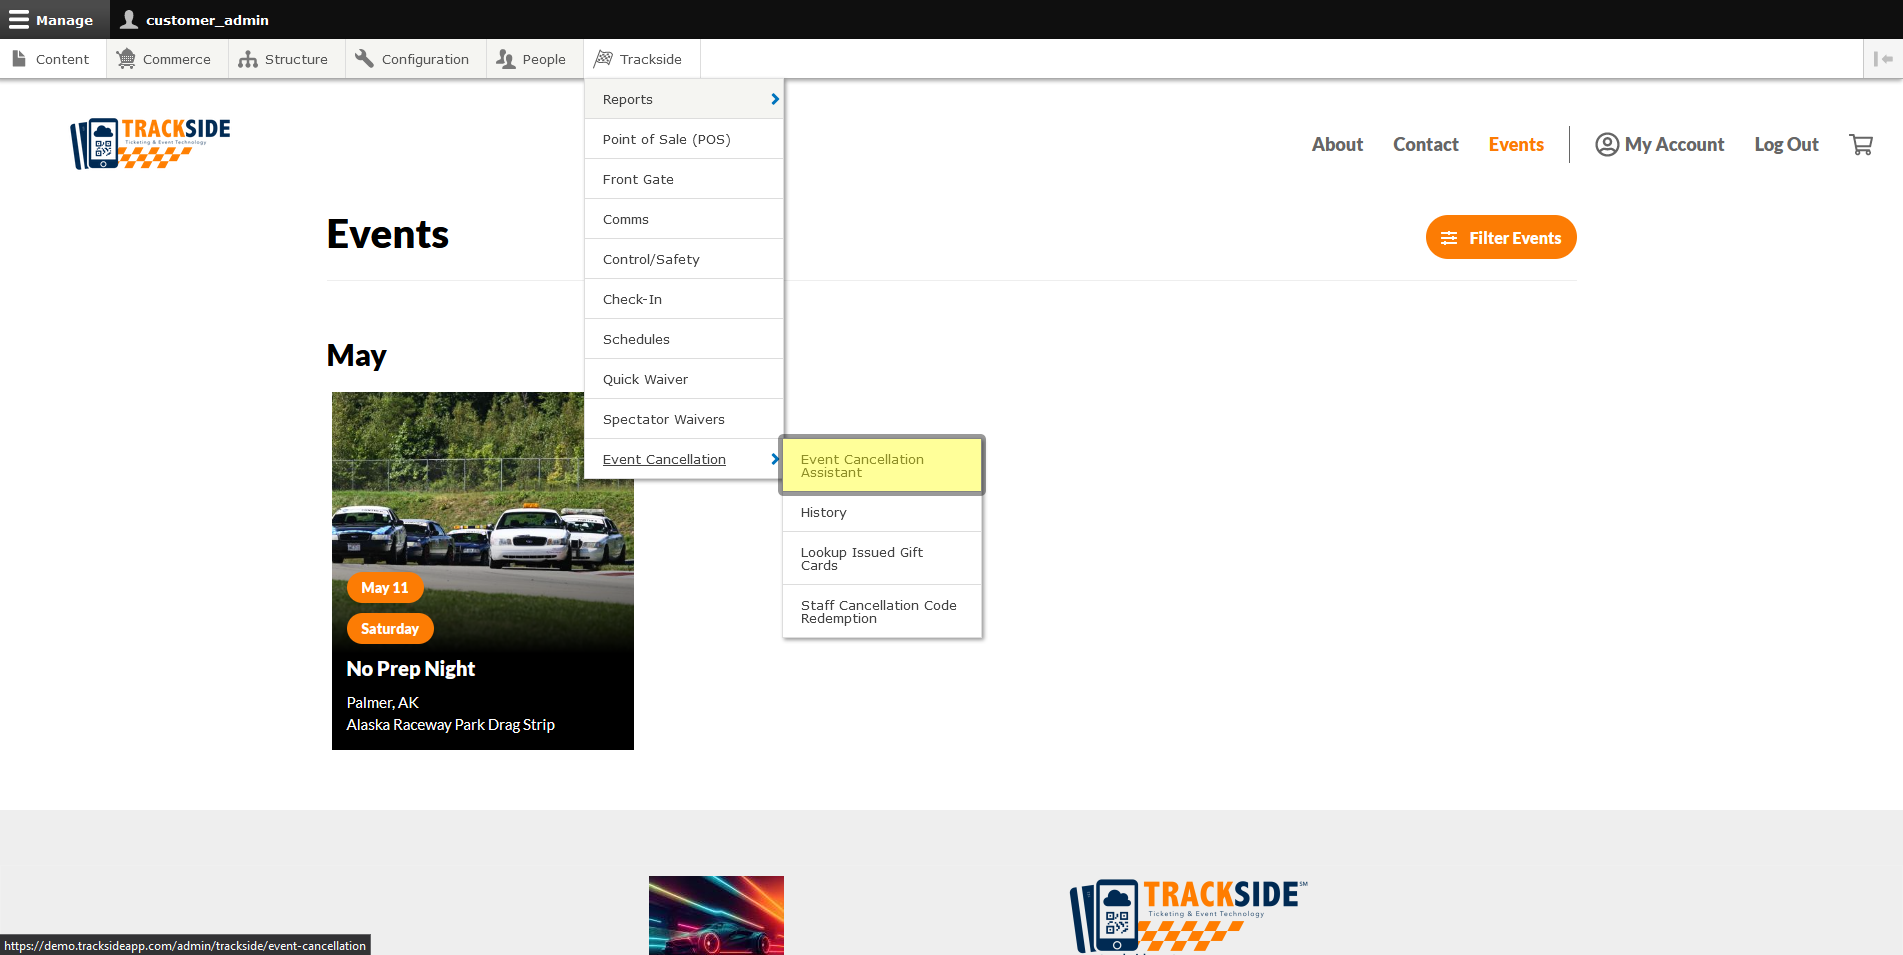
In order to process an event cancellation and begin issuing refunds, we need to navigate to the Event Cancellation Assistant. Start by logging in, then in your Management Menu, hover over Trackside.
Step 2 - Cancel Applicable Event / Class
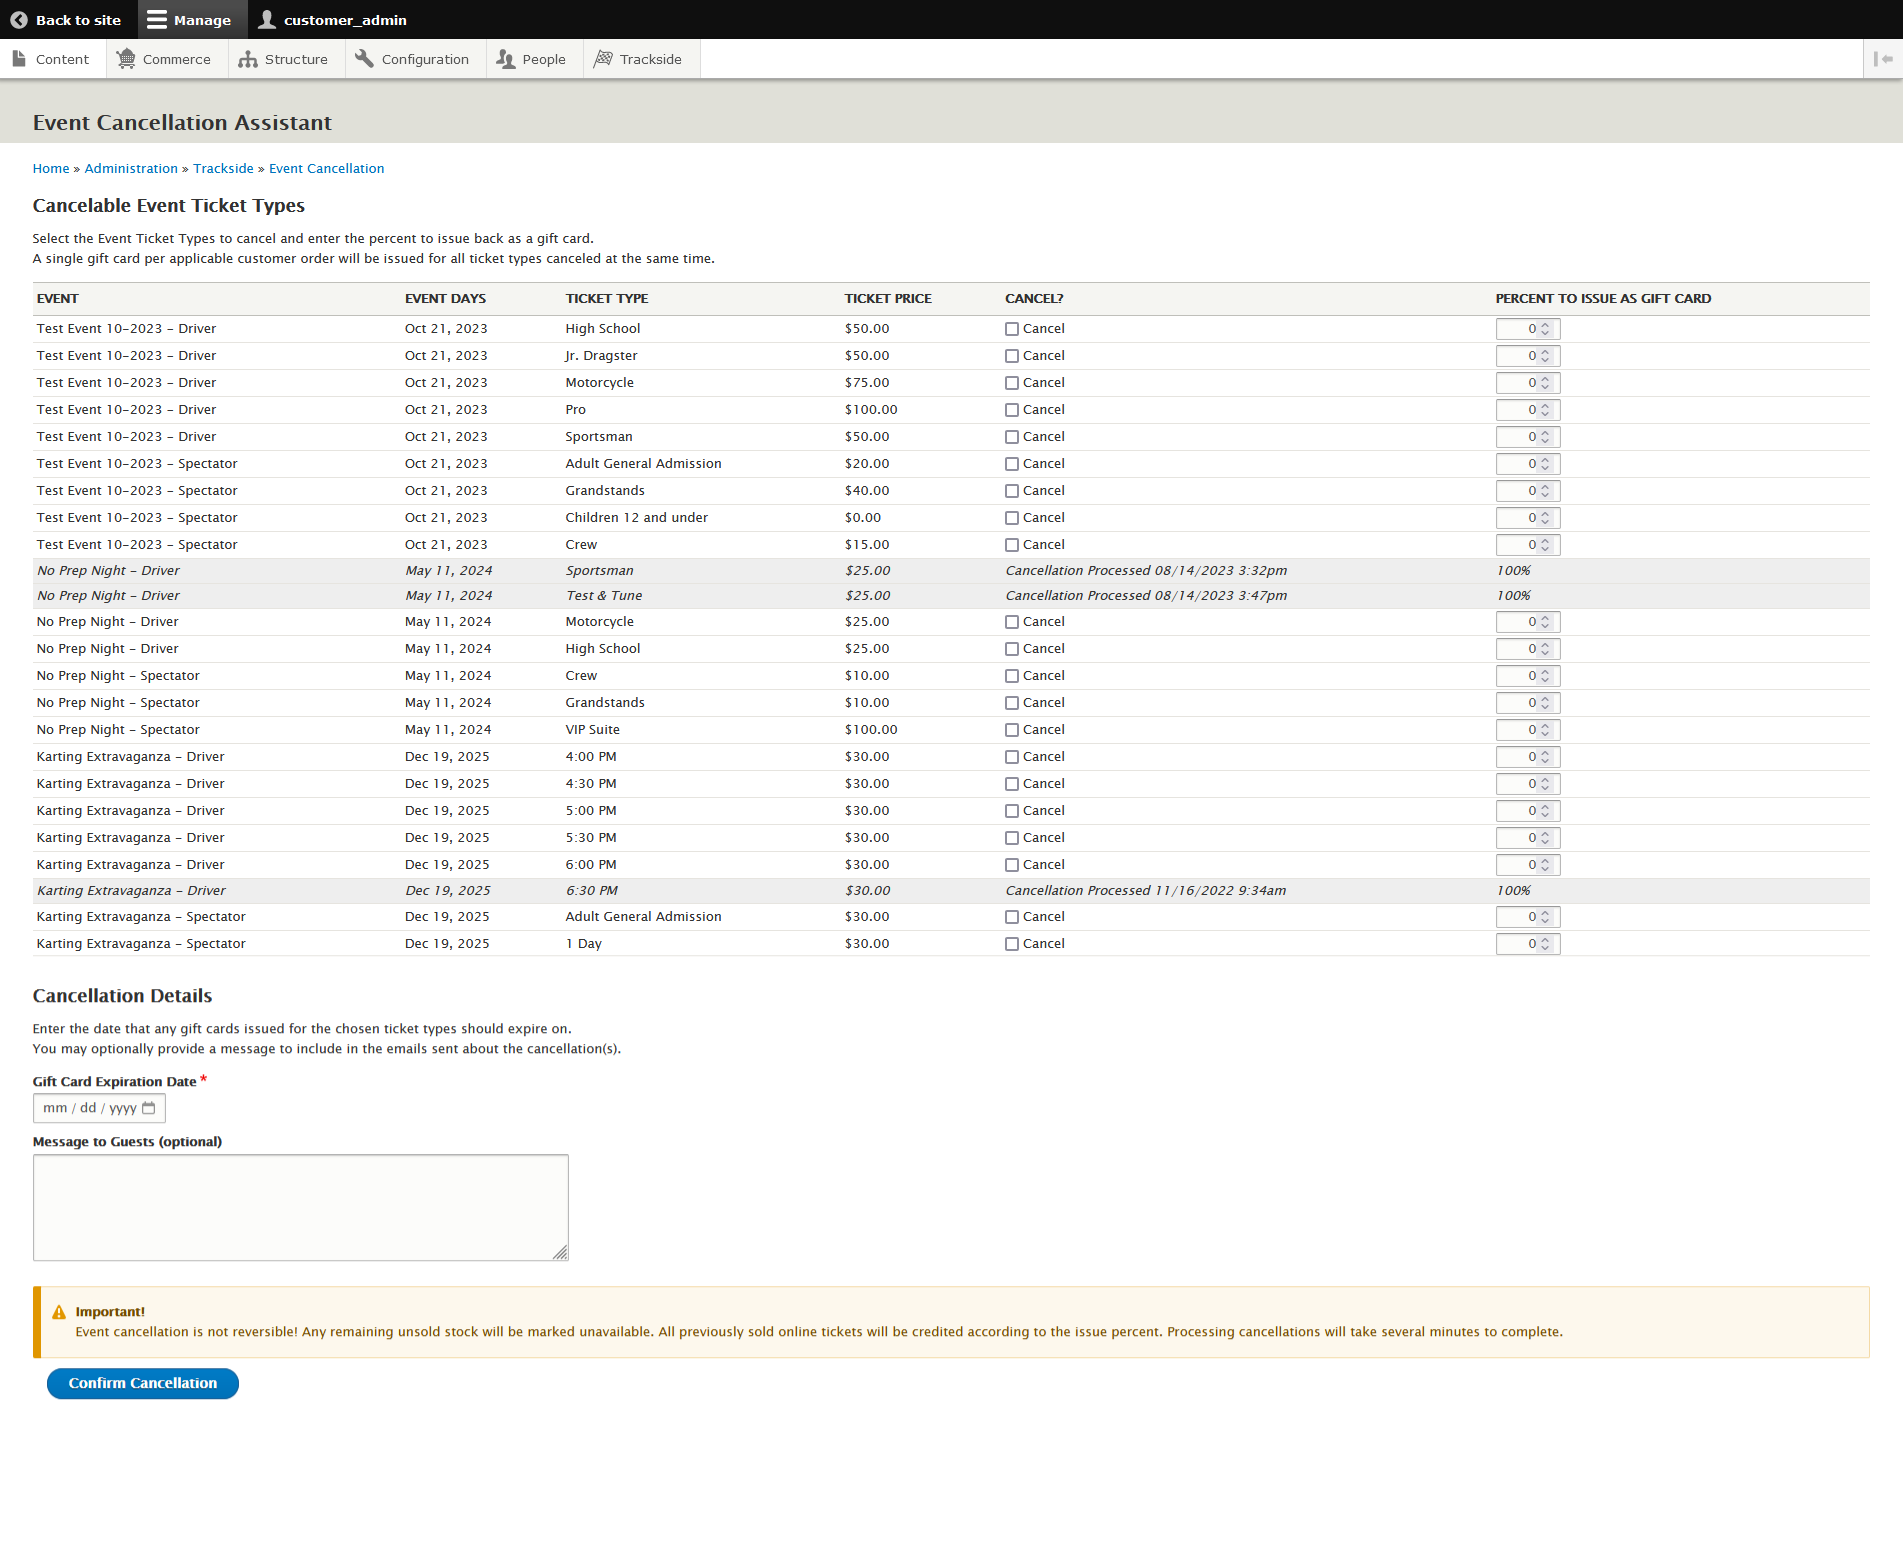
The next thing you should be looking at is the Event Cancellation Assistant.
Before we go any further, it's important to note that once you cancel a class or event, this can't be undone. Remaining ticket inventory will be reduced to 0, and any remaining unsold tickets are void. Tickets that have been sold will no longer be accepted and credits will be issued in accordance with the percentage you tell the assistant to issue.
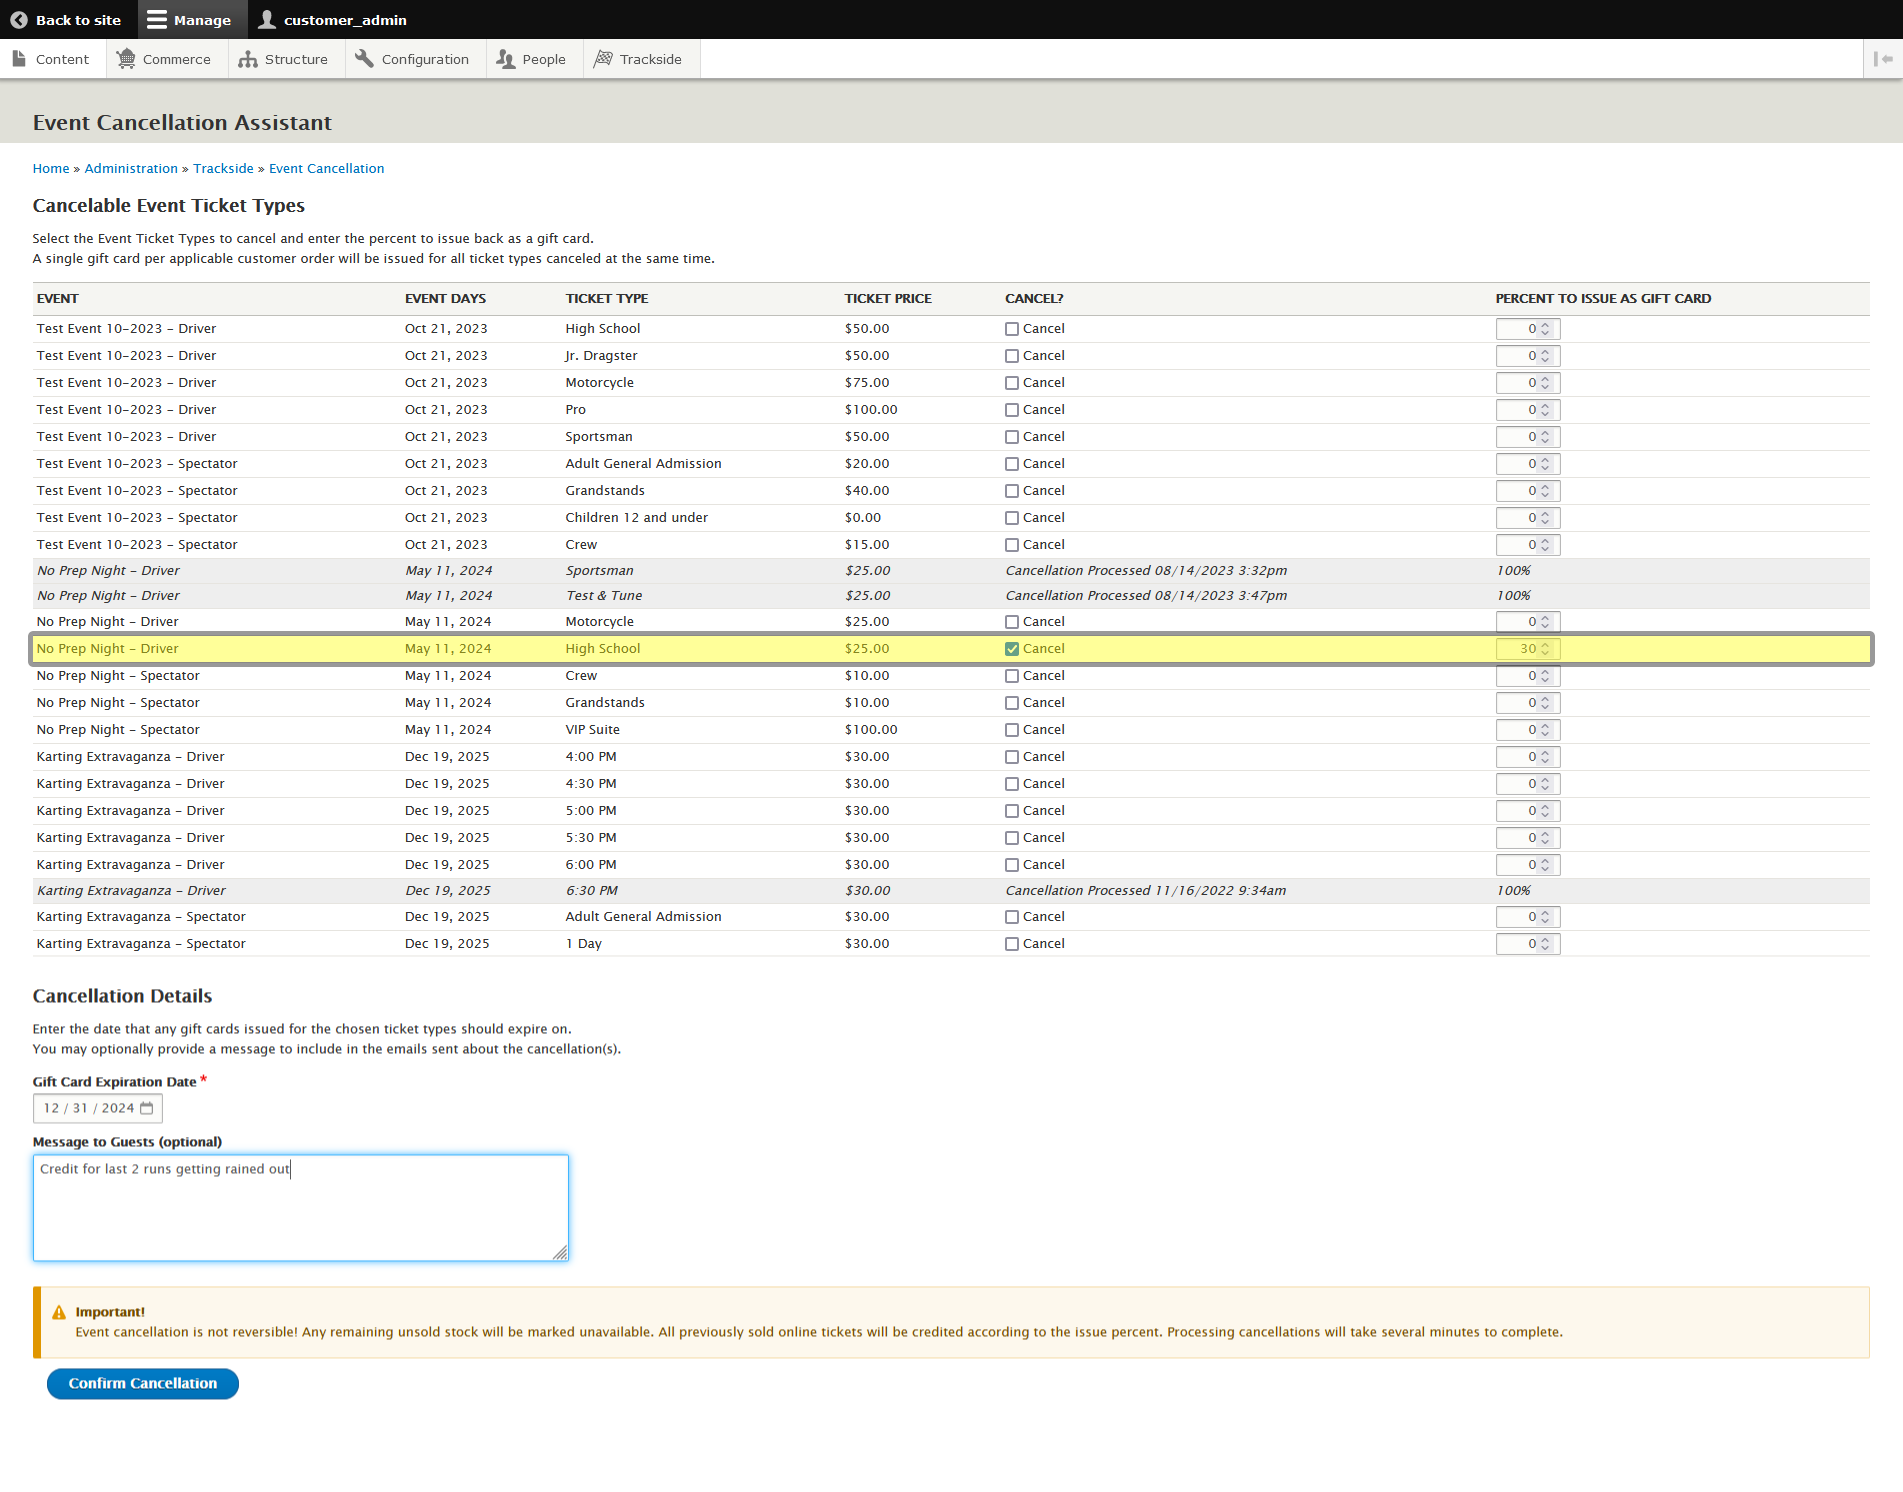
For this example, we're going to make up a scenario where the High School class for No Prep Night was expected to get 6 passes just matched up against whoever they happen to line up with, and some kid with a Honda Civic with an ebay turbo kit and an untuned engine grenades his engine, causing the last 2 passes to be lost to track cleanup. (This is the point where you point at whoever in the room would be this guy.) We're going to provide the other participants an incentive to make it back to the next event and give them a 30% credit. If you want to send a full or partial credit, this system is set up to handle either scenario. For a full credit, you'd just input 100%. You can also check multiple classes at a time if you're cancelling more than one class or an entire event. For our scenario, there will absolutely be at least that one grumpy guy who's upset he didn't get his other 3.33%, but he'll be alright.
In order to issue the mass cancellation and send credits that the customers will still have to redeem toward a future event, begin by finding the line with the class(es) you need to enter the credit for, enter the % you will credit, and click the Cancel check box in that line.
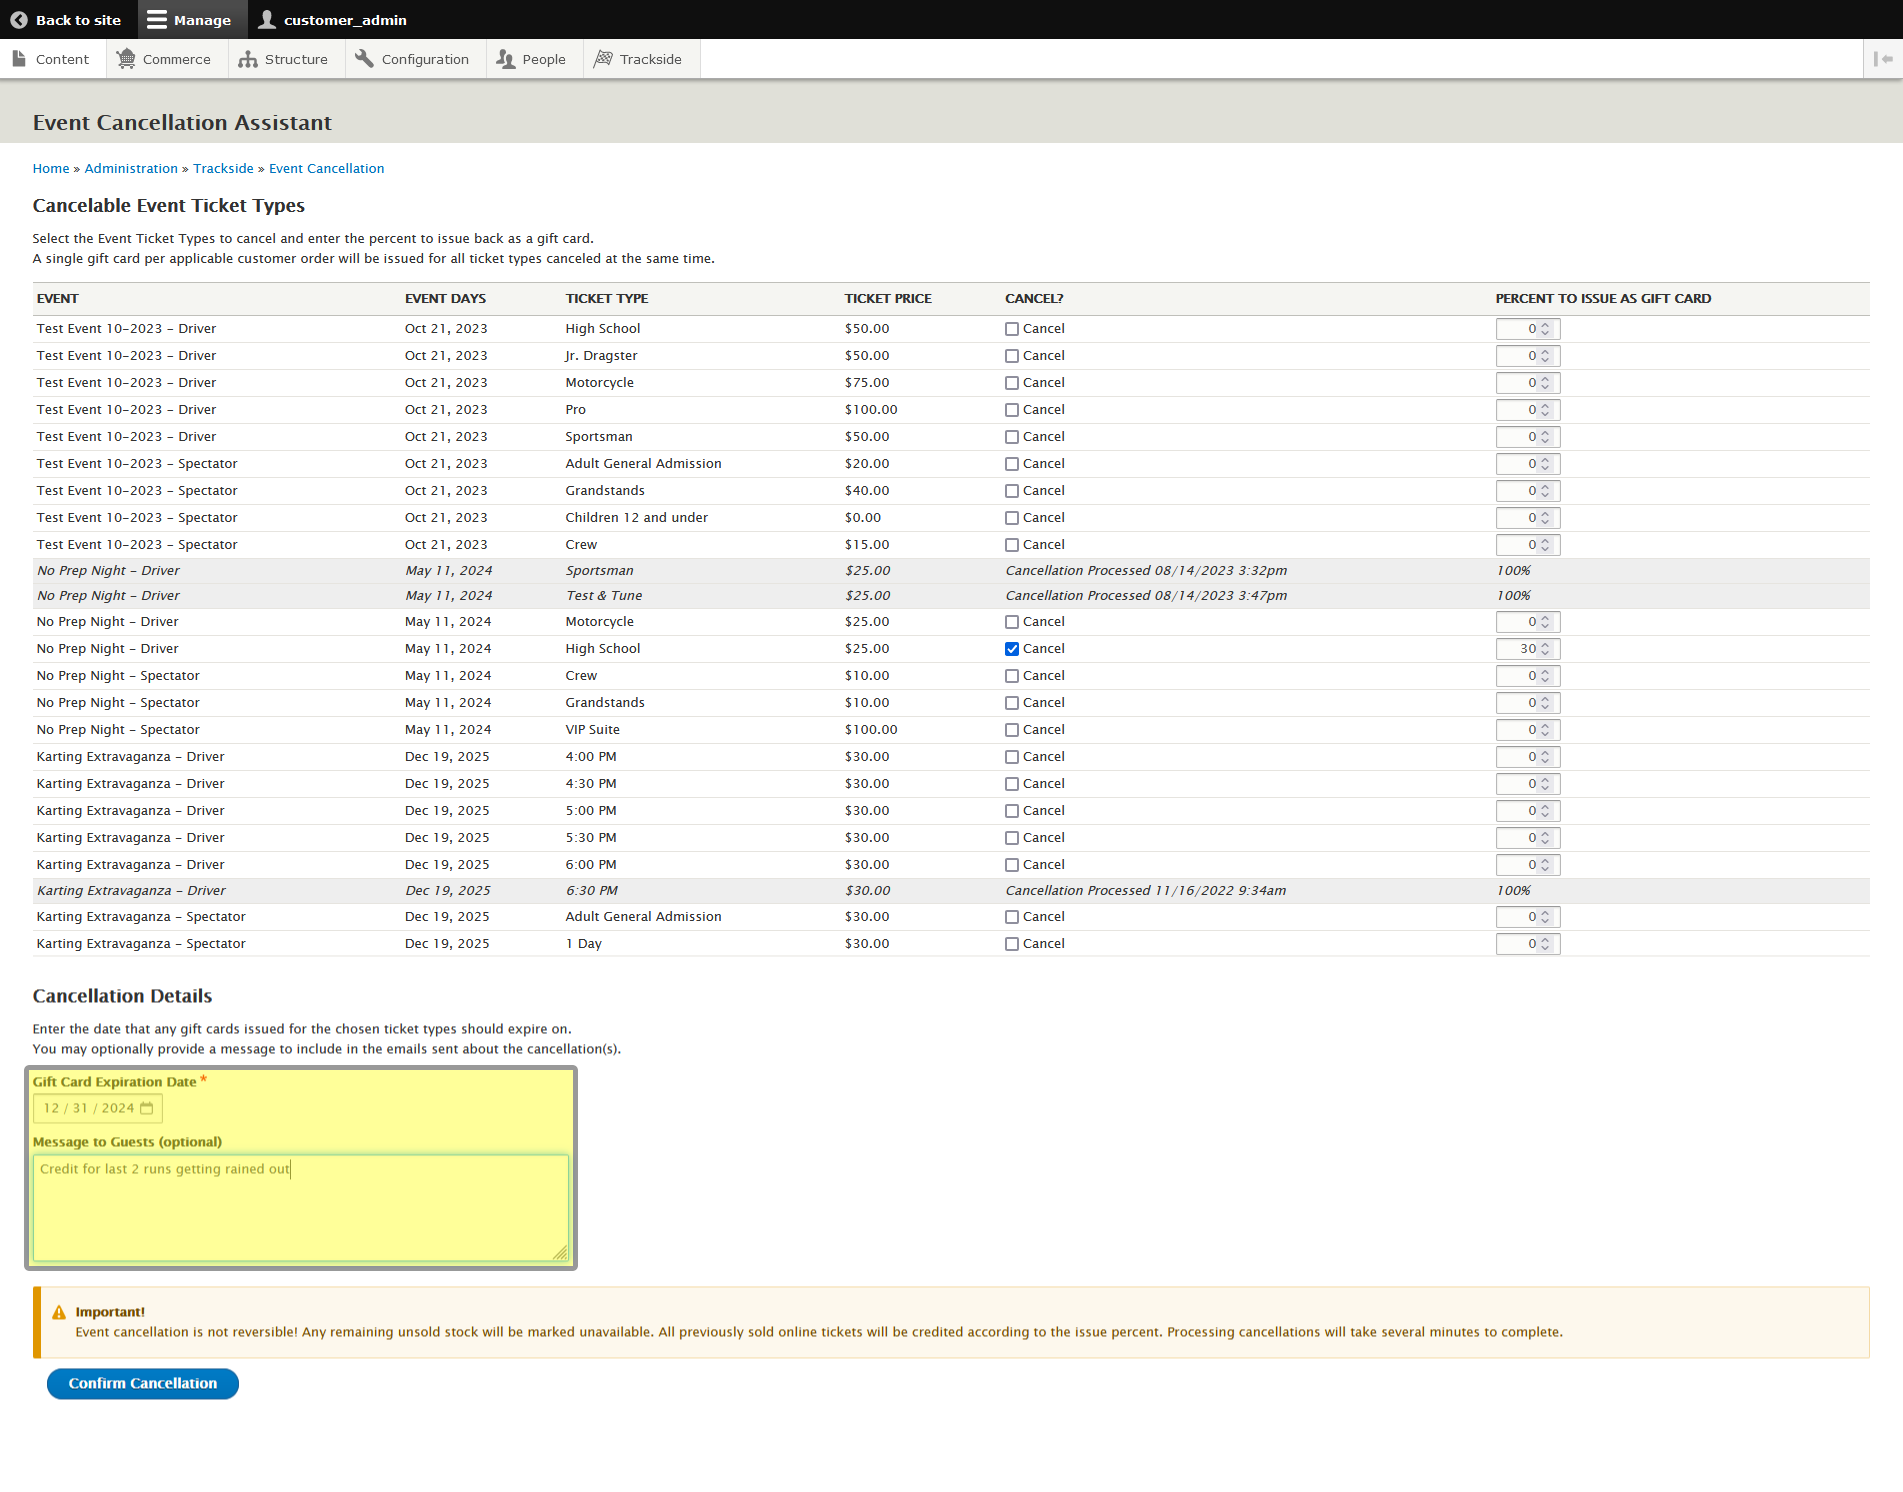
Next, you'll put in the expiration date for the credits. For this example, it's still early in the season for northern folk, so we're giving them to the end of the year to redeem the credit. The message below the expiration date is optional. You can leave an explanation of what the credit is for if you would like.
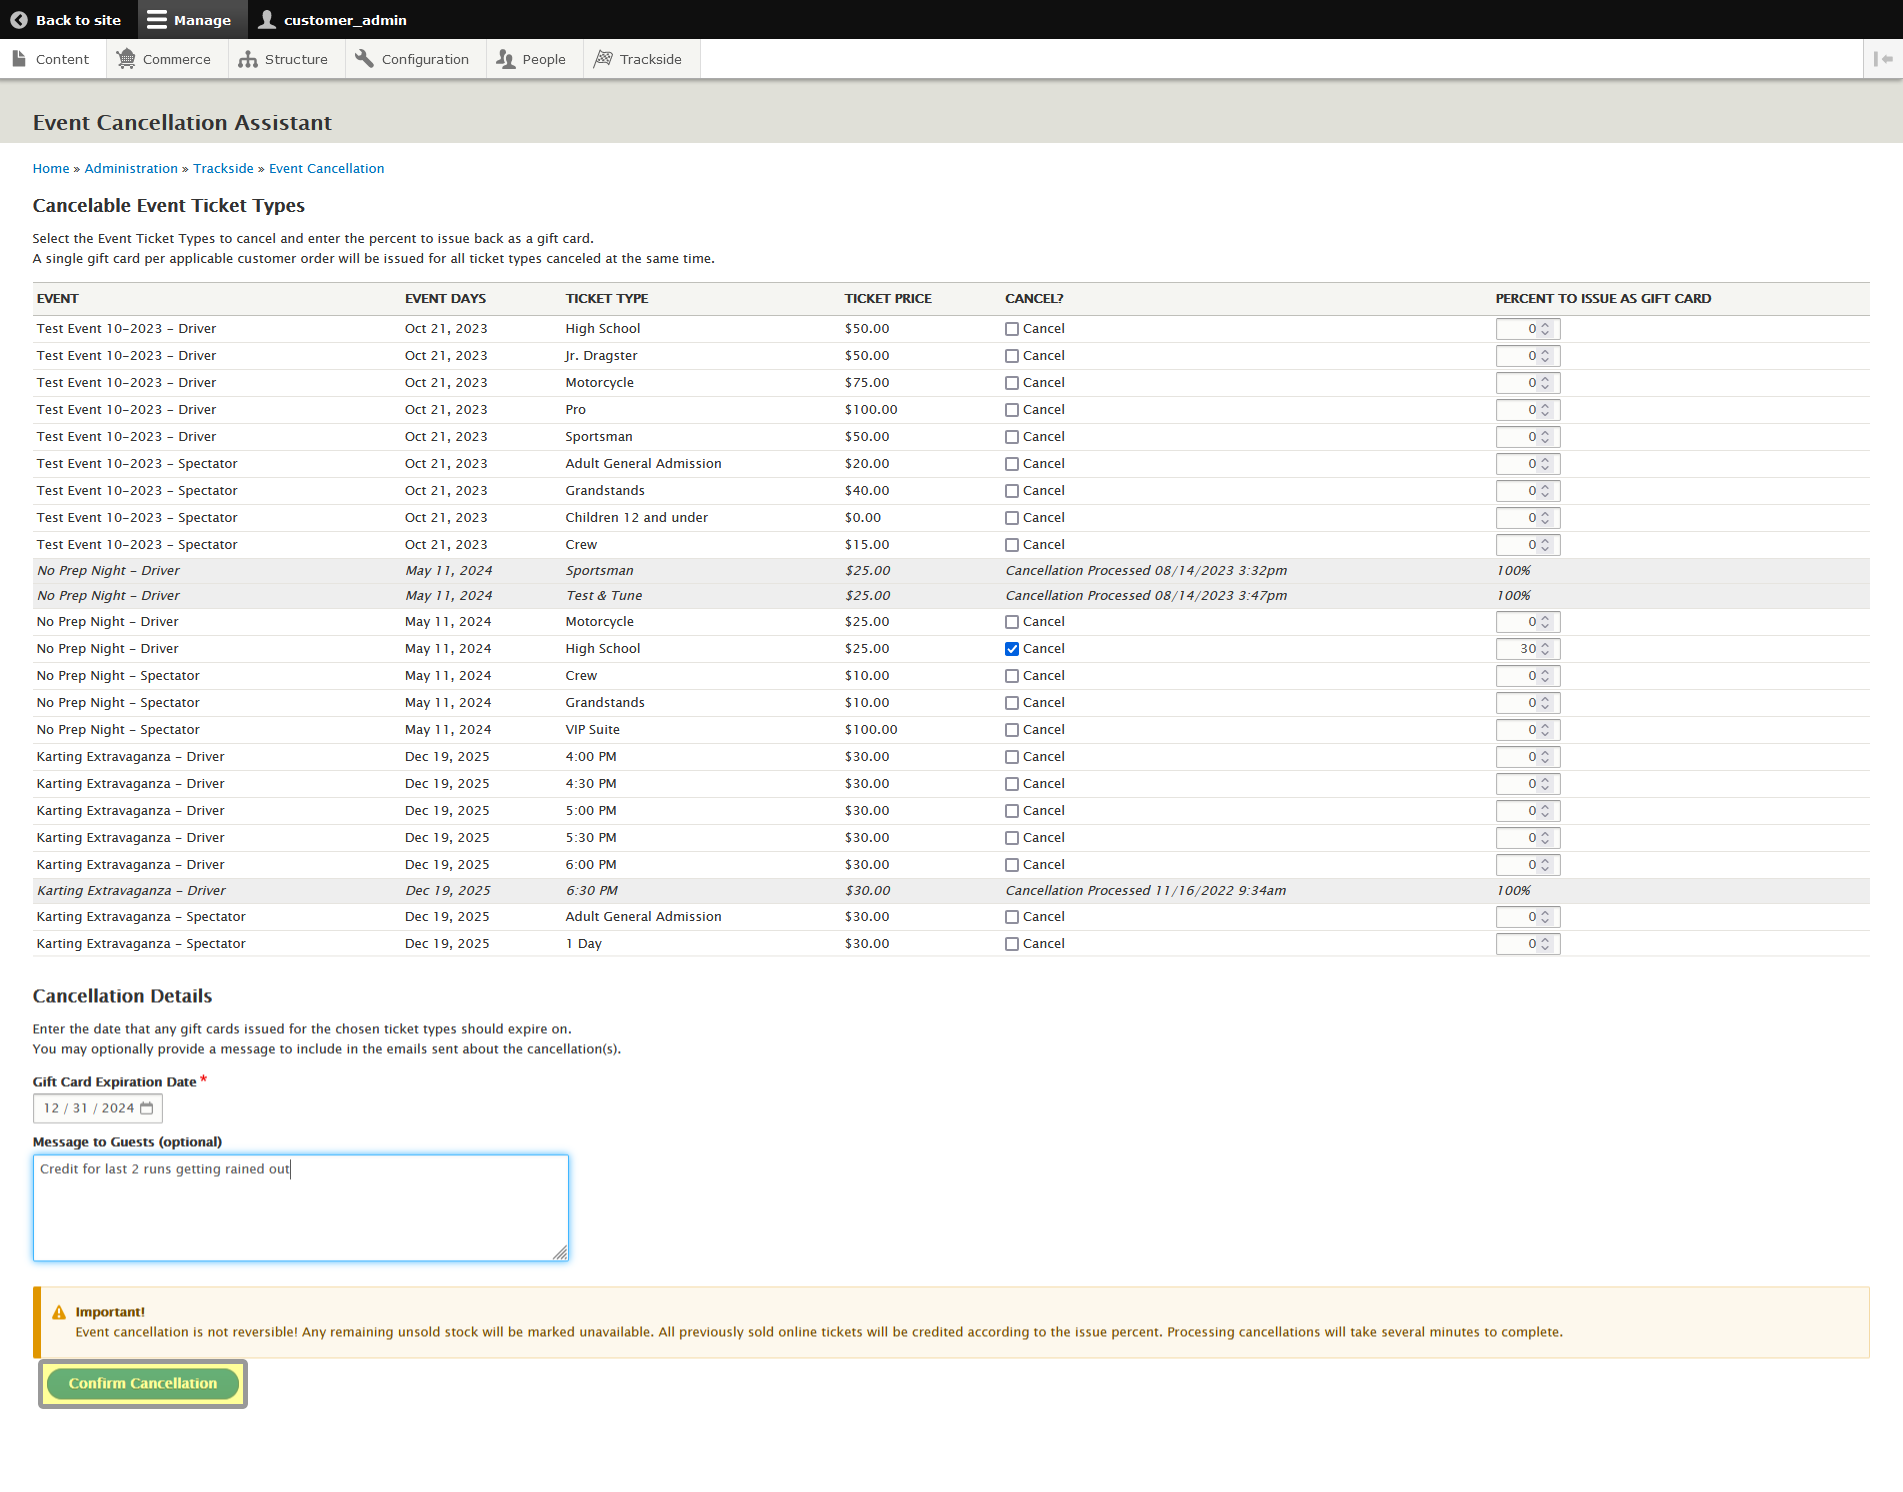
Once you have everything entered, you can click Confirm Cancellation at the bottom. You'll get a confirmation pop up in your browser asking you to confirm you're ok with the cancellation. Click Yes to continue.
What Happens Next
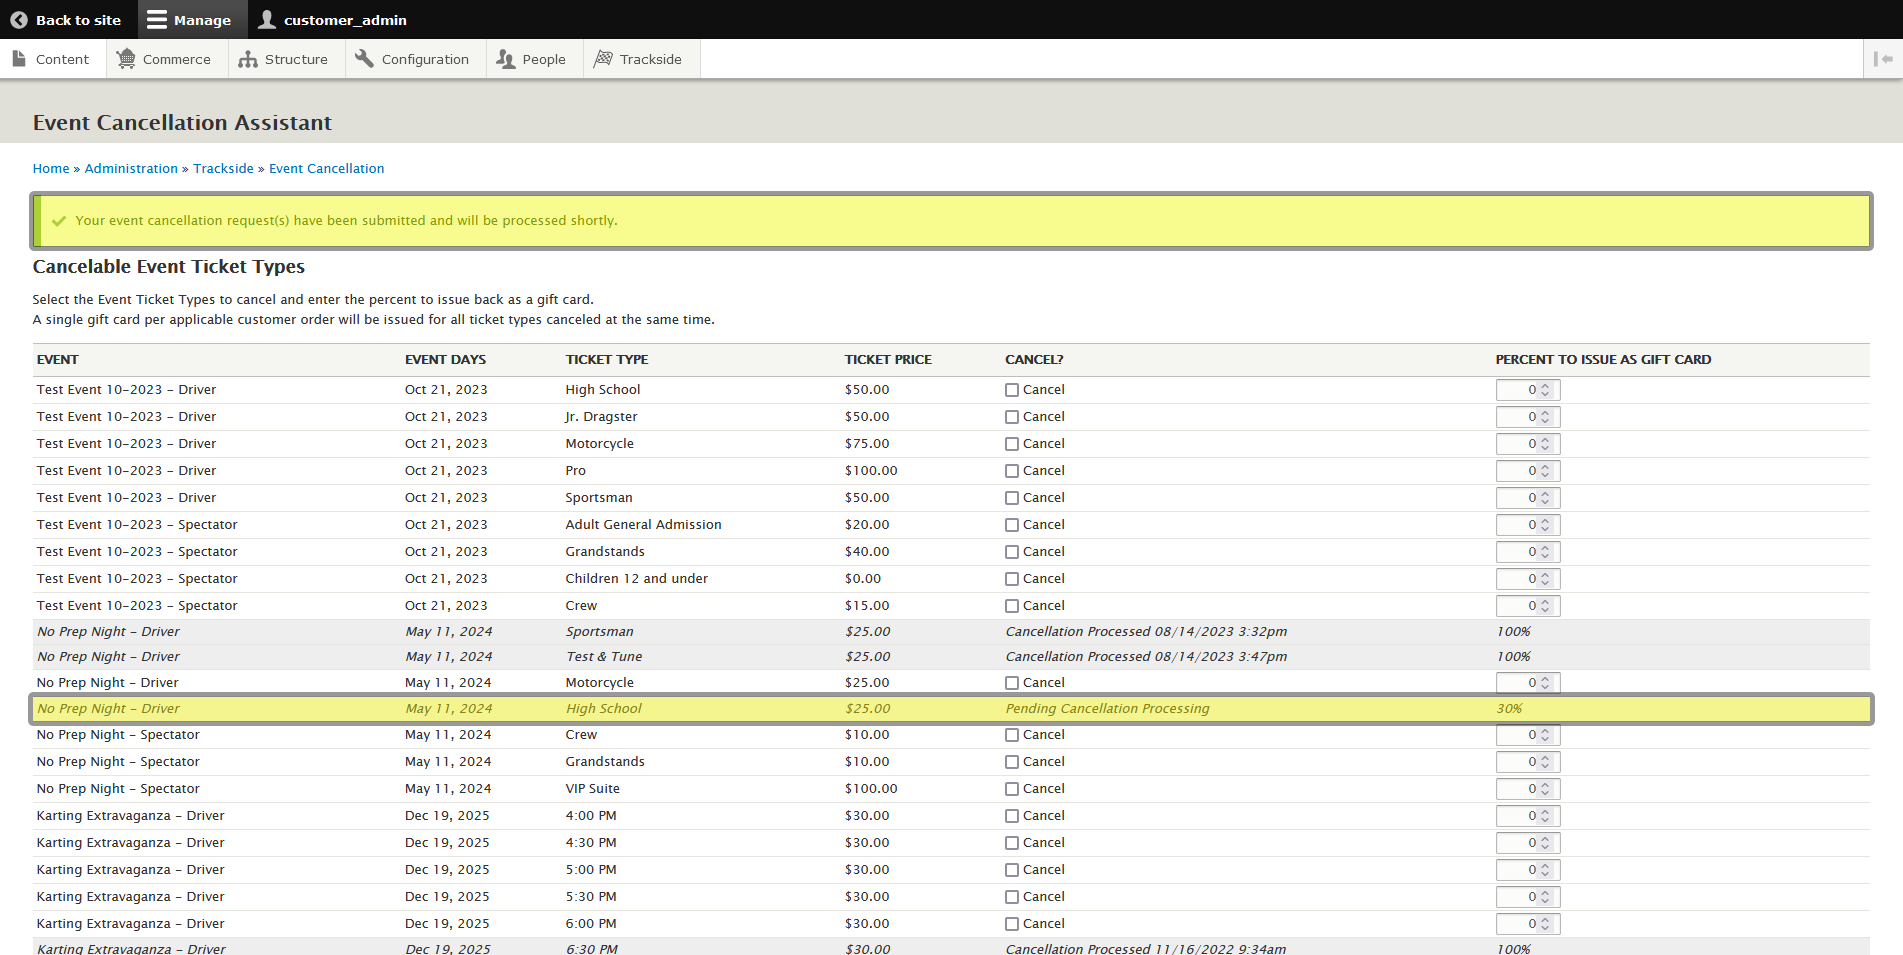
You should be returned back to the Event Cancellation Assistant. Across the top of the page, you'll see a confirmation, along with text in the Cancel check box column telling you there is a pending cancellation that is processing.
This is the next thing we need to note. This process isn't instantaneous. It does take some time to compete. This is perfectly normal. Your cancellation will show as Cancellation Processed shortly.
This will send an email to the cancelled ticket holders with a notification of the cancellation and a code to redeem their credit. Those processes will be covered in Cancellation Code Redemption.