
Setting up Registers and Register Groups
Setting Up Register Groups
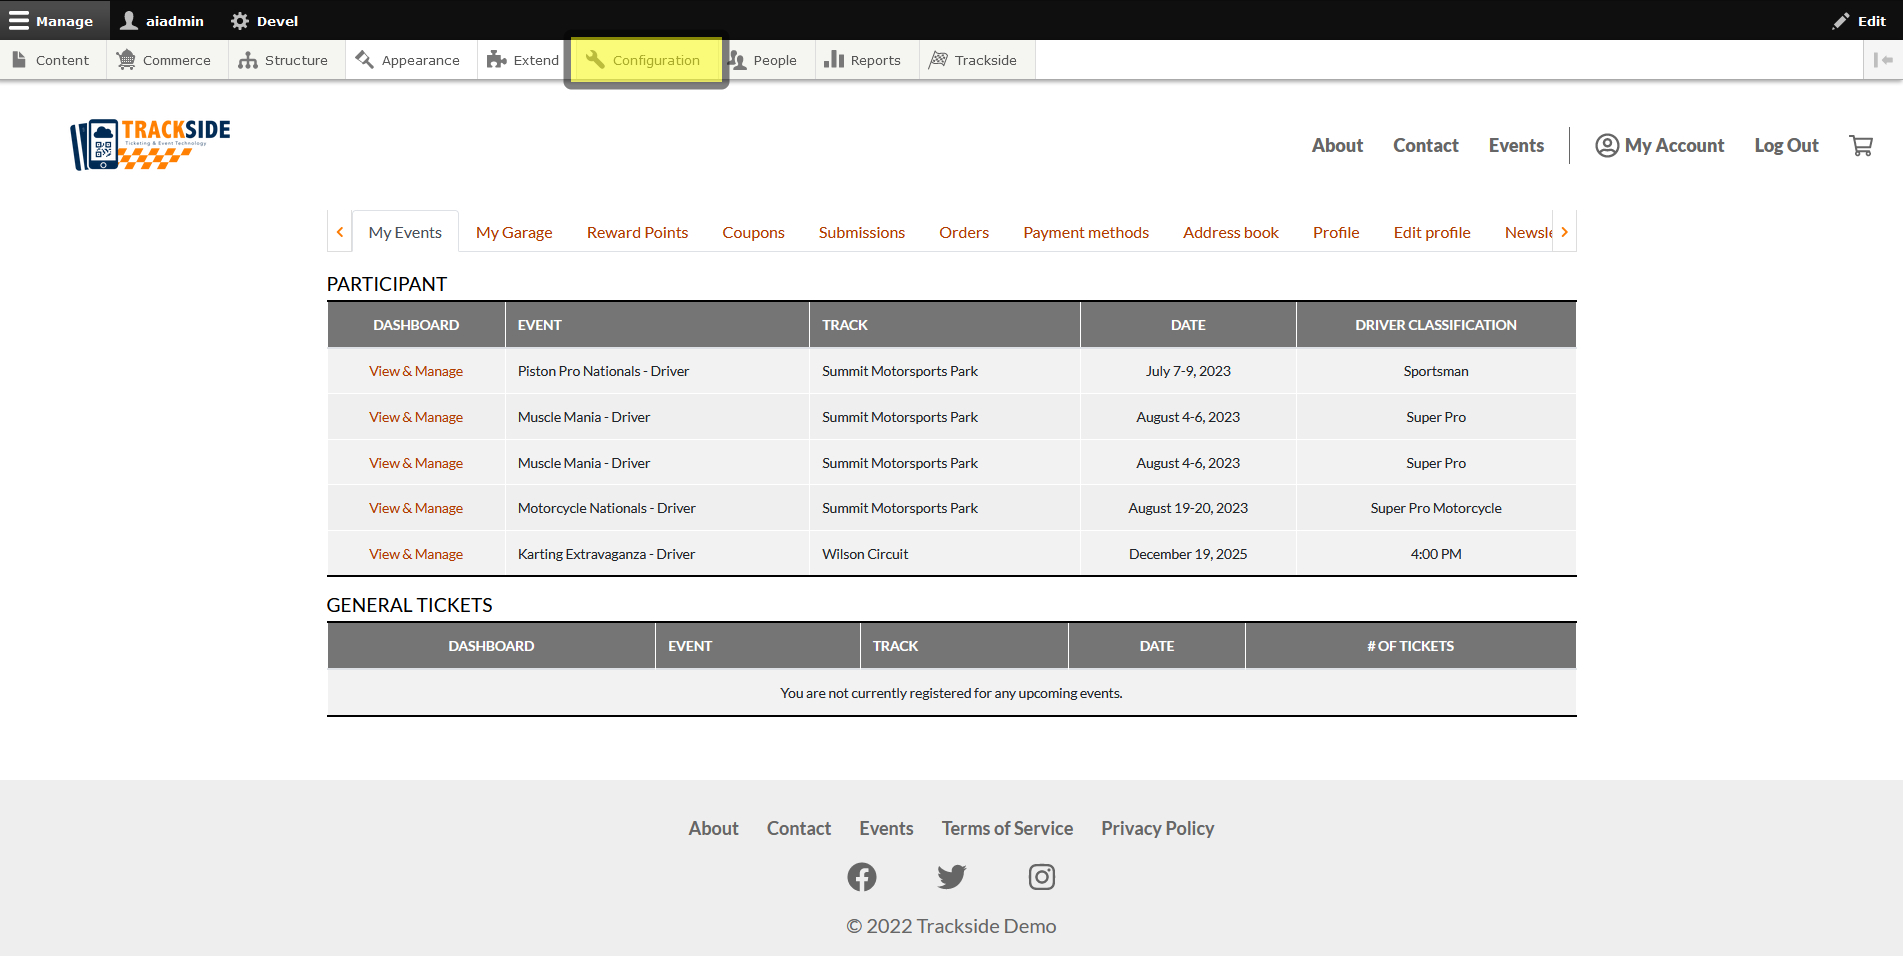
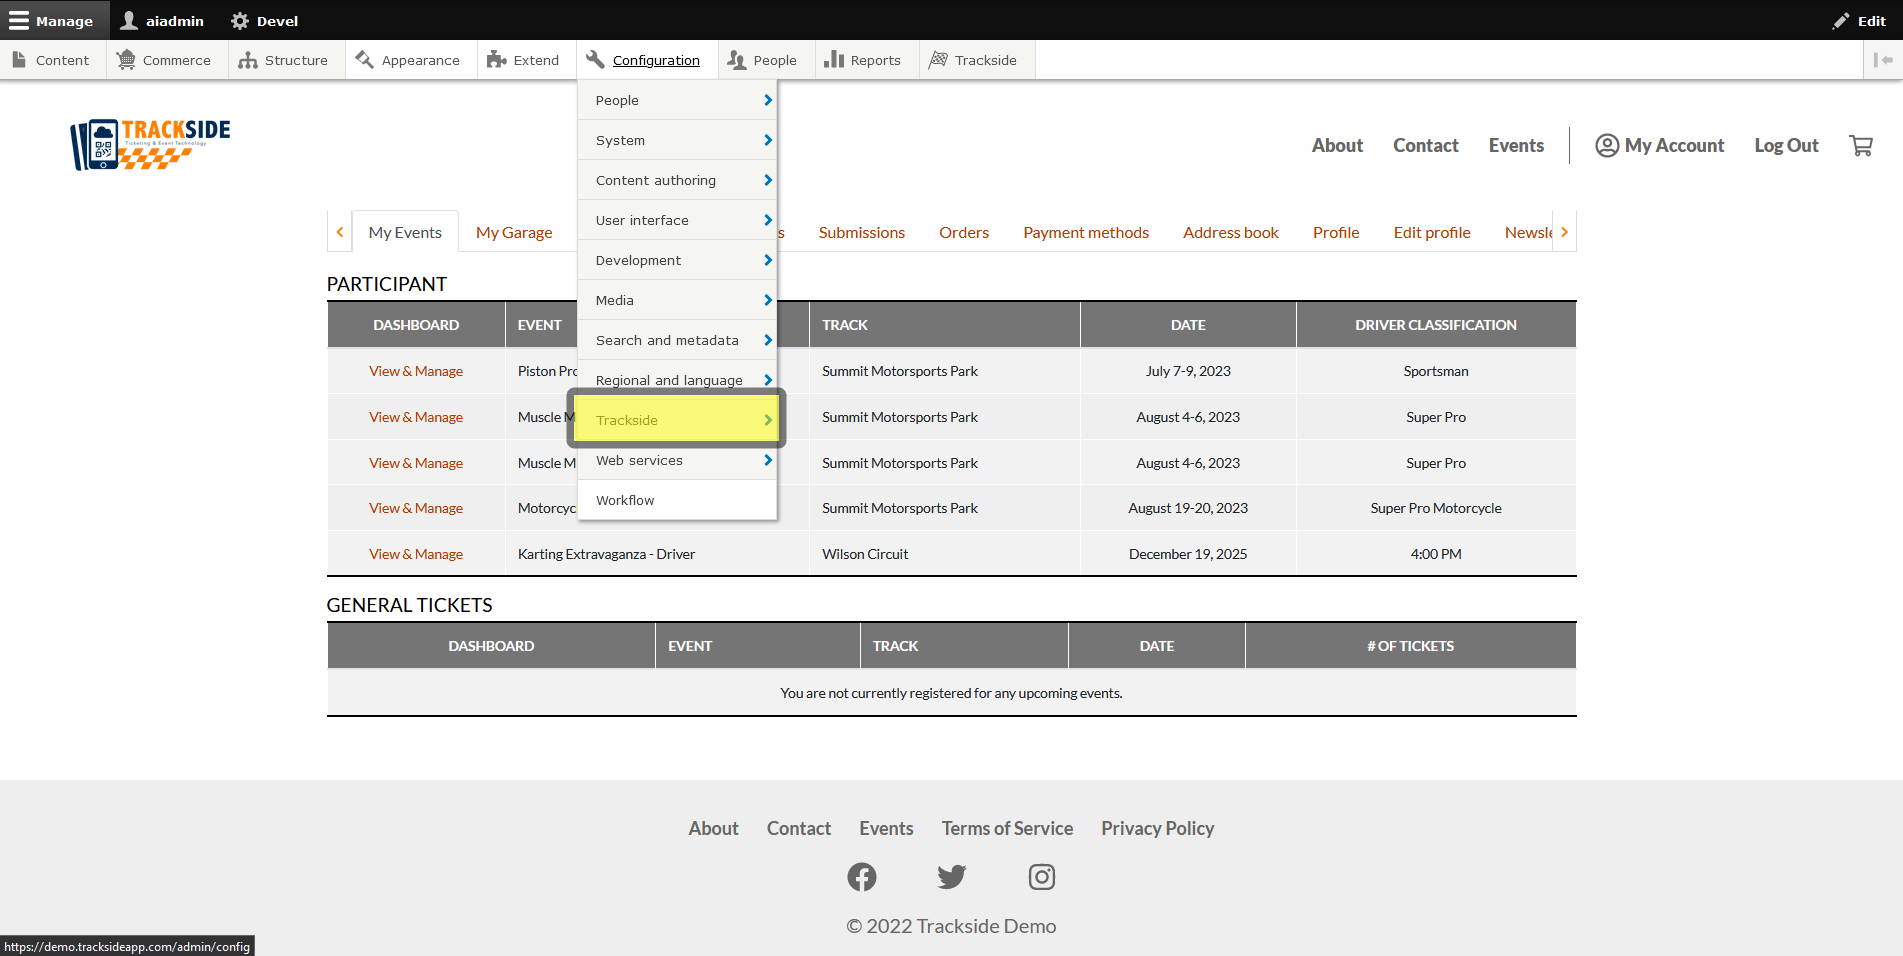
Step 1 - Navigate to Register Groups
Once logged in, we will navigate to Register Groups by hovering through the menu structure as follows: (Hover) Configuration > (Hover) Trackside > (Hover) Point of Sale (POS) > (Click) Register Groups. As a reminder, if needed, you may also click each step and it will take you to a separate screen where you may then also click the next step.


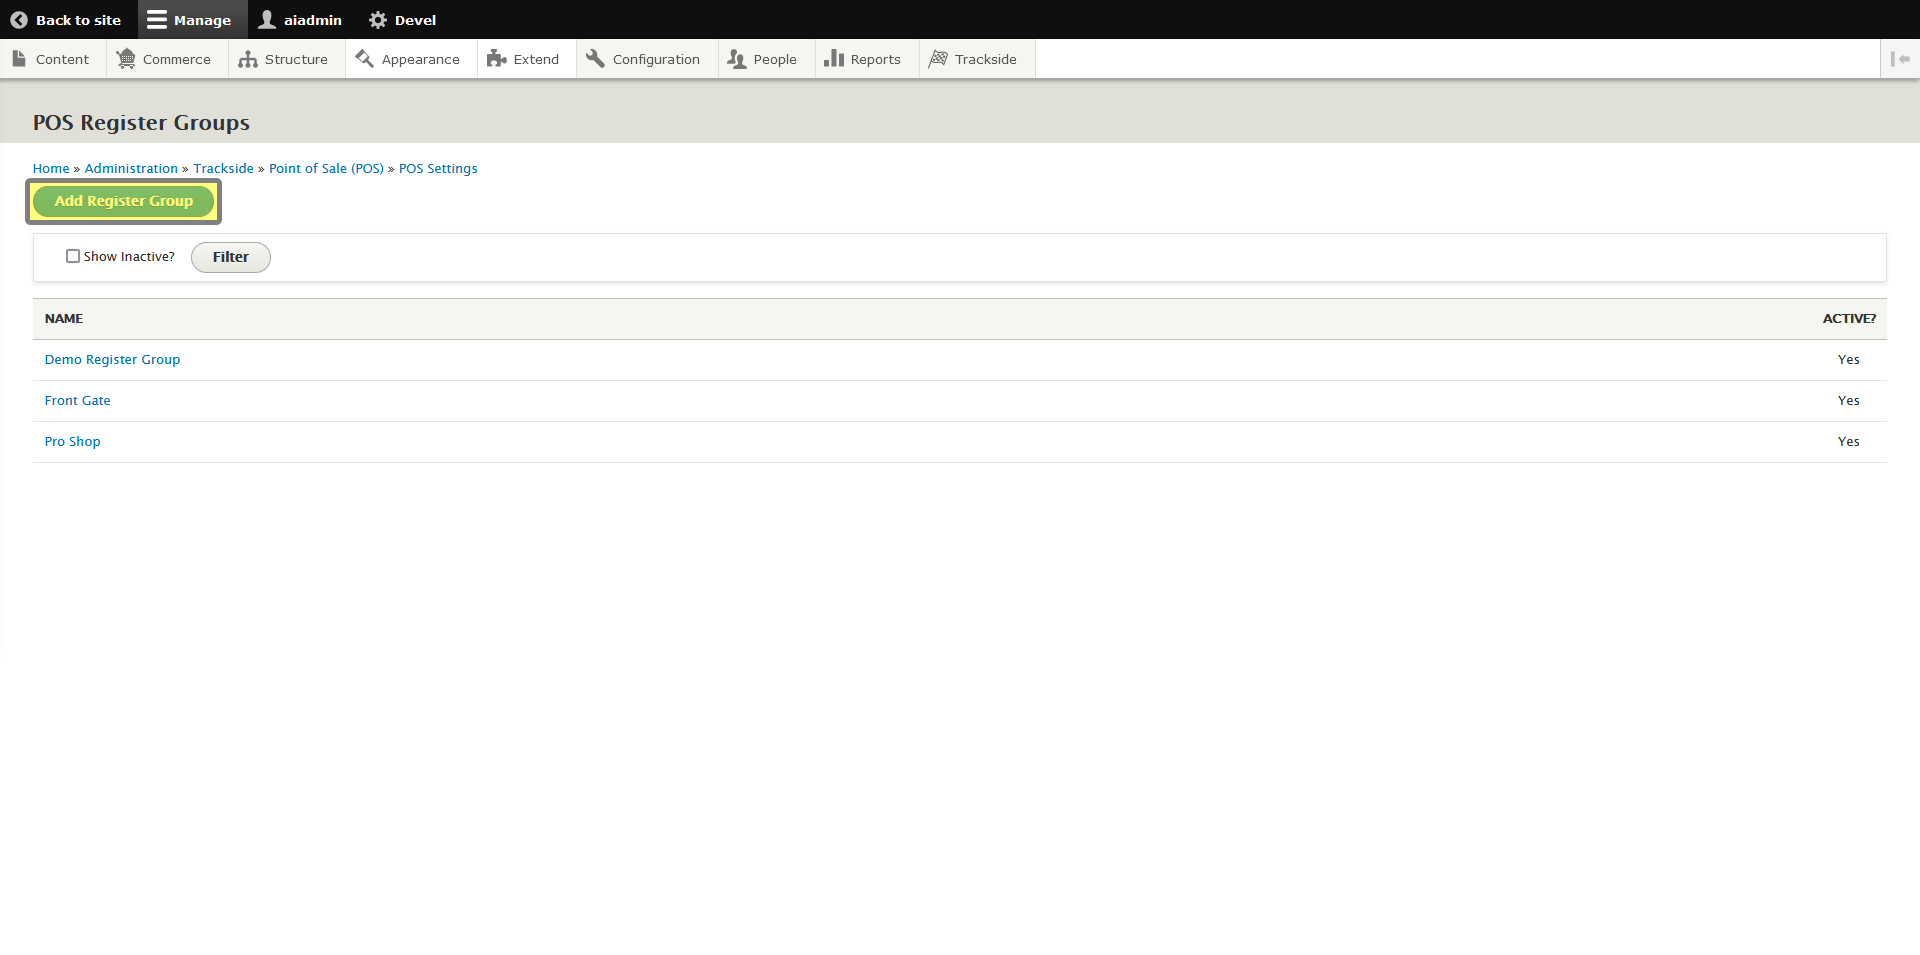
Step 2 - Click Add Register Group
If you need to edit an existing Register Group, you will do so by clicking the name of the Register Group.
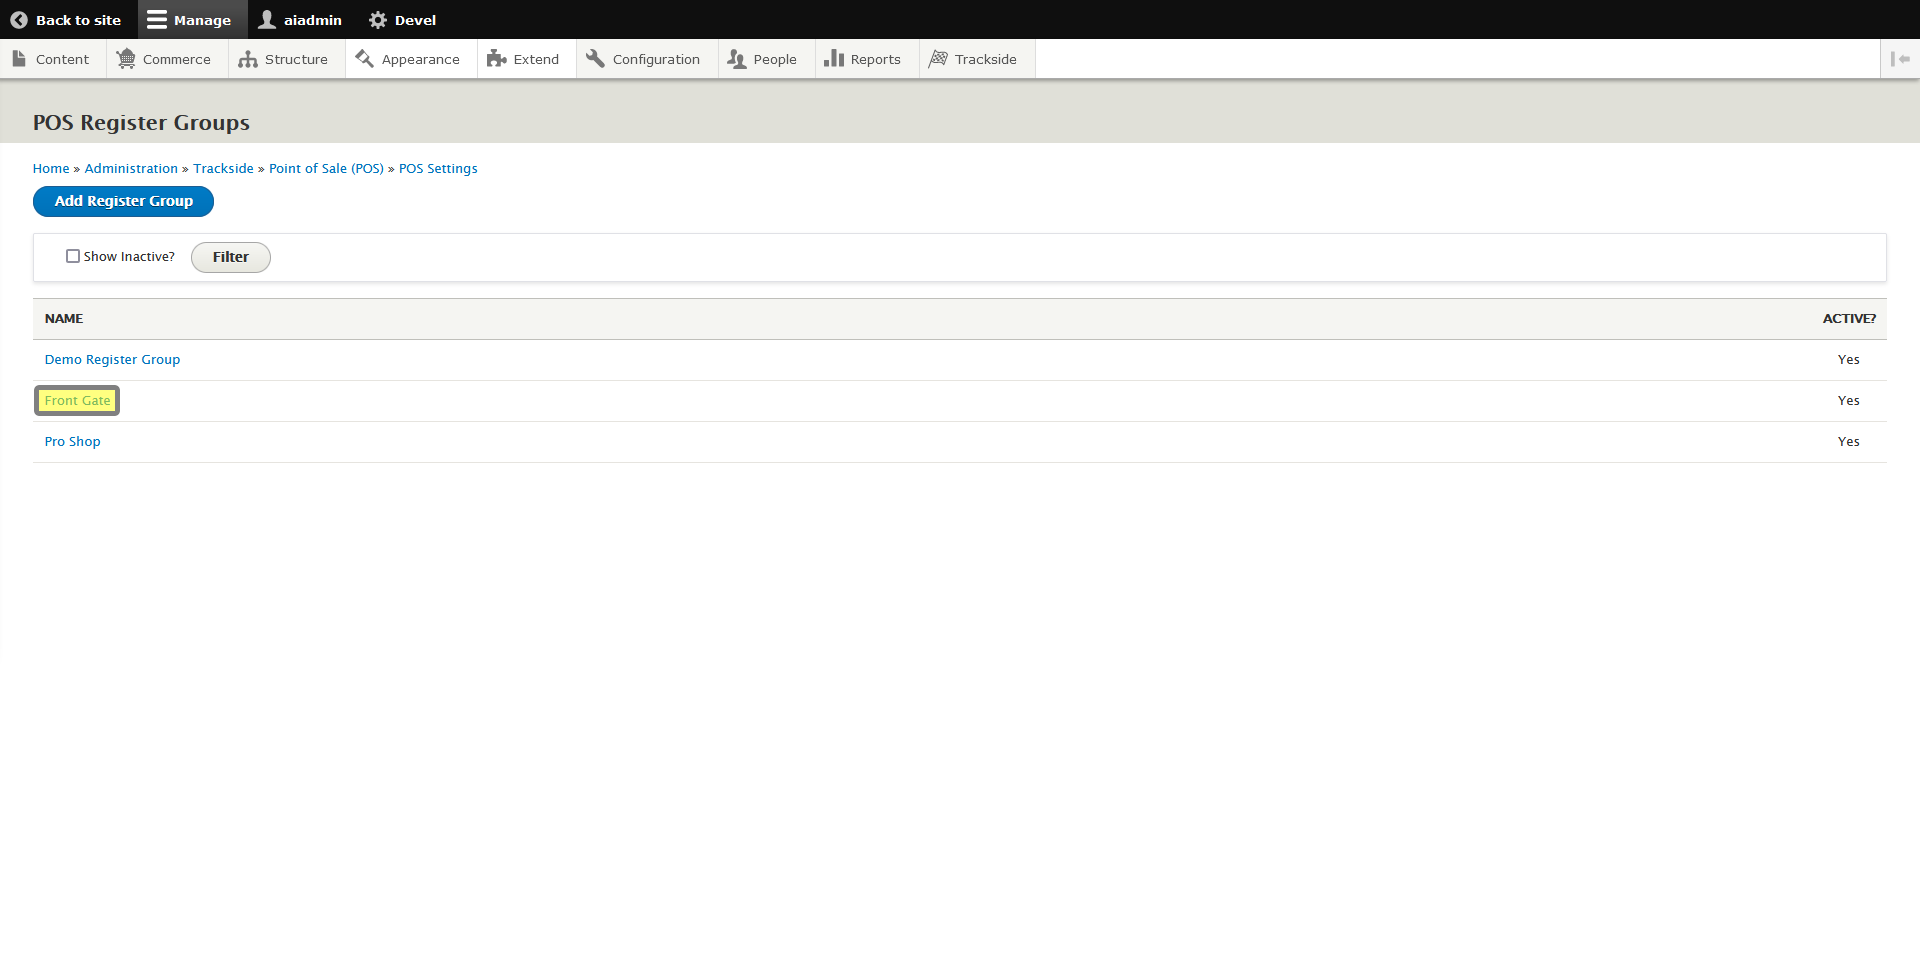
We're going to create a new Register Group for this example, so we'll click Add Register Group instead.
Step 3 - Complete Form for New Register Group
The form for creating a new Register Group is really simple. Enter a name for your new Register Group, and then select if you want this to be an active group by checking the box or leaving it unchecked, If your group is inactive, you will not be able to add Registers to it, or log into any registers in the group from the Point of Sale. This will also prevent you from setting up buttons for this Register Group.
Adding Registers
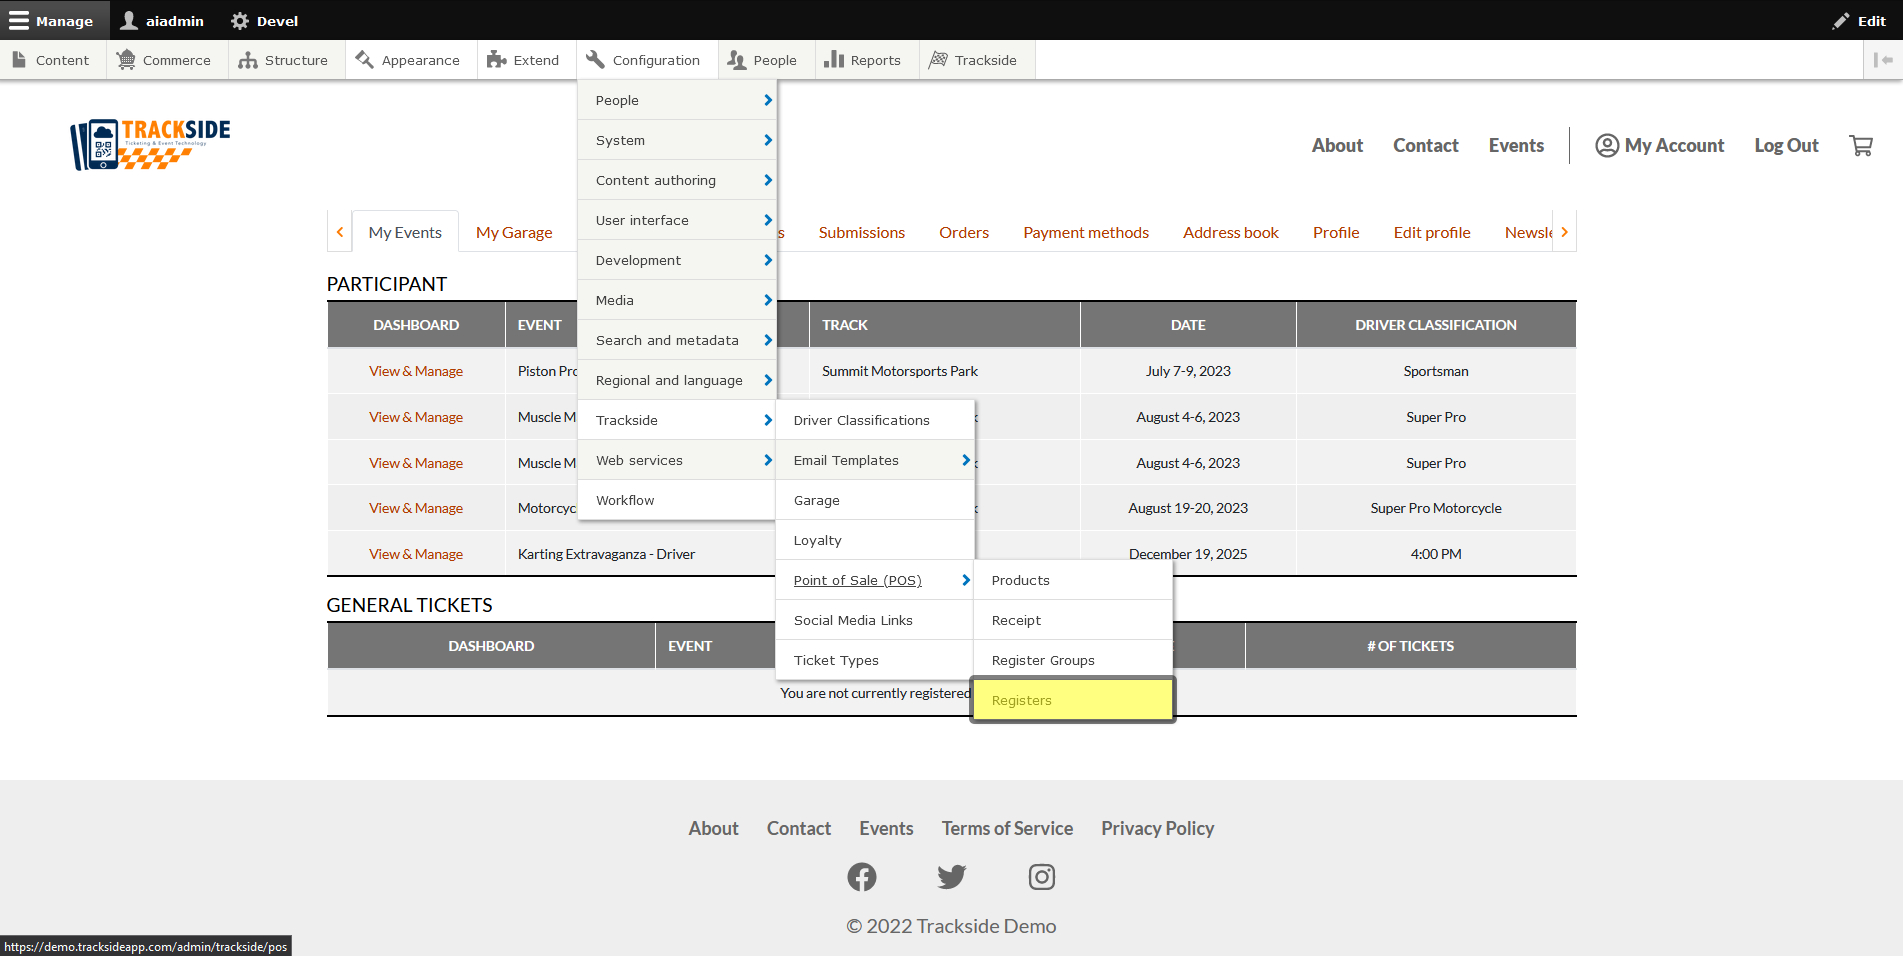
Step 1 - Navigate to registers
Once logged in, we will navigate to Registers by hovering through the menu structure as follows: (Hover) Configuration > (Hover) Trackside > (Hover) Point of Sale (POS) > (Click) Registers. As a reminder, if needed, you may also click each step and it will take you to a separate screen where you may then also click the next step.
Step 2 - Click Add Register
If you need to edit an existing Register, you will do so by clicking the name of the Register.