Setting up Registers and Register Groups
Setting Up Register Groups
Step 1 - Navigate to Register Groups
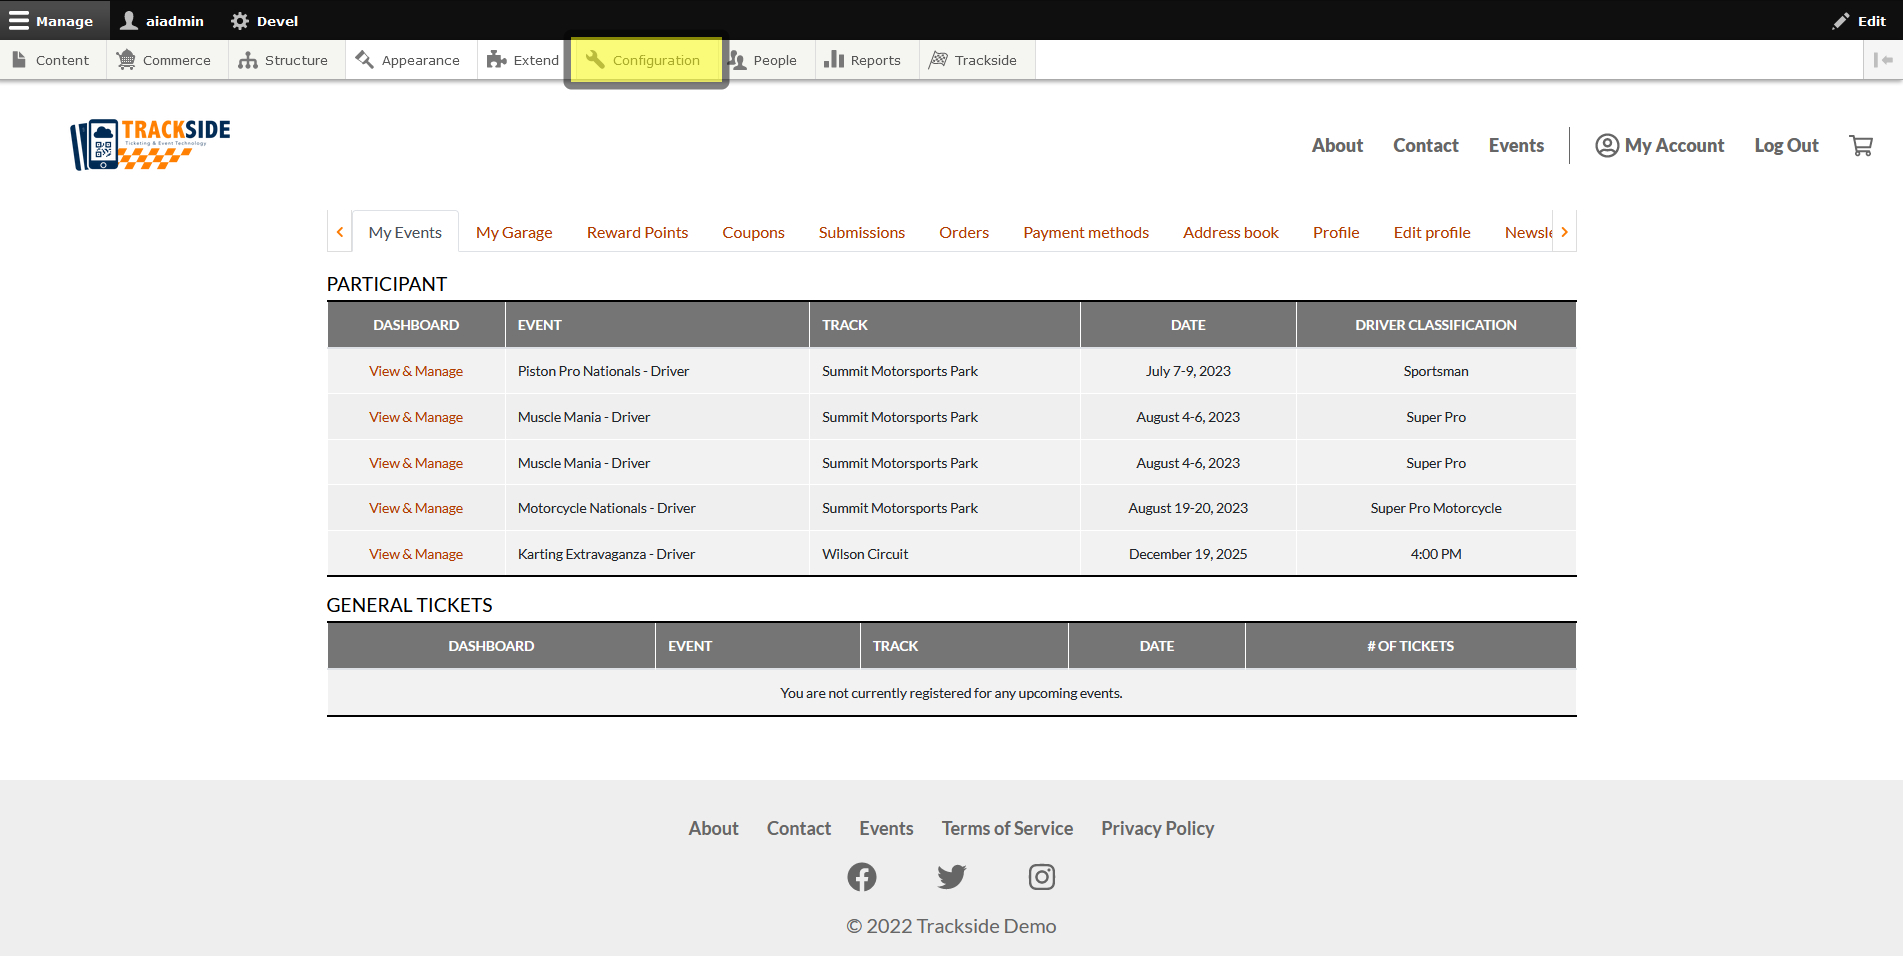
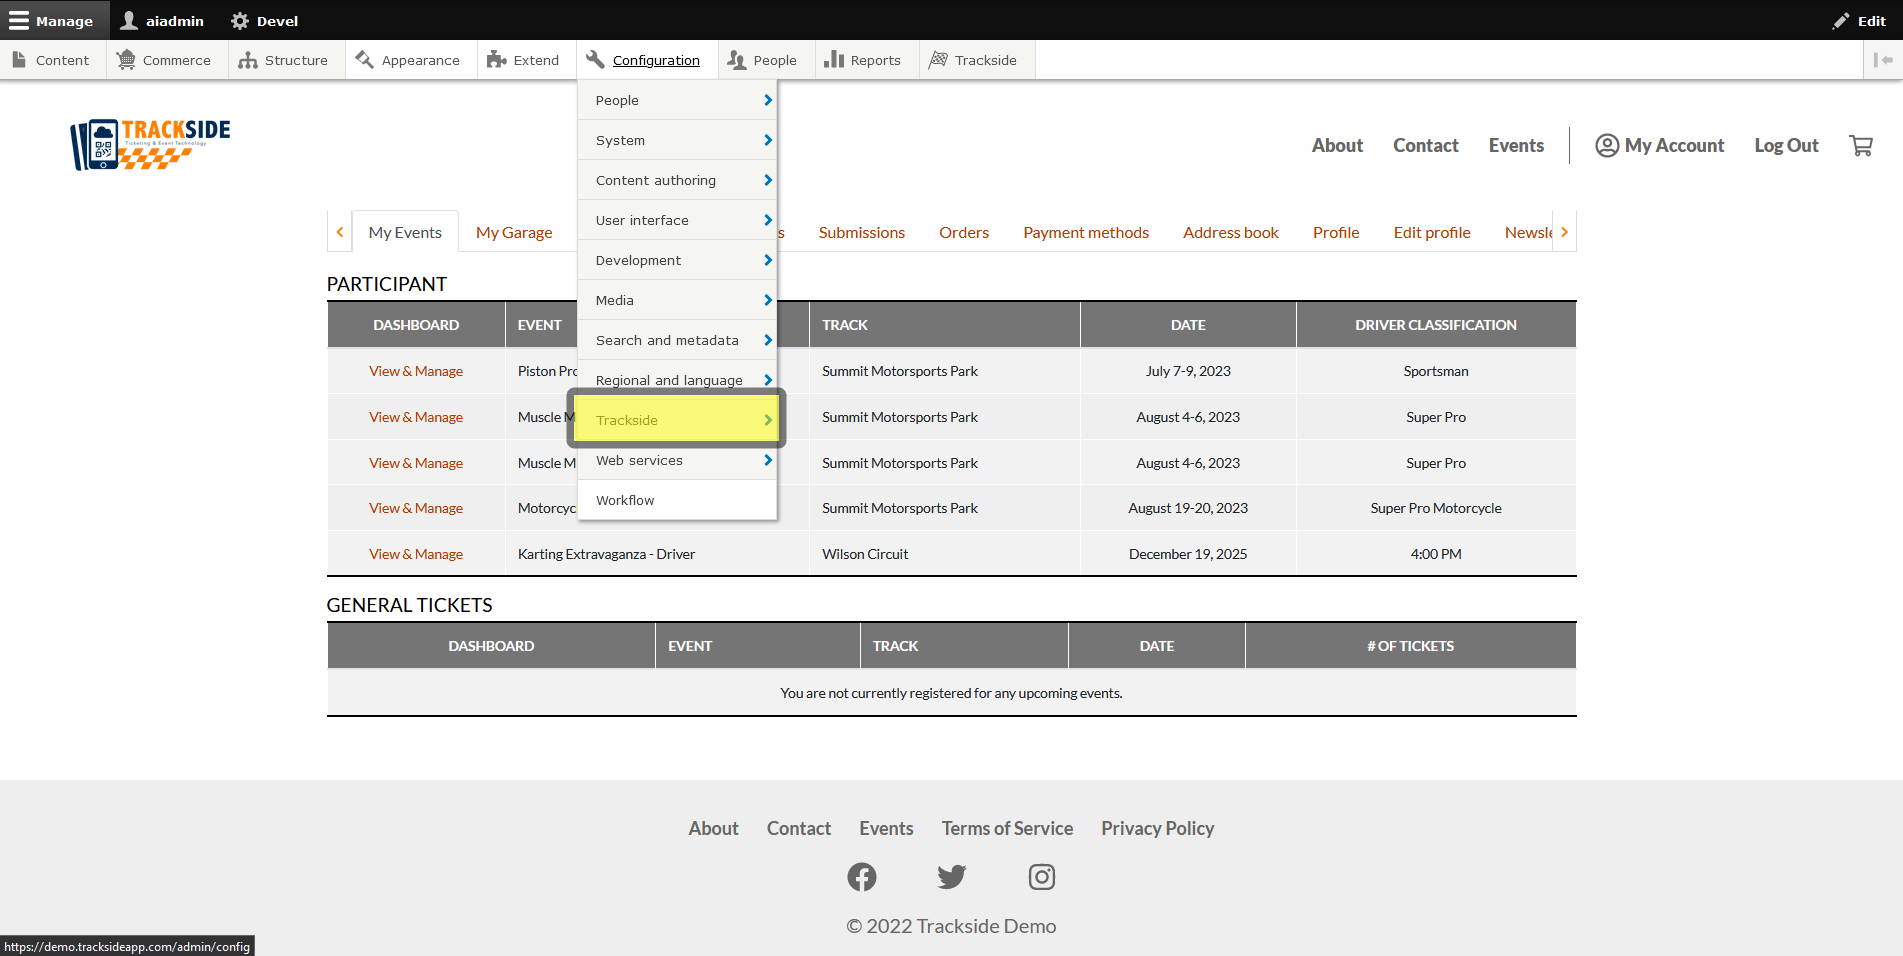
Once logged in, we will navigate to Register Groups by hovering through the menu structure as follows: (Hover) Configuration > (Hover) Trackside > (Hover) Point of Sale (POS) > (Click) Register Groups. As a reminder, if needed, you may also click each step and it will take you to a separate screen where you may then also click the next step.


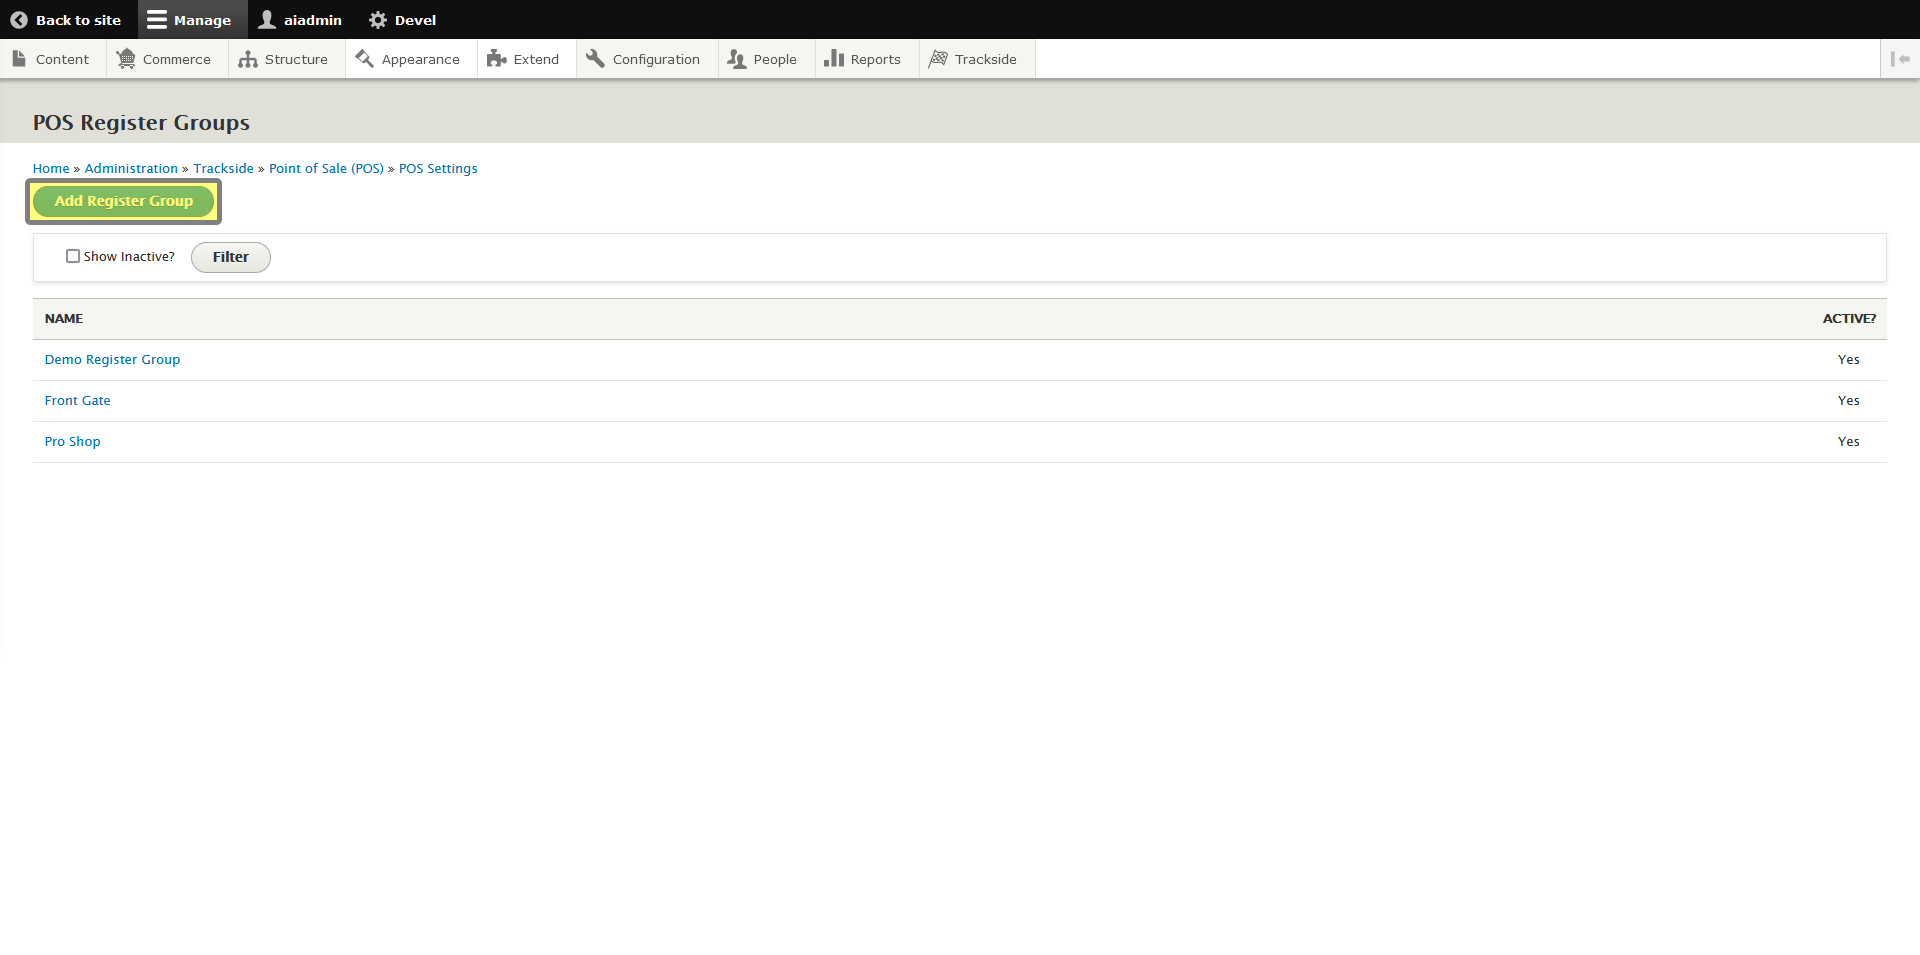
Step 2 - Click Add Register Group
If you need to edit an existing Register Group, you will do so by clicking the name of the Register Group.
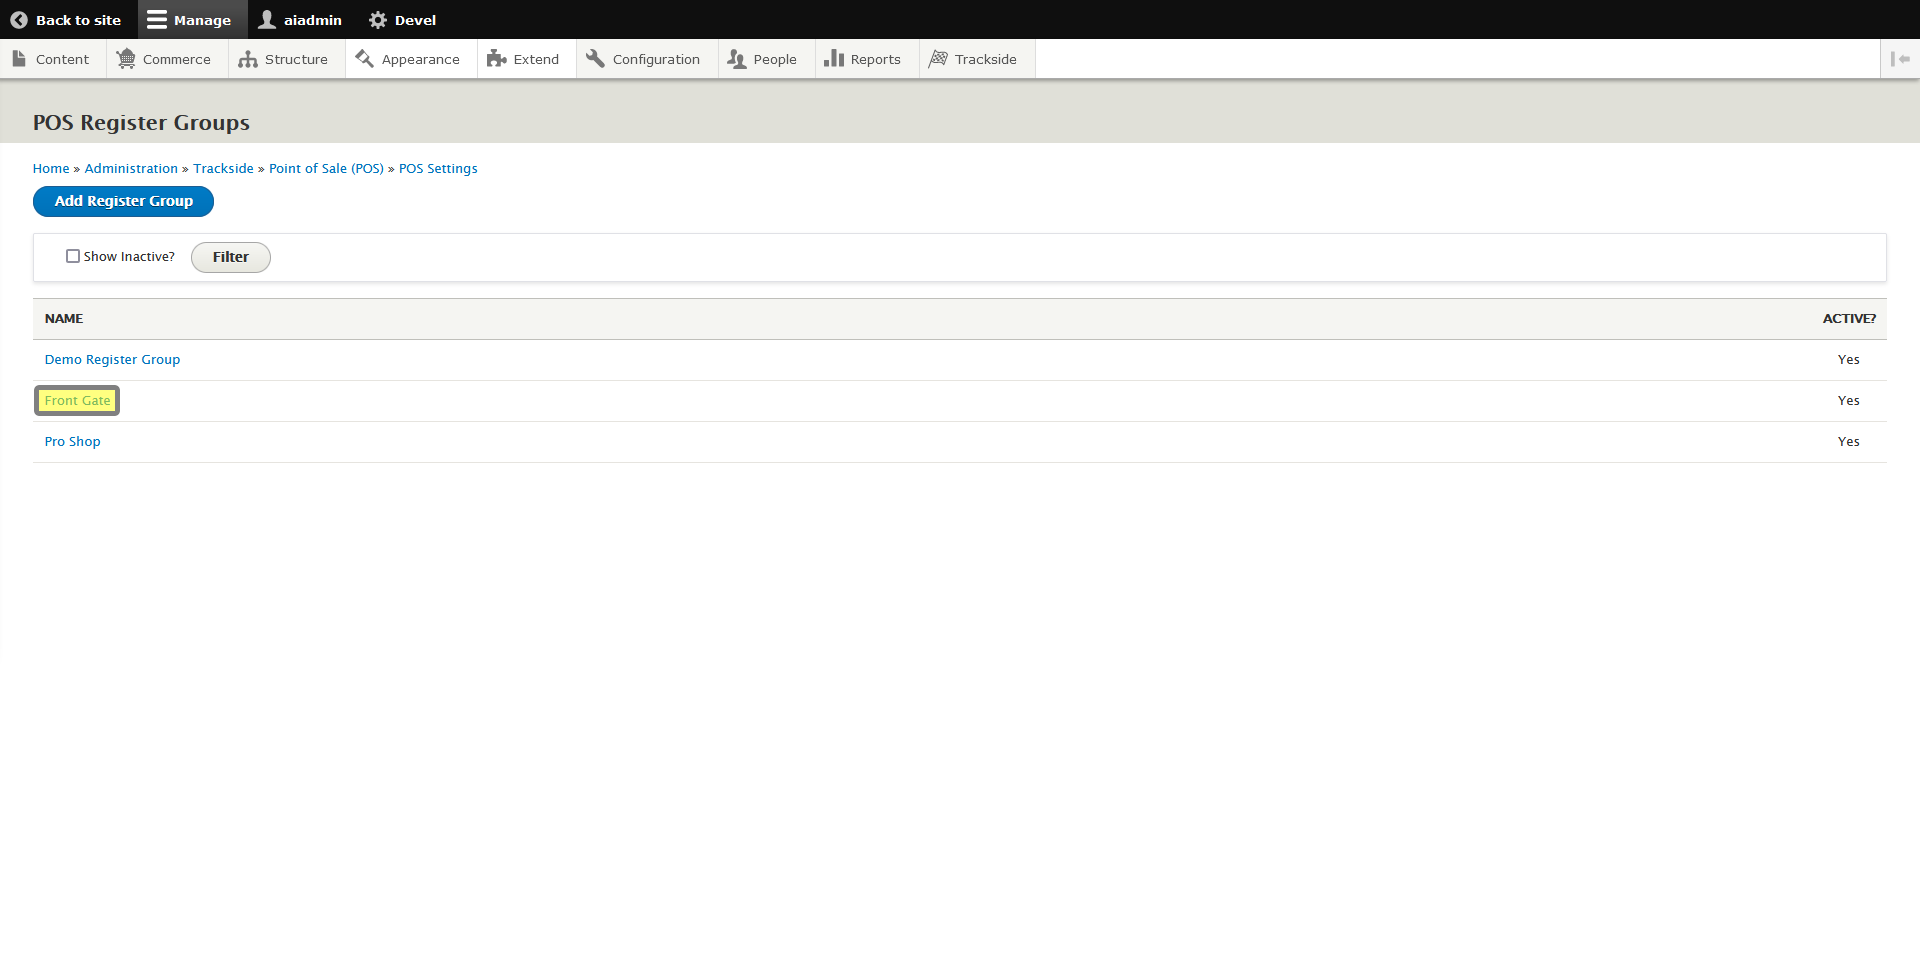
We're going to create a new Register Group for this example, so we'll click Add Register Group instead.
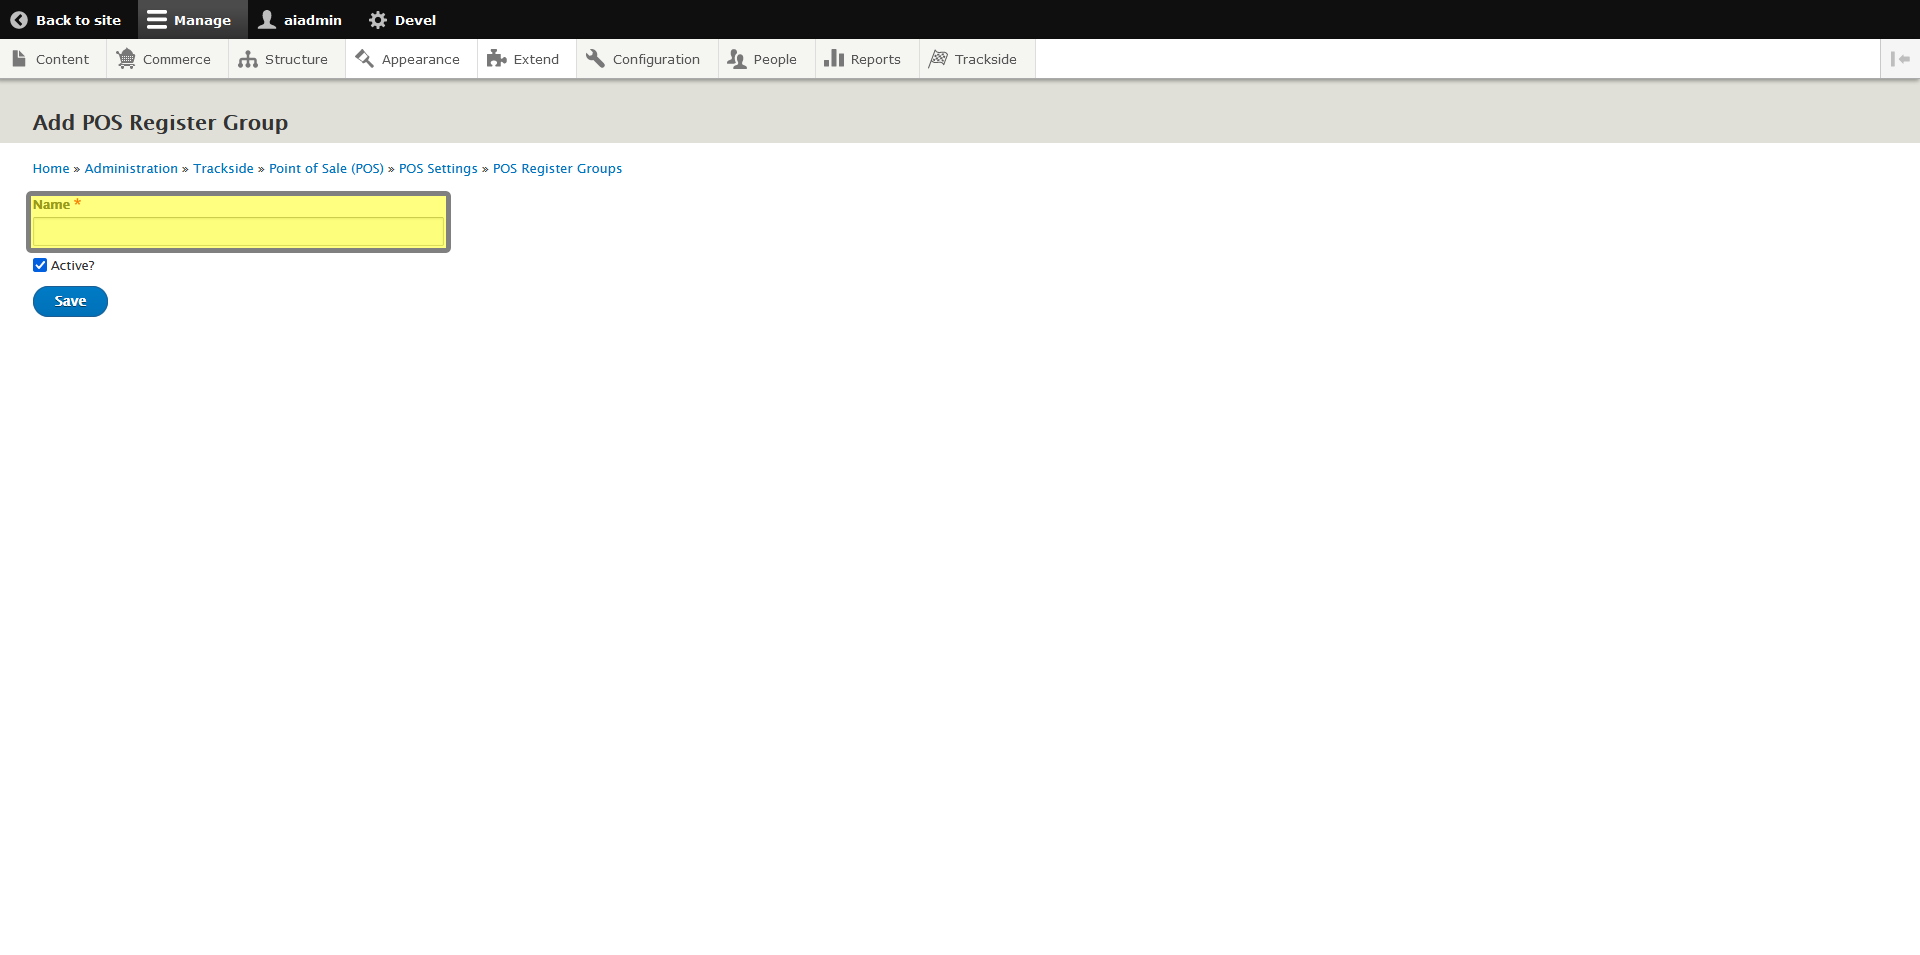
Step 3 - Complete Form for New Register Group
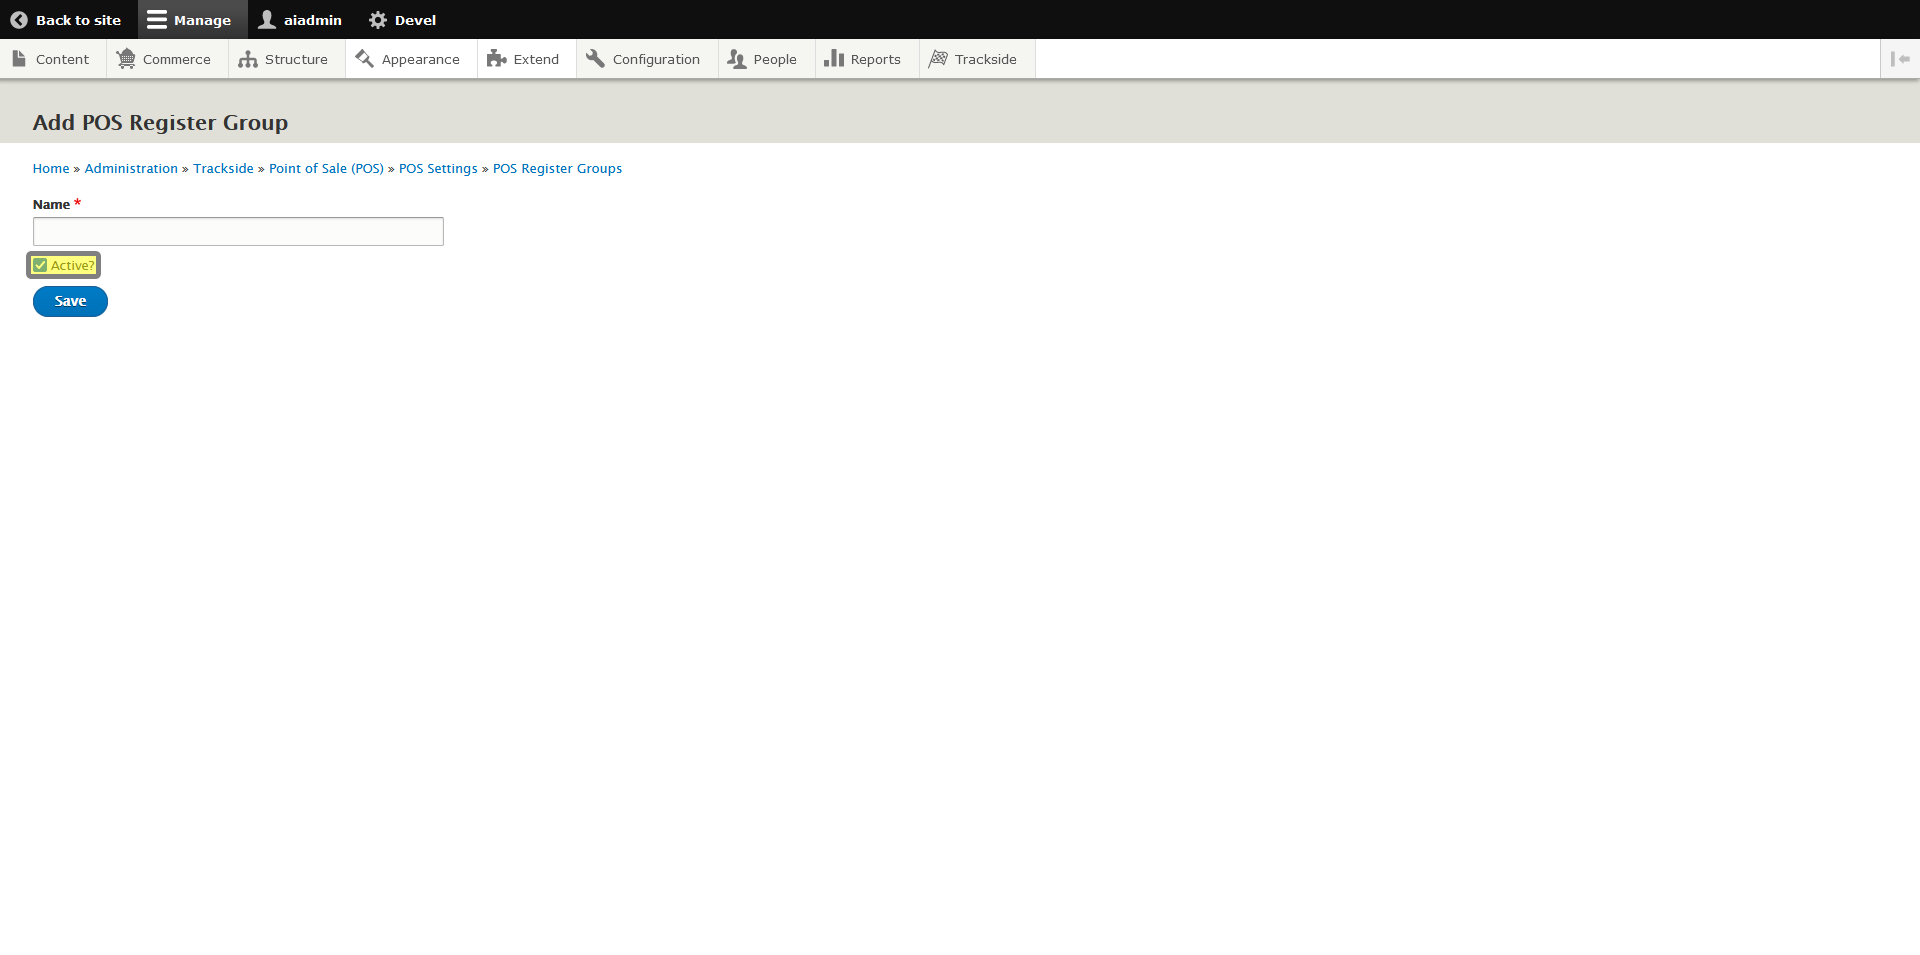
Enter a name for your new Register Group, and then select if you want this to be an active group by checking the box or leaving it unchecked.
If your group is inactive, you will not be able to add Registers to it, or log into any registers in the group from the Point of Sale. This will also prevent you from setting up buttons for this Register Group.
Step 4 - Click Save
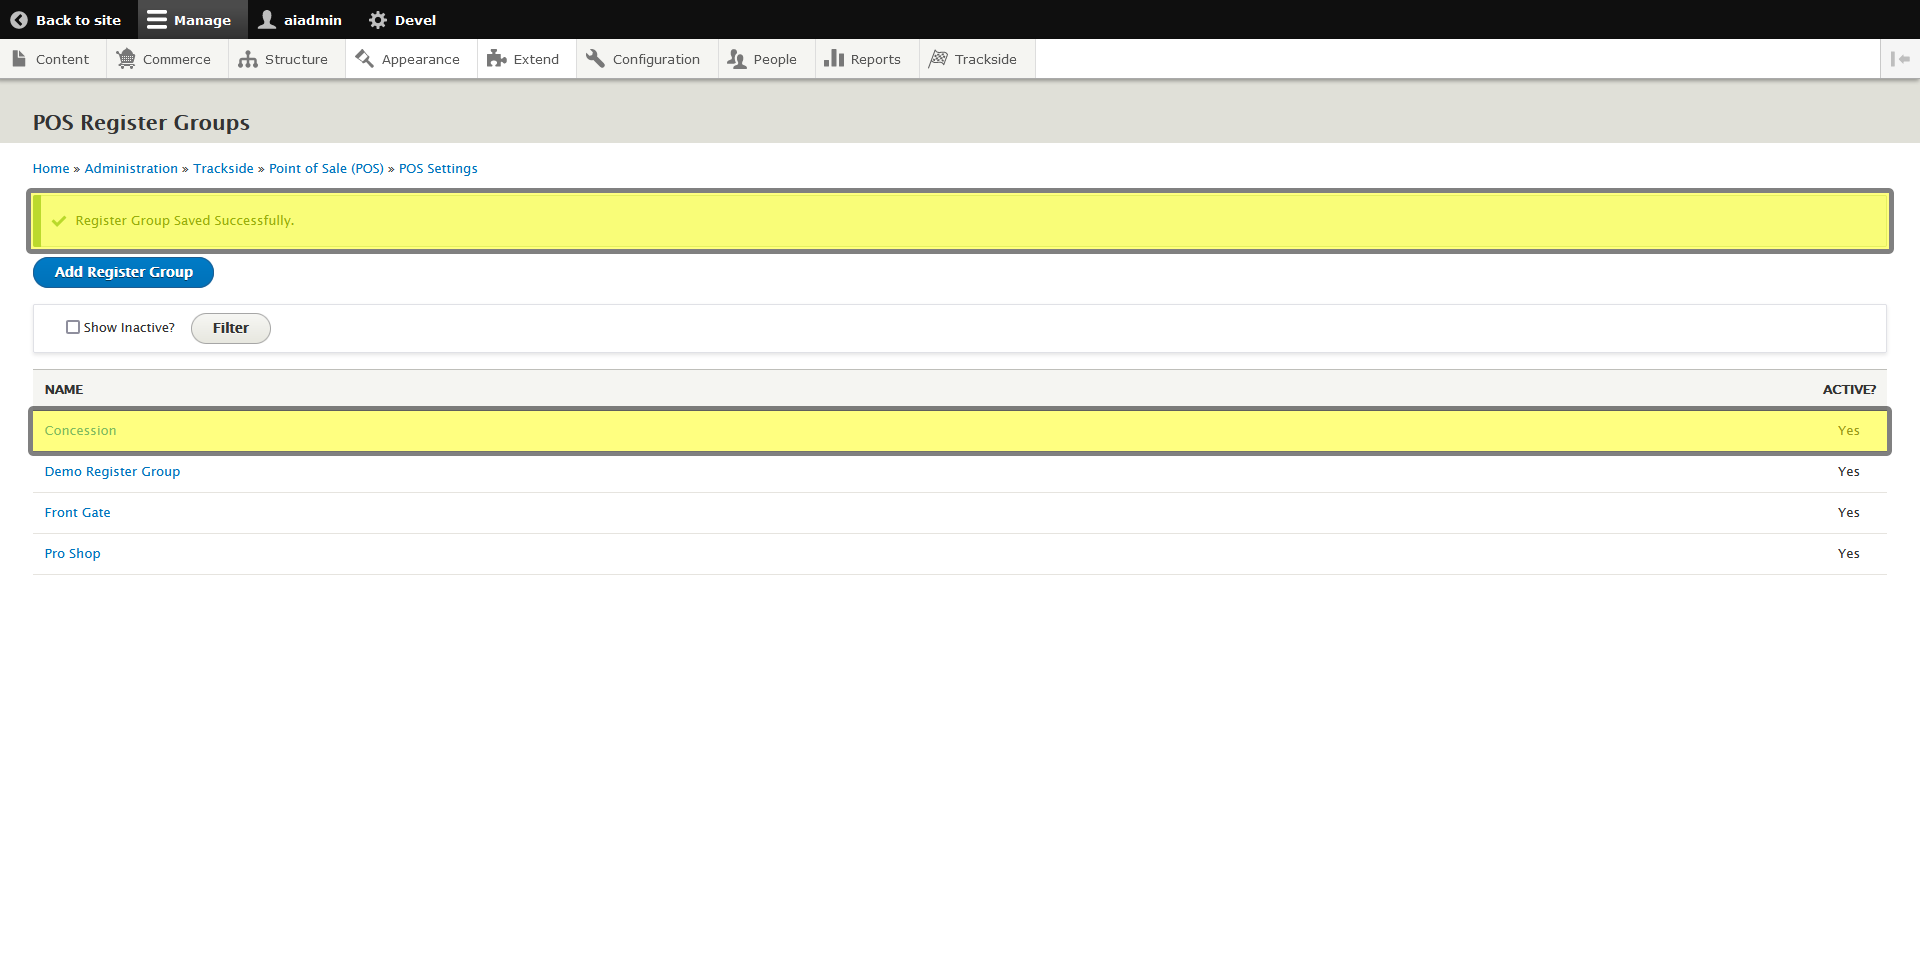
Once your new Register Group is configured, click Save to add it to your list of Register Groups.
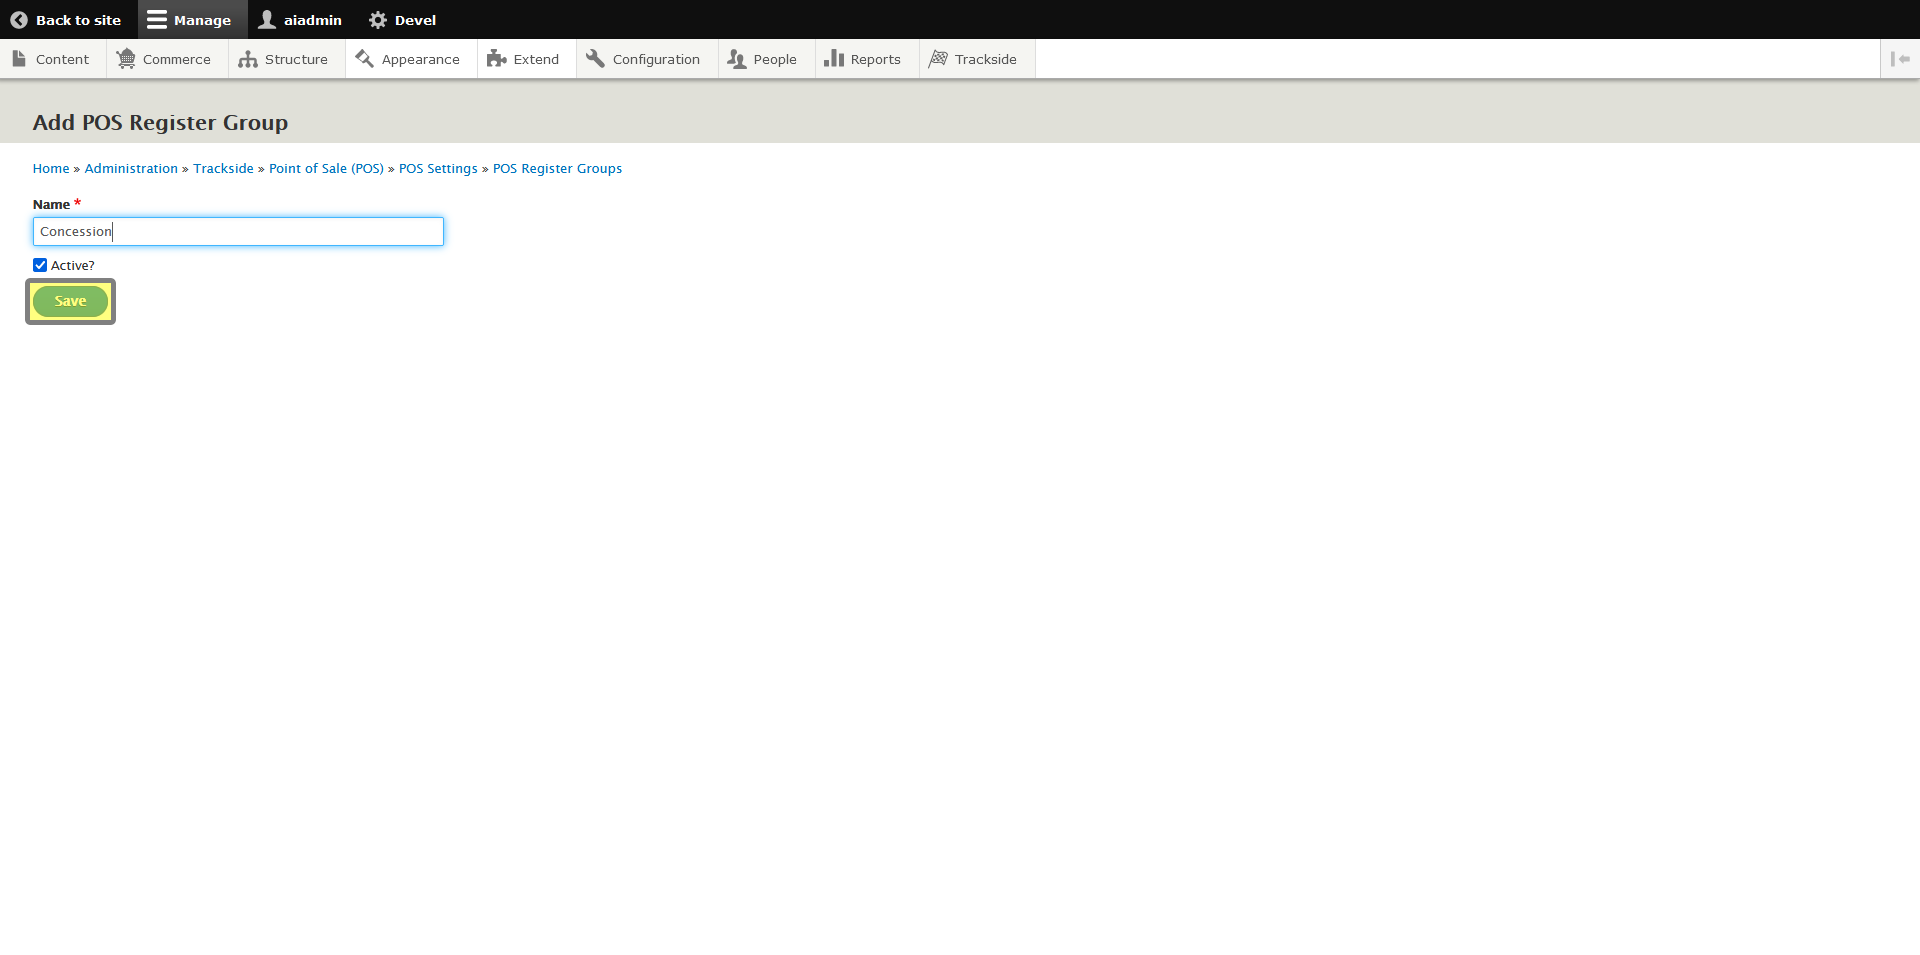
This will return you to the previous page and you should see both a confirmation and your new Register Group listed.
Adding Registers
Step 1 - Navigate to registers
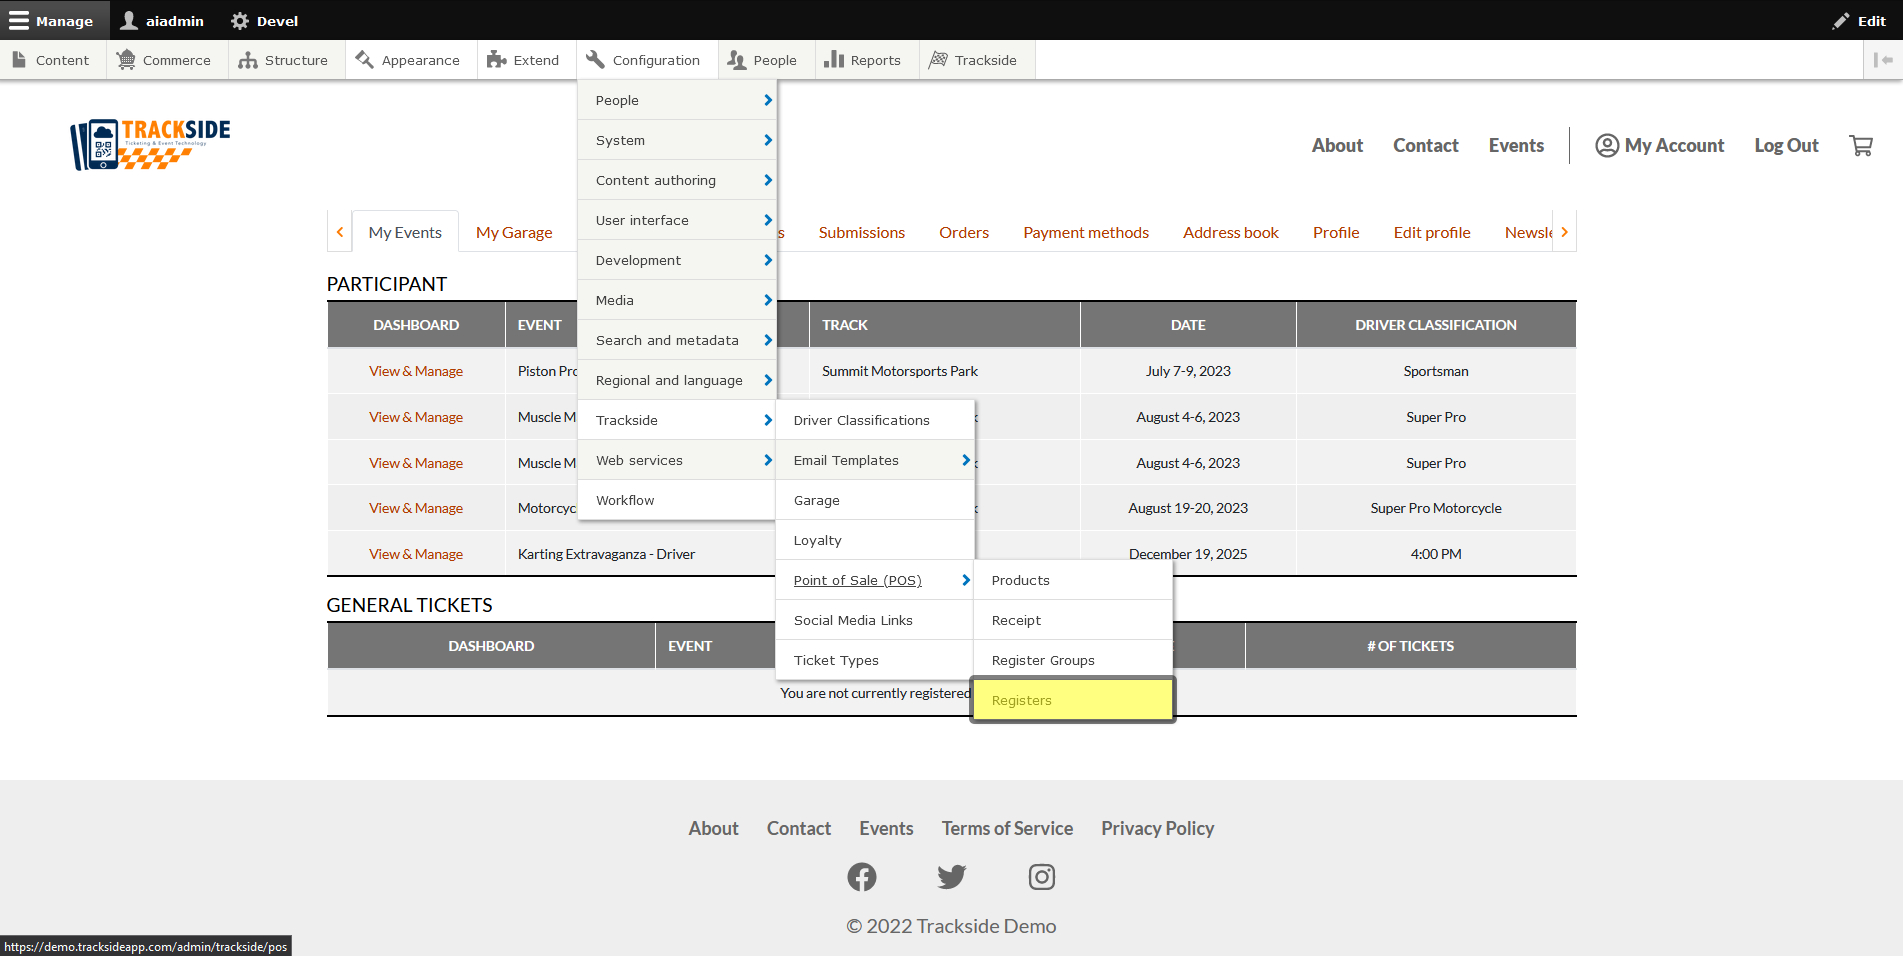
Once logged in, we will navigate to Registers by hovering through the menu structure as follows: (Hover) Configuration > (Hover) Trackside > (Hover) Point of Sale (POS) > (Click) Registers. As a reminder, if needed, you may also click each step and it will take you to a separate screen where you may then also click the next step.
Step 2 - Click Add Register
If you need to edit an existing Register, you will do so by clicking the name of the Register.
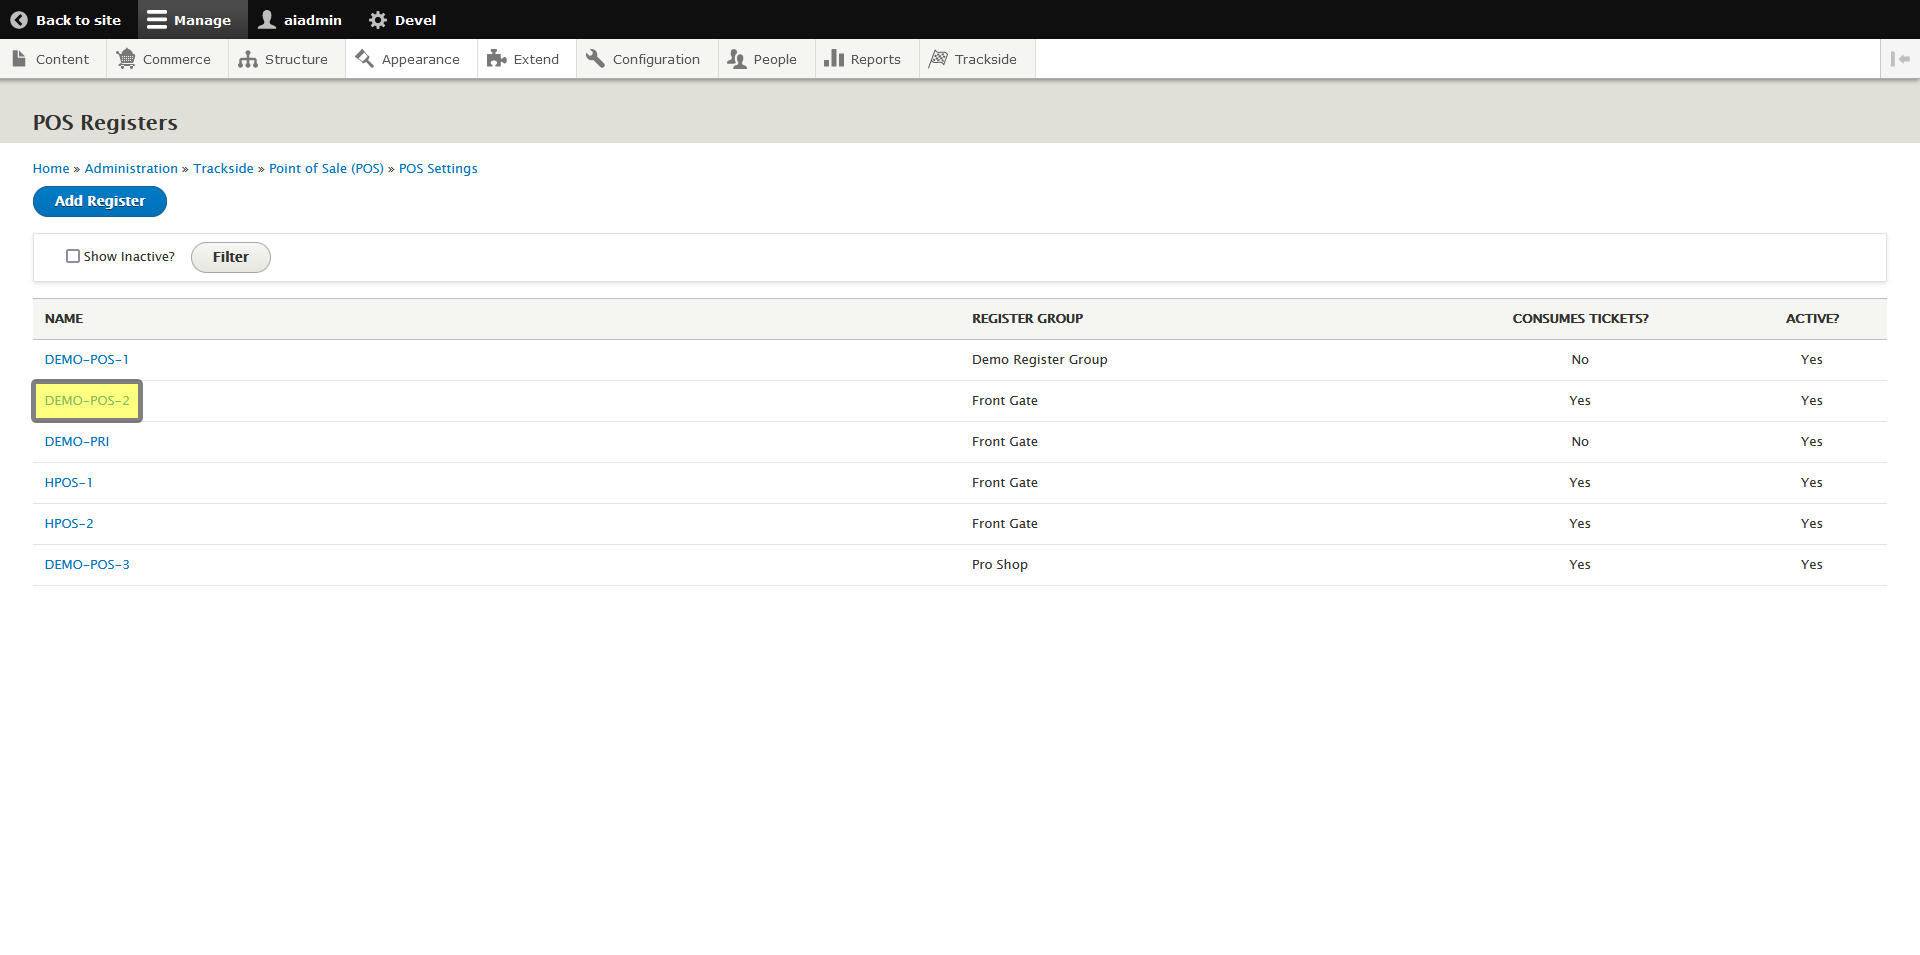
For this example, we're going to create a new register, so we'll click Add Register.

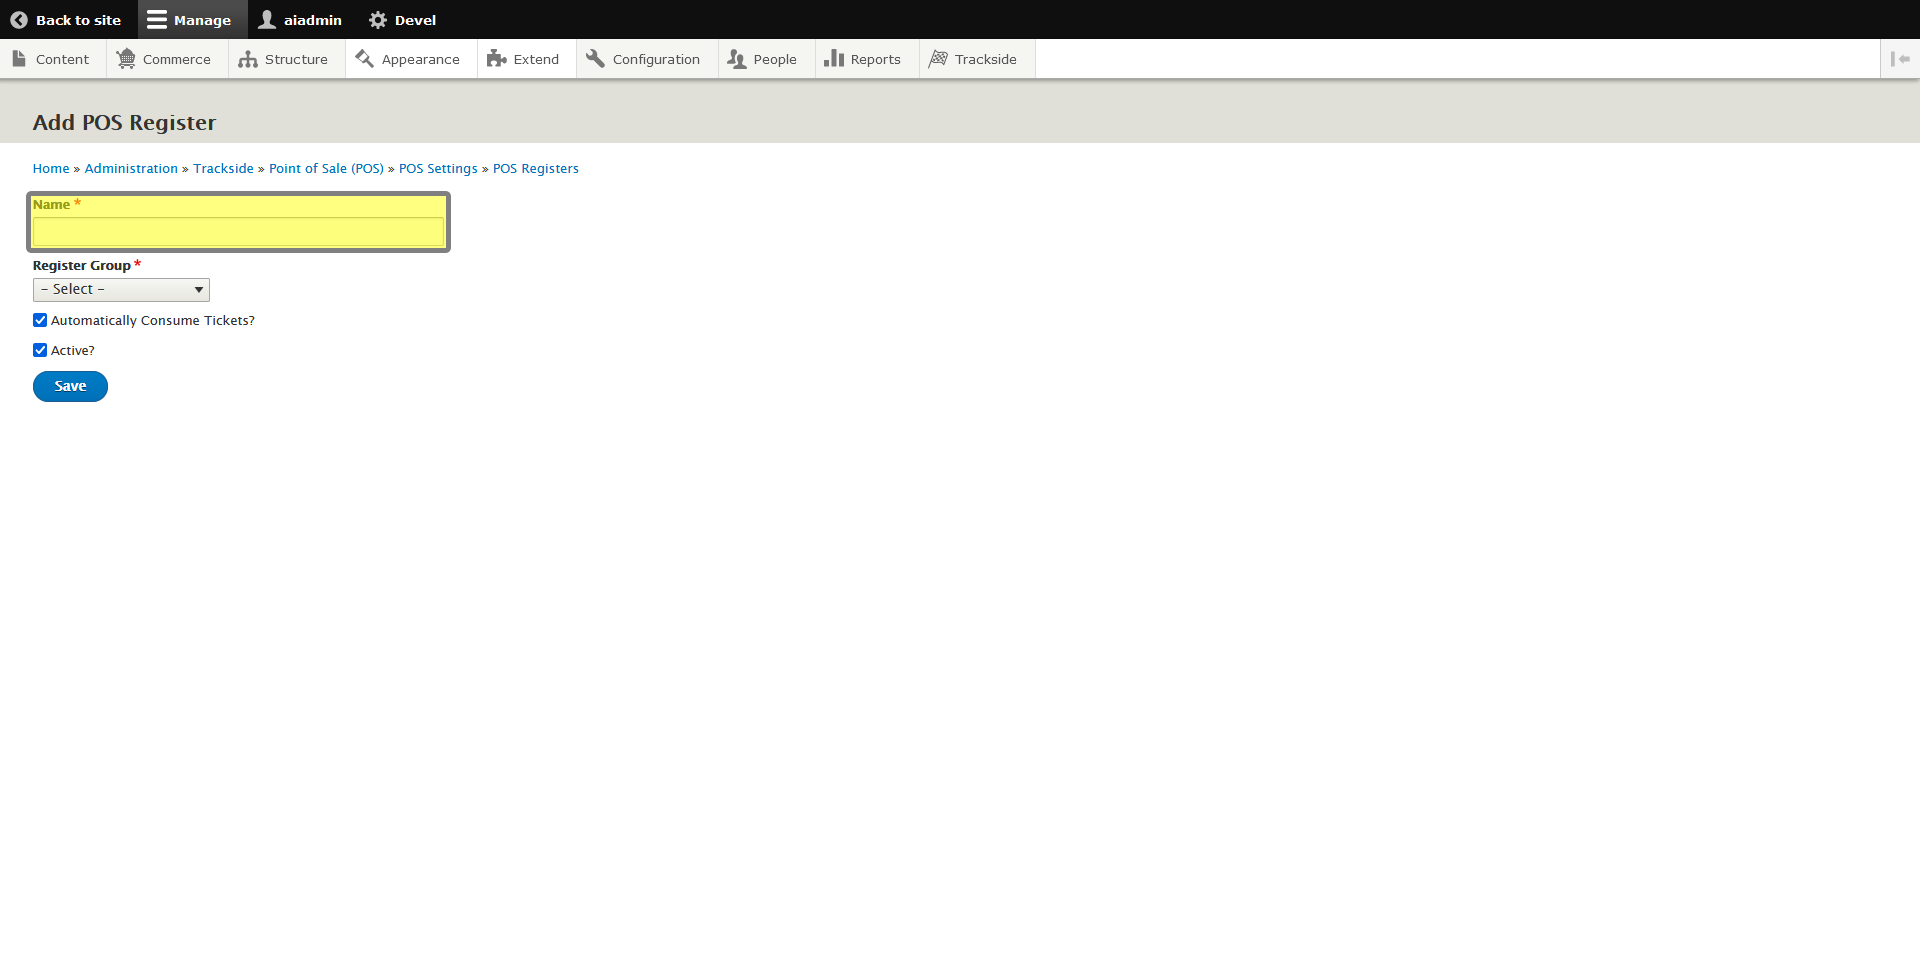
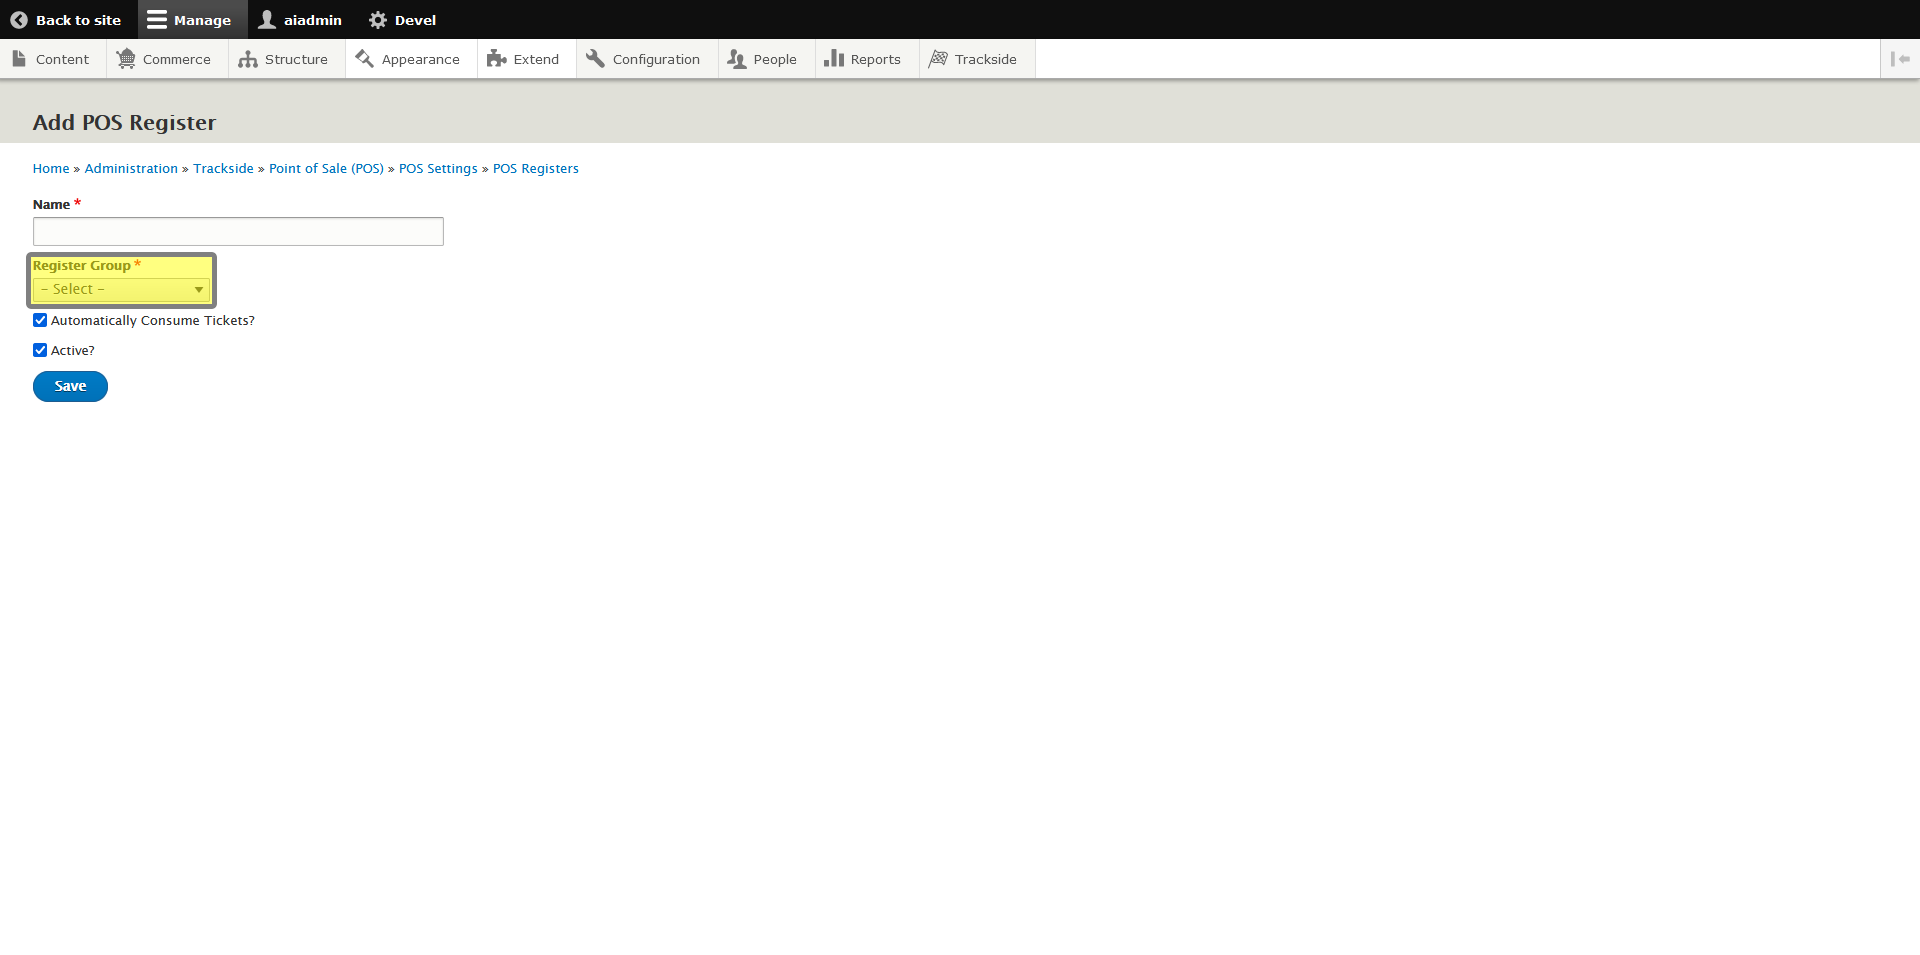
Step 3 - Complete Form for New Register
- Give your Register a name. For Handhelds, this is suggested to be the name labeled on the Handheld. For Hardware Points of Sale, you can name these the labeled name on them, or things like Front Gate, Back Gate, etc. You just want it to be something fairly self explanatory so you don't have 2 Point of Sale Users logging into the same register at the same time.
- Select which Register Group you want it to be a part of
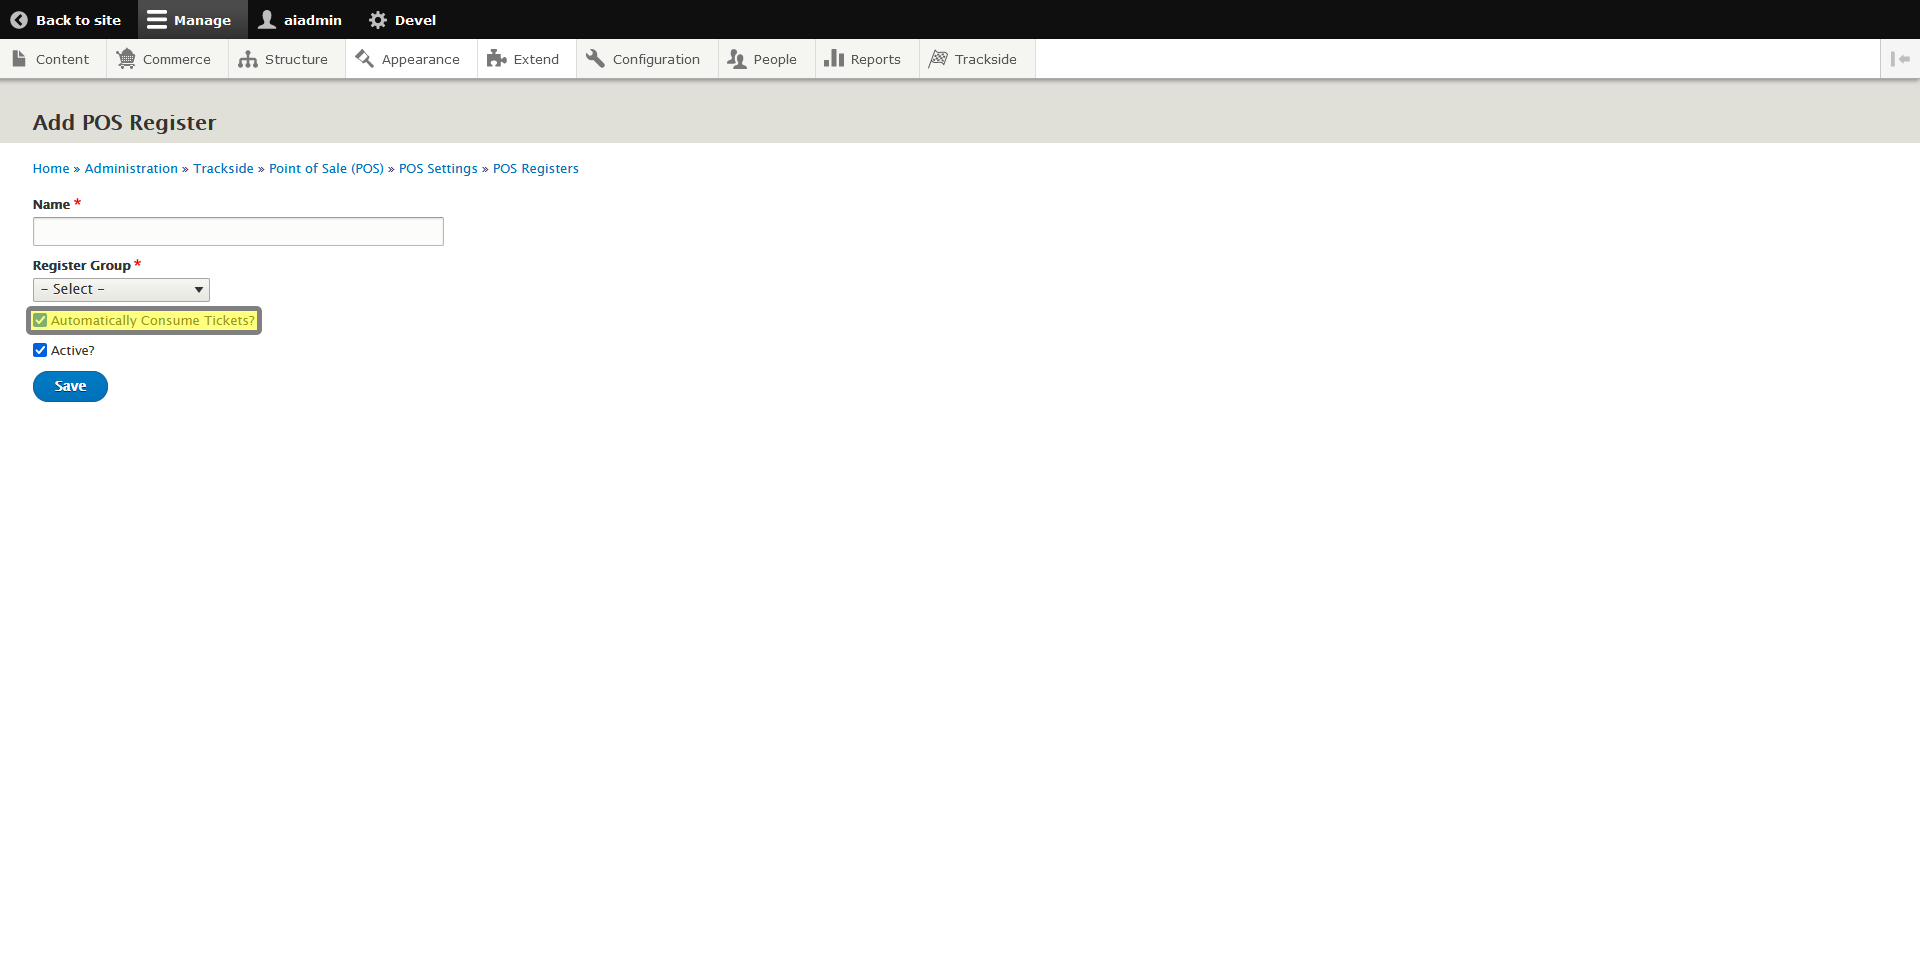
- Select whether you want it to automatically consume Spectator and Participant tickets
- If checked, this register will consume QR code tickets immediately after they are sold at the Point of Sale. (Also see Important Note Regarding Auto Scan)
- If unchecked, this register will NOT consume QR code tickets after they are sold at the Point of Sale. This scenario would be used if you conduct ticket sales at one gate and then scan tickets in at another gate, or sell next week's tickets on site at this week's event.
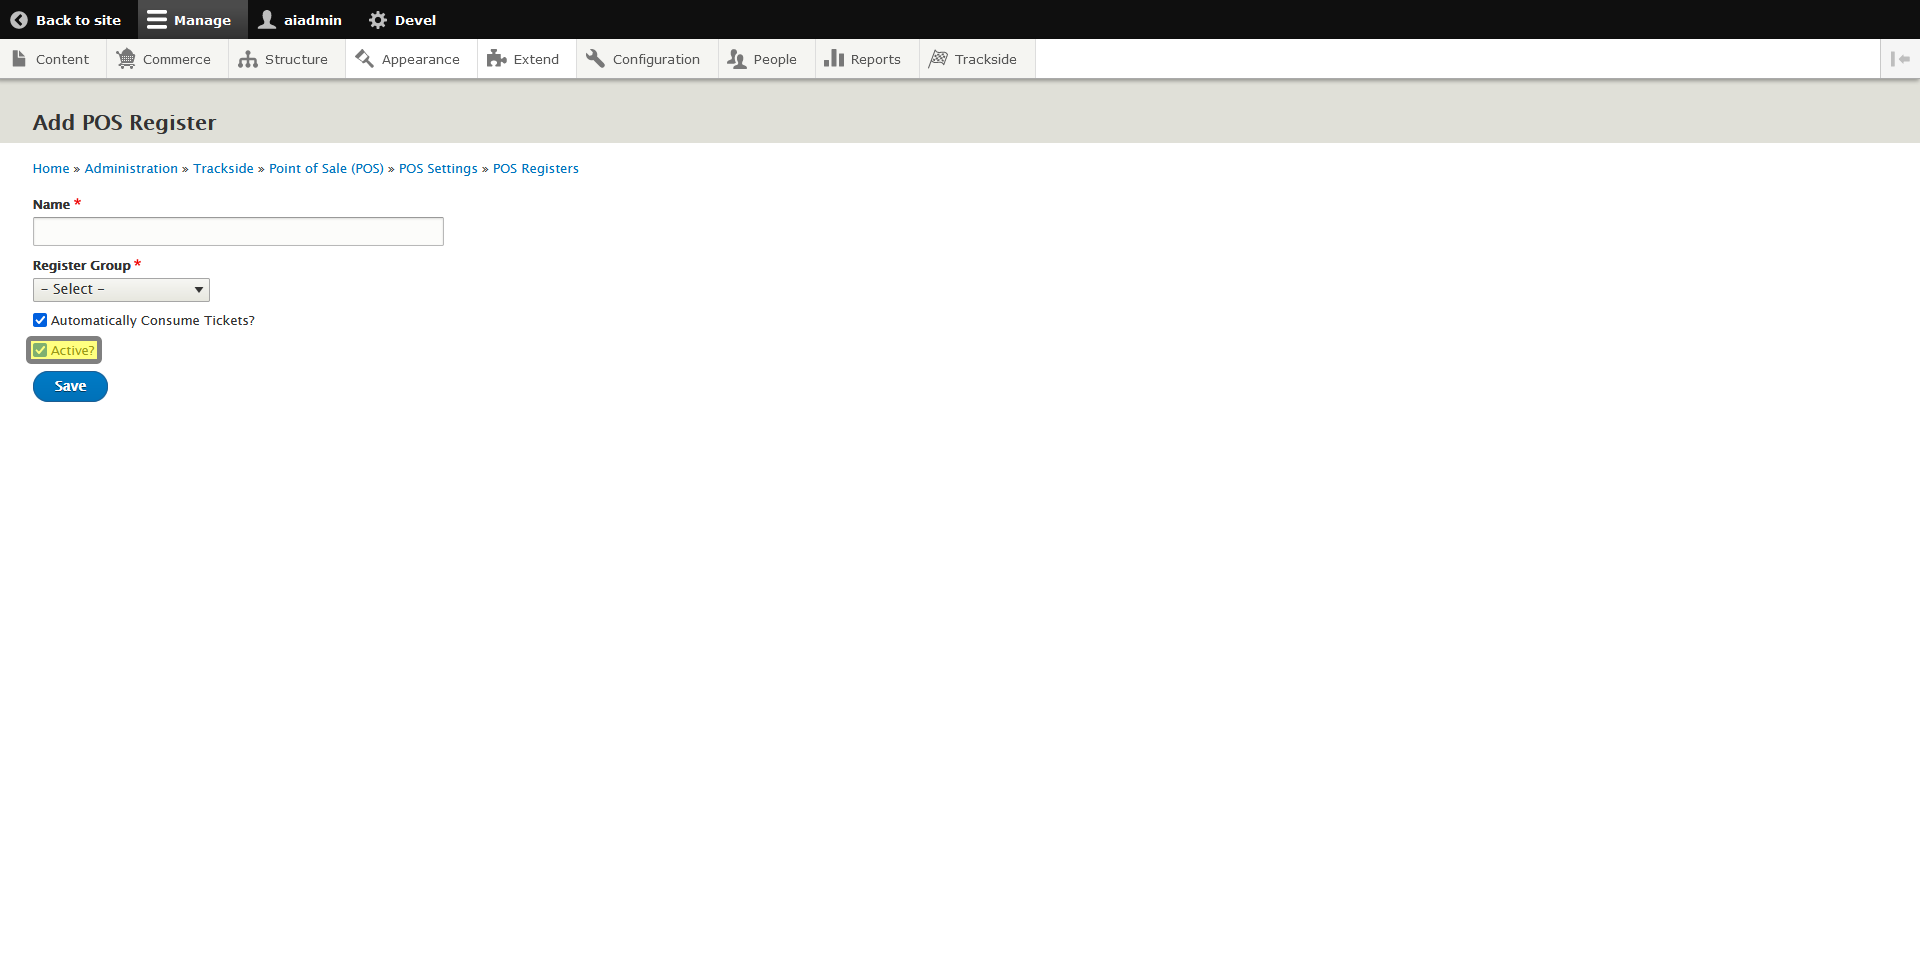
- Select if you want the Register to be active
Choosing whether you want the Register to be active will simply turn it on or off to be logged into in the Point of Sale. If we're not planning on using it for an event, you may choose to make it inactive so none of your staff log into it by accident. Since we want to be able to use the register, we'll leave it Active for our example.
Step 4 - Click Save
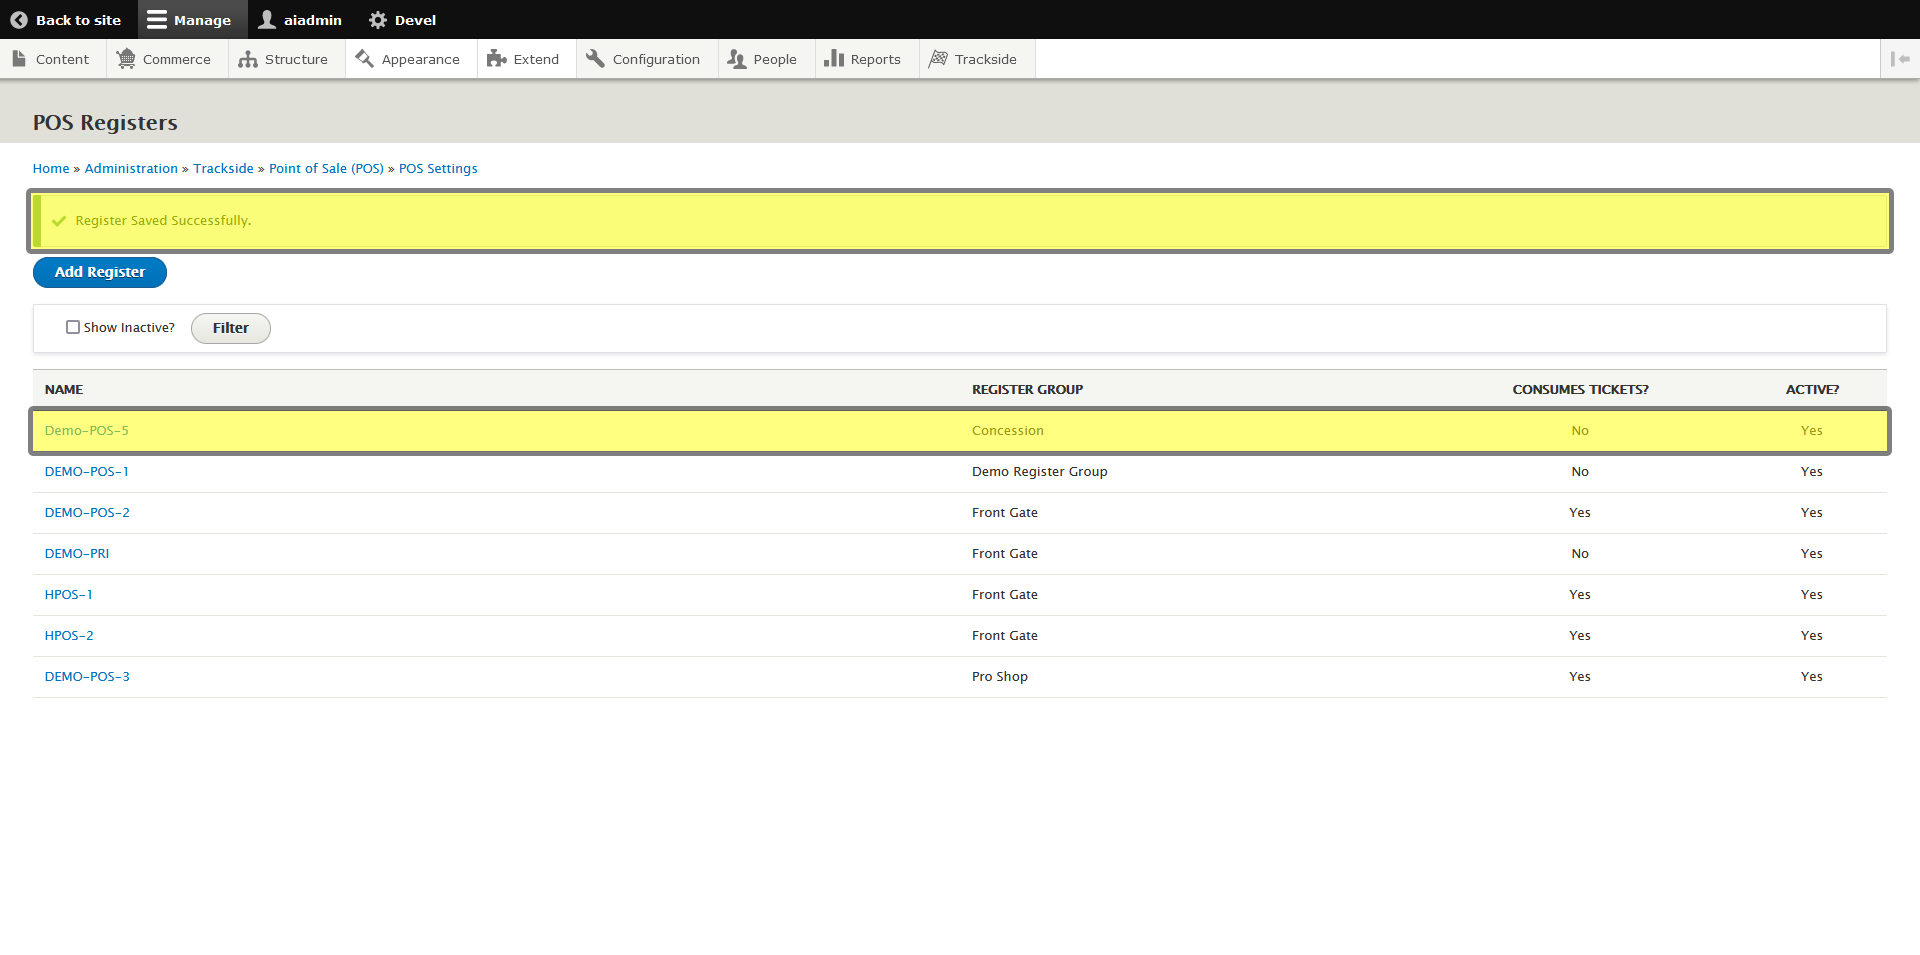
Once your Register is configured the way you want it, click Save.
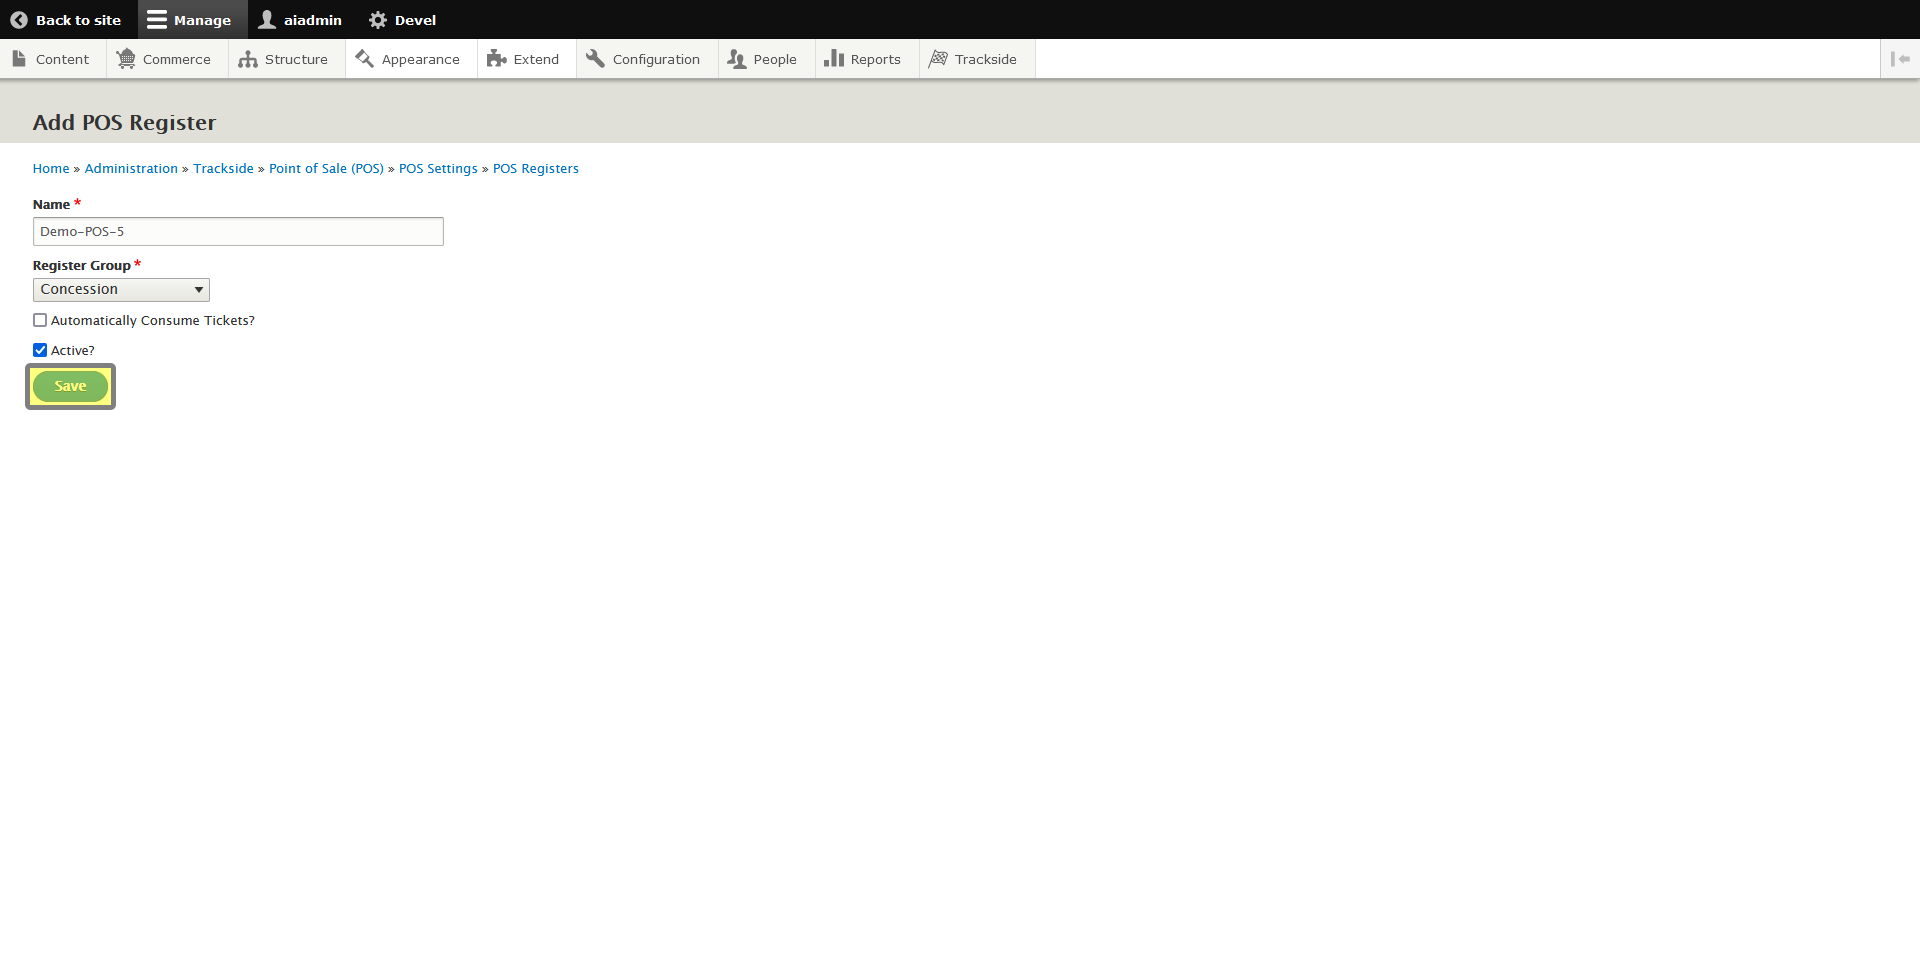
This will add the Register and return you to the previous screen where you should see a confirmation along with your new Register added to the list.