Product Options
Continuing from Base Product, this article focuses on continuing to use the Product Setup Assistant to generate a Product to sell. It will focus on setting up Options for our Product.
Step 1 - Create Product Options
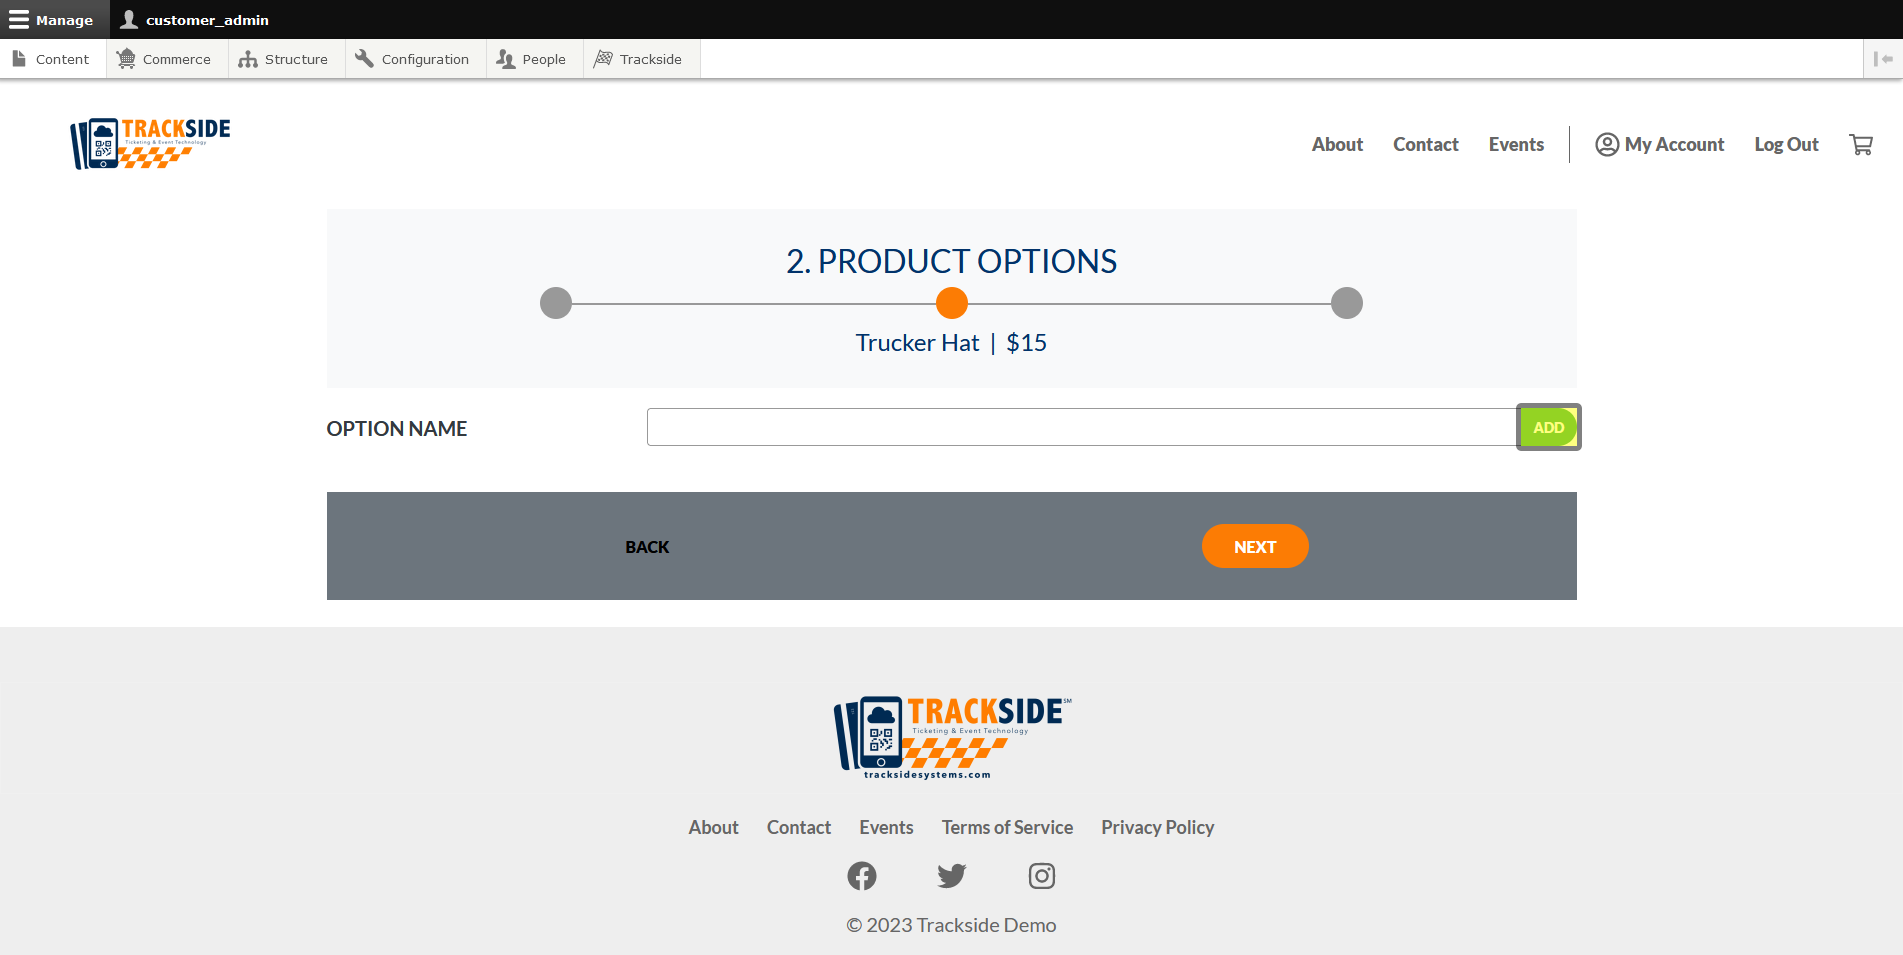
Once we're on the next screen, we'll set up Options. We start with the Option Name. Think along the lines of Size, Color, etc. The individual Variations will happen soon. Click Add once you have the name input.
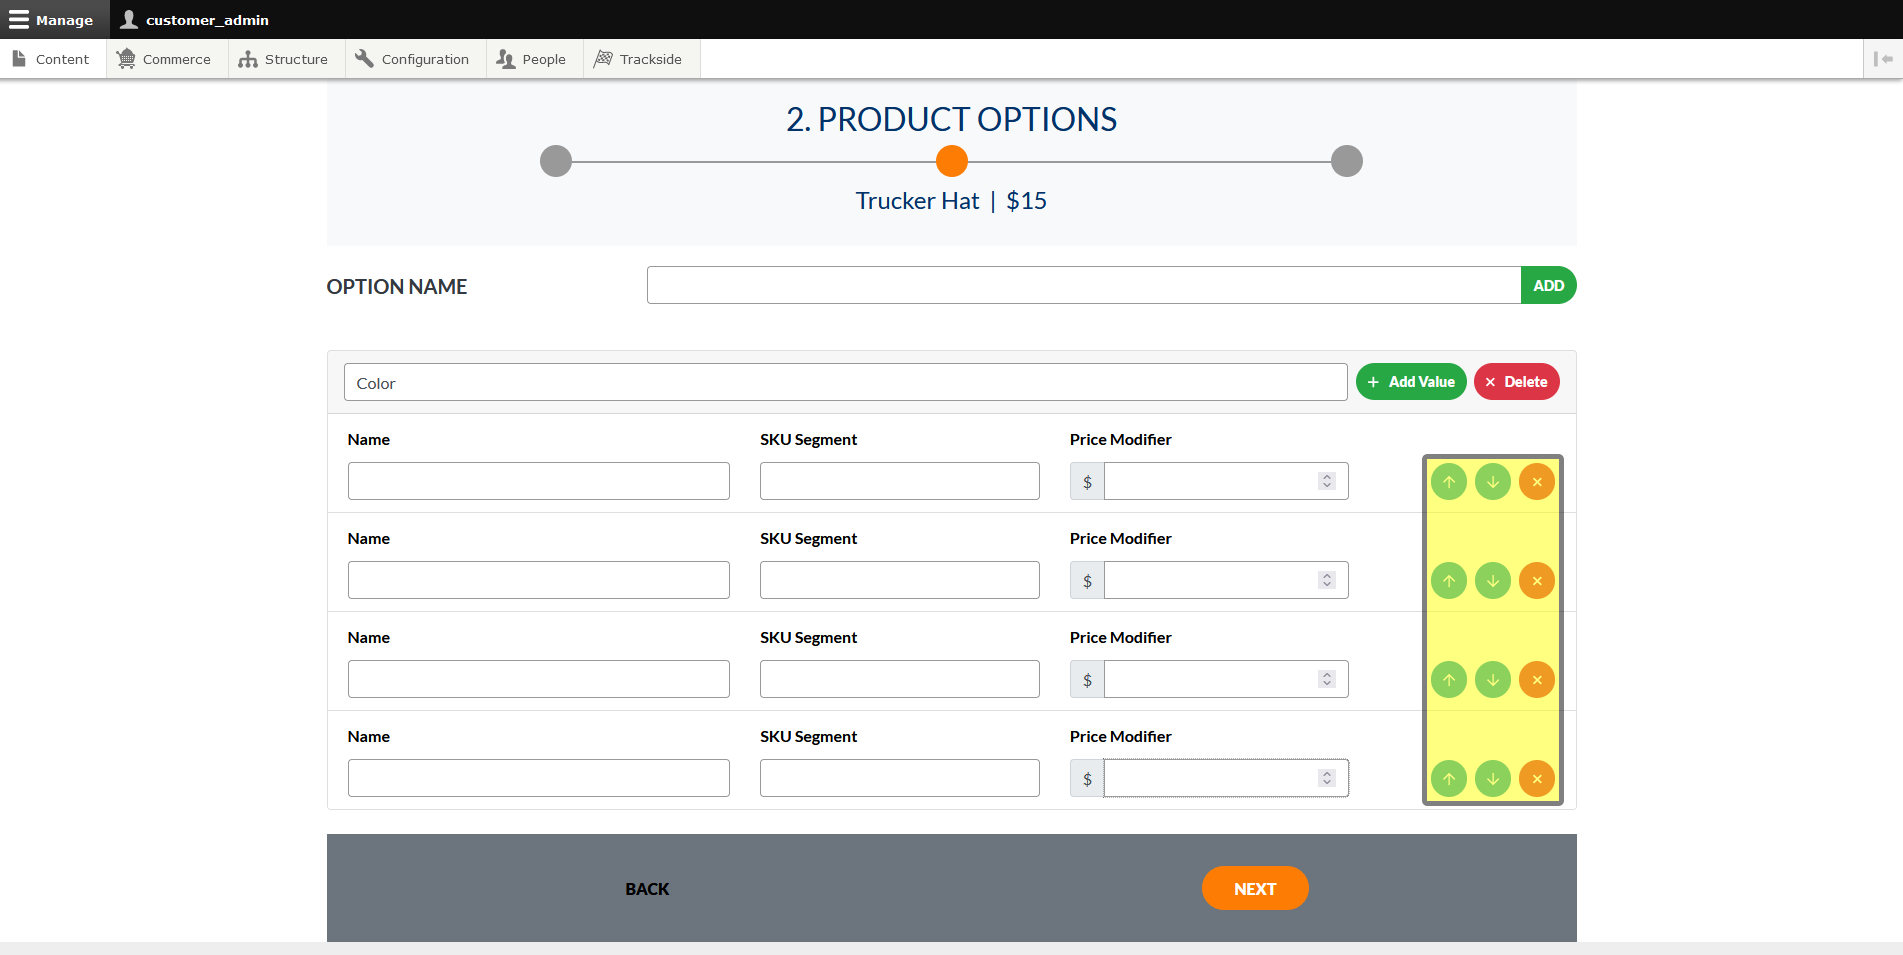
This will add your first Option. Click Add Value until you have the number of rows available for the number of choices you have.
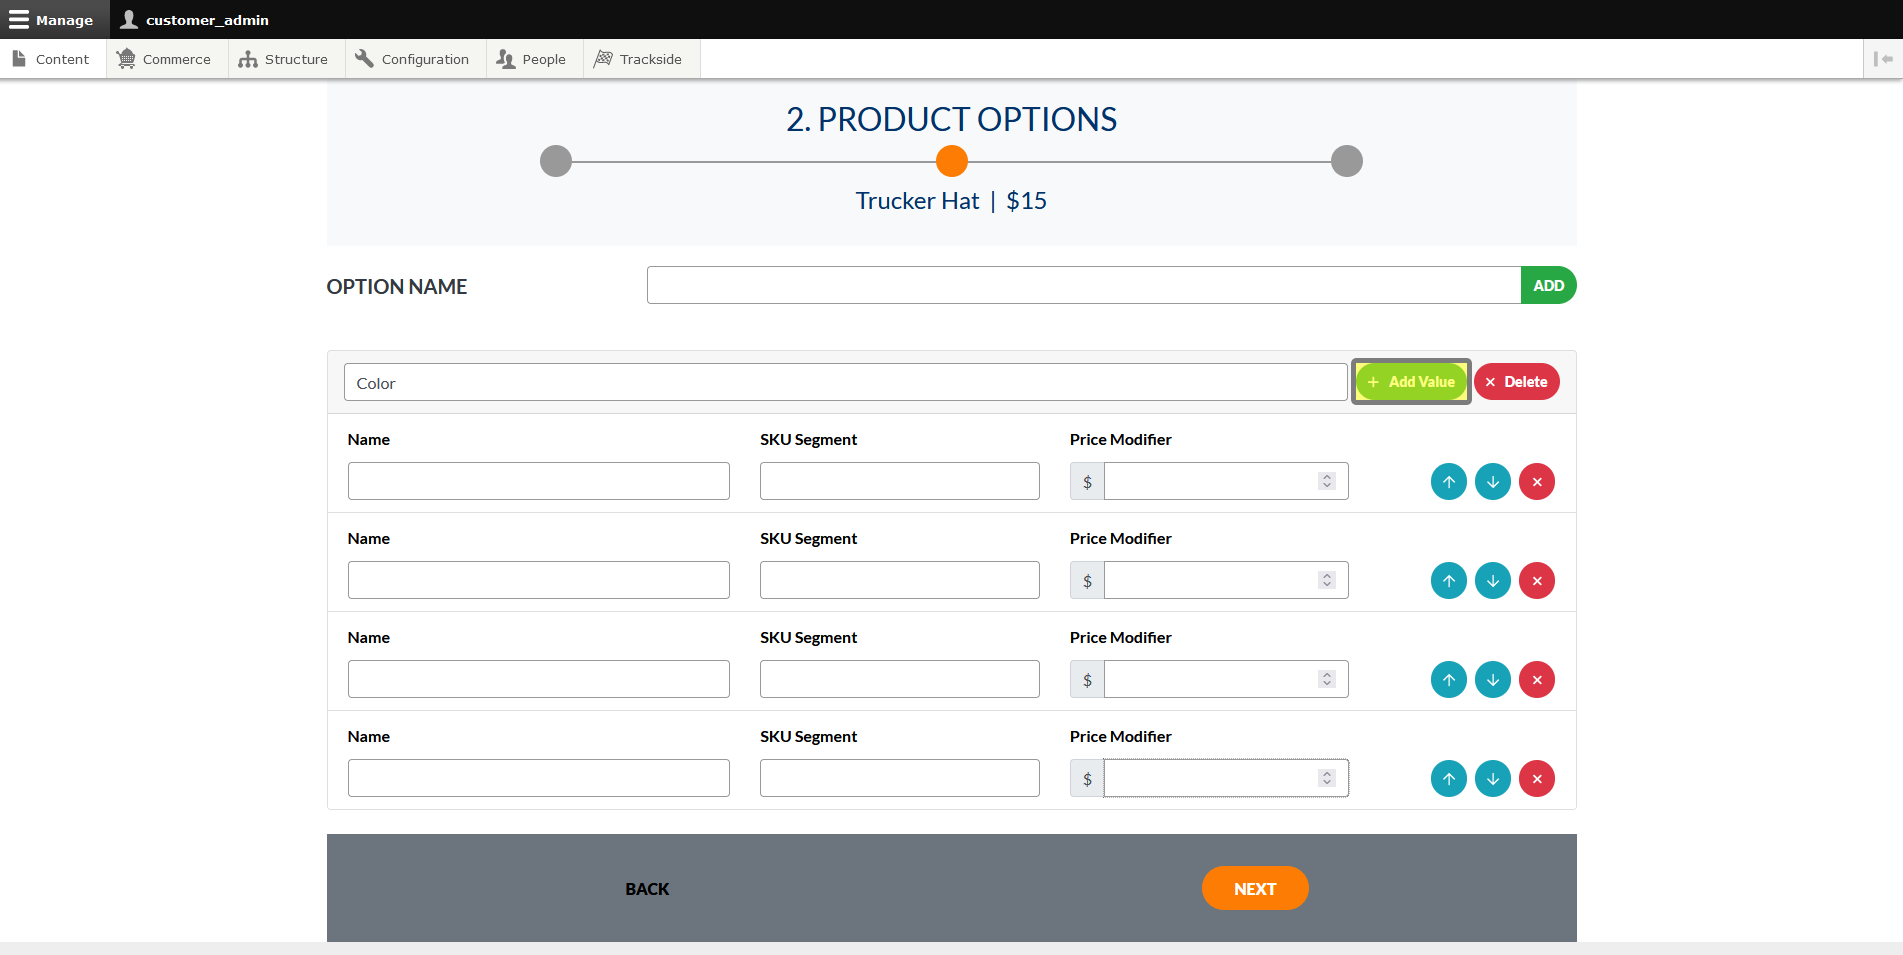
Then fill in the individual names of the choices. Red, Blue, Small, Medium, etc.
The SKU segment is going to be a suffix to the Base SKU you set up before. Best practice for this is to keep the segment to 3-4 characters long. If you have multiple Options for one product, these will stack and it helps keep the Variation SKU from being a mile long.
Lastly, set your Price Modifiers if there's an upcharge for a choice, otherwise enter 0.
The blue arrows on the right allow you to reorder the choices if you'd like, and the red X will delete them if you add one you don't need.