Base Product
The next few walkthroughs are going to take you from start to finish generating a product for sale with the Product Setup Assistant.
Step 1 - Navigate to Product Setup Assistant
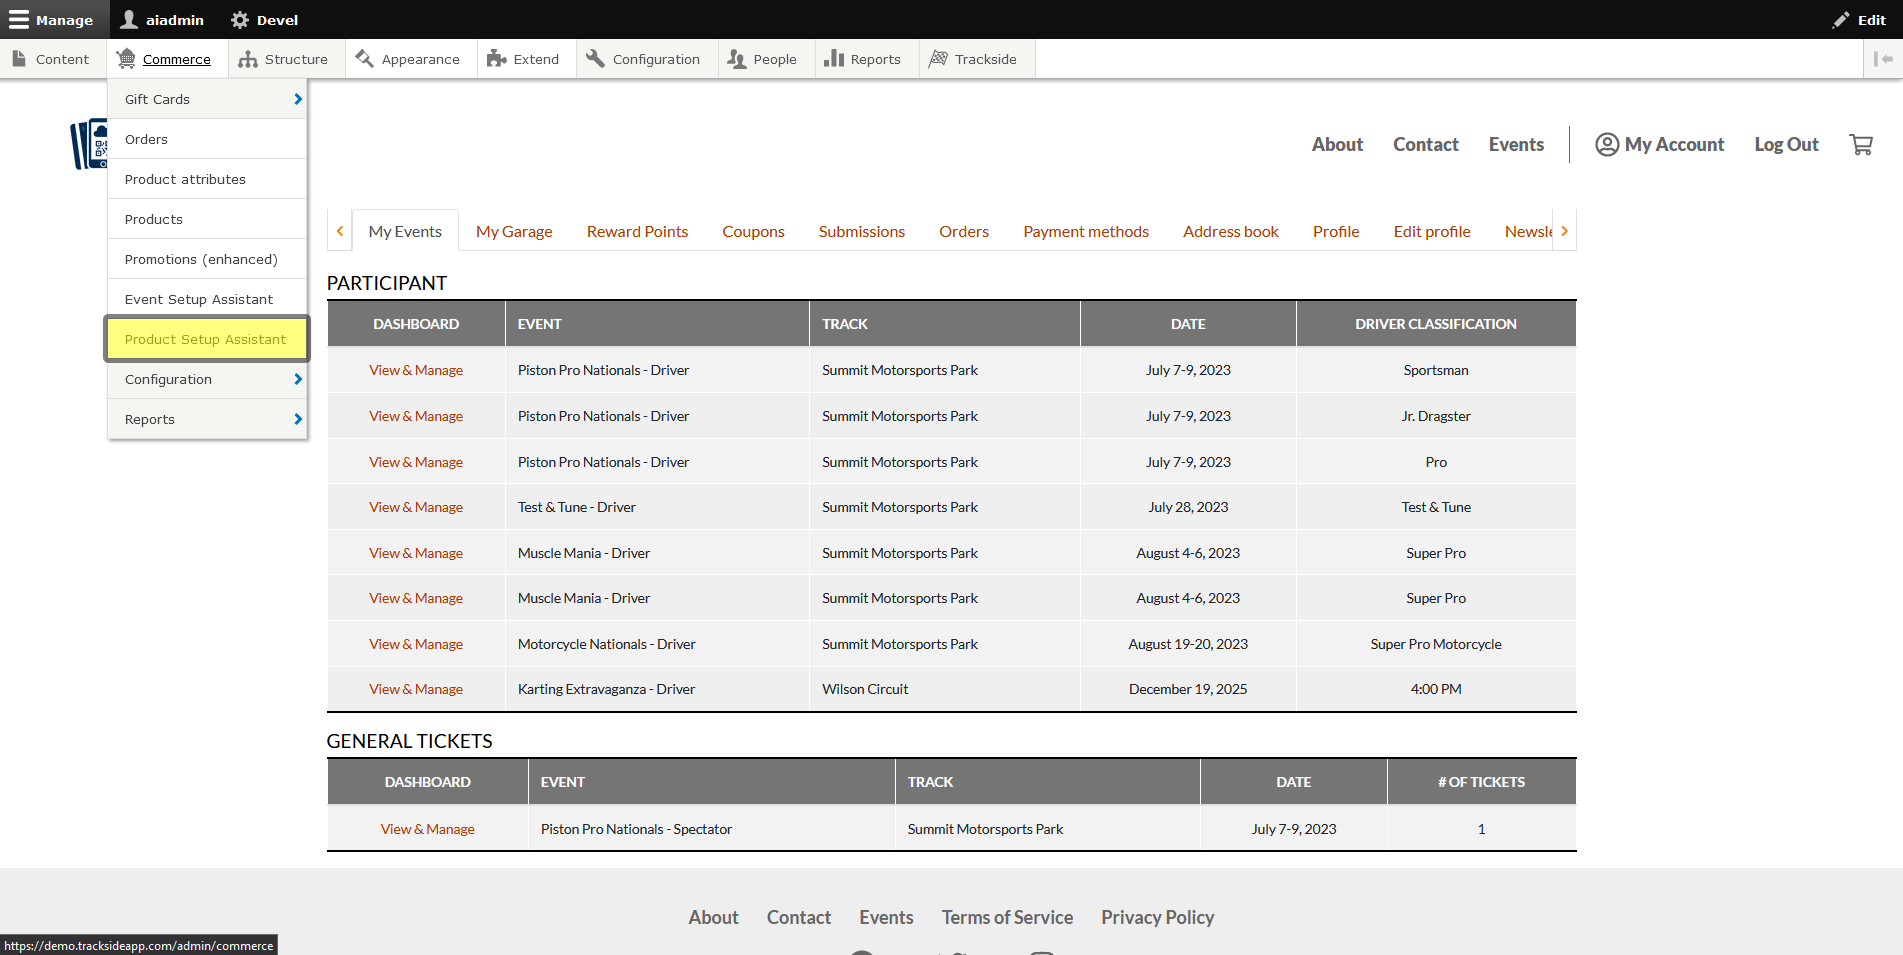
Once you're logged in, begin by hovering over Commerce in the Management Menu.
Then click on Product Setup Assistant.
Step 2 - Set up Your Base Product
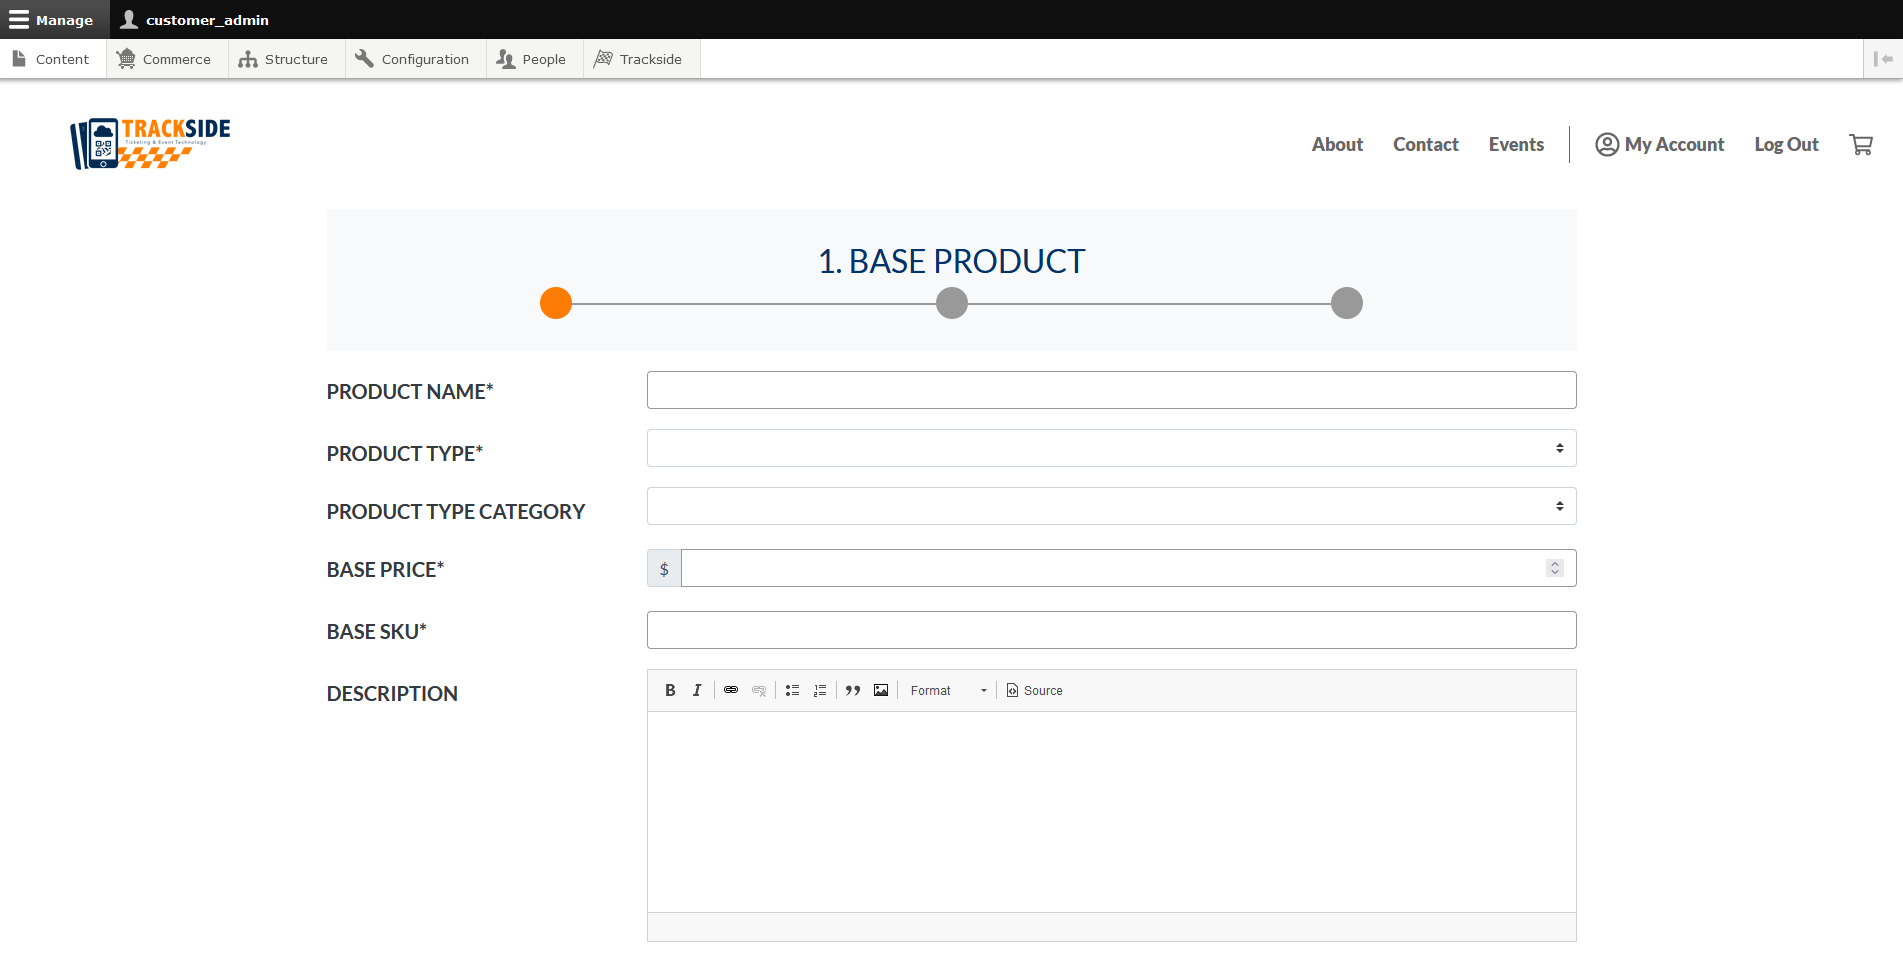
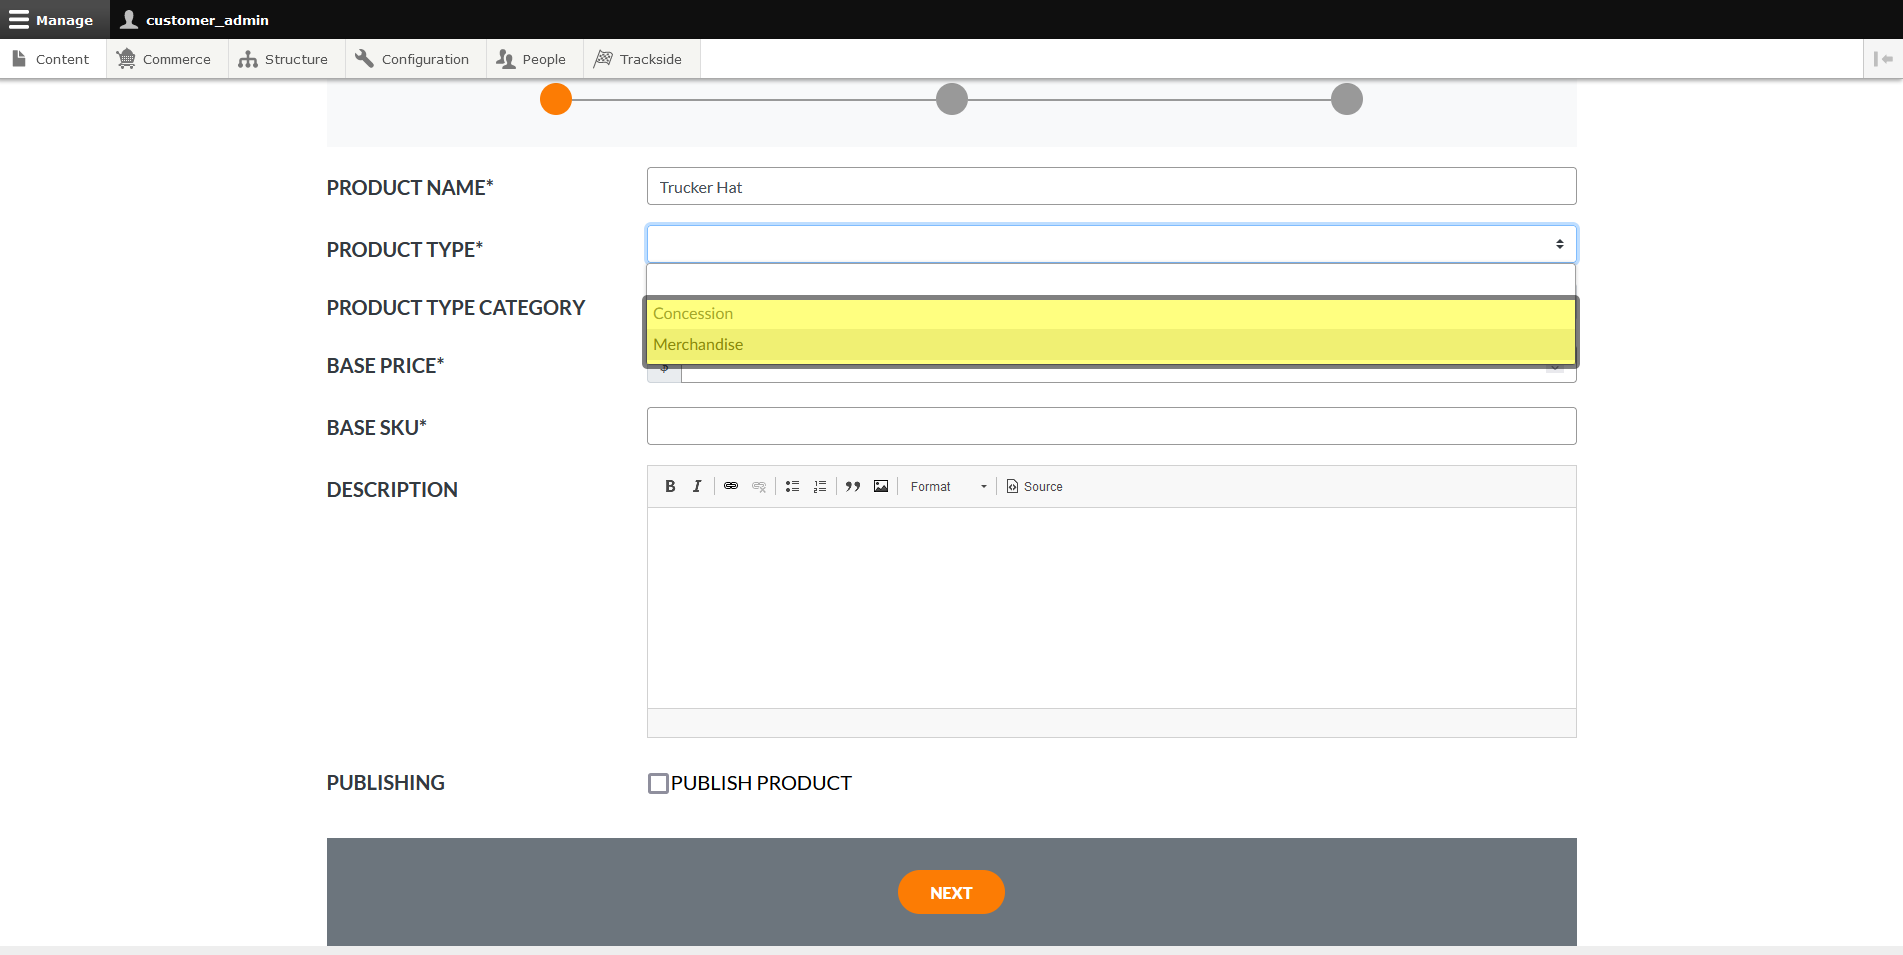
This will take you to the Product Setup Assistant. The first thing it's going to have you do is set up your Base Product. The two other steps represented by the bulbs in the picture at the top of the form are going to be Product Options and Product Stock, so we'll get to those in the next couple articles. If you have different colors or sizes you need to enter and track inventory separately on, those will be made easier there, but for now we're focused on the Base Product those Options stem from. This part of the form is for that Base Product.

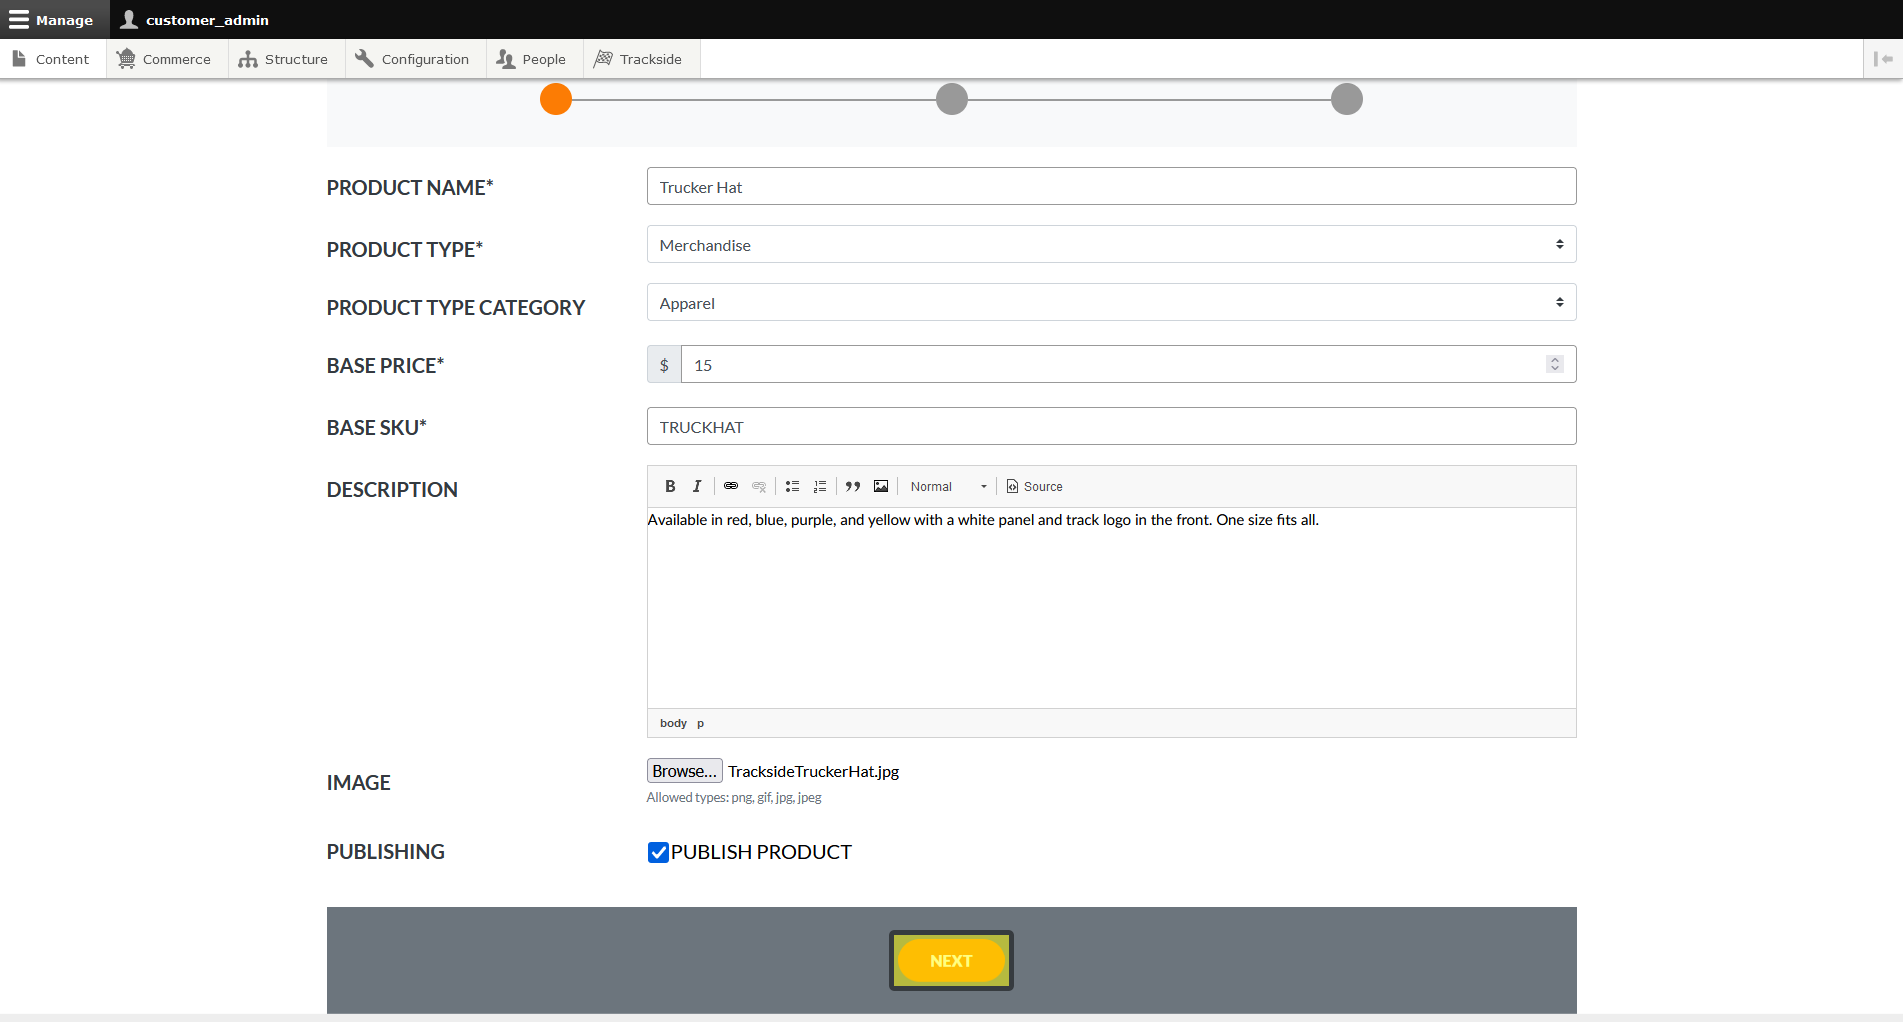
We'll start by naming the product, and then we'll add the Product Type. Note that you have Merchandise and Concession to choose from.
Once you have a Product Type selected, you have the option to add a Product Type Category as well if you have set them up. This is one of the few fields that is optional on this form. Check out Product Type Categories in Prerequisites if you need help setting those up.
Then set your base price. This works like setting up base pricing for tickets. If your Options need to be able to be priced differently, you'll get a chance to set those up soon. For now, set this up for the lowest priced Variation.
Next, you'll create a SKU. A shortened form of the product name usually works well for this. Again, you want to think of this for your base product. You'll be able to add a SKU modifier for your Variations soon.
You can then add a description and an image if you'd like. Currently these are unused.
At the bottom of the form is a Publish Checkbox. Like the ones we've seen before, if you choose not to publish it by leaving the box unchecked, it won't be visible outside of the Product Page until it's published.
Once you have the fields filled out, we're ready to click Next and move on to Product Options.