
Manually Create an Order for a Customer (In Progress)
This article will show you how to manually create an order for a customer. It takes several of the processes talked about earlier in this section of the wiki to complete this process.
Step 1 - Compile the Order
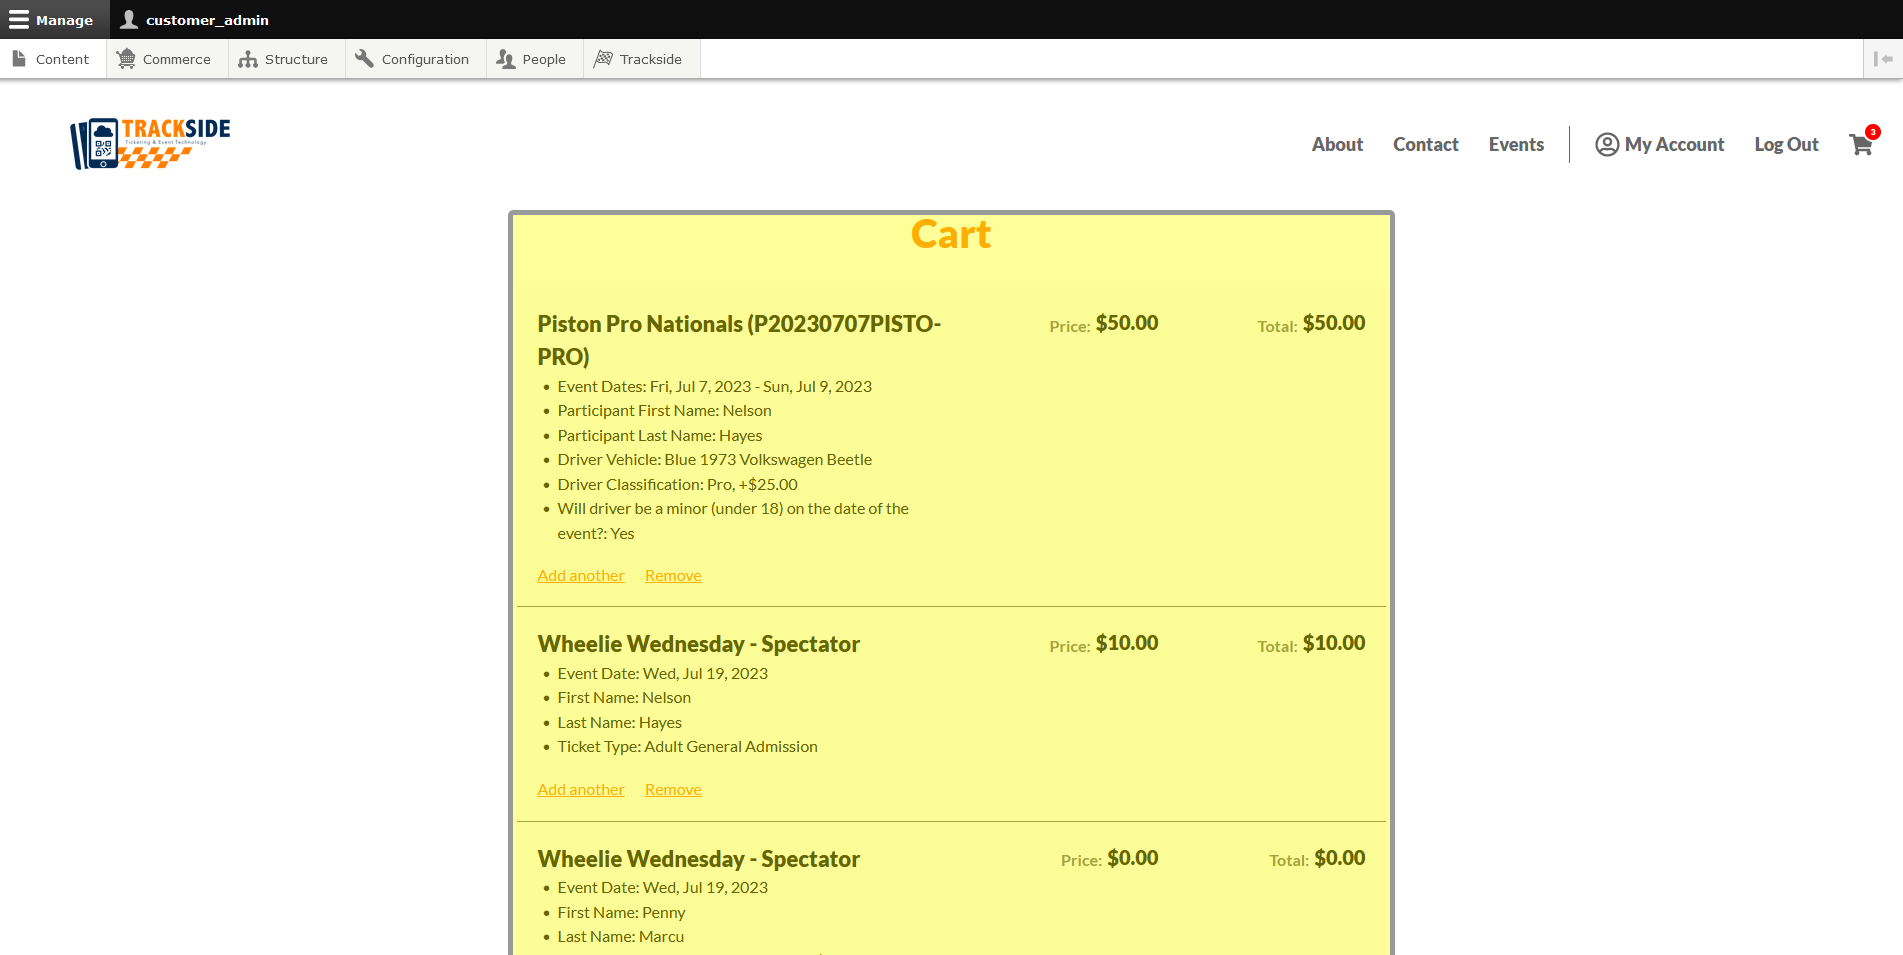
Begin by logging in. The first real step to the process is to assemble the customer's order in your cart. Go through your Trackside site and pick out what you need to pick out in order to complete their order.
Step 2 - Reassign the Order to the Customer
The next step is to Go into the Carts tab in the Orders screen and Reassign the order to the customer who will be purchasing the items in the cart.
Go to the Carts tab as was talked about in detail in View Pending Carts, step 1.
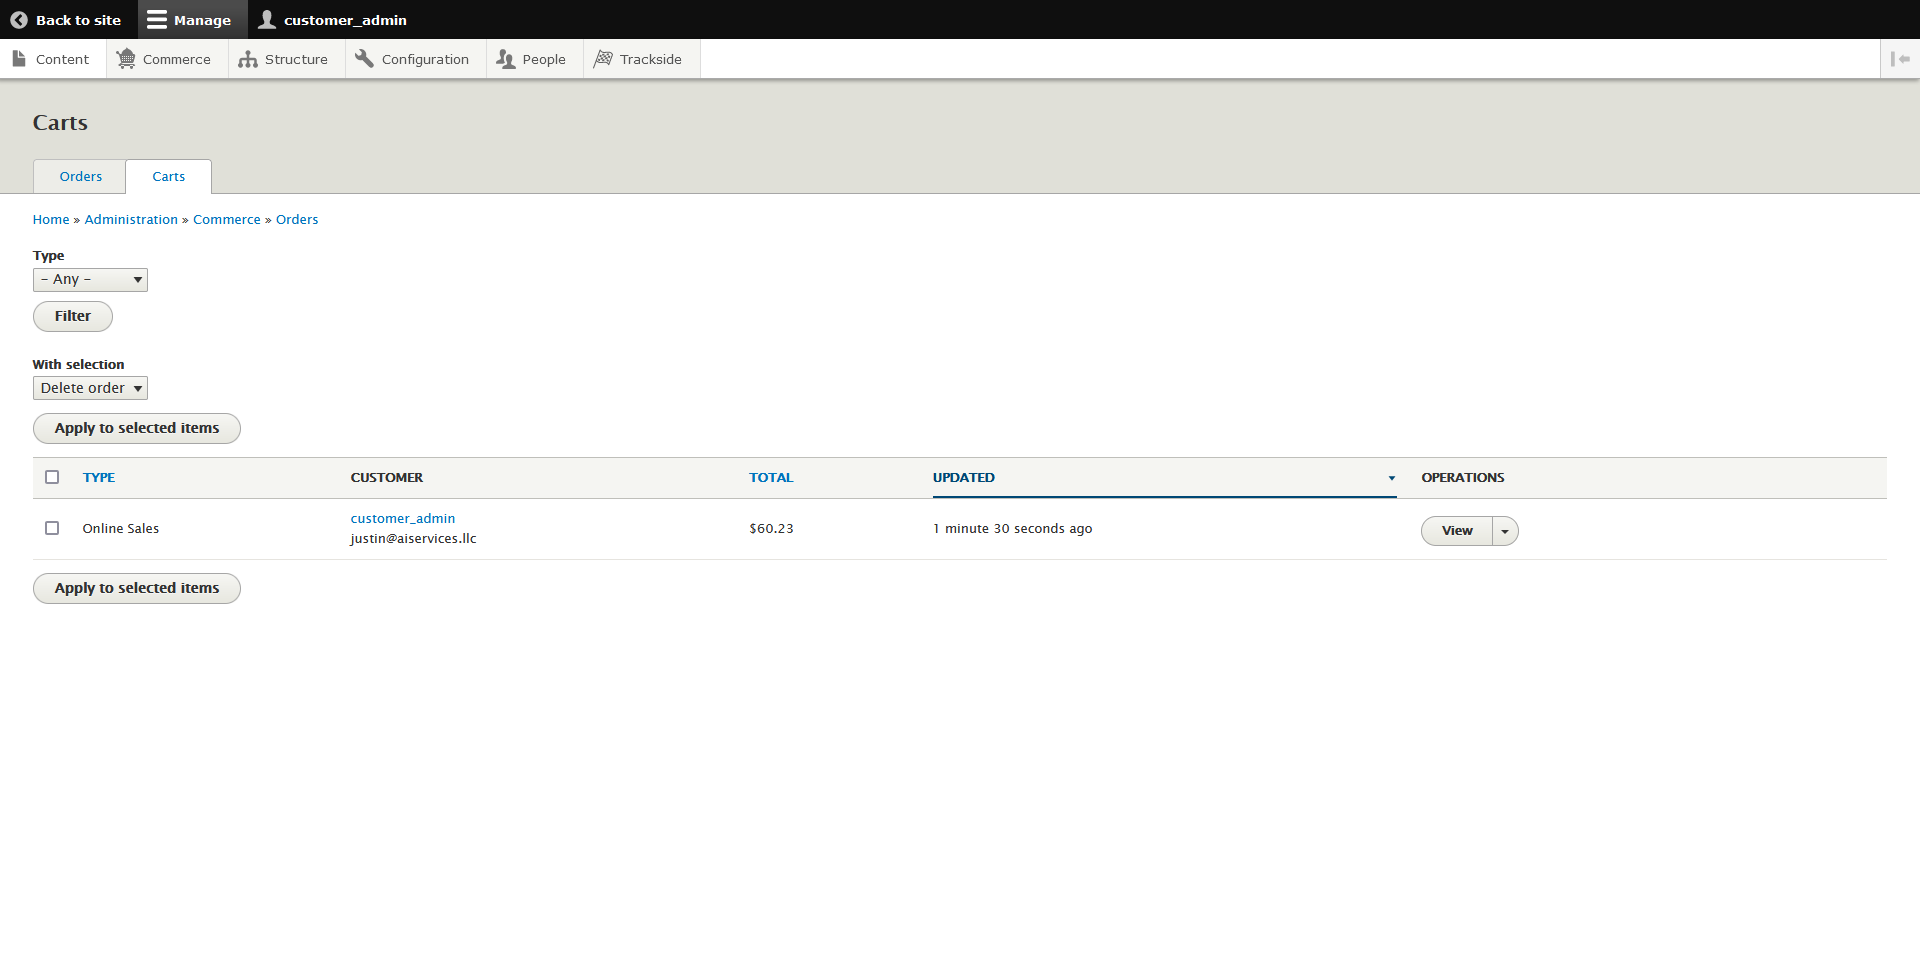
The order in the Carts tab
Once you reach the Carts tab, you'll reassign the order with the same process in Reassign an Entire Order, step 2. You already know you're working on the right order, so start from the part about clicking Reassign.

Reassigning the cart to the customer
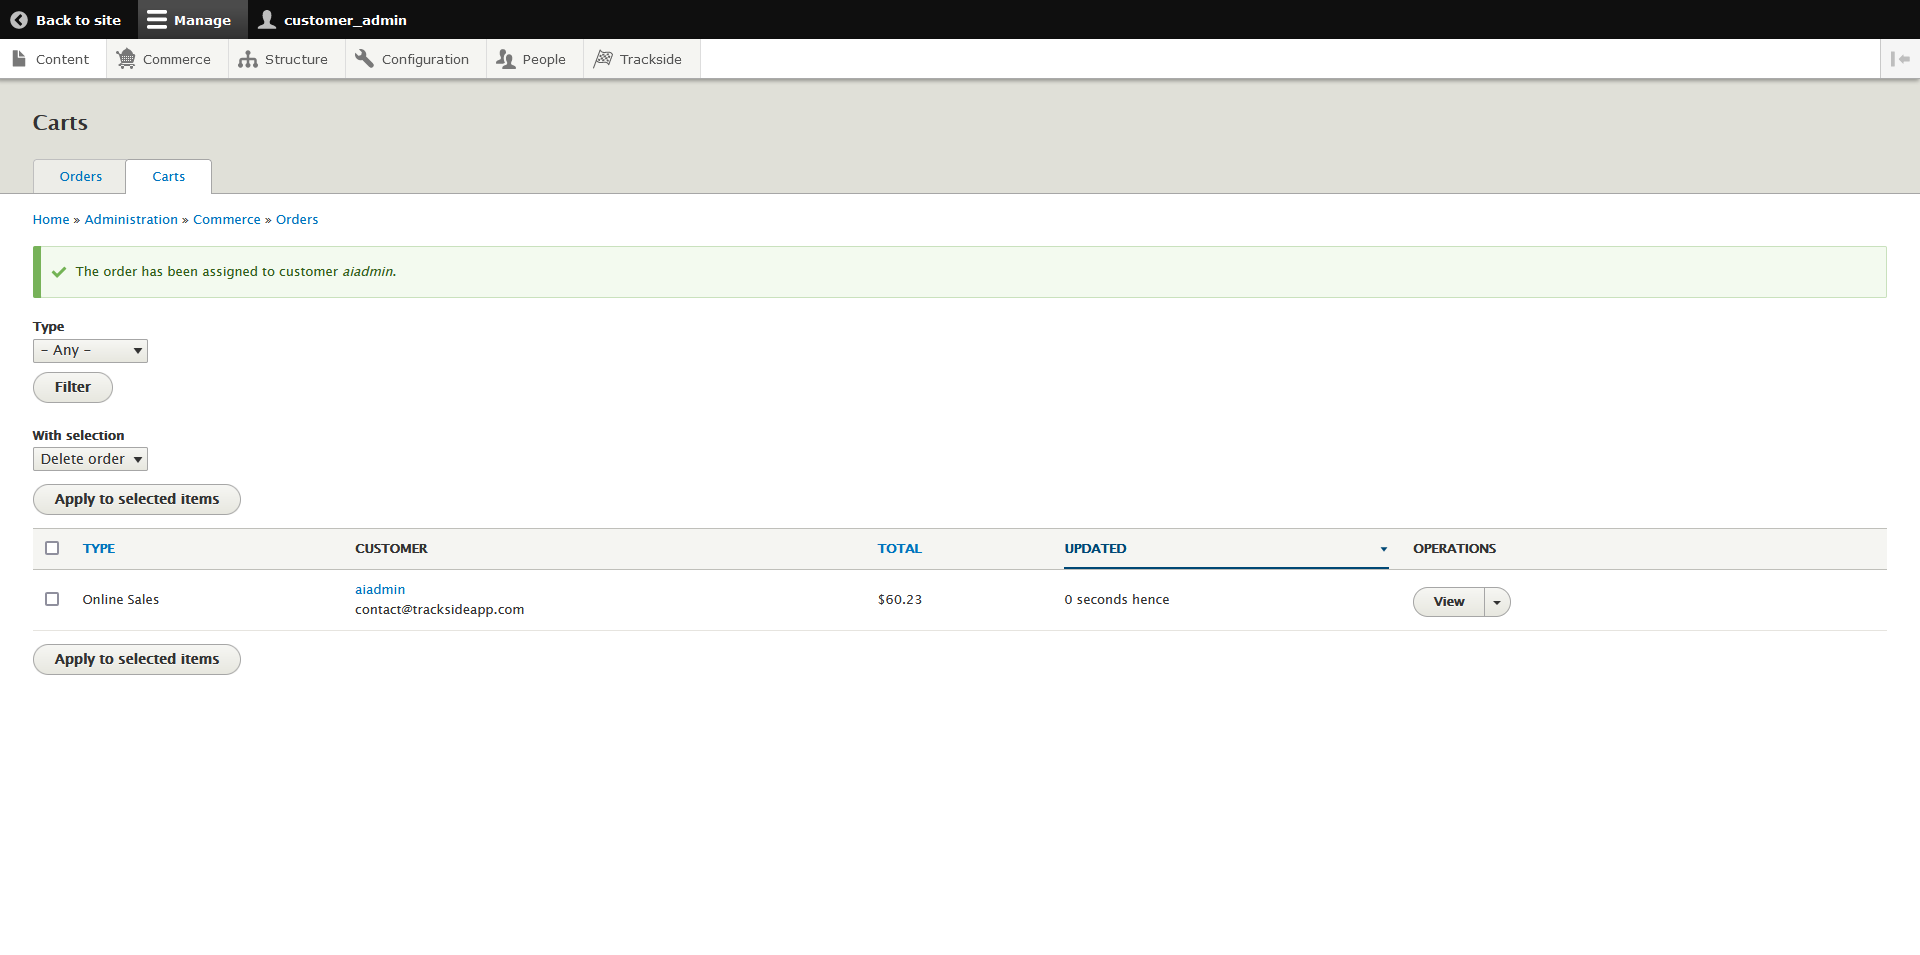
The confirmation the order was successfully reassigned to the customer after being returned to the Carts tab
Step 3 - Enter Customer Info
Once the order is reassigned, verify the customer's billing information is correct if the order is for an existing customer. If you had to create a new customer to reassign the order, you will also have to add billing information. This process is covered in Edit Pending Carts, step 2. You're going to use the drop down menu in the carts tab to get to Edit, then you only need to worry about the part about billing info.
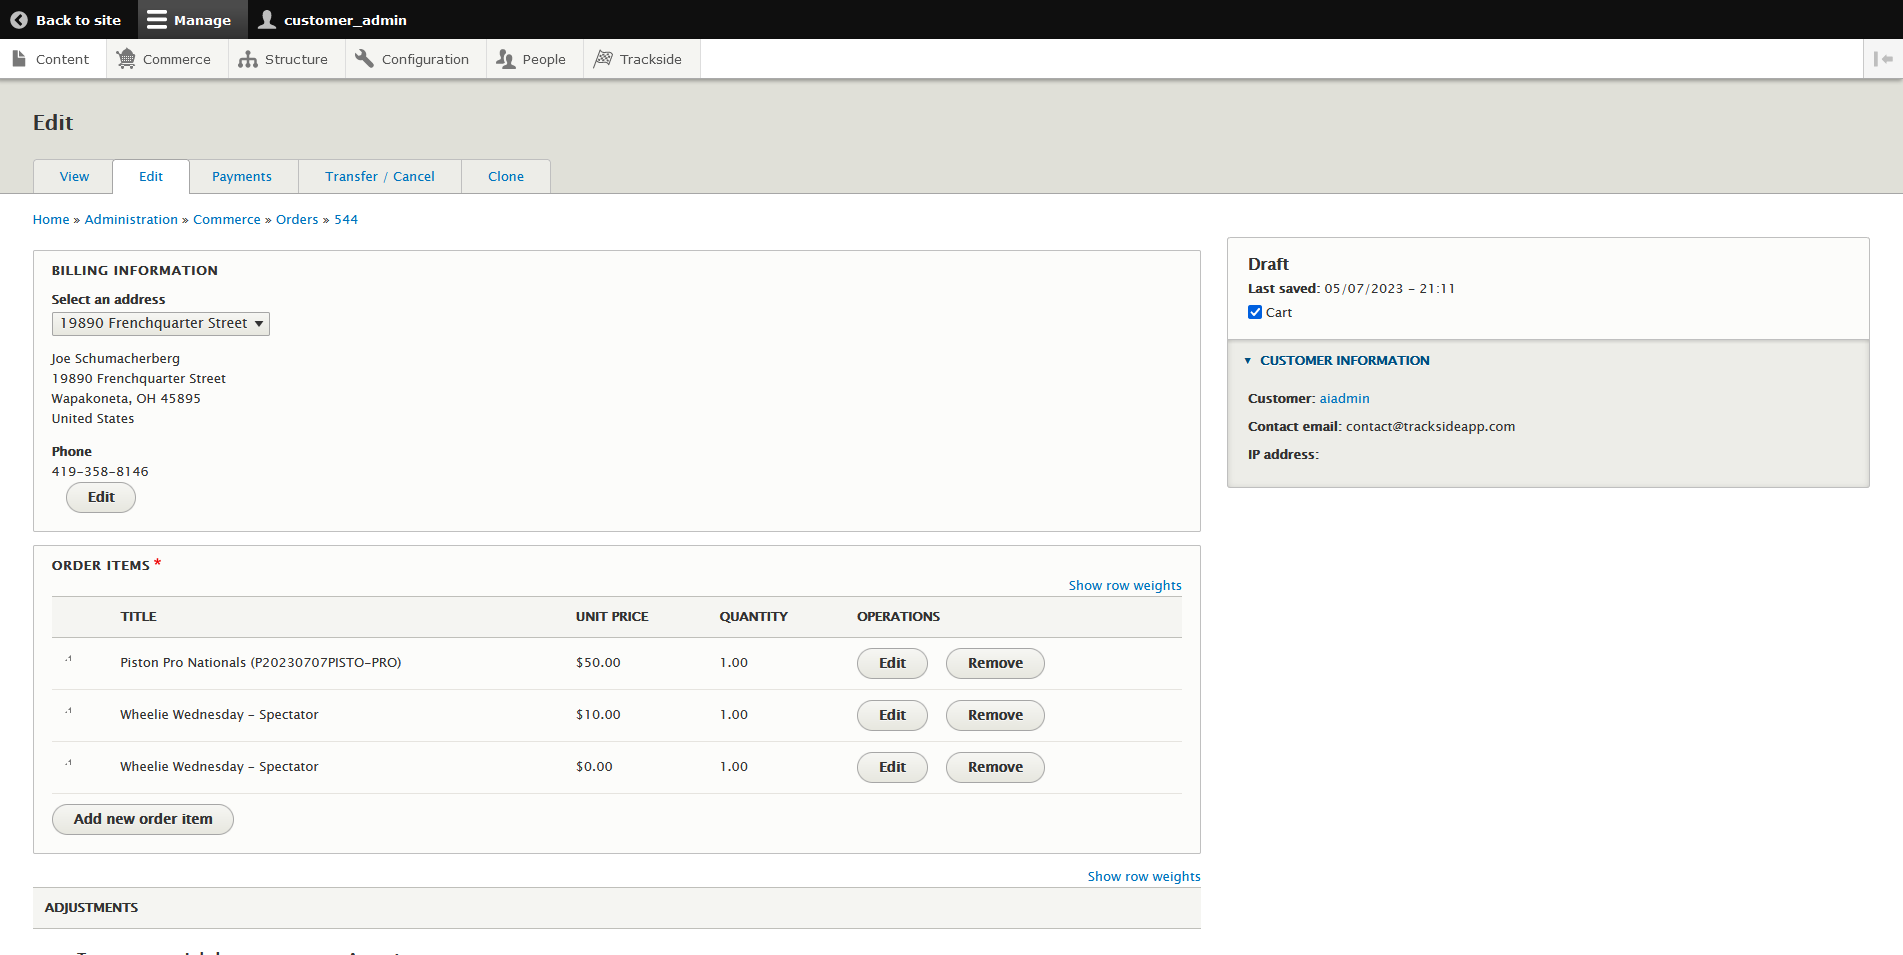
Verifying an existing customer's billing information