
Event Details
This article will walk through setup of your first event using the Event Setup Assistant. Ensure you have the prerequisite steps in this book set up, as when your event is published, that's it, your ticket sales are live!
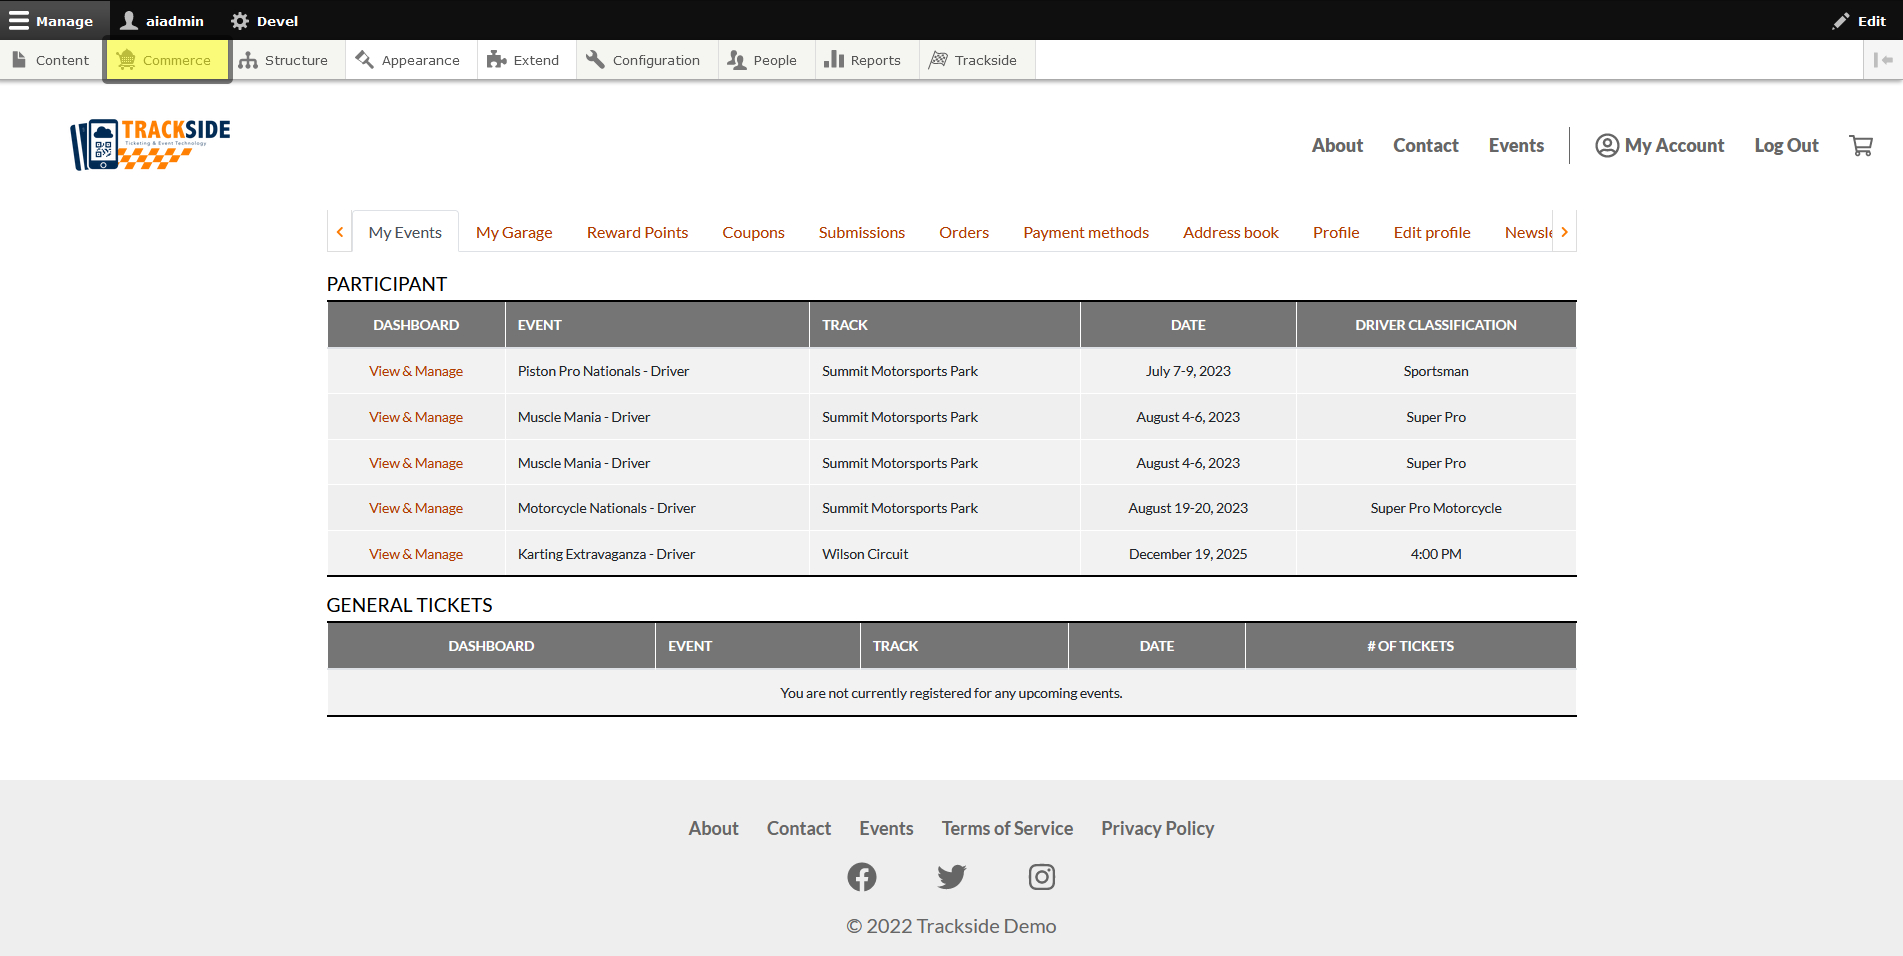
Step 1 - Hover over Commerce
Once you're logged in, hover over Commerce in the management menu. If you can't see the menu, click Manage in the top left. You can also click on Commerce, and it will take you to a separate screen where you can also click on the next step there.
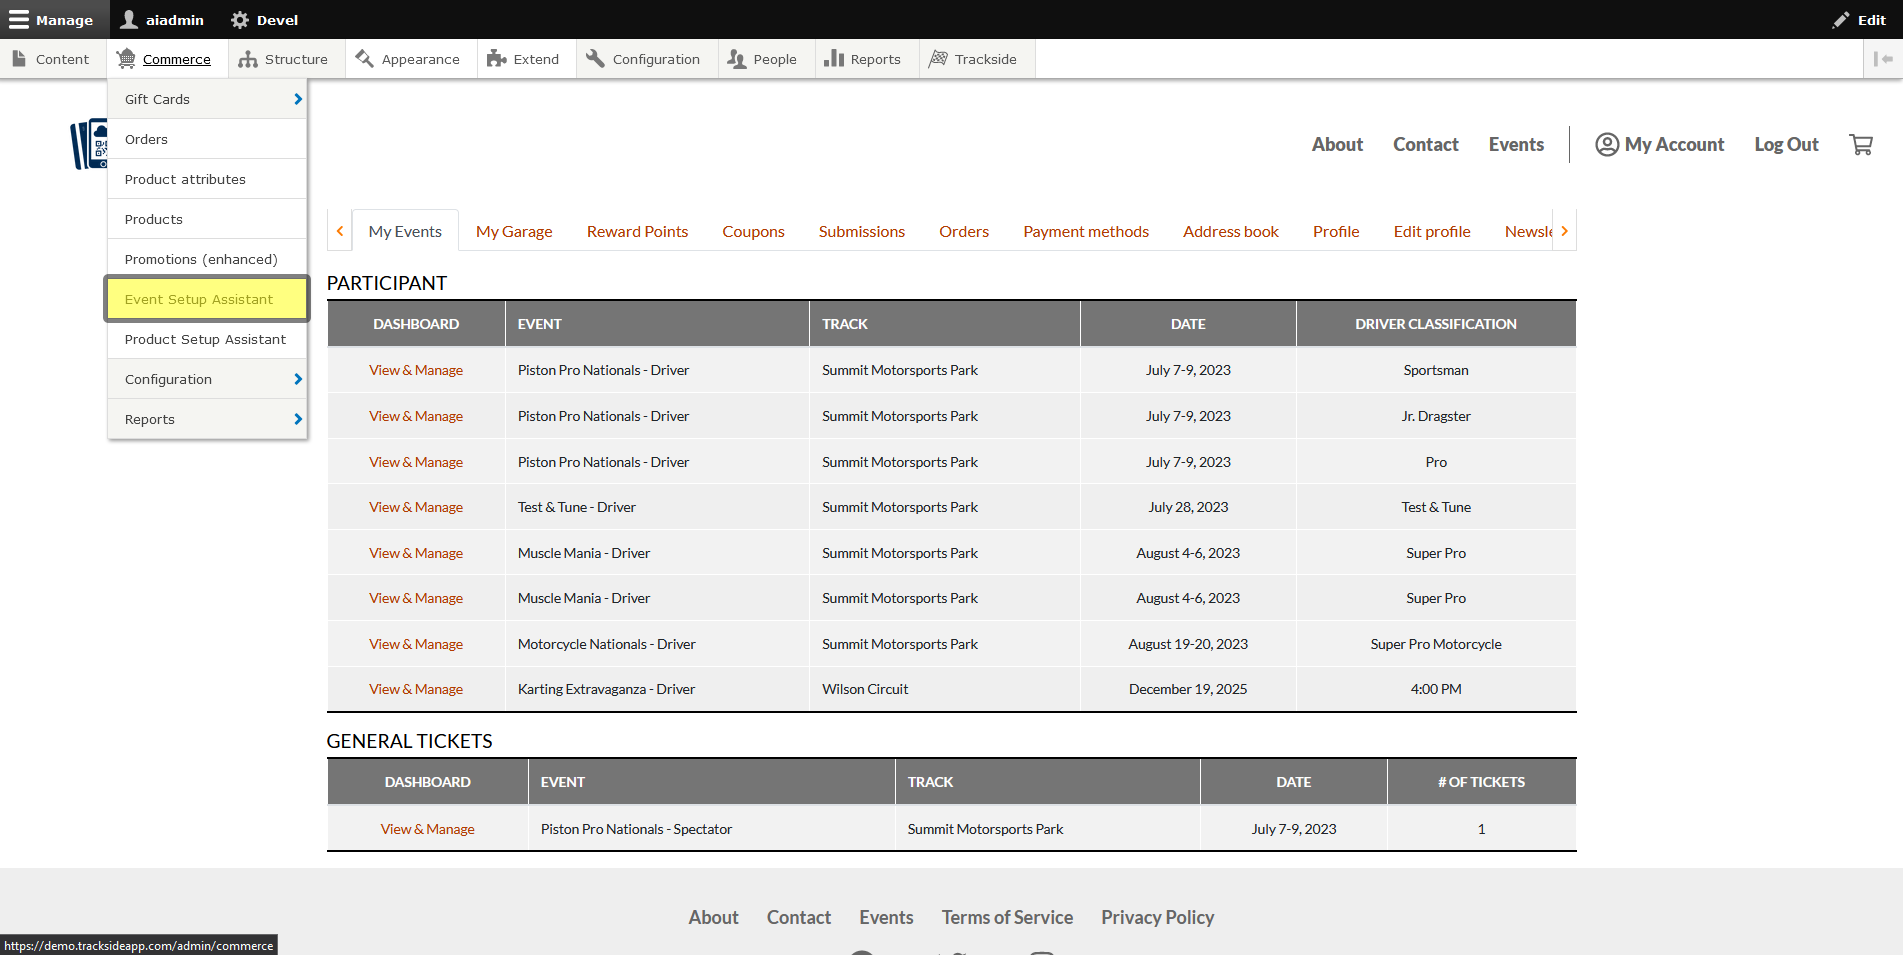
Step 2 - Click on Event Setup Assistant
In the Commerce menu, click on Event Setup Assistant. This will take you to the assistant so you can get your first event set up.
Step 3 - Select Event Type
There's a few stages to the assistant, depending on the type of event you're having. We're going to set that up very first thing. By Event Type, you can see the options. Participant will make registration Participant only, and you'll only have a Participant Registration Product associated with the event. Ticket will create just a General Admission Ticket Product. This would be useful if you're hosting a holiday event at your track, but won't have drivers participating at the event. Both will set up an event with both ticket product types available for purchase. Understanding this, you will proceed to select your Event Type.