Event Details
It's time to setup of your first event using the Event Setup Assistant - ensure you have the prerequisite steps completed before starting the Event Setup Assistant!
IMPORTANT: If you've already set up an event and can't find it listed on your Events Page, see View an Unpublished Event Listing before making another event.
If you already set up an event and need to make changes to it, see Editing Events & Pricing.
Step 1 - Navigate to Event Setup Assistant
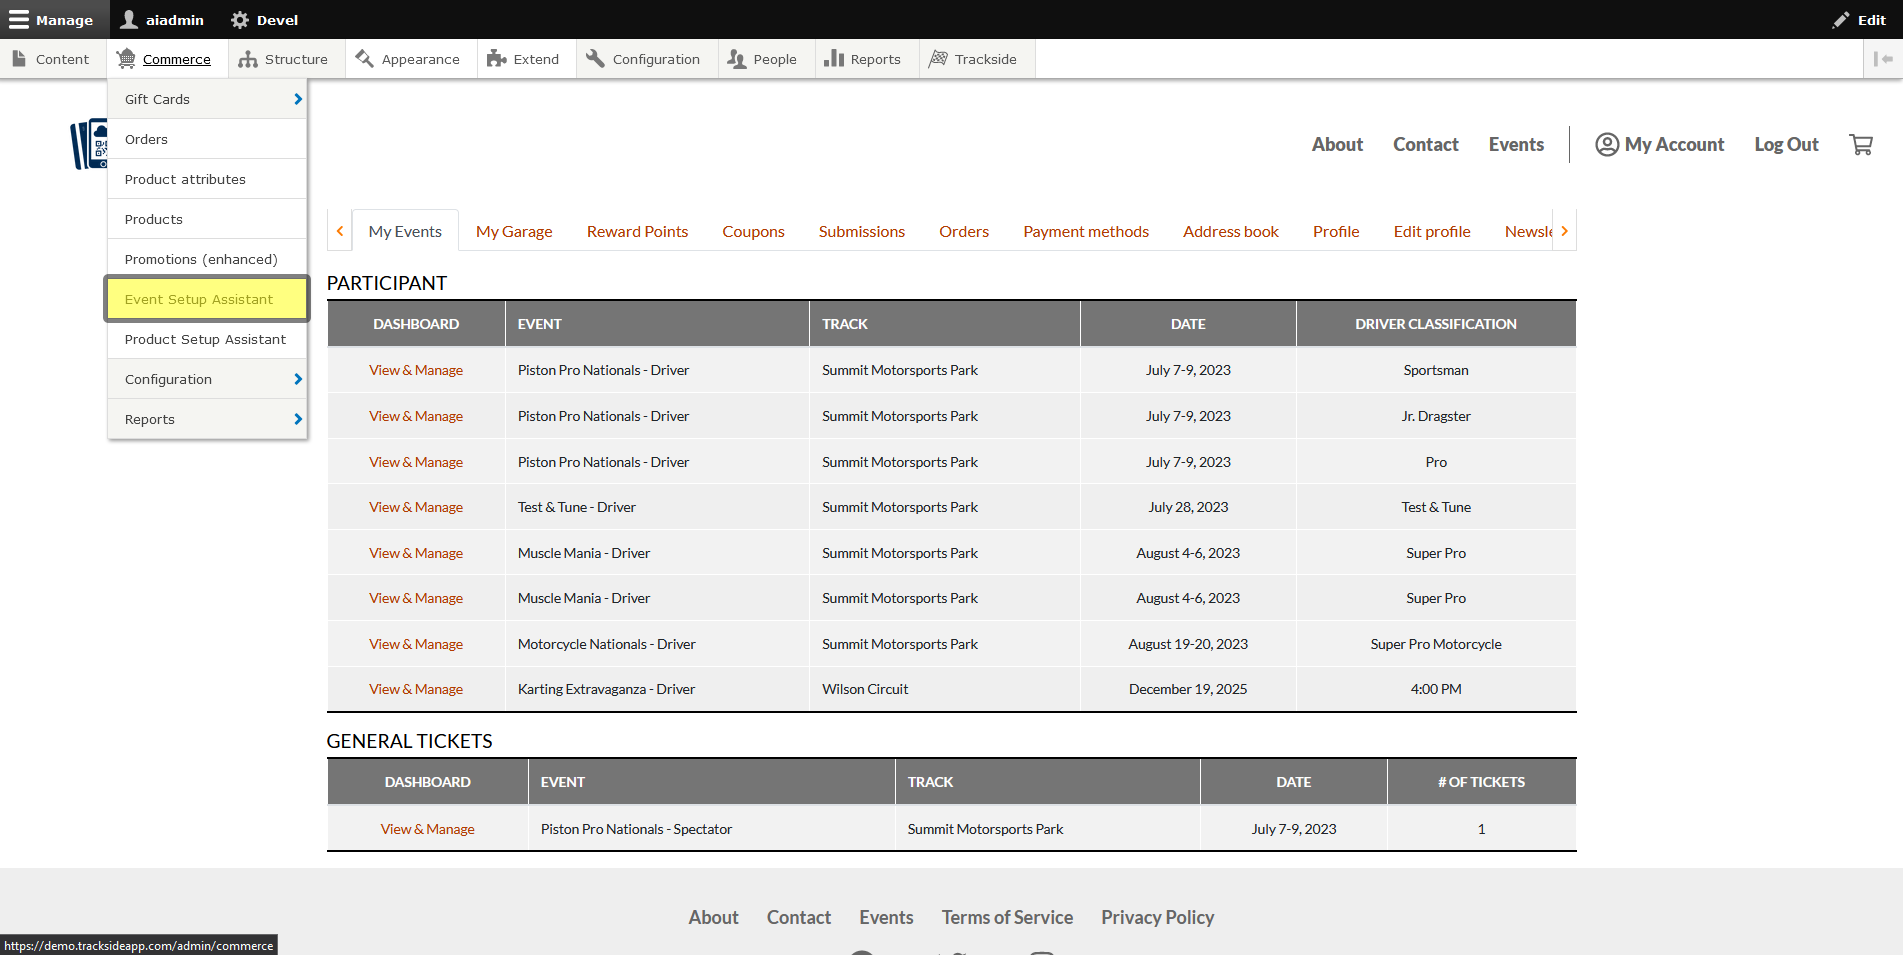
Once you're logged in, hover over Commerce in the Management Menu. If you can't see the menu, click Manage in the top left. You can also click on Commerce, and it will take you to a separate screen where you can also click on the next step there.
In the Commerce menu, click on Event Setup Assistant. This will take you to the assistant so you can get your first event set up.
Step 2 -Select Event Type
PARTICIPANT
Participant will make registration Participant only, and you'll only have a Participant Registration Product associated with the event.
TICKET
Ticket will create just a General Admission Ticket Product. This would be useful if you're hosting a holiday event at your track, but won't have drivers participating at the event.
BOTH
Both will set up an event with a Participant Registration Product AND a General Admission Ticket Product available for purchase. As long as you're setting up an event with racers/participants AND you're also selling tickets for spectators at some point during the weekend or course of the event, you'll want to choose BOTH.

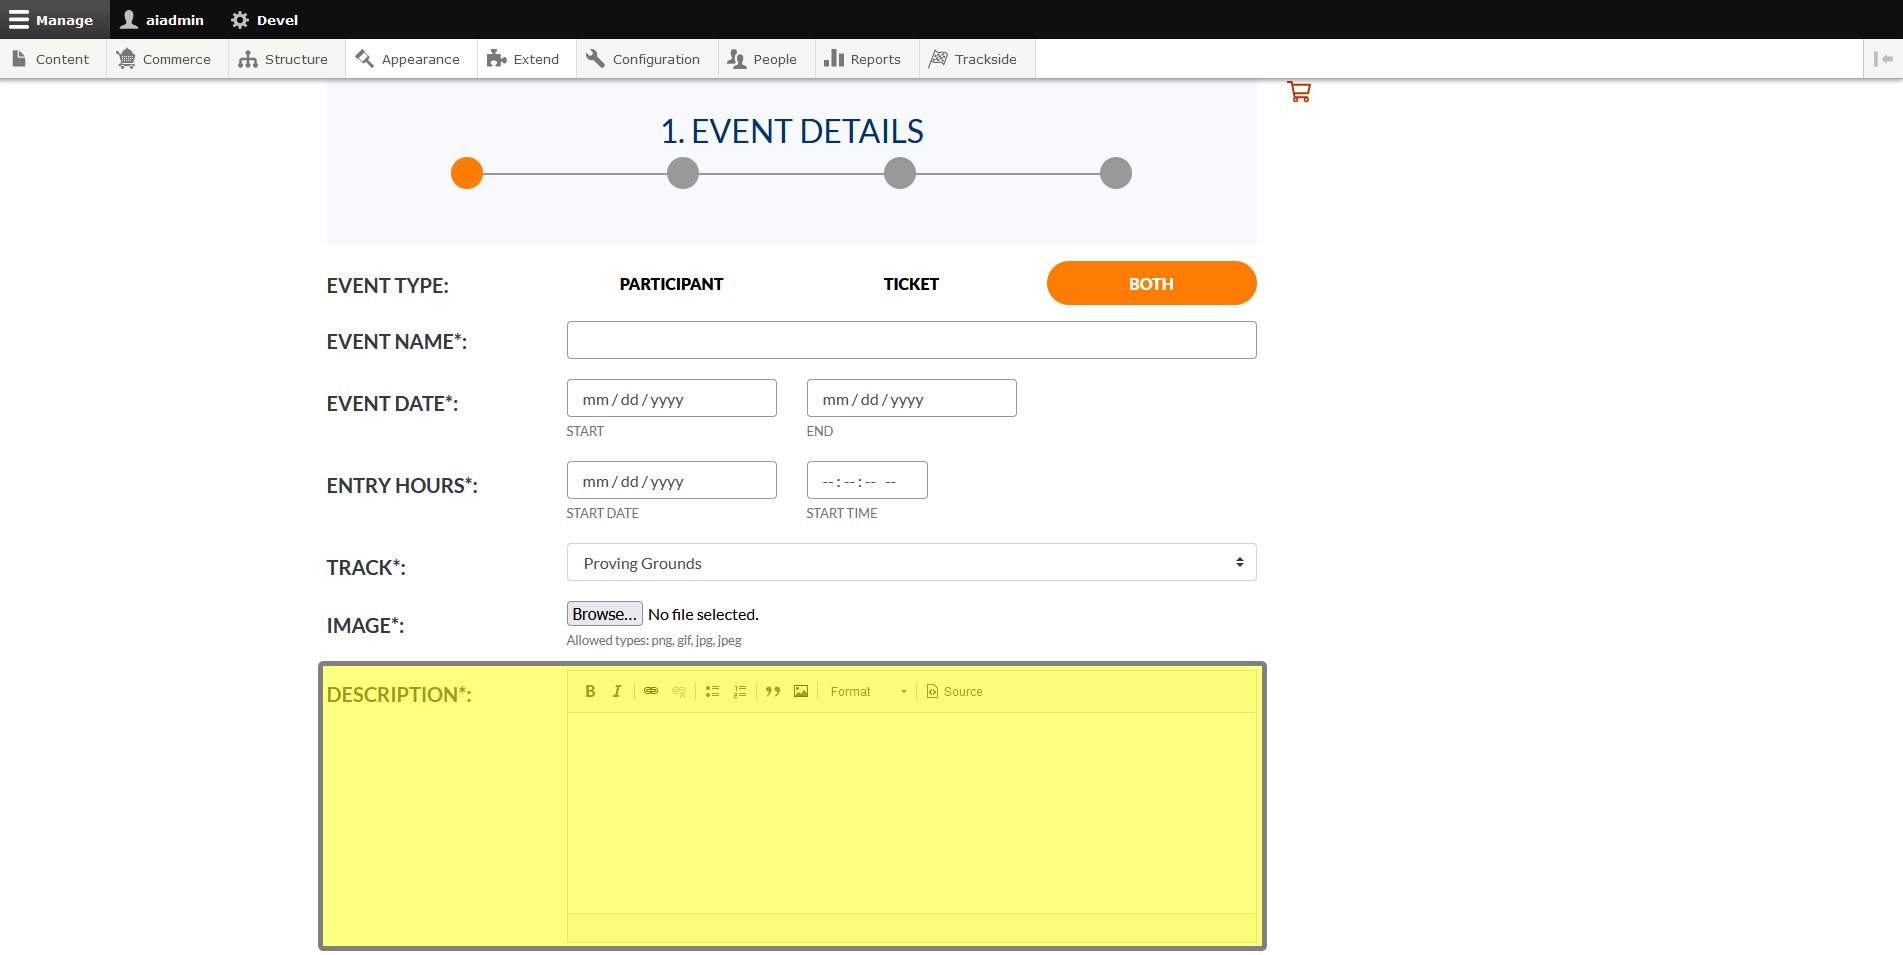
Step 3 - Fill out the Form & Set Publish Status
Enter Event Name
Enter the name of the event you want displayed in it's Event Listing.
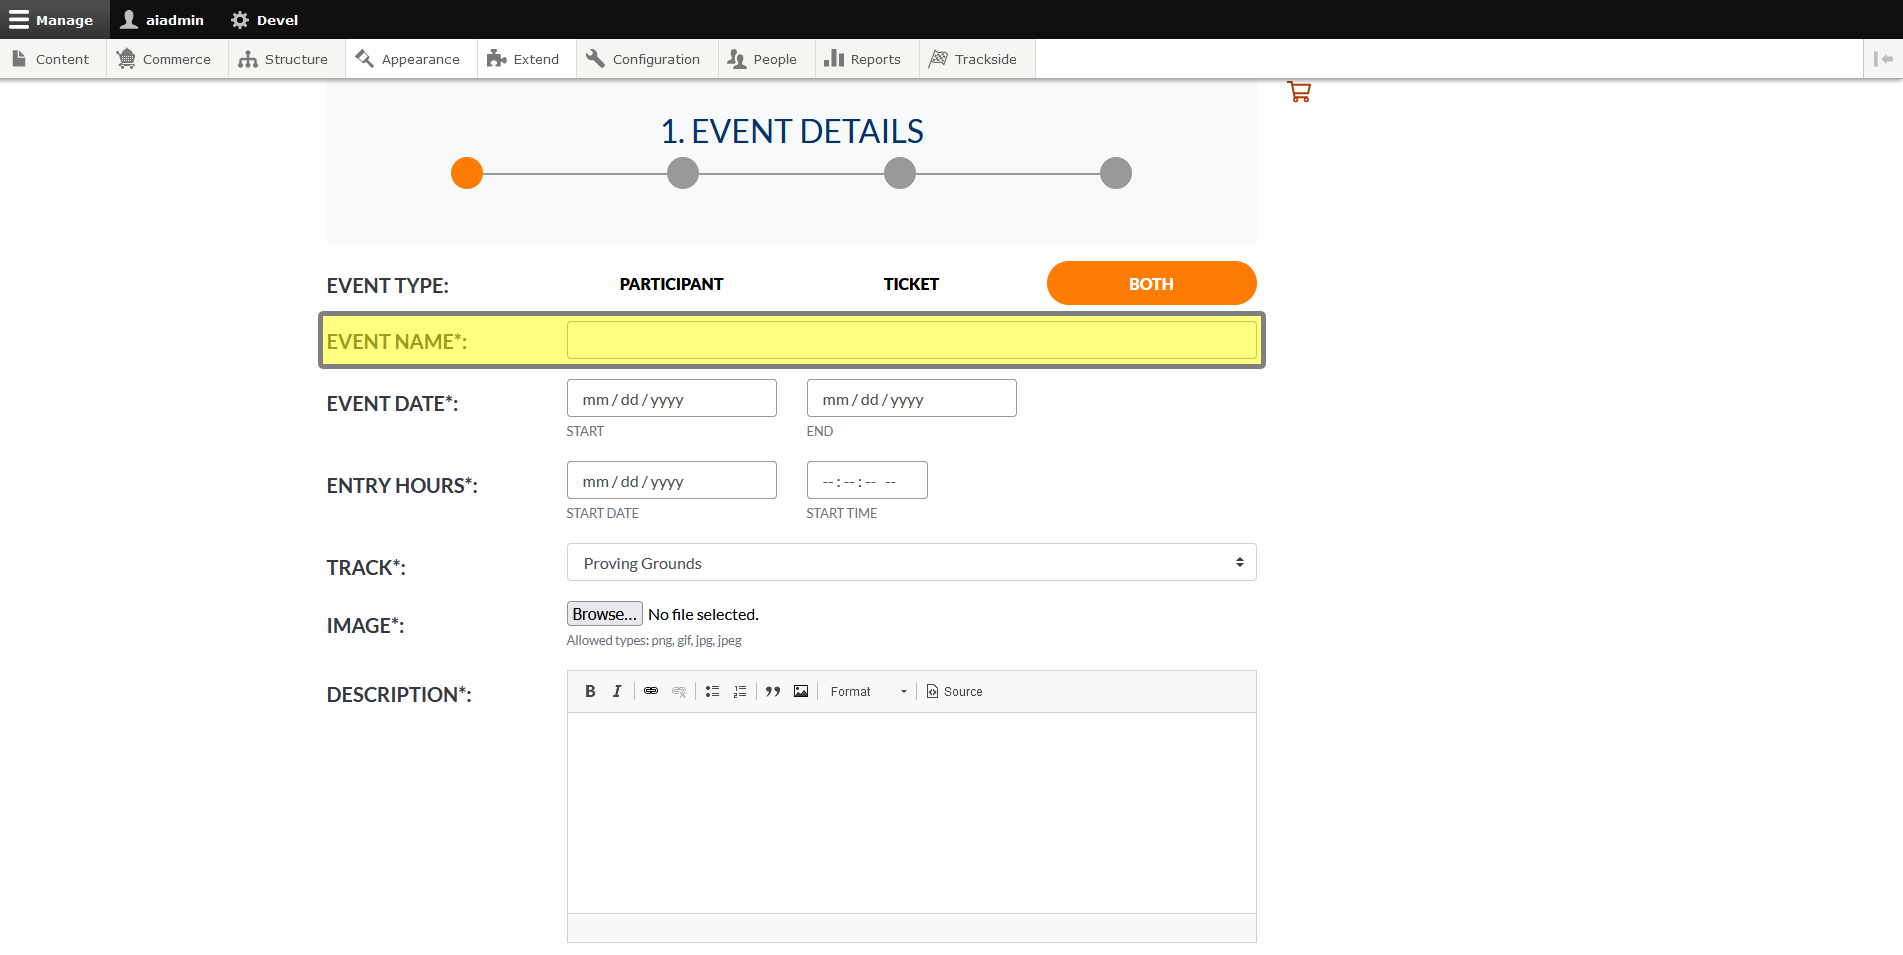
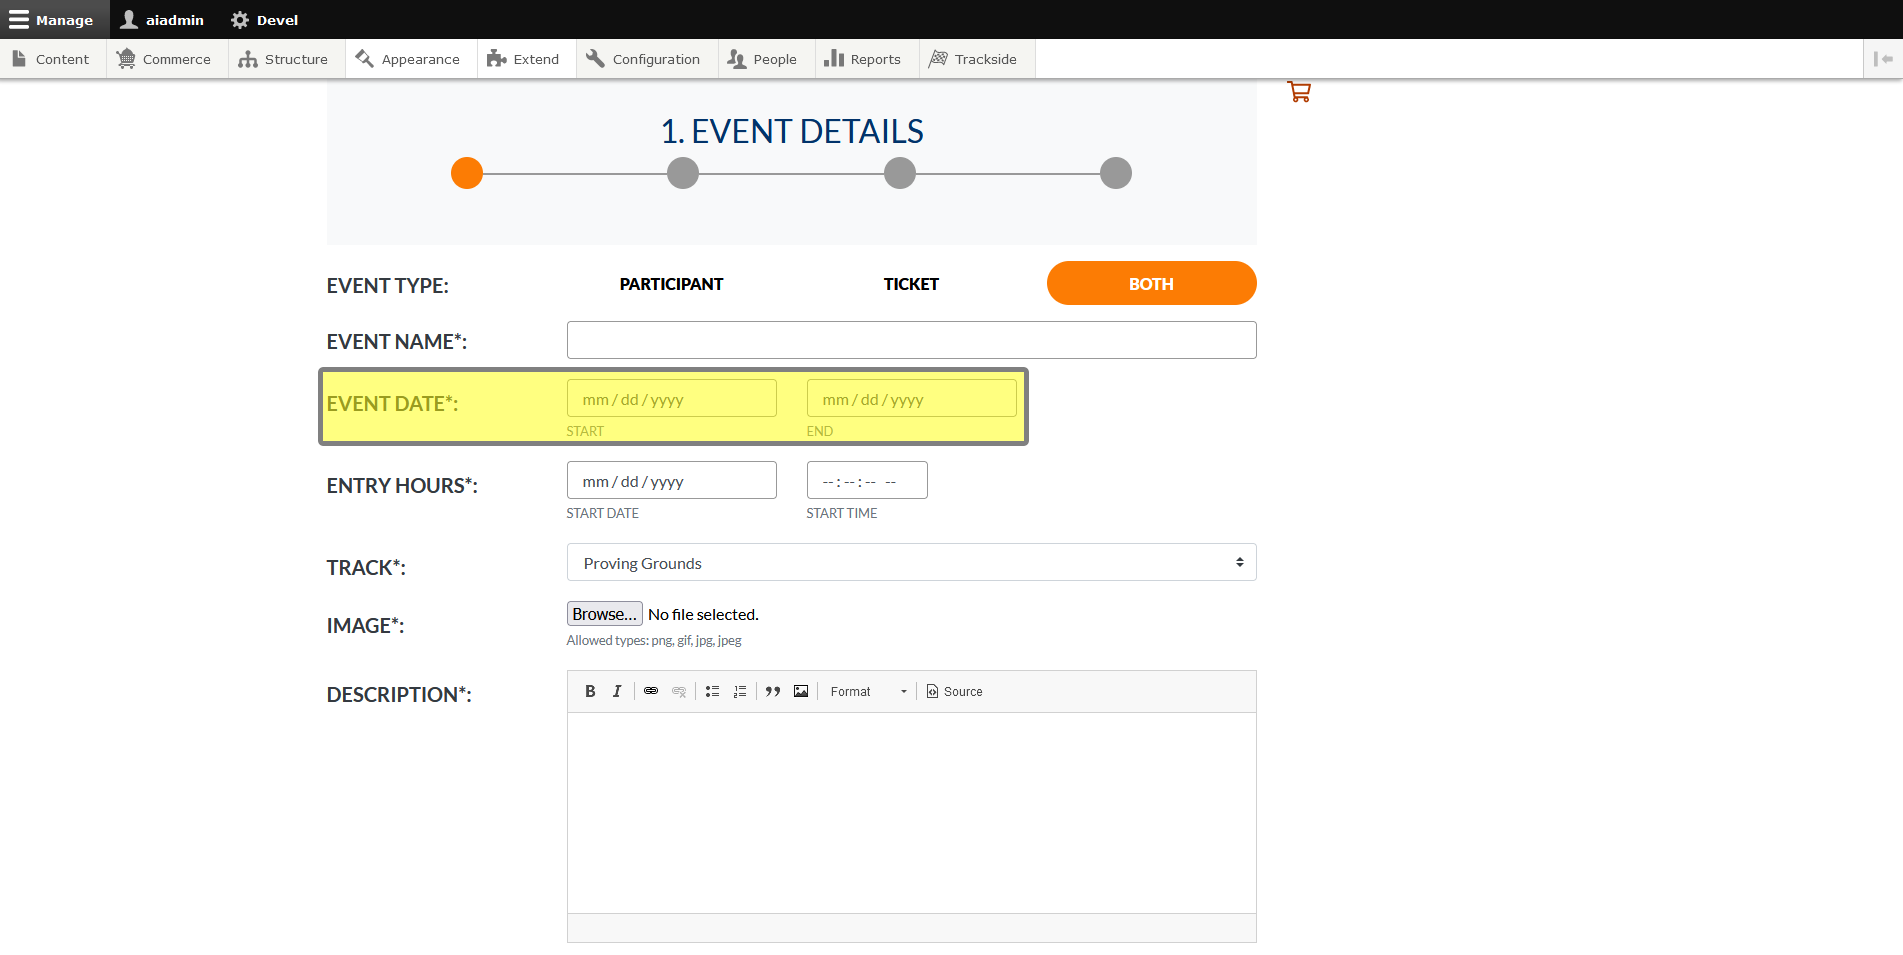
Enter Event Dates
Here you'll list the start and end dates for your event. A calendar is provided for convenience.
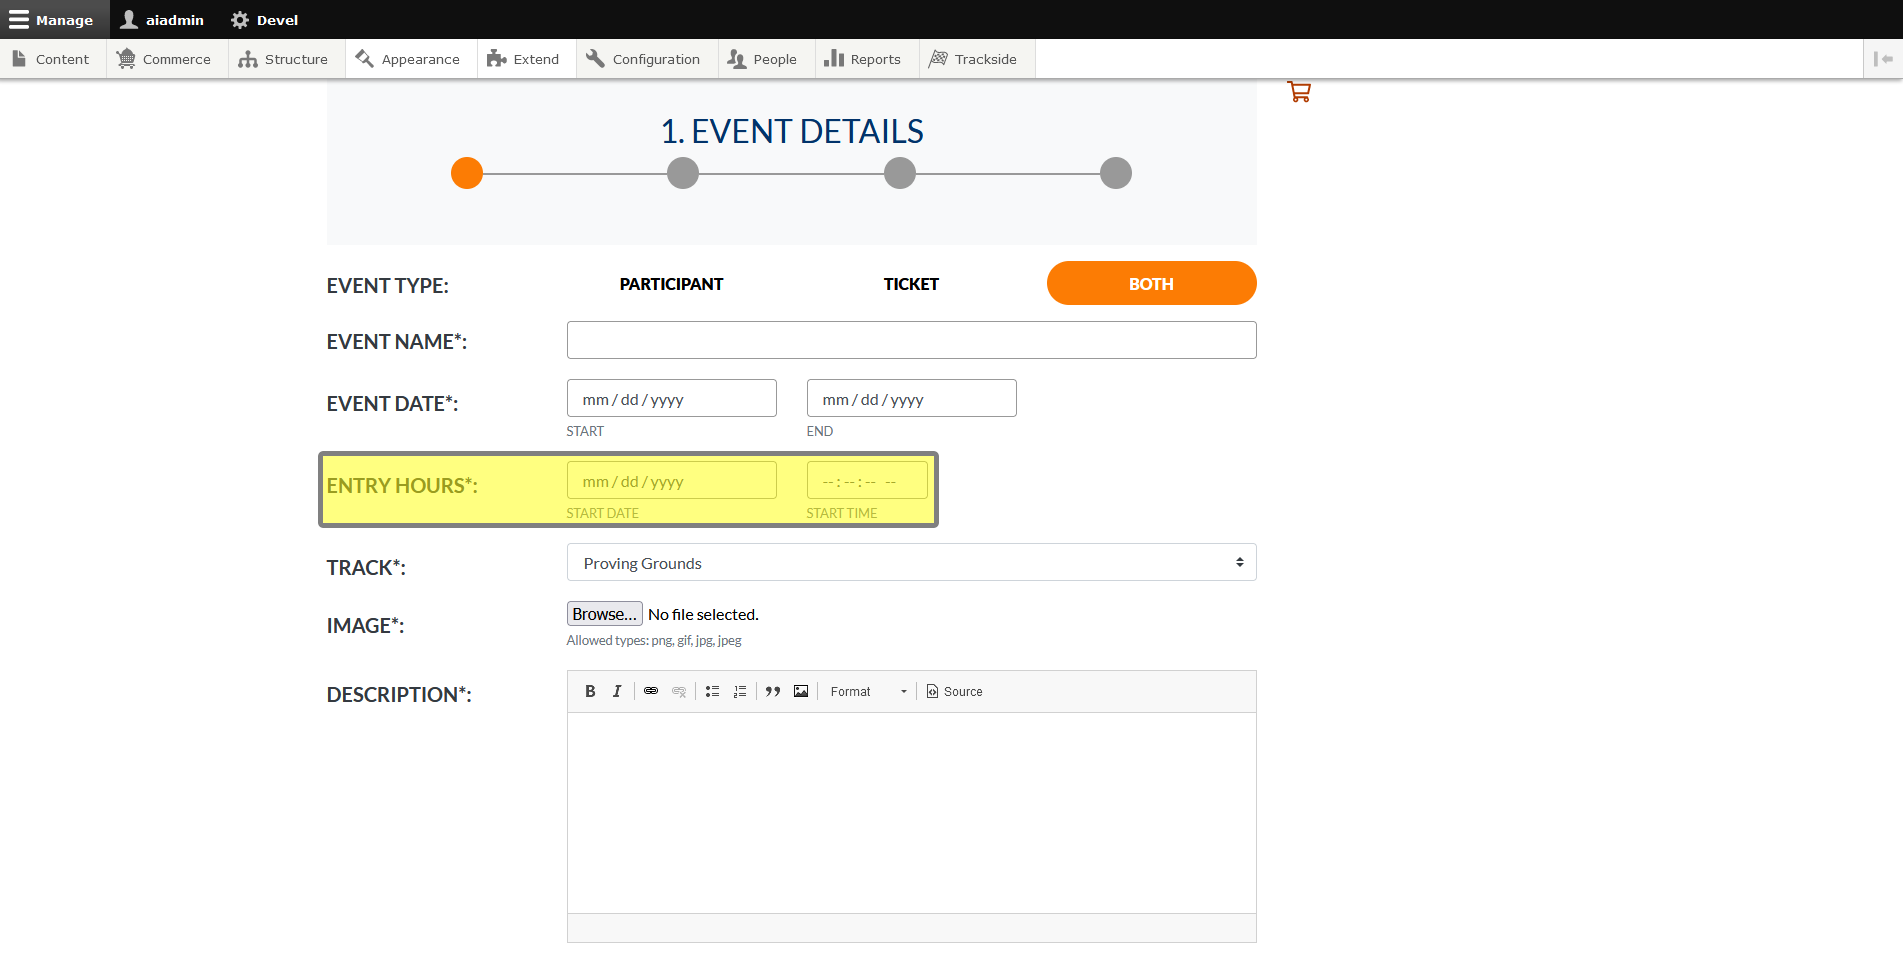
Enter Entry Hours
This is another important step that is worthy of some extra explanation. Entry Hours (a time to open the gates) is when Trackside will begin allowing tickets on site for this event.
IMPORTANT: Set this to the EARLIEST day/time you expect to be scanning tickets!
If you scan tickets BEFORE this time, they will show as valid but for a future event and the ticket WILL BE CONSUMED. This will cause confusion for gate staff later when they try to scan their ticket on the correct date/time, as it will say their ticket has already been scanned.
As a tip, if racers are showing up the night before, set this to the day before so you can scan their tickets and begin the check in process the night before. If your drivers are showing up the day of, make this maybe an hour before you expect your first drivers, as this will alleviate any troubles with allowing early drivers in.
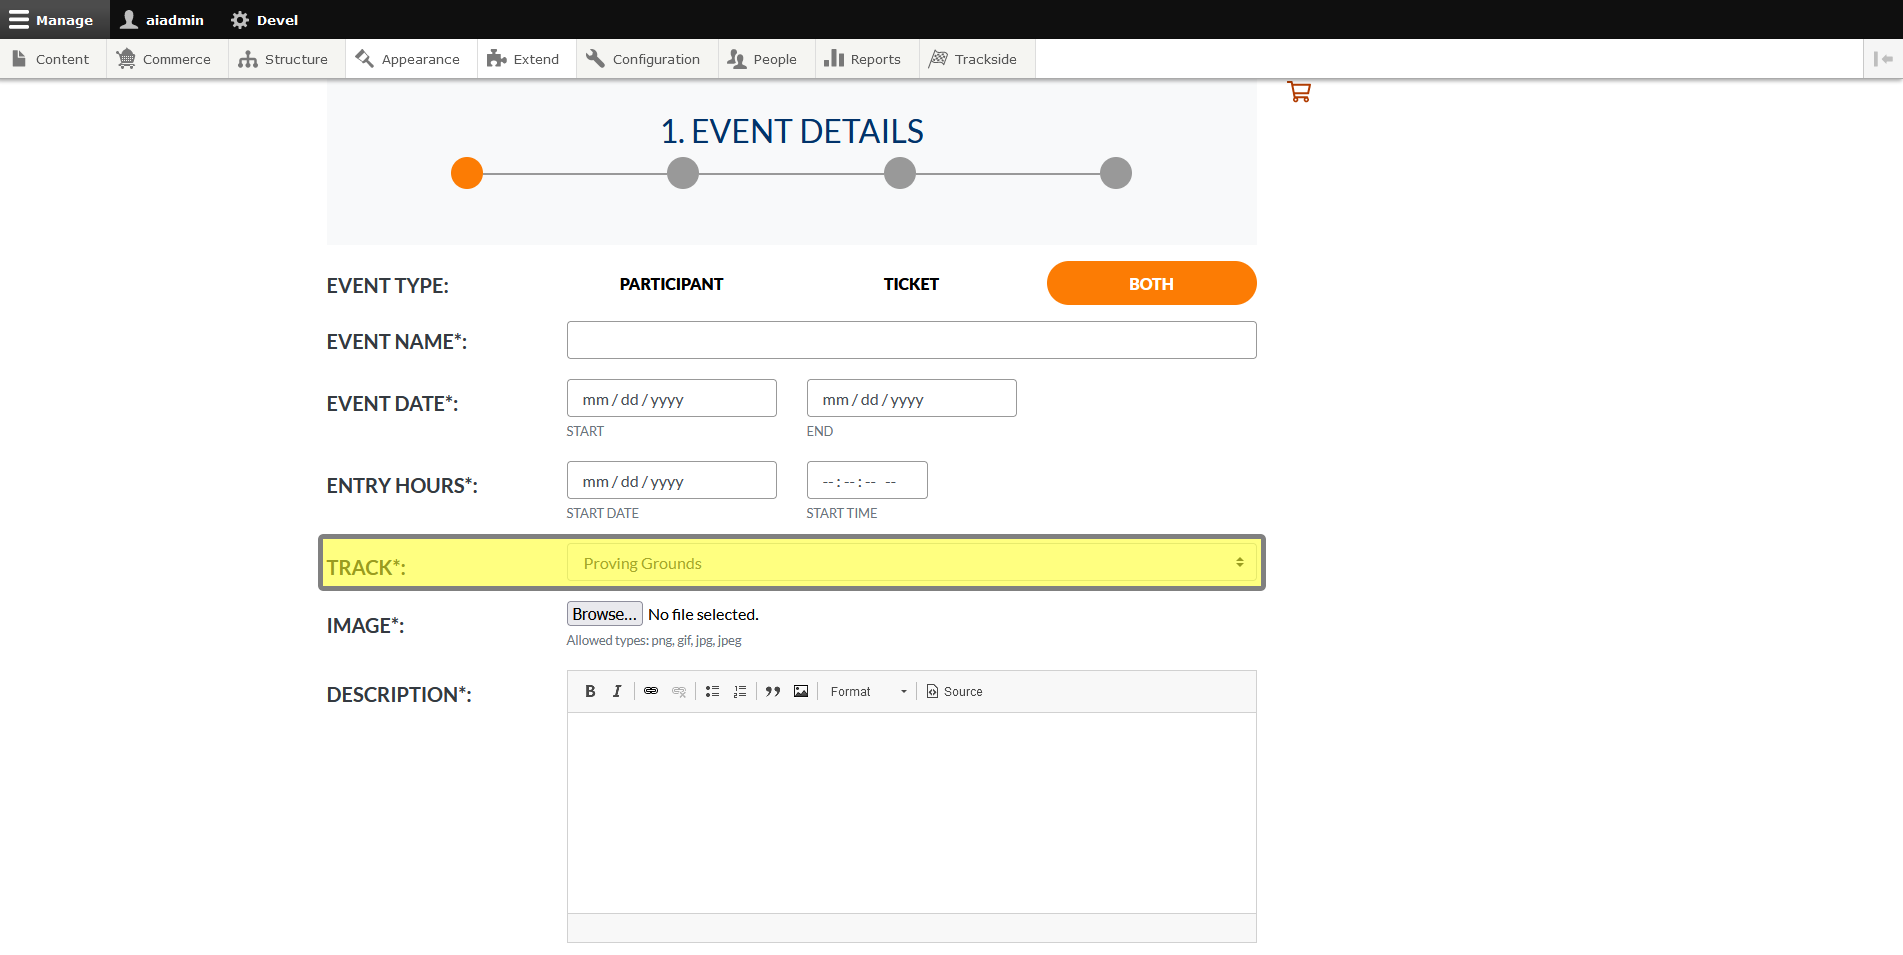
Select Track
Select the track that you will be hosting the event at from the drop down list. If you don't see the track listed here, see Tracks in your prerequisites for how to add the one you need.
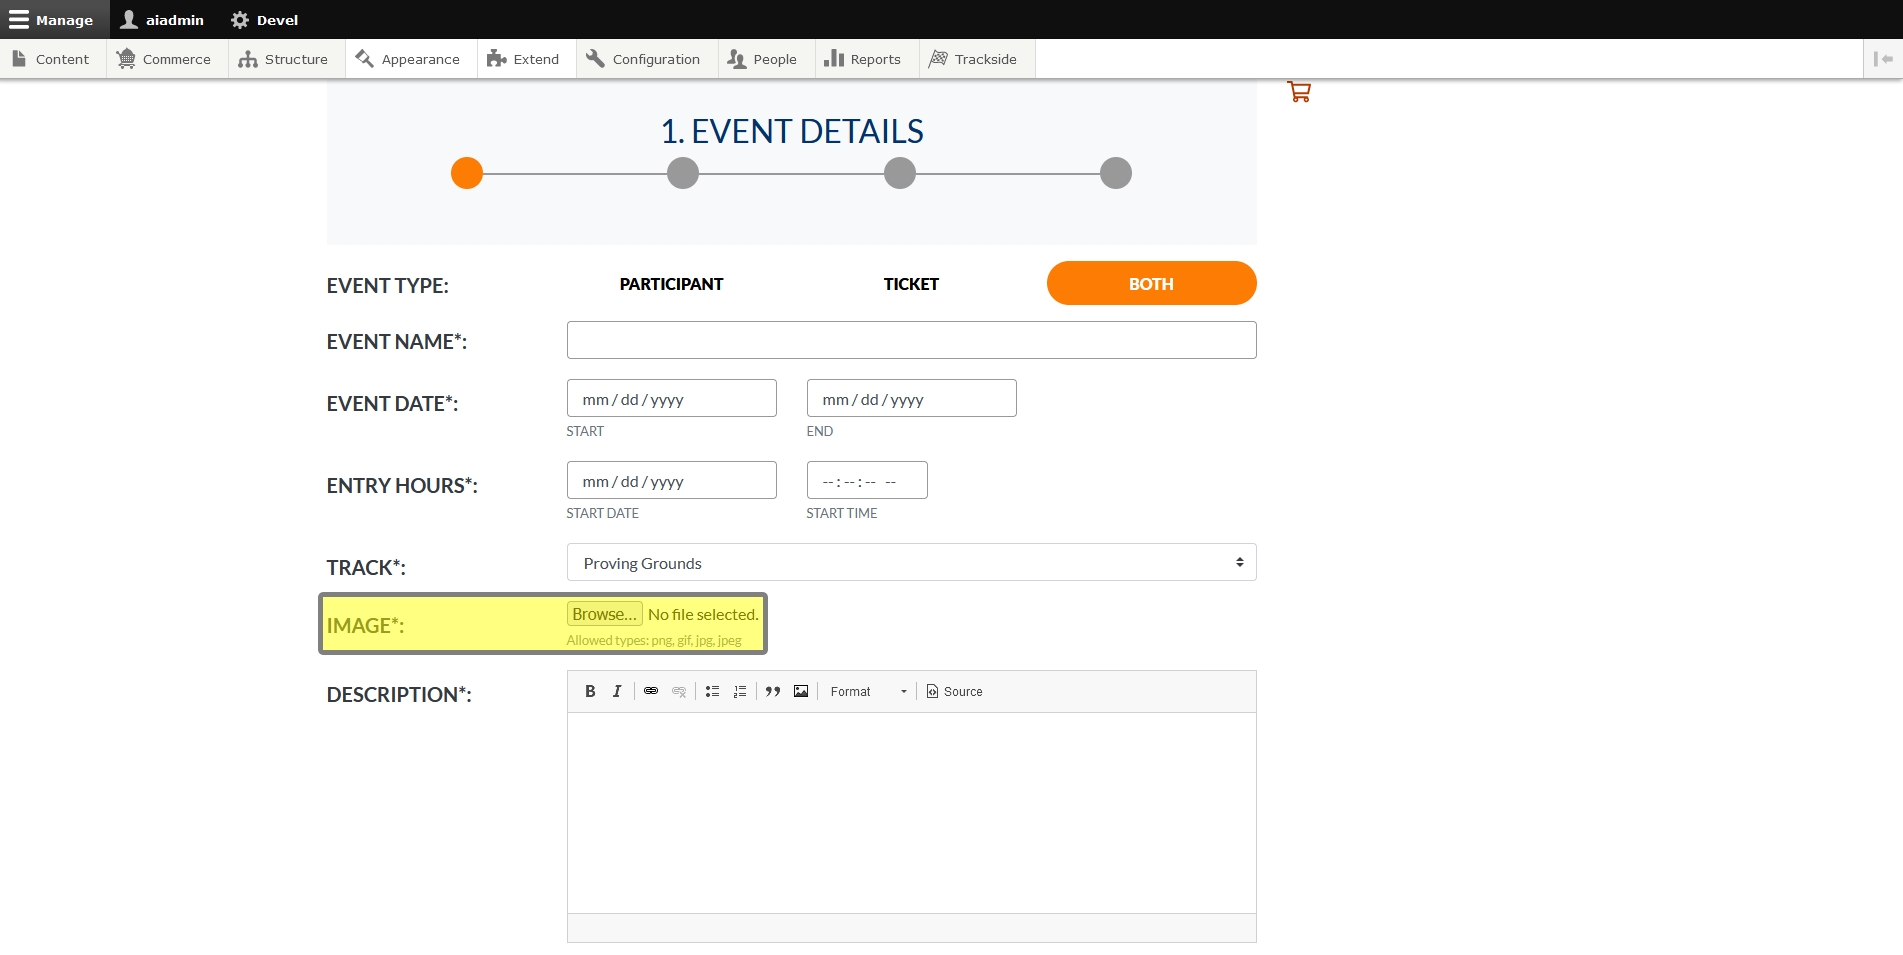
Upload Event Image
This is a chance to pretty up the site a bit and add some visual interest.
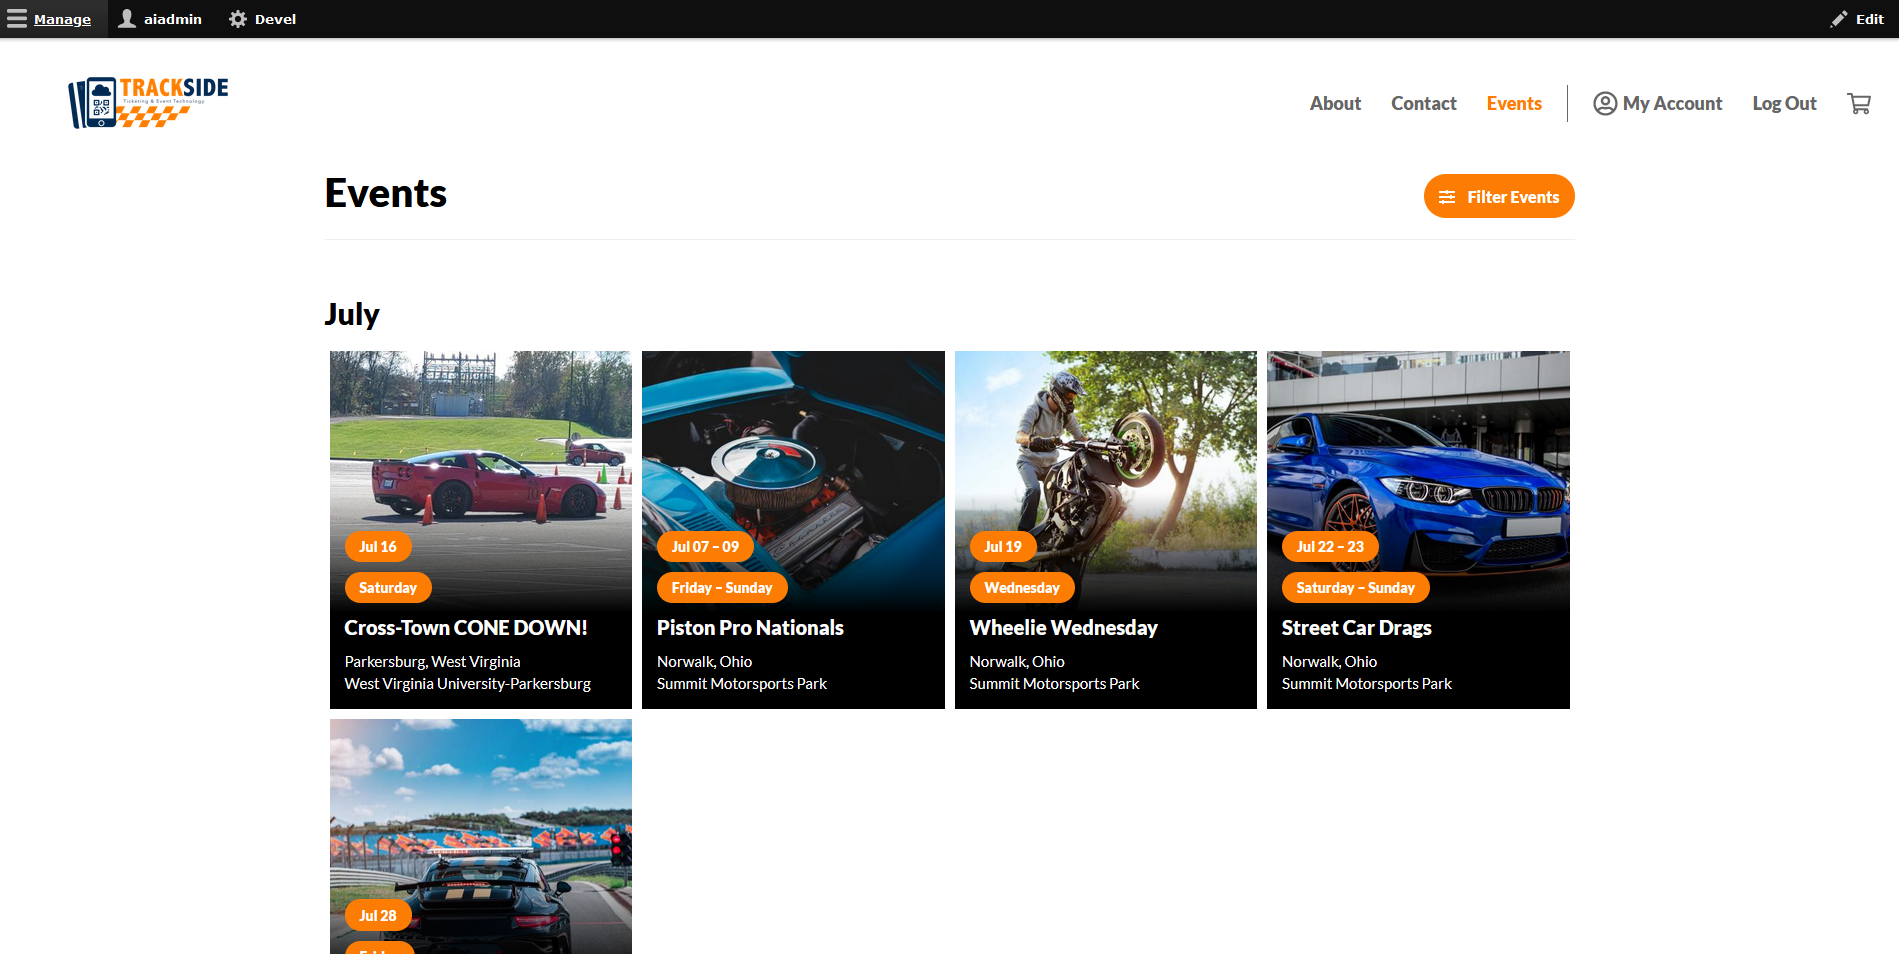
- We suggest using a different image for each event. This makes your Event Listing Page more interesting and appealing to your customers!
- Images work best when they are a fairly standard aspect ratio. Images that are really narrow, or really wide won't look as nice.
- Flyers or images with a lot of text are not recommended.
- You can always change the image later if you decide you don't like how it looks once your event is created.
The end result are these pictures which appear on your Events Page...
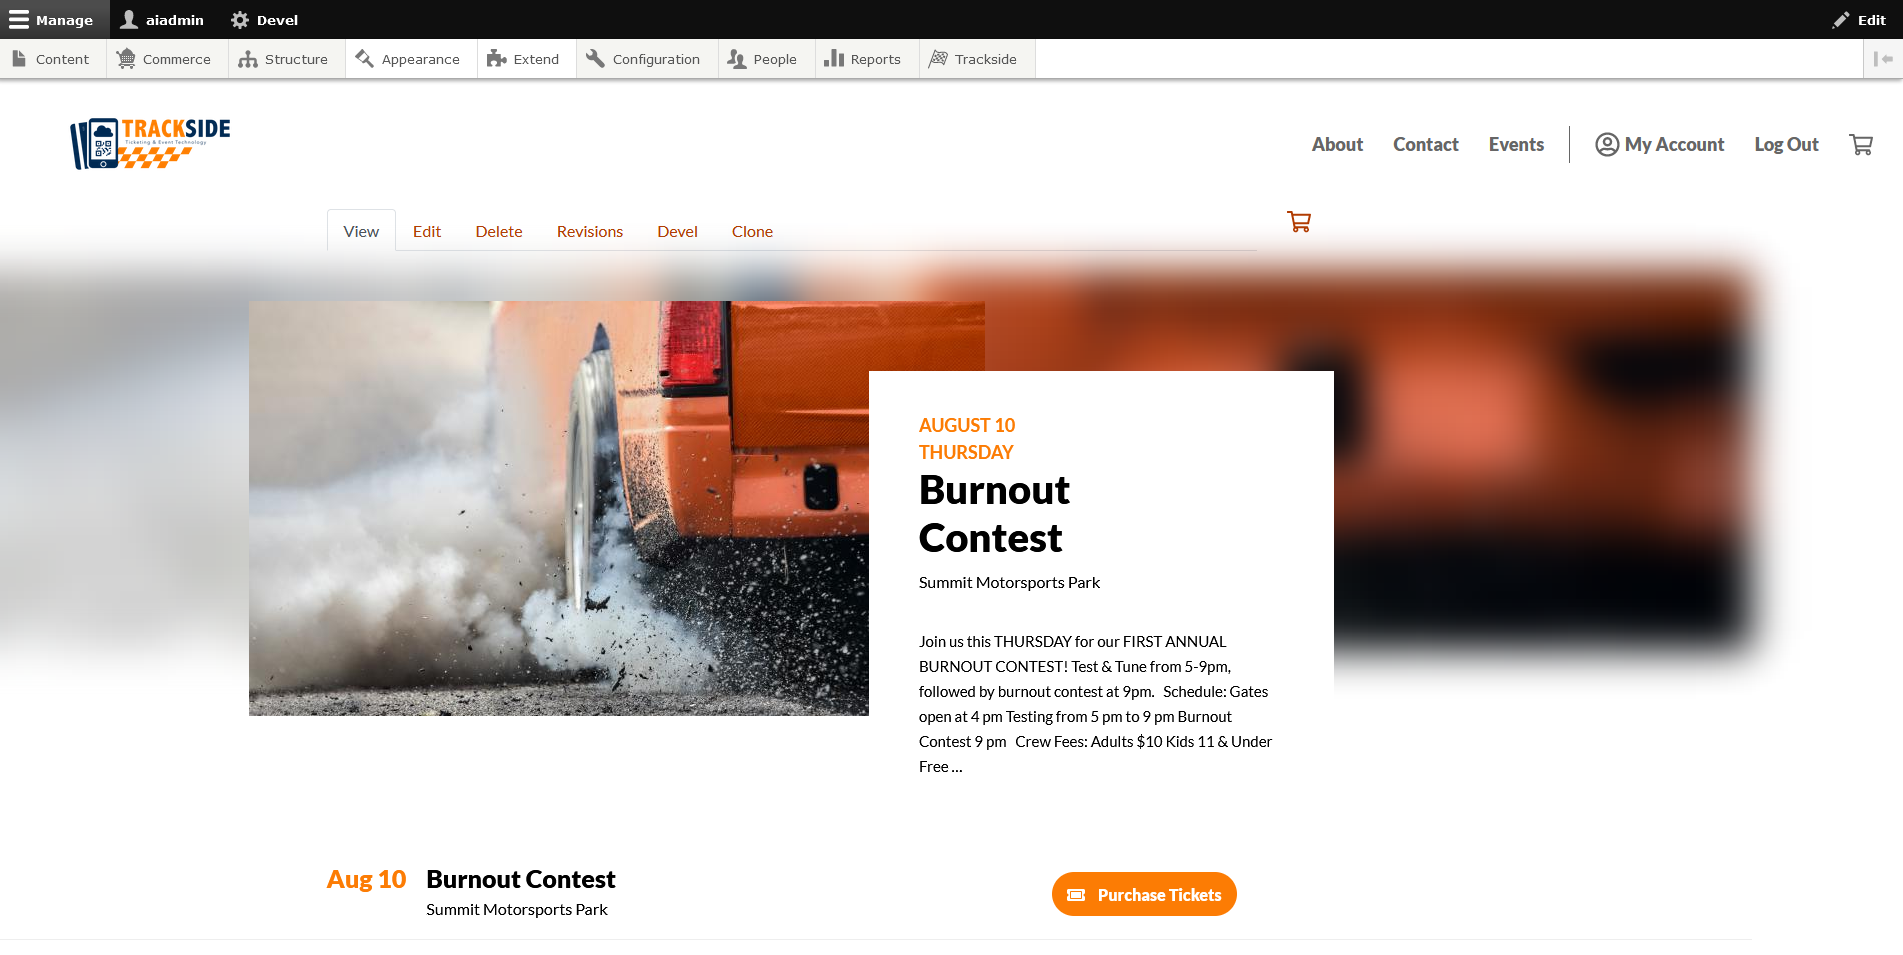
As well as your Event Listing Page.
Enter Event Description
Here you will enter a body of text as just a general description of the event for your customers. This text box offers you a few formatting options for drawing attention to items if needed.
A shortened version of this will show at the top of your event listing, with the full body of text displayed below for customers looking at the event.
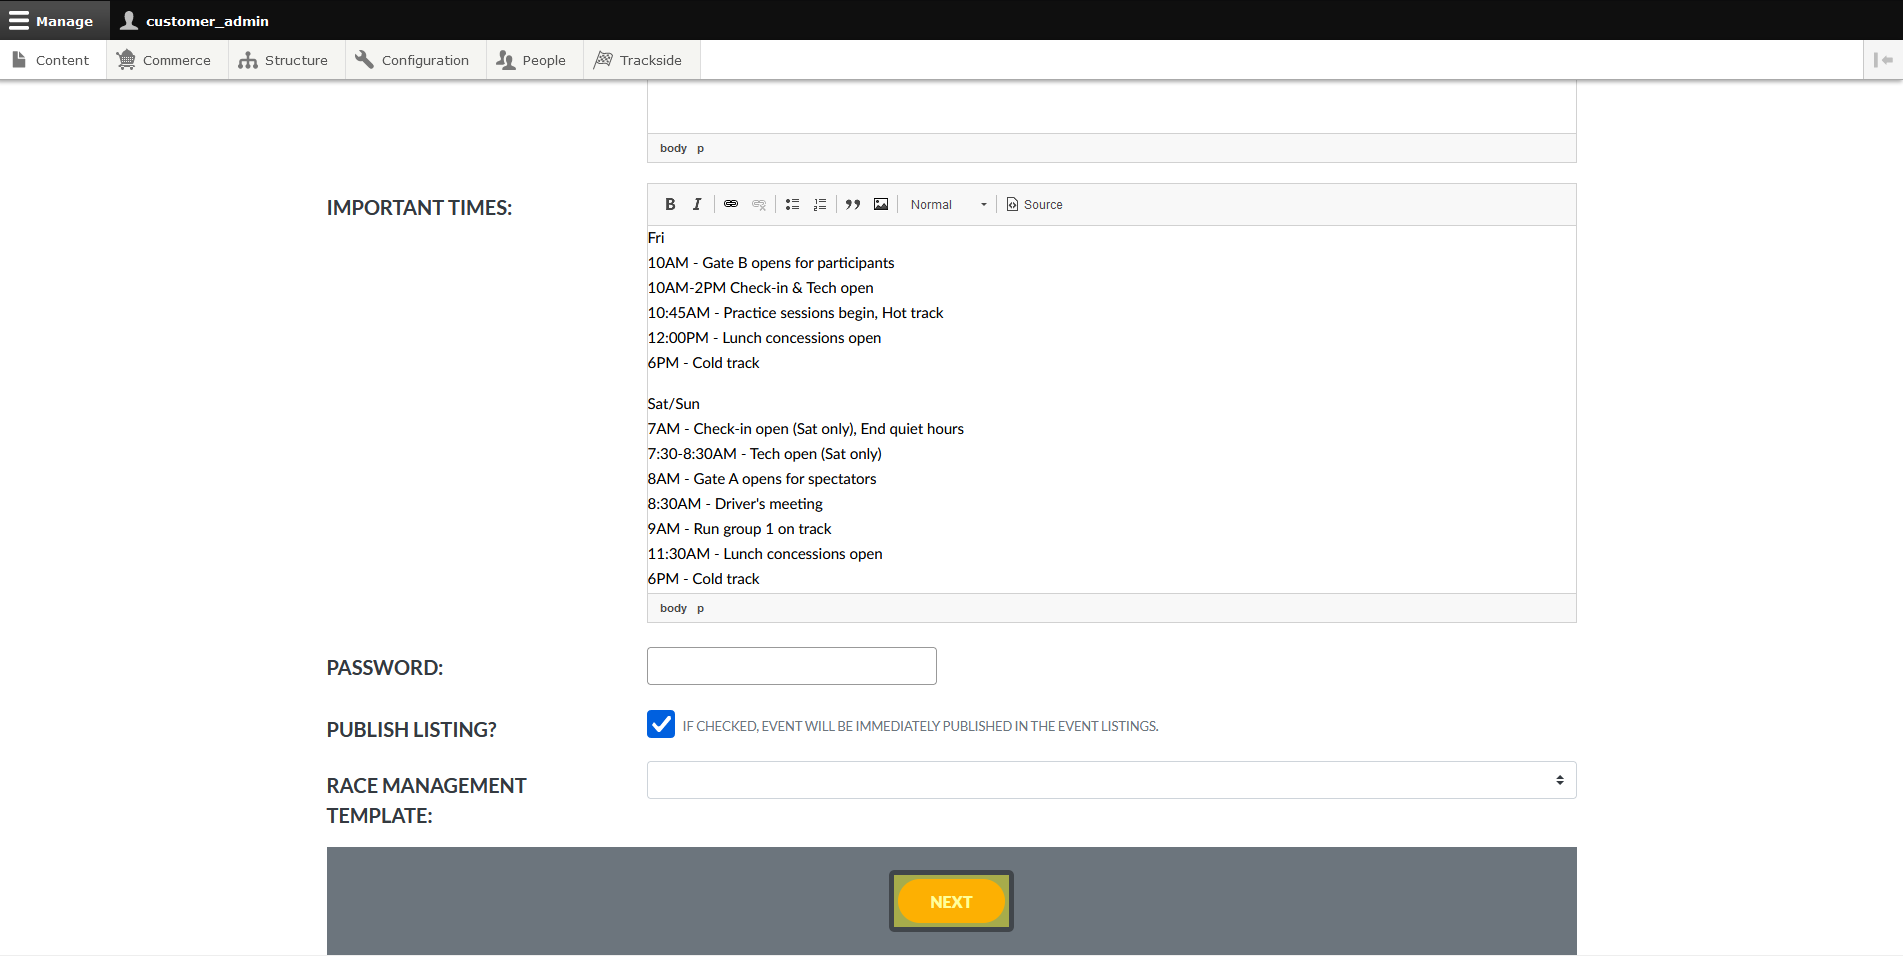
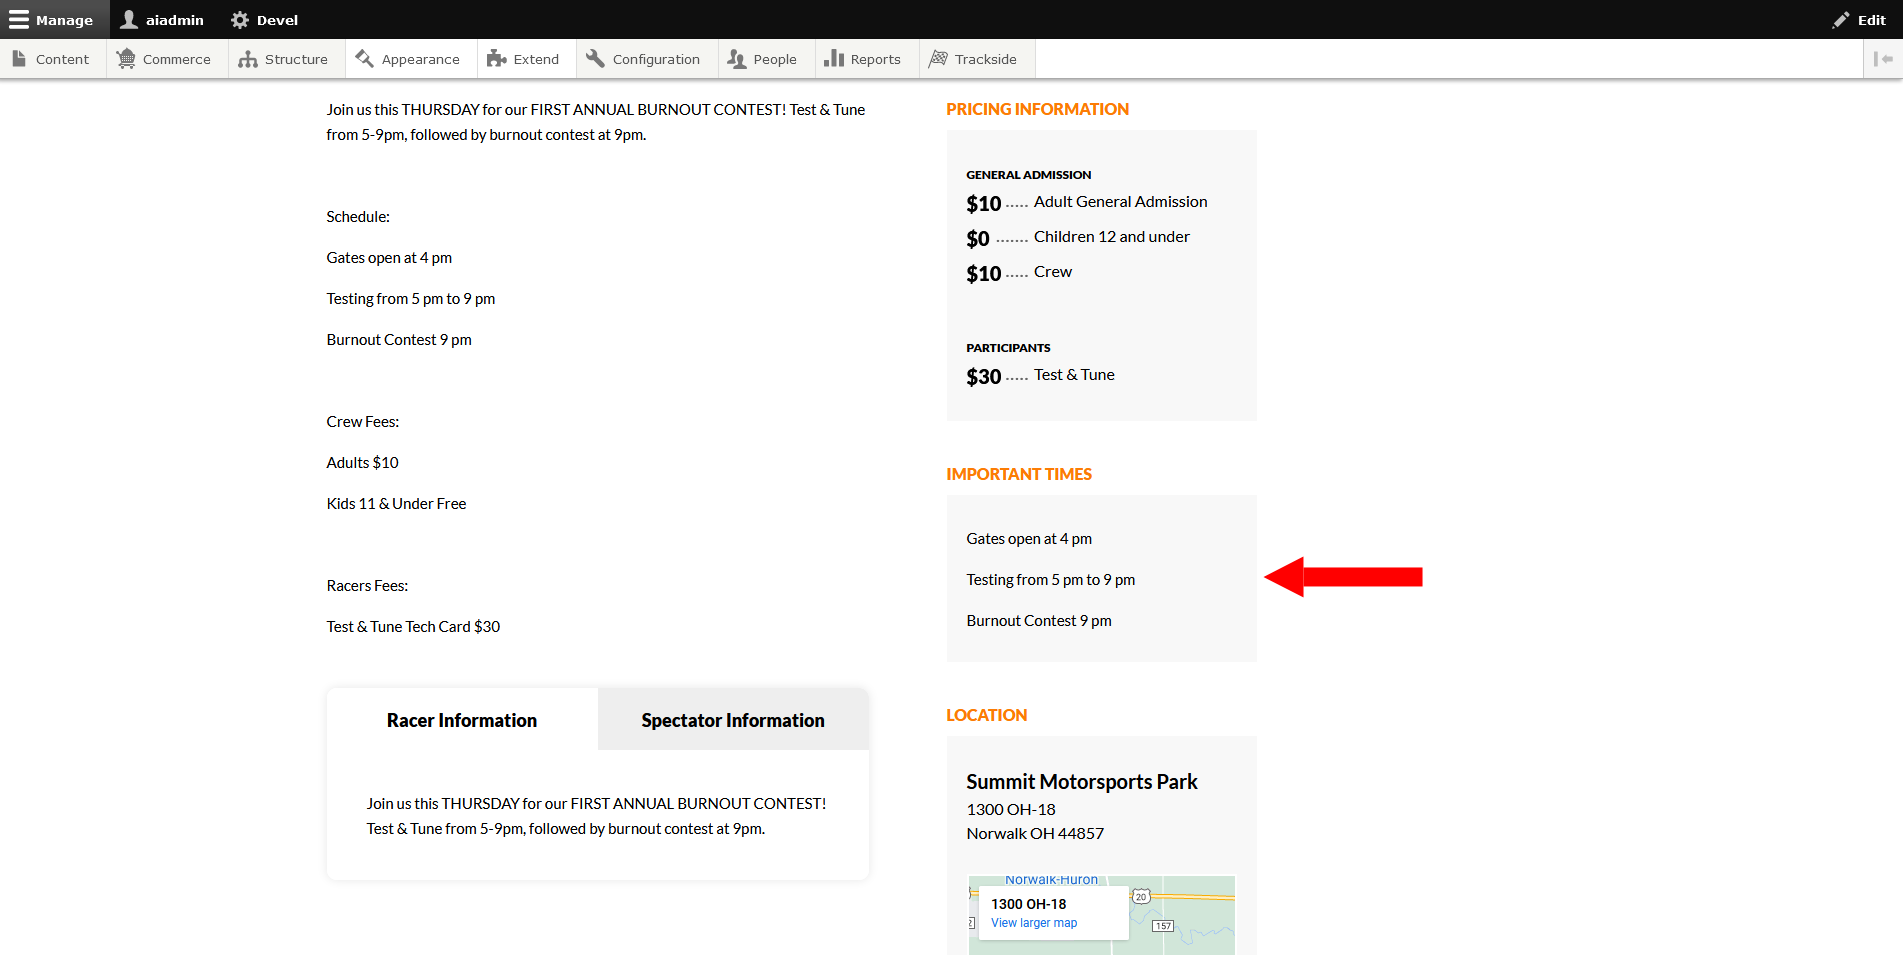
Enter Important Times
Here you will enter important times for all of your customers to be aware of. This is up to your interpretation of what needs to be shared.

These will show up on the Event Listing Page:
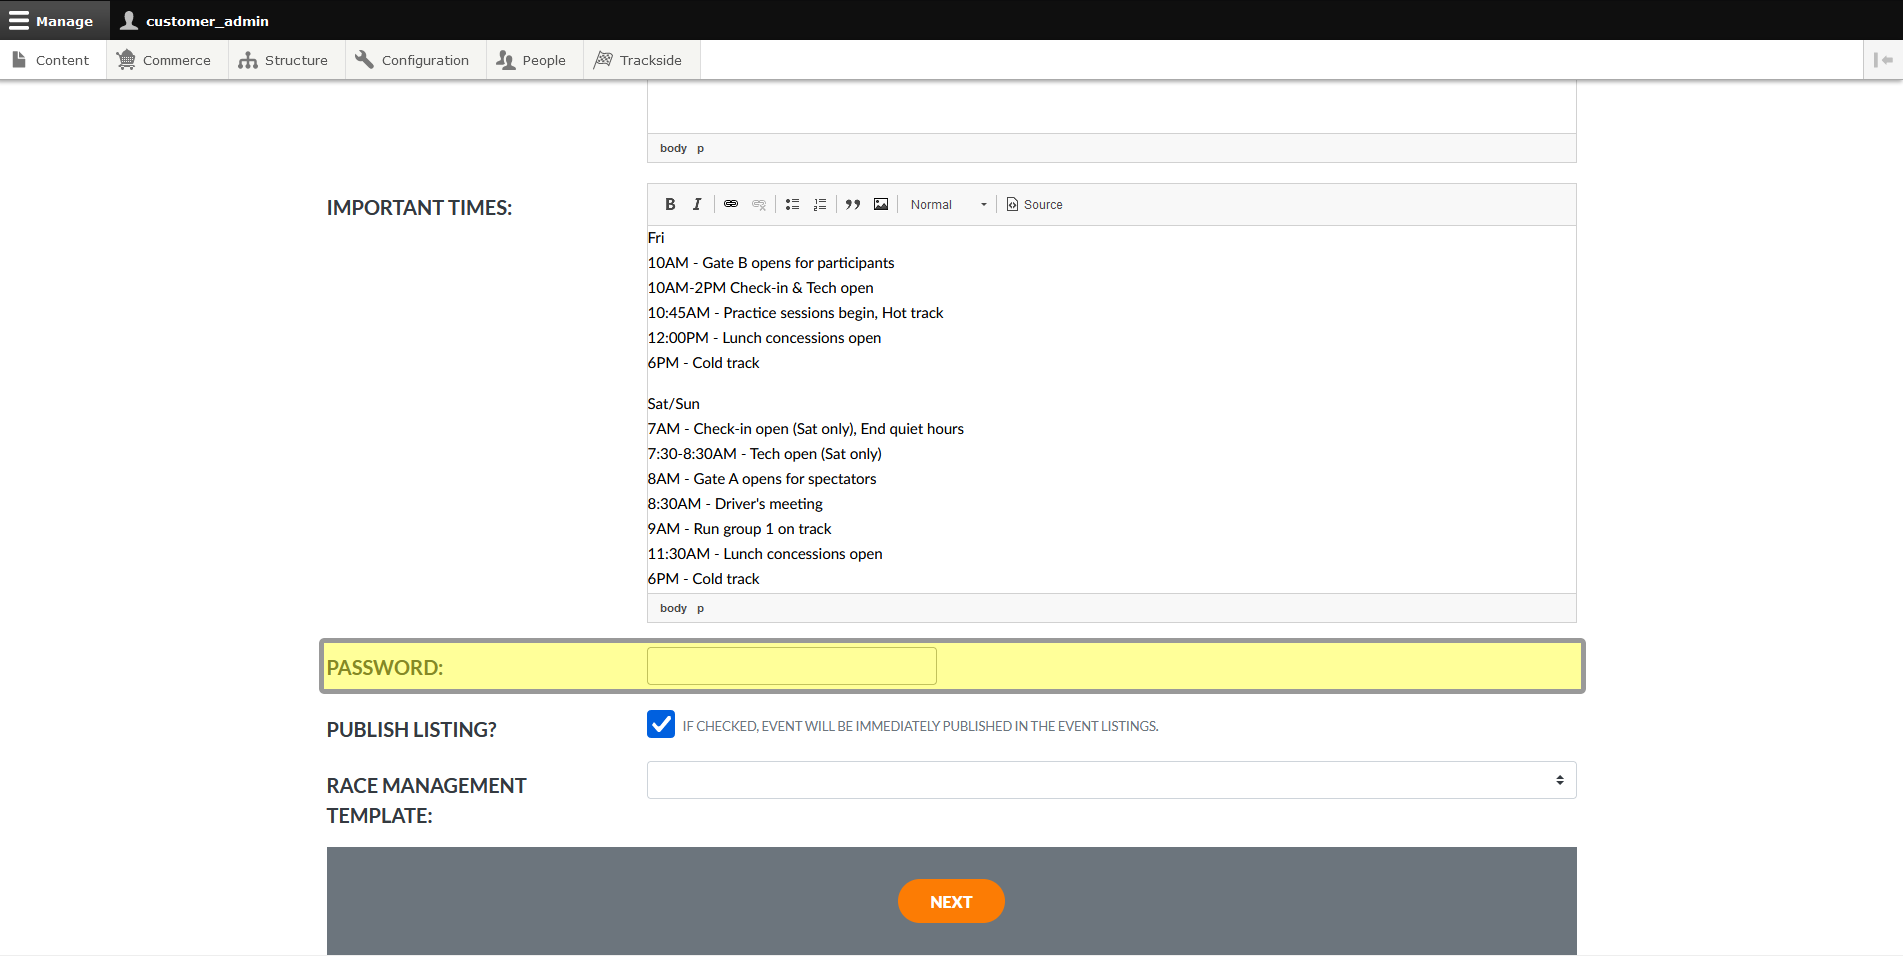
Set Event Password (Optional)
If you're doing an invite only event, or have another reason to not want tickets to be sold publicly, you can set a password. If you enter a password here, the customer will have to enter that password to purchase their ticket.
Otherwise, leave this blank if the event and ticket purchasing will be open to the public.
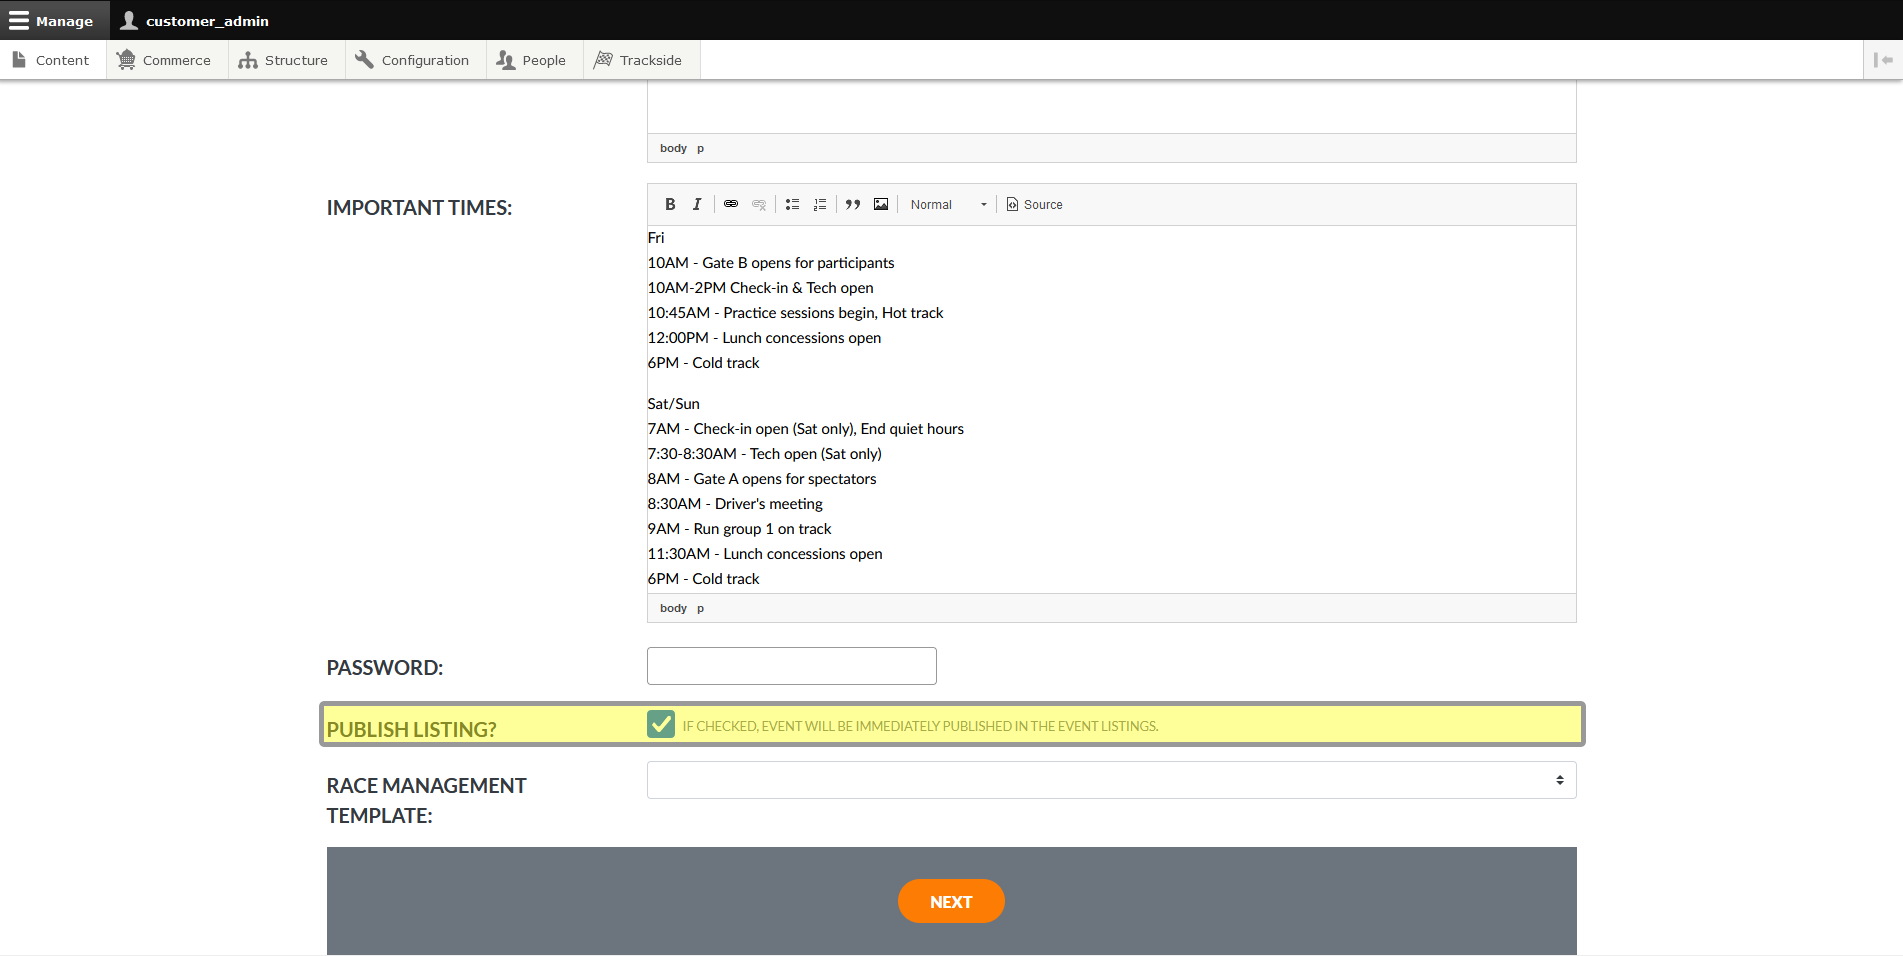
Publish Listing
This check box is also very important. This will determine whether the event will be shown on your Events Page when you complete the assistant.
Check the box to publish your event when you're done.
If you're creating an event for later in the season, but you don't want to have tickets available for purchase yet, leave the box unchecked. Be aware the event won't be available from your Events Page, and you'll need to find it in your Content Page to find it again later. View an Unpublished Event Listing will show you how to do this if you're not familiar with it.
Step 4 - Click Next
Once we have all of our event details entered, we're ready to click the Next button at the bottom and set up the associated Participant Registration Product.