Garage (Vehicle Components & Options)
This article will take you through configuring the Garage each account will have access to add their vehicles to once they are logged in.
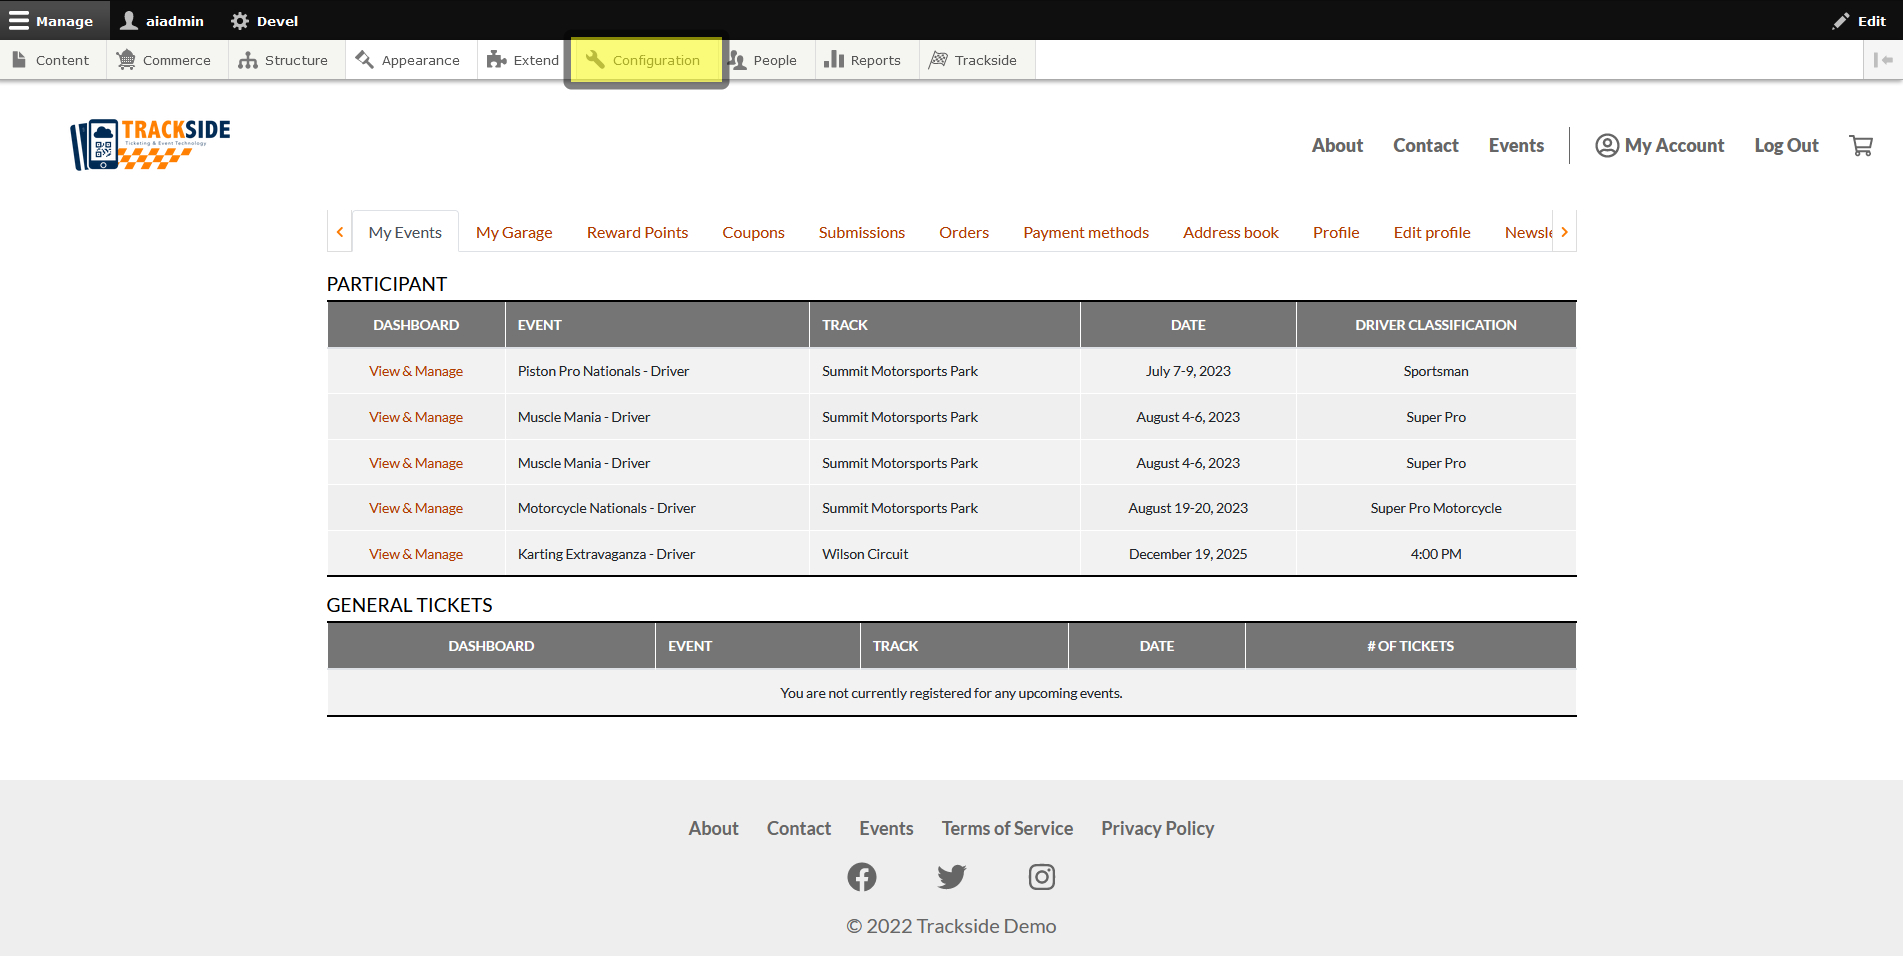
Step 1 - Hover over Configuration
Once you are logged in, hover over Configuration in your Management Menu. If you don't see this menu, click Manage in the top left of the window. You may also click on Configuration, and it will take you to a separate page where you can click on the following steps to achieve the same results as well.
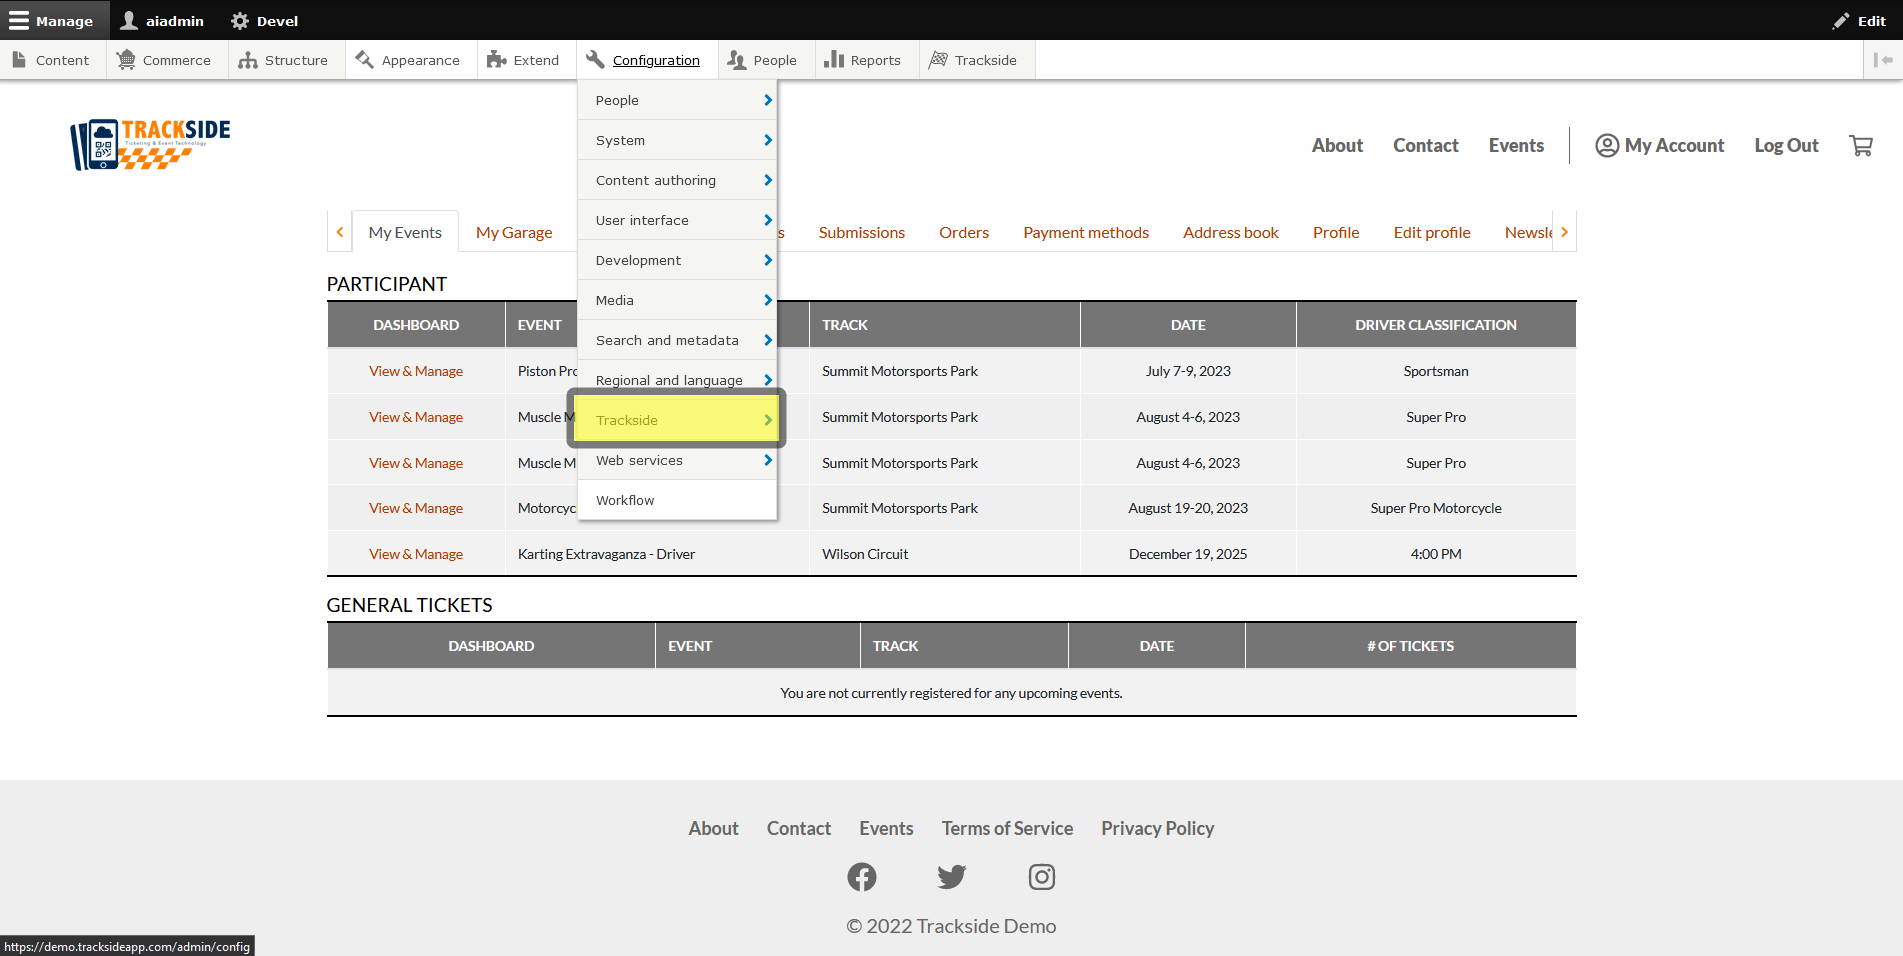
Step 2 - Hover over Trackside
In the Configuration menu, hover over Trackside.
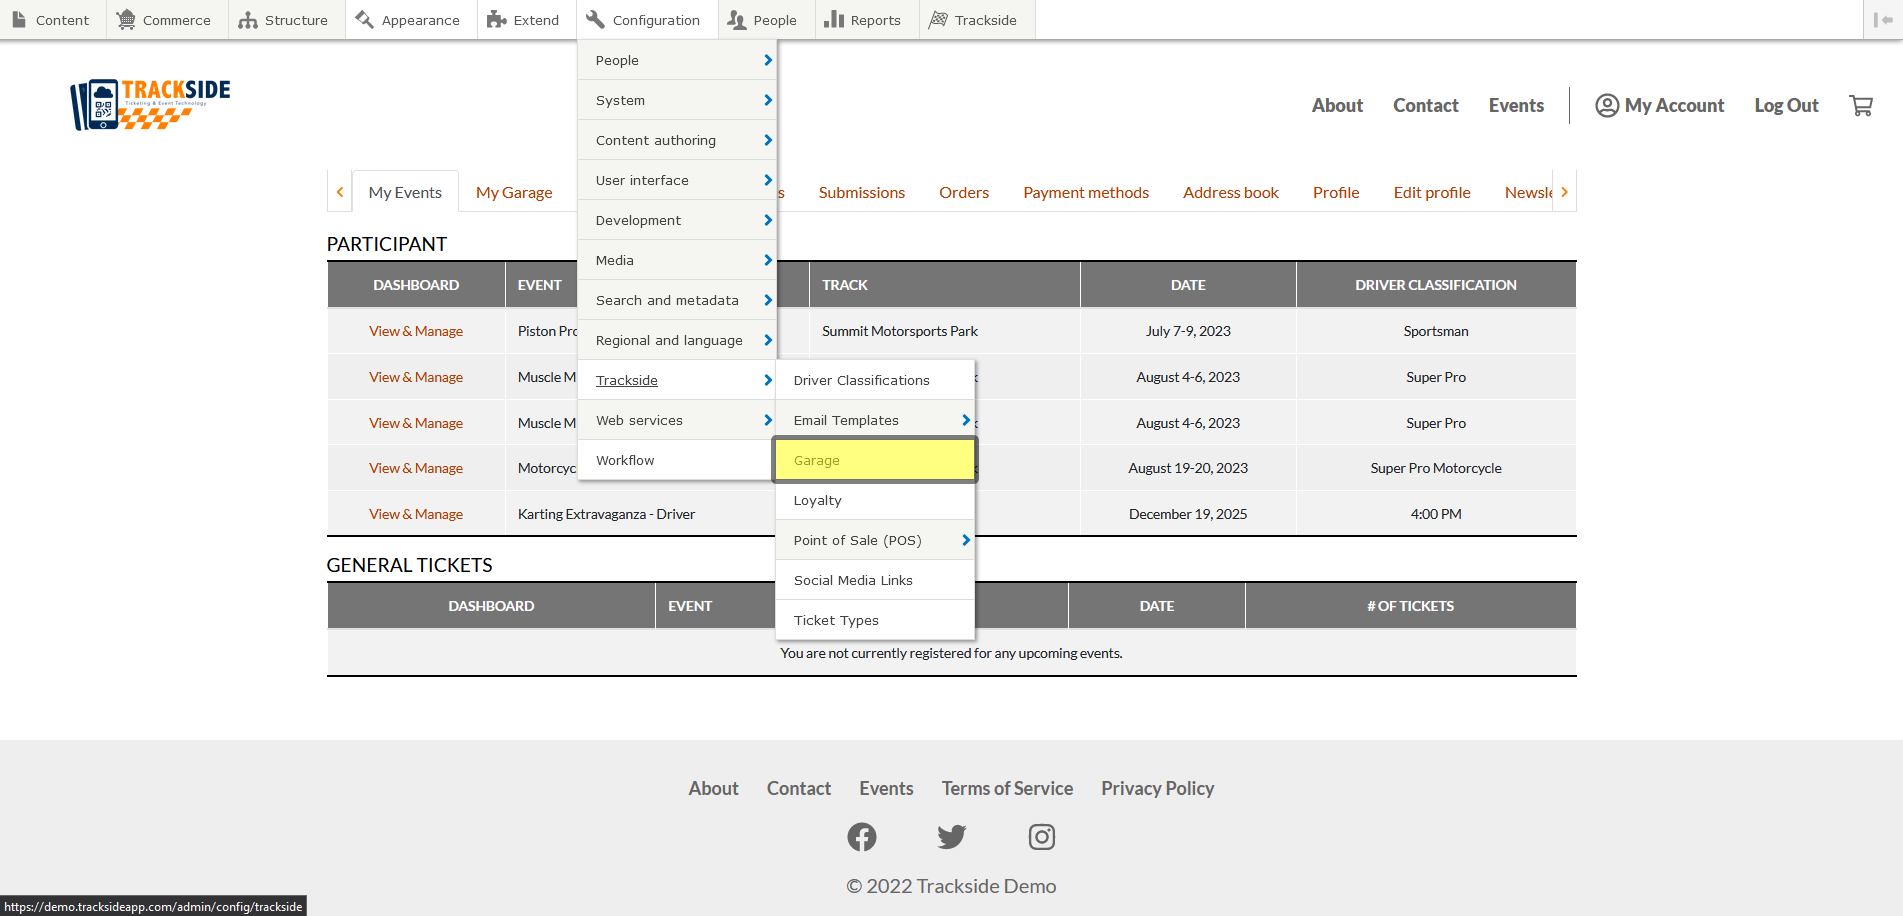
Step 3 - Click on Garage
In the Trackside menu, click on Garage.
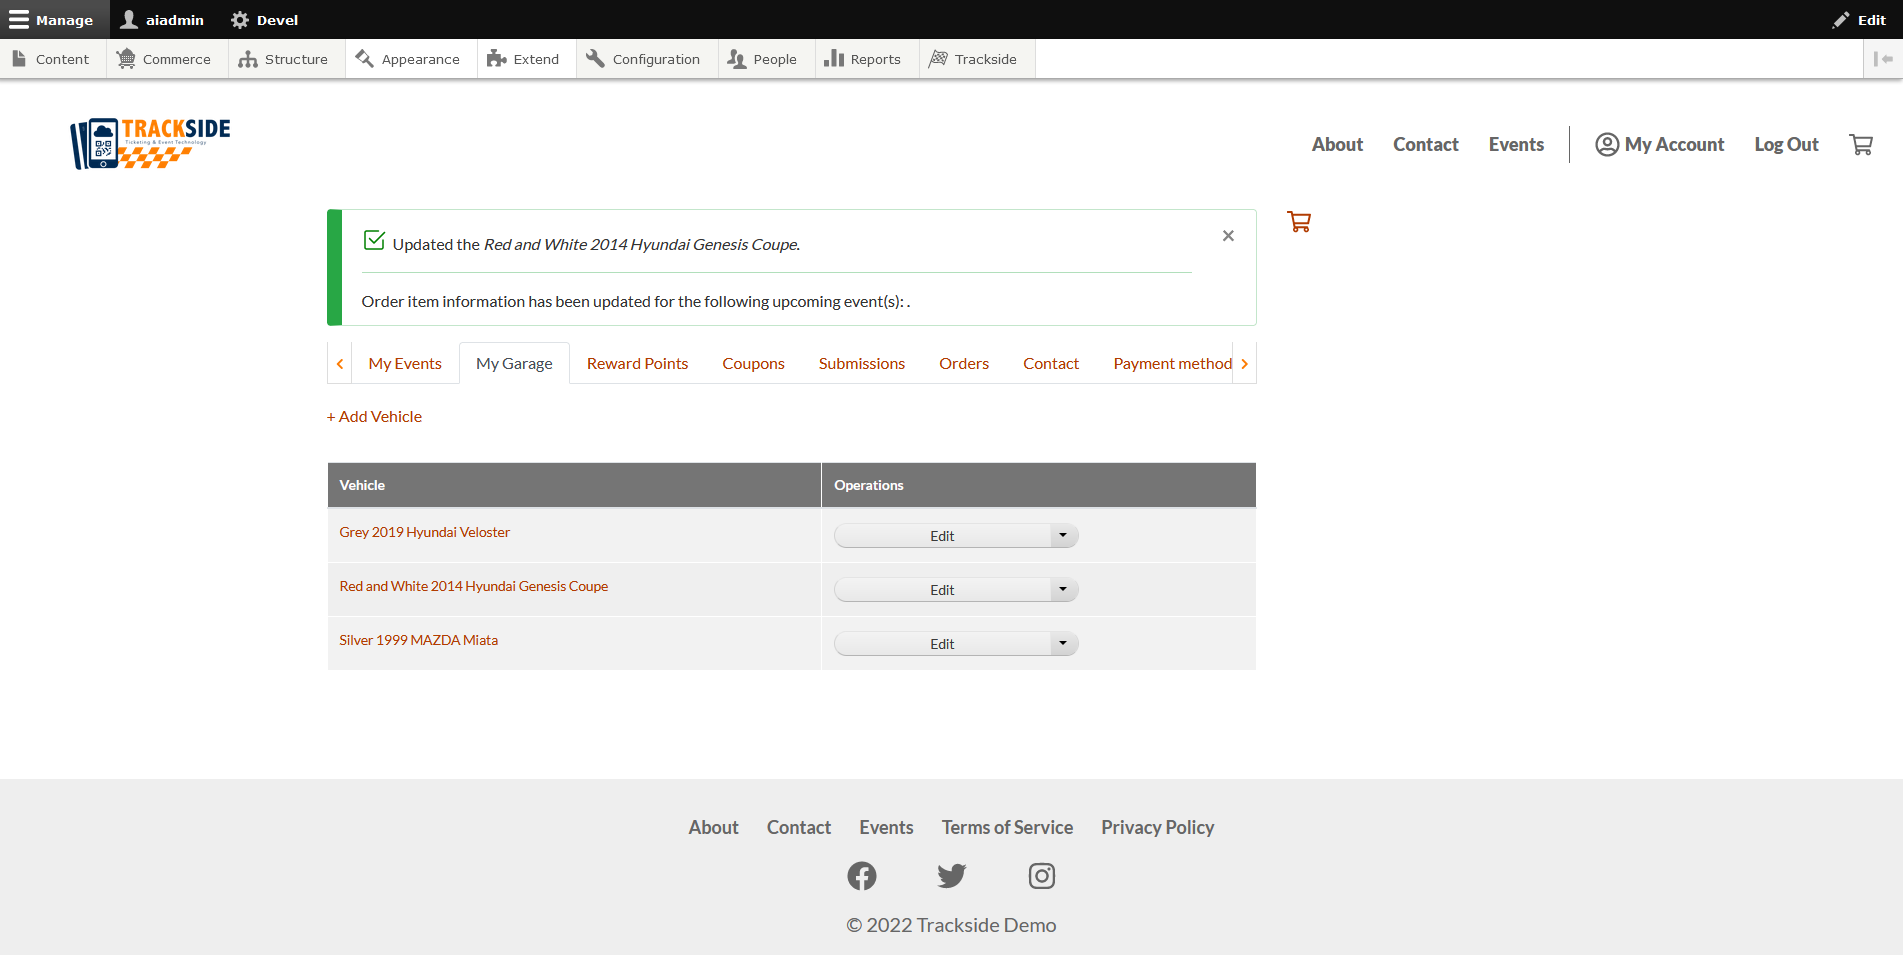
Step 4 - Edit your Component or Add Component
This will bring you to where you'll edit your Vehicle Components from. If you need to edit an existing option, you'll click it's name from the list.
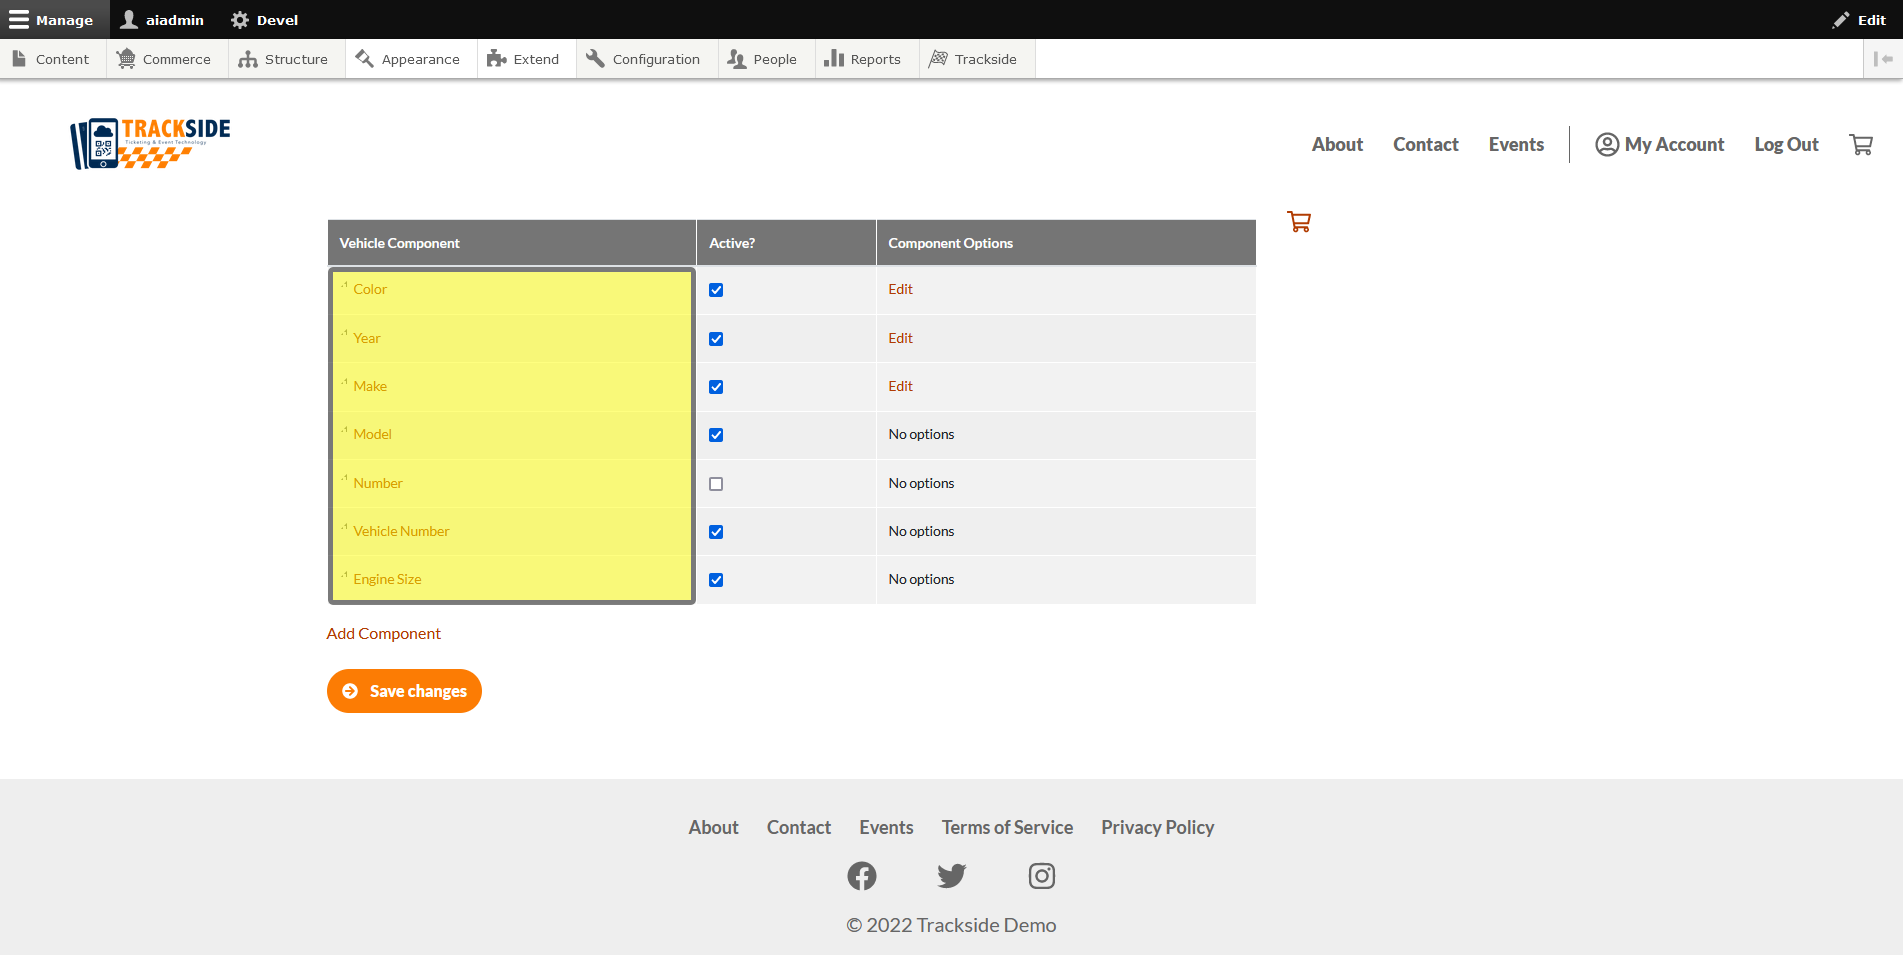
If there is a set list of options for a component, you will have an option to edit those under Component Options. Jump to Step 8 for a look at how that works.

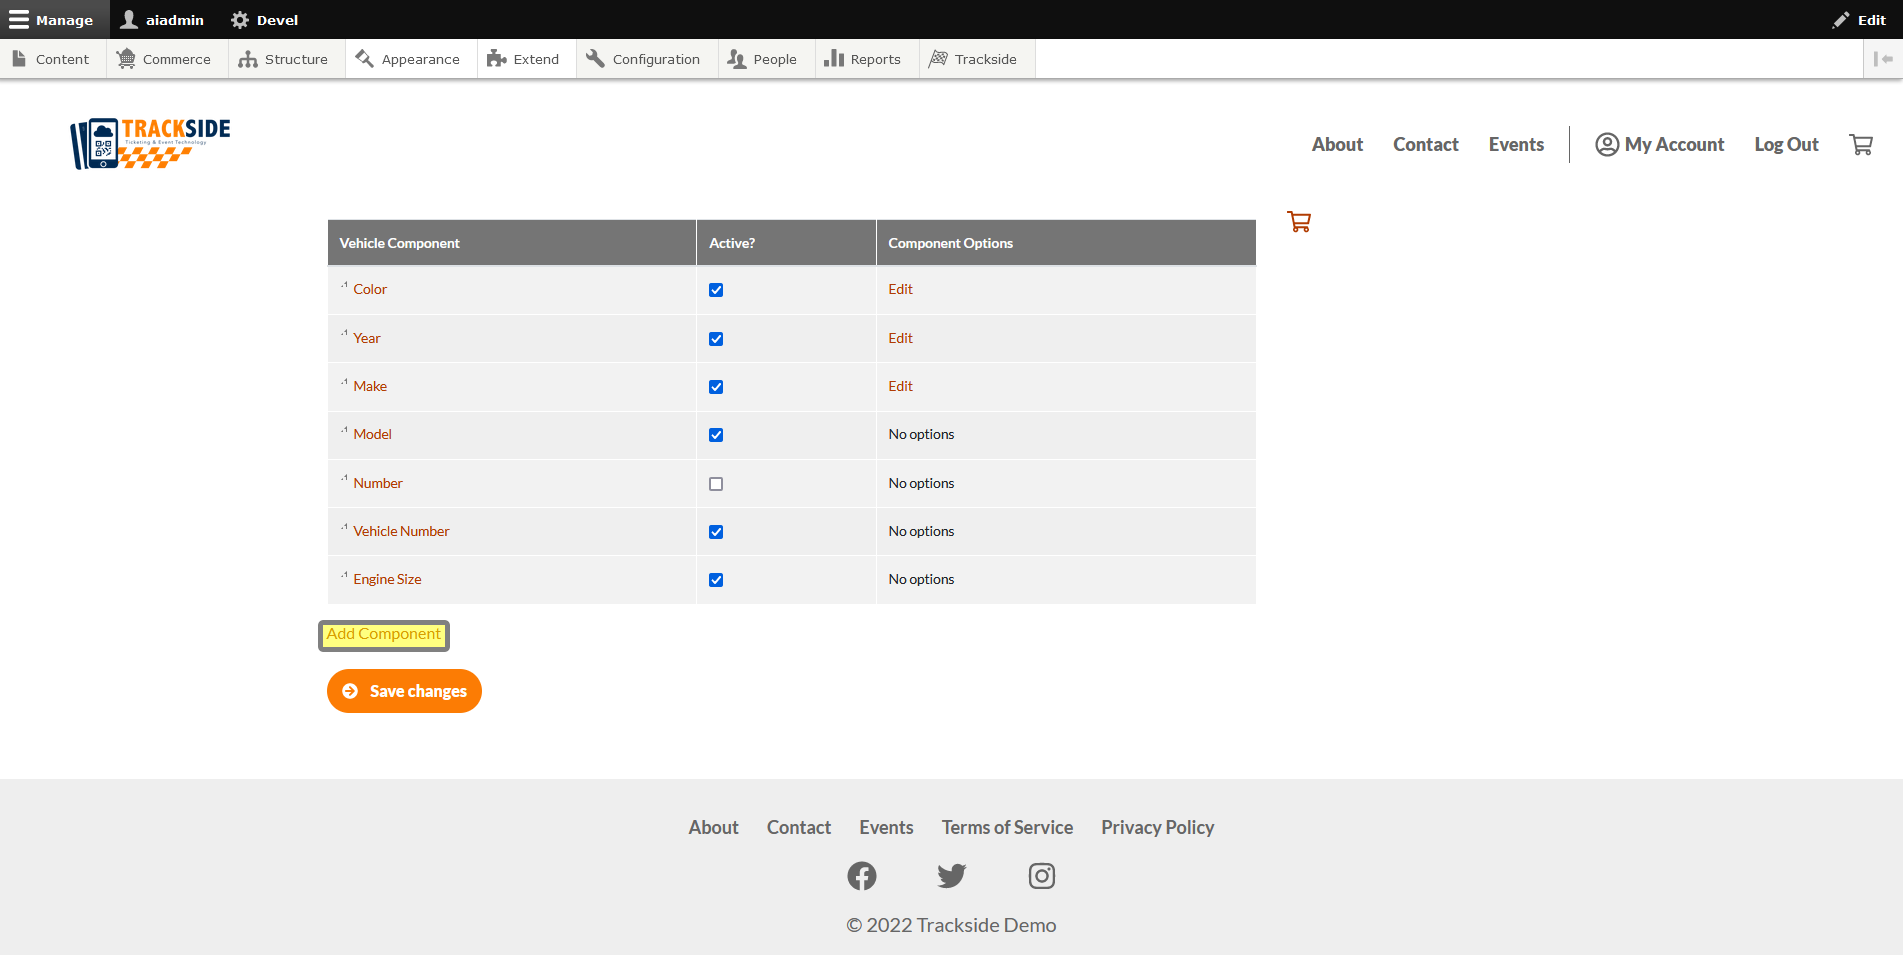
If you need a component that's not already listed, you have the option of adding an entirely new component for the garage as well. Click on Add Component to get started.
Step 5 - Fill in Name & Component Type
Step 6 - Fill in rest of form
Step 7 - Verify your Components & Save Changes
Step 8 - Click Edit under Component Options to add new Option to Component
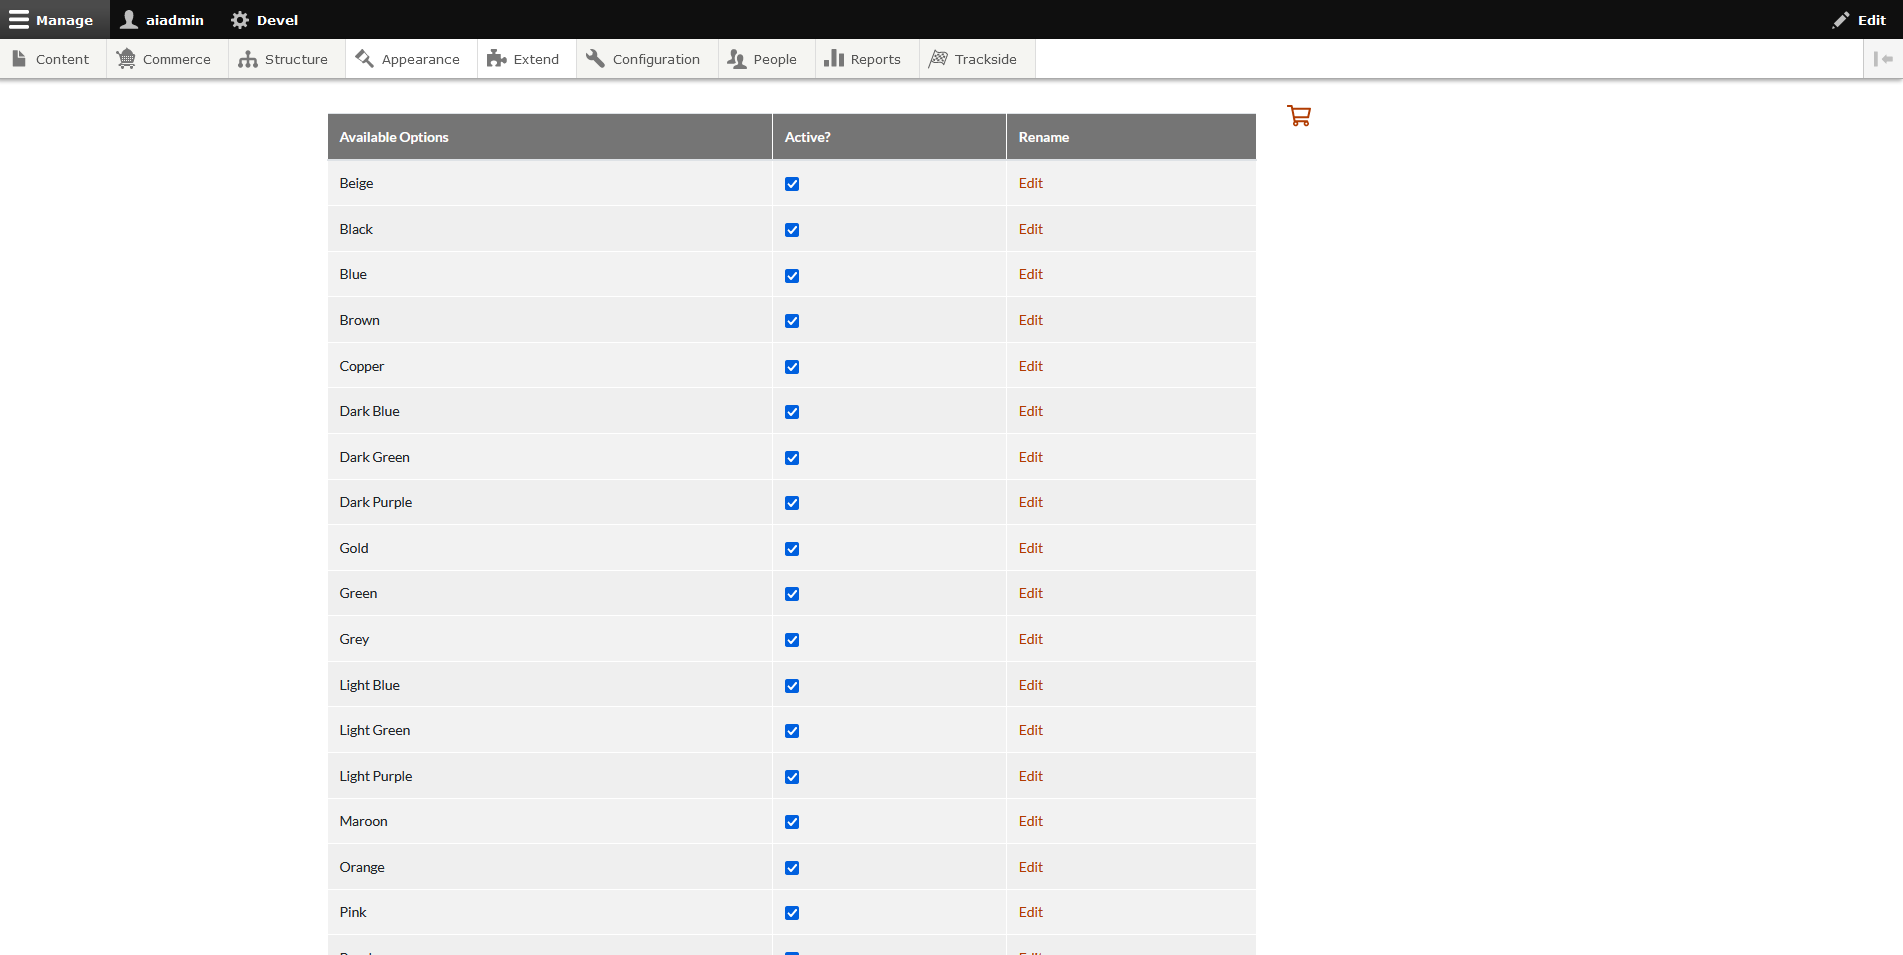
As was eluded to in Step 4, If you need to edit the Options available for a component with a set list of Options, you will click Edit under Component options to edit the list.
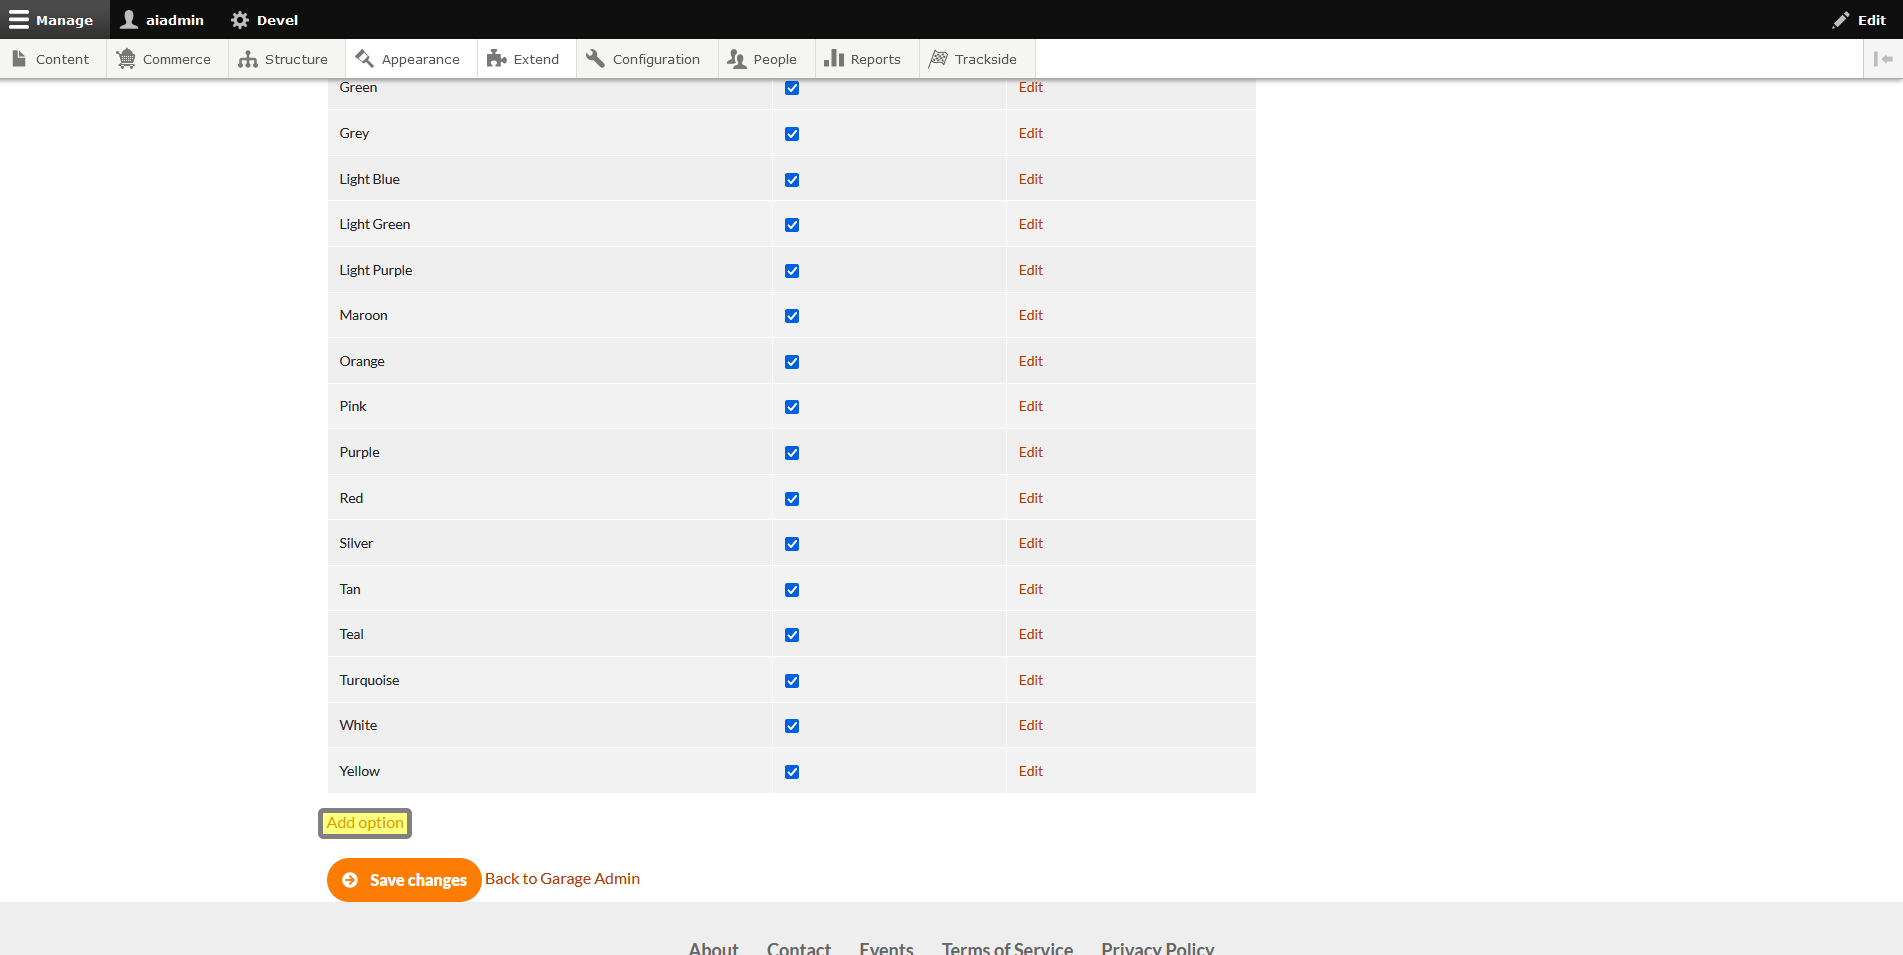
Step 9 - Click Add Option
For this scenario, we're going to imagine that we have a troublesome driver that has a car that's about half one color, and half another color, but maybe they're a good customer and we're going to add an option to fit their needs. We'll click edit next to color, and we'll have the current list of colors available in front of us.
At the bottom of this list, click on Add Option.
Step 10 - Enter new Option & click Add
On the next screen, we will enter our new option in the text box. This can only be alphanumeric characters. No symbols in this blank.
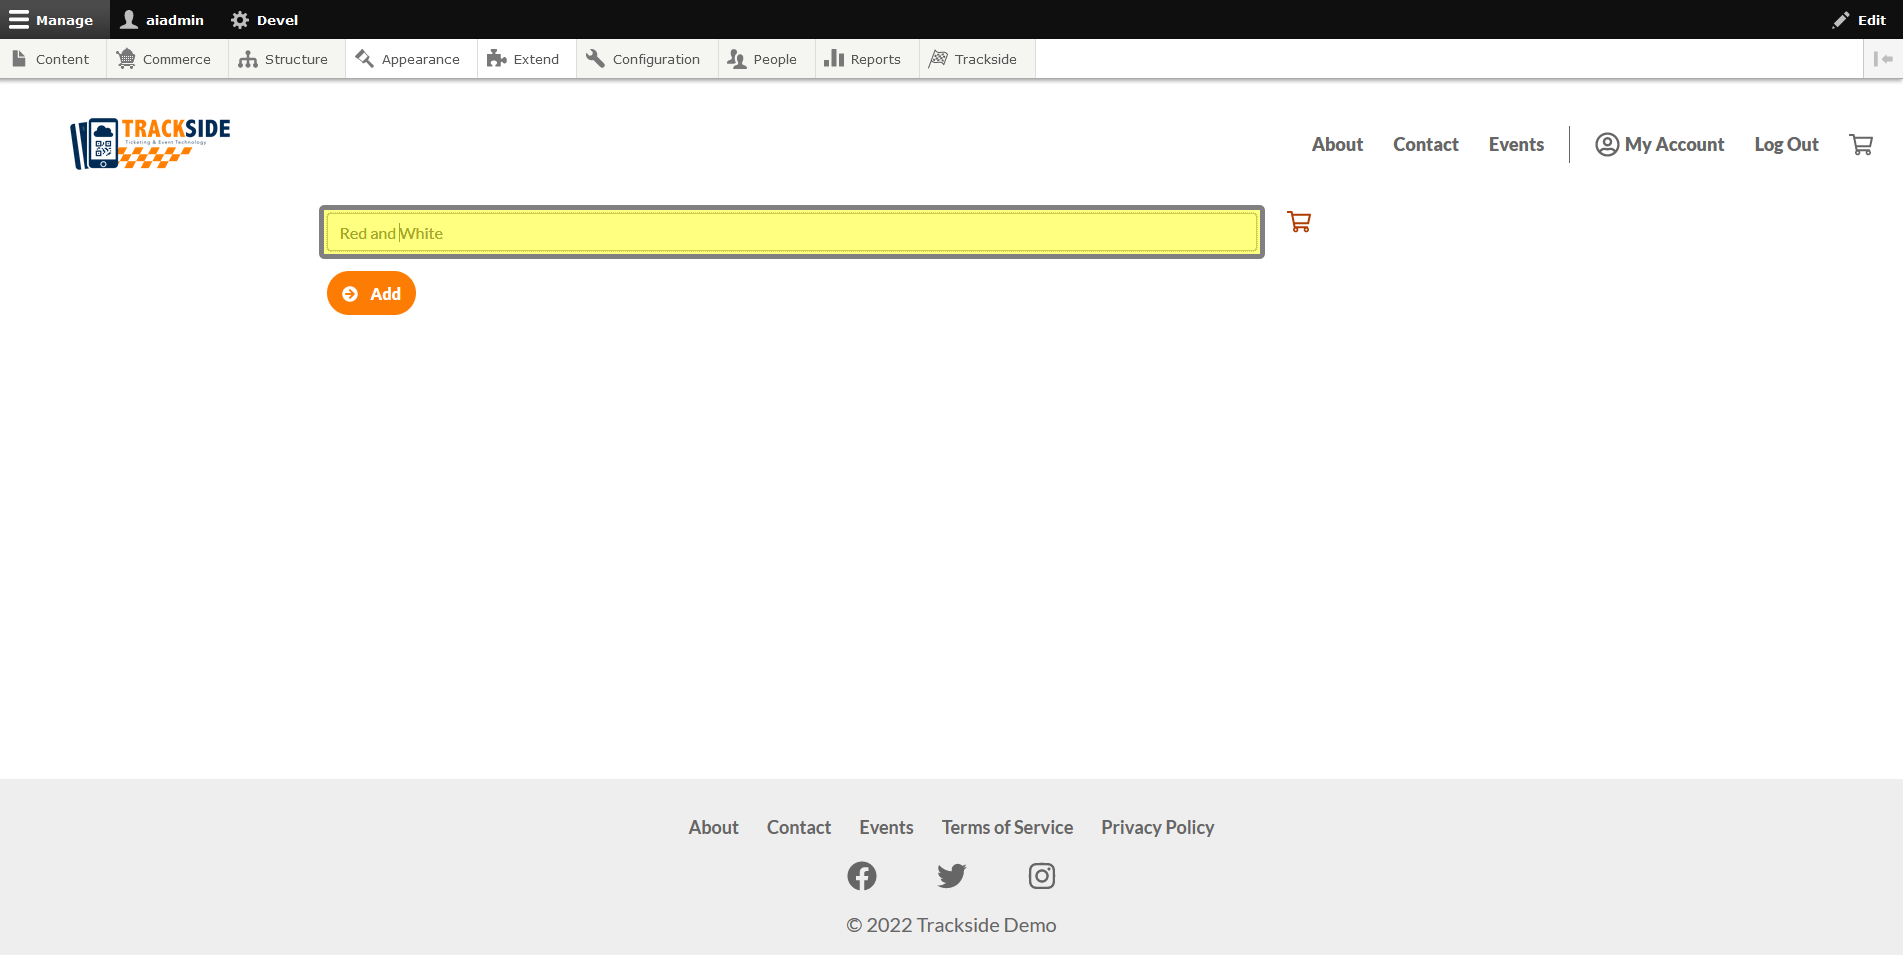
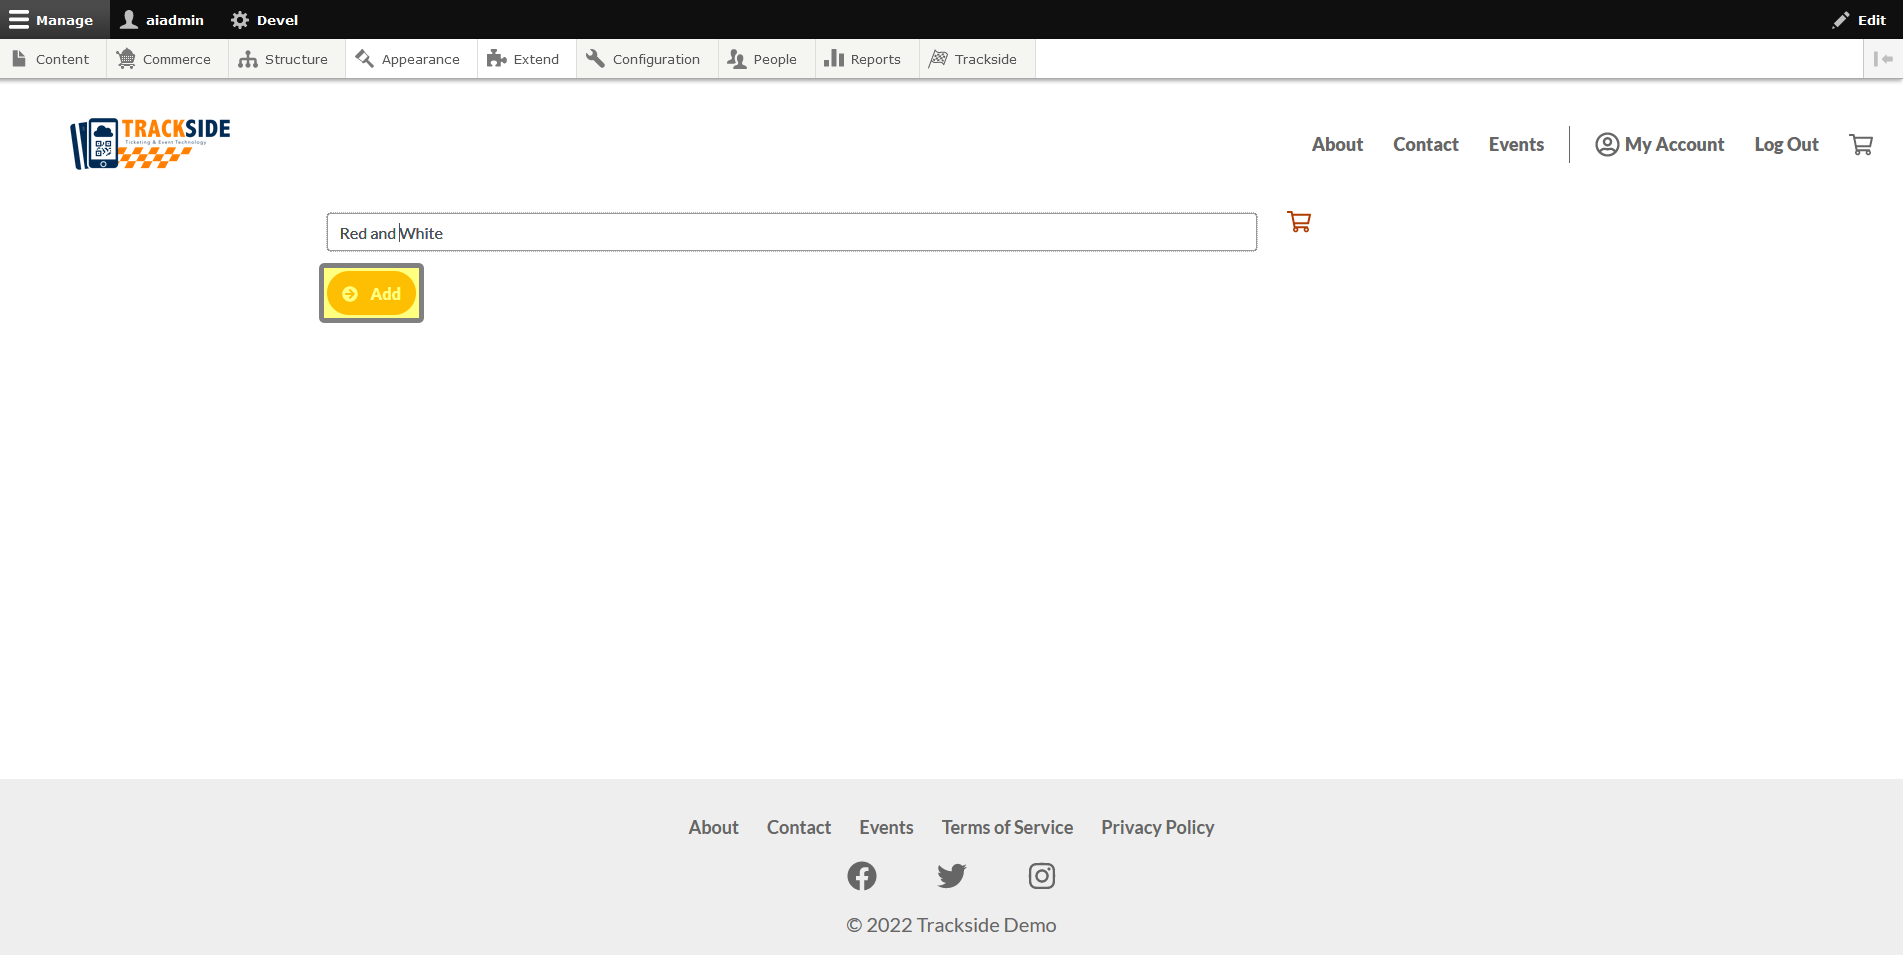
Clicking the Add button below will add our Option.
You will see the new option available in the list.
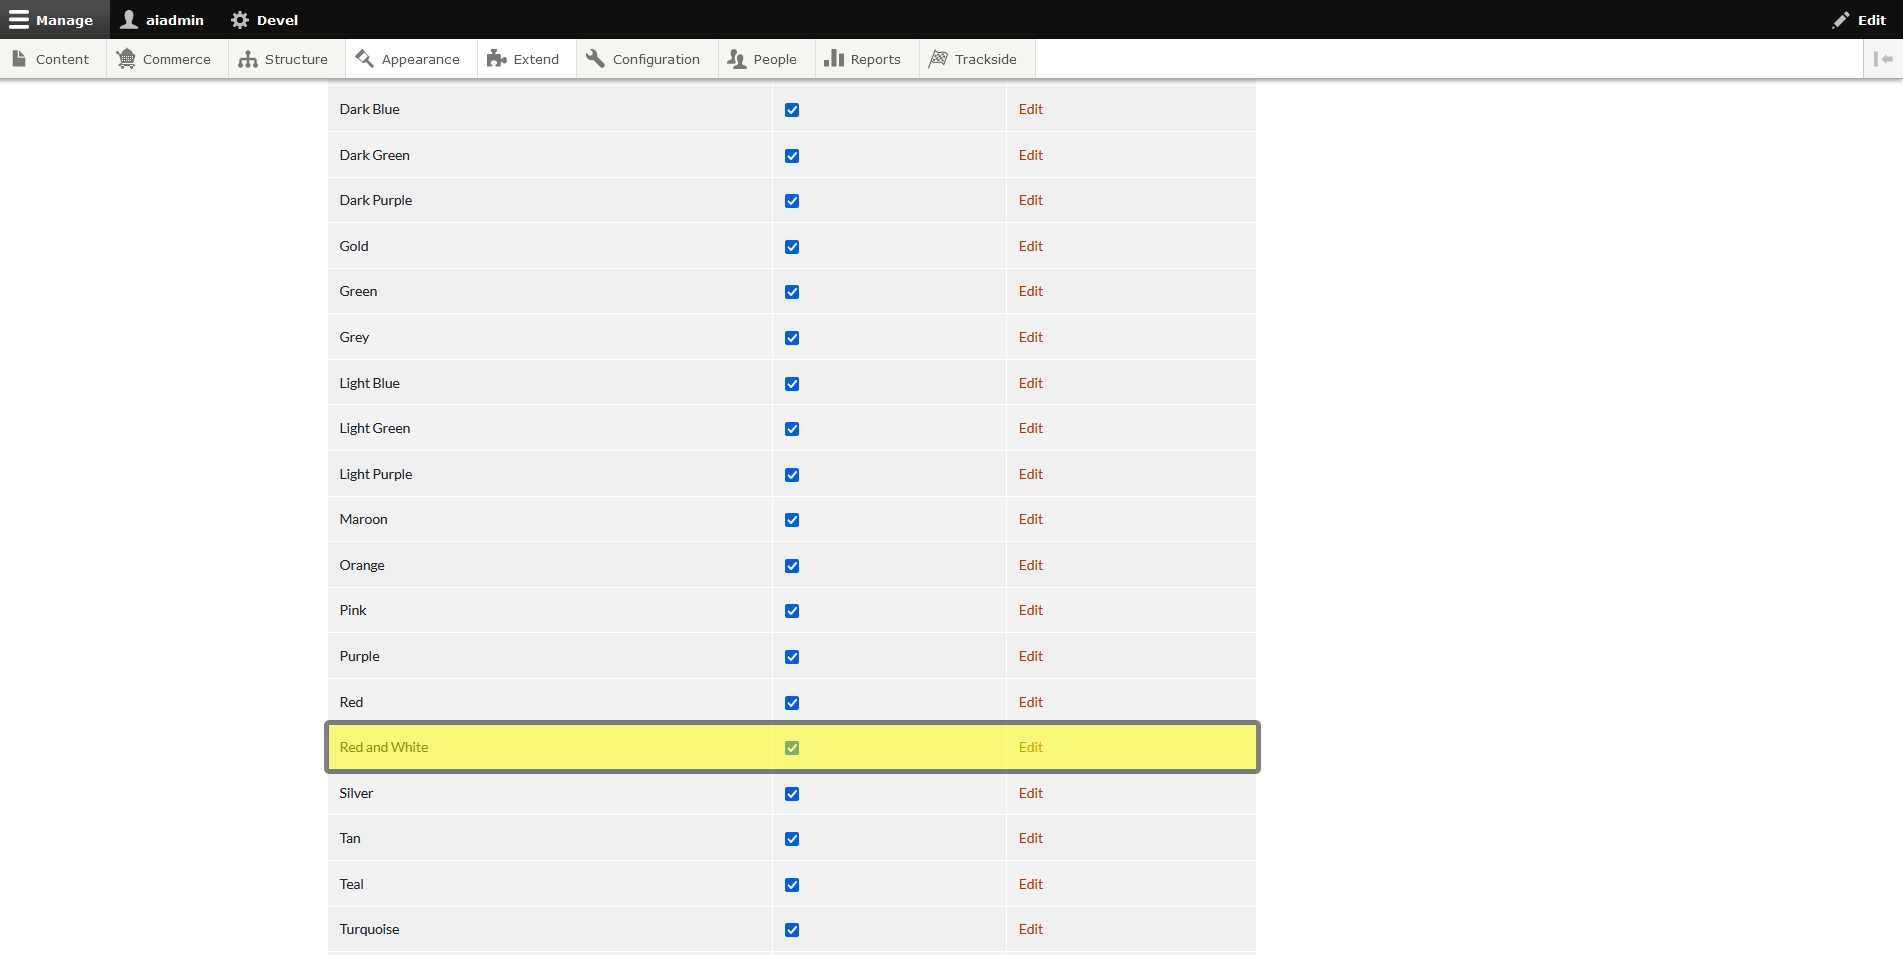
Our customer can now apply the option to the vehicle in their Garage, and they're probably felling pretty special! You can also change options for them. We'll cover that in My Garage.