
Ticket Types
This article will help you set up new General Admission Ticket Product types.
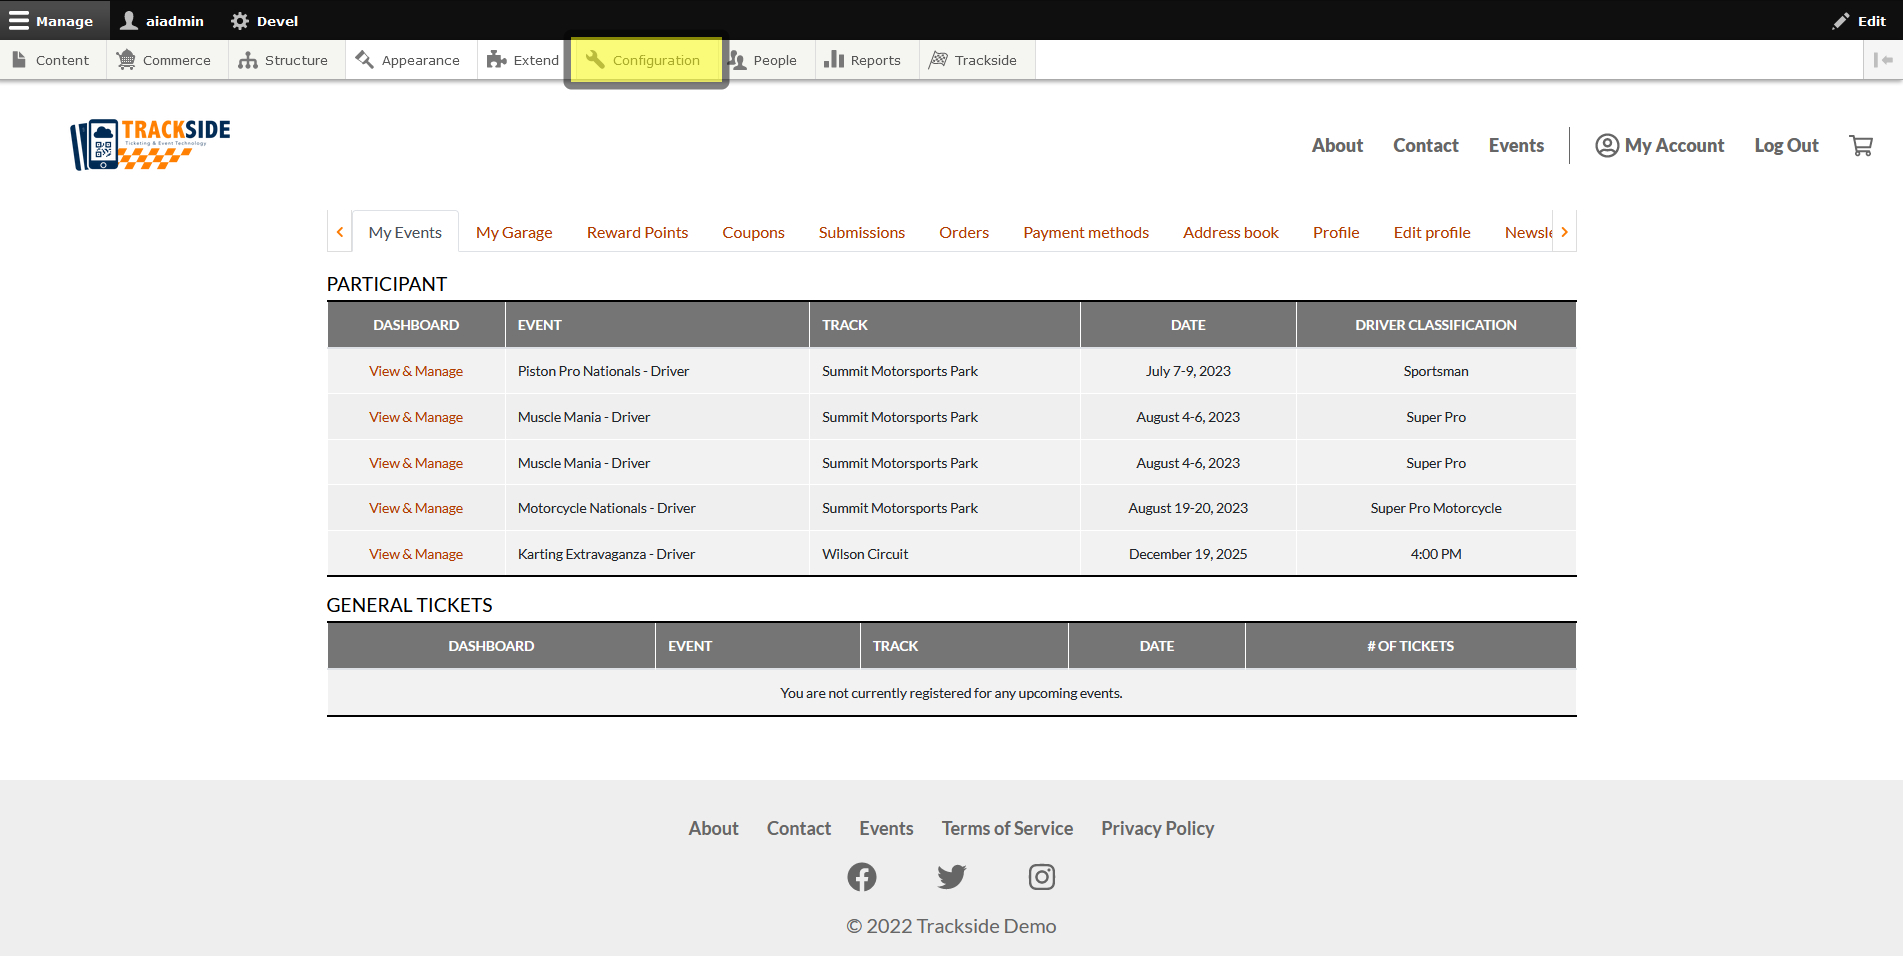
Step 1 - Hover Over Configuration
Once you're logged in, hover your cursor over Configuration in the Management Menu. If you don't see this menu, click Manage in the top left of the window. Alternatively, you may also click Configuration, which will take you to a separate page where you can continue following the steps ahead by clicking as well.
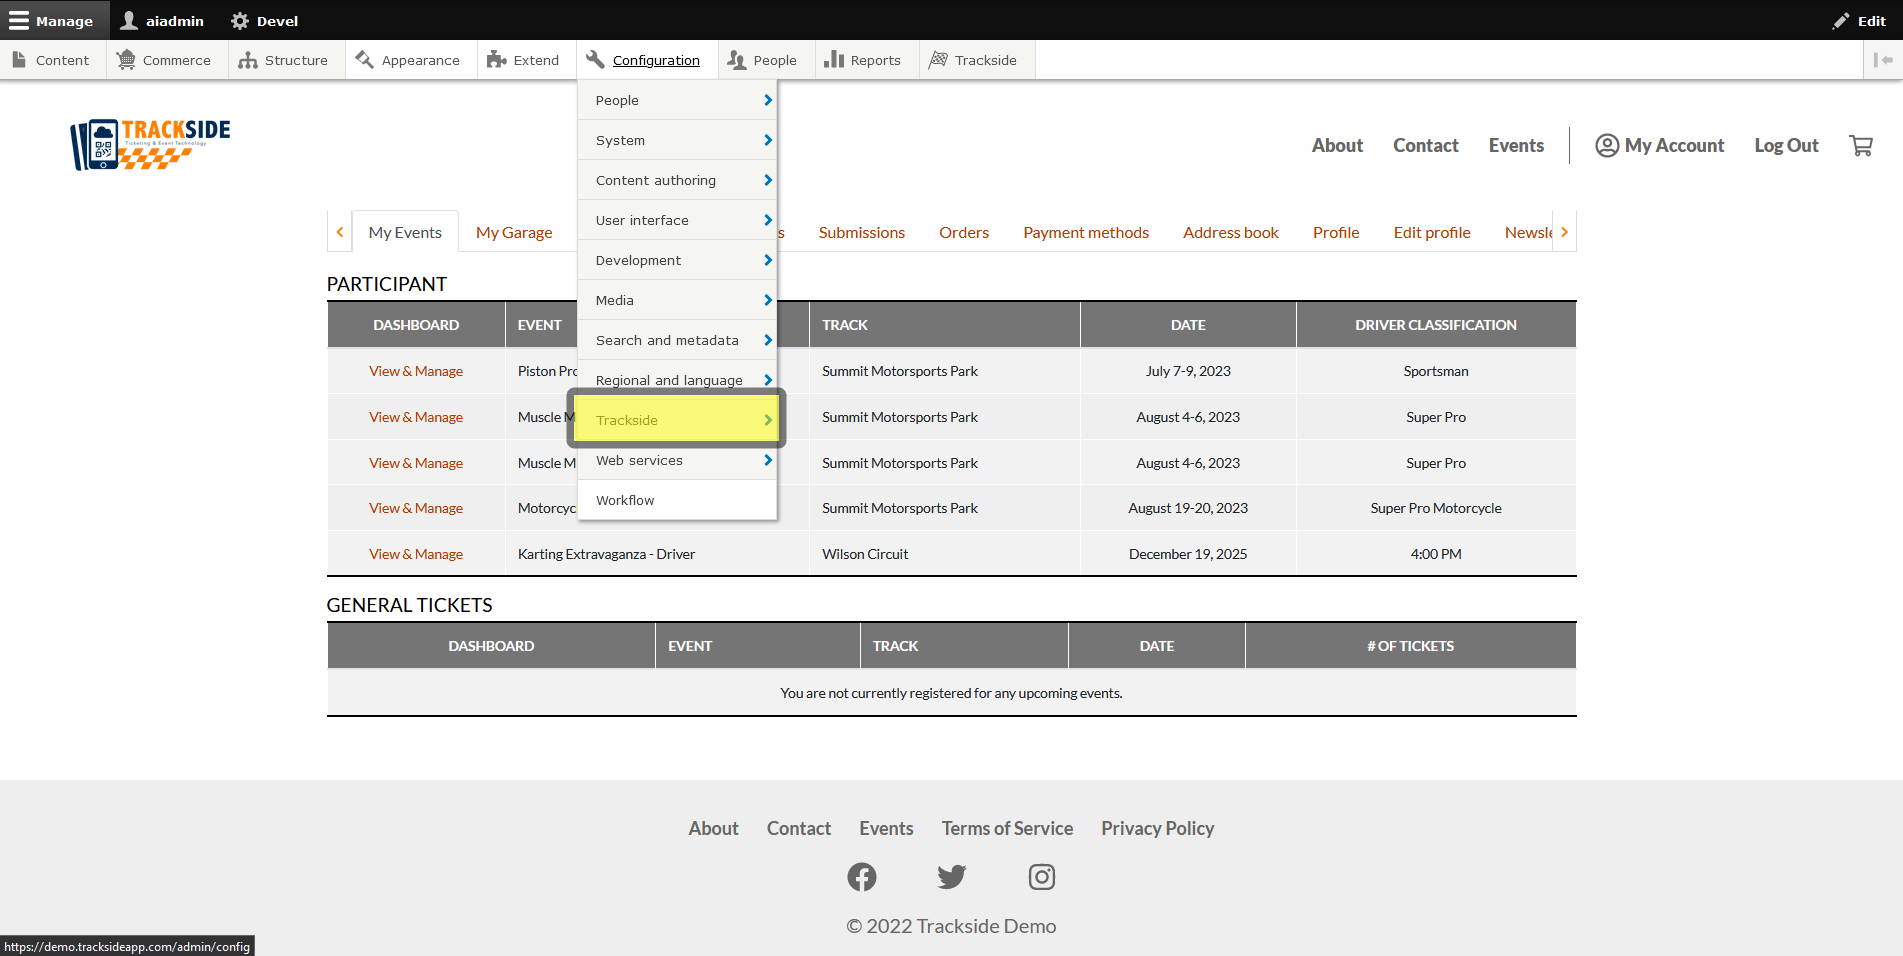
Step 2 - Hover over Trackside
In the Configuration menu, hover over Trackside.
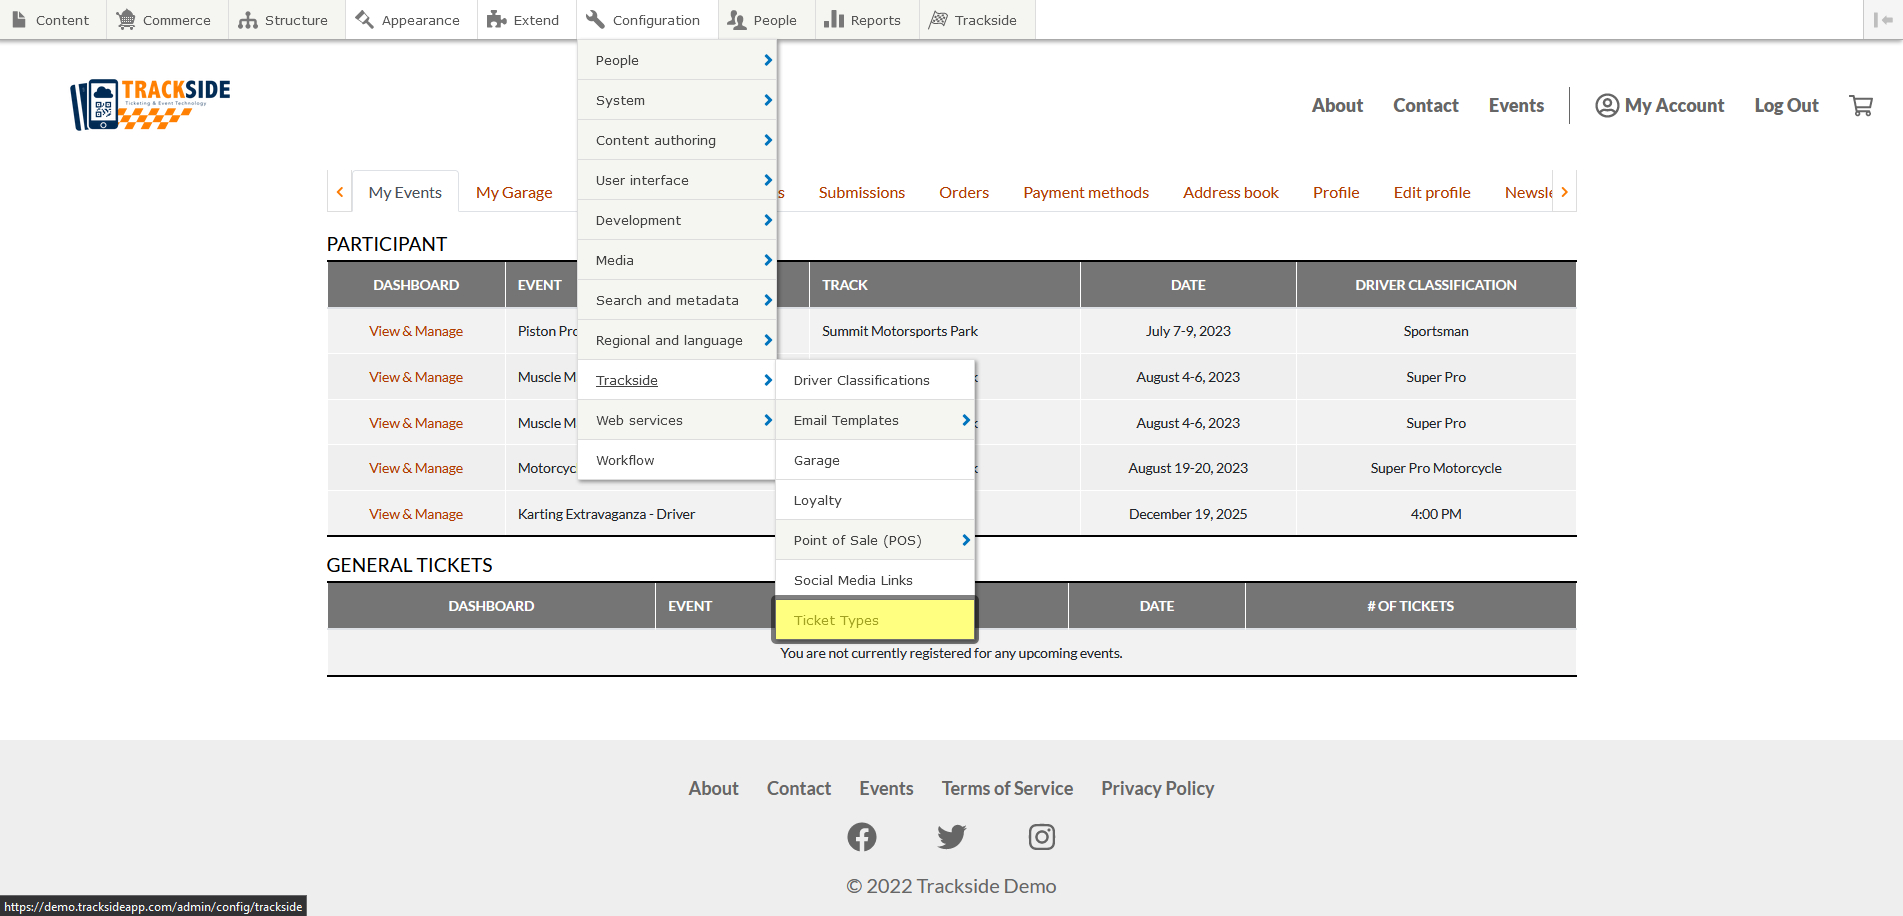
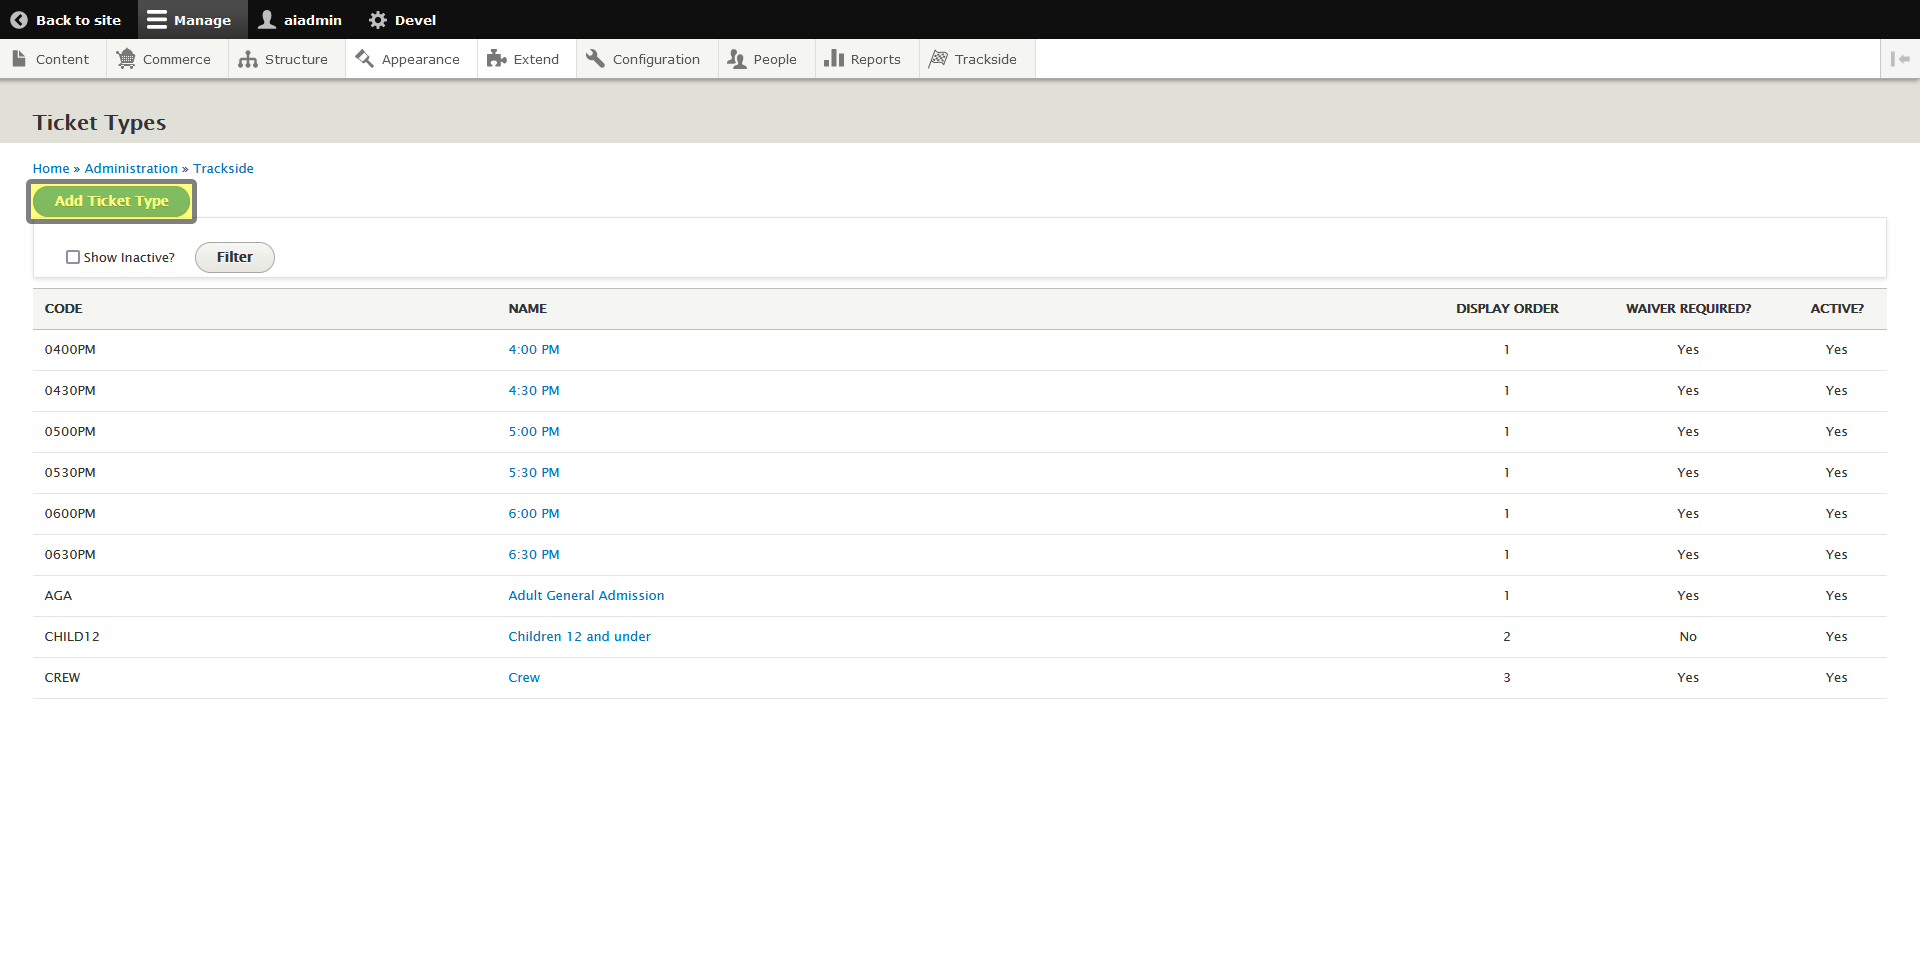
Step 3 - Click on Ticket Types
Once in the Trackside menu, click on Ticket types to see the listing of available General Admission Ticket Product types.
Step 4 - Click on Add Ticket Type
This page lists all General Admission Ticket Product types you currently have added to your Trackside, as well as some of the statuses of them. If you need to edit an already existing type, you will click on the Ticket Type name.
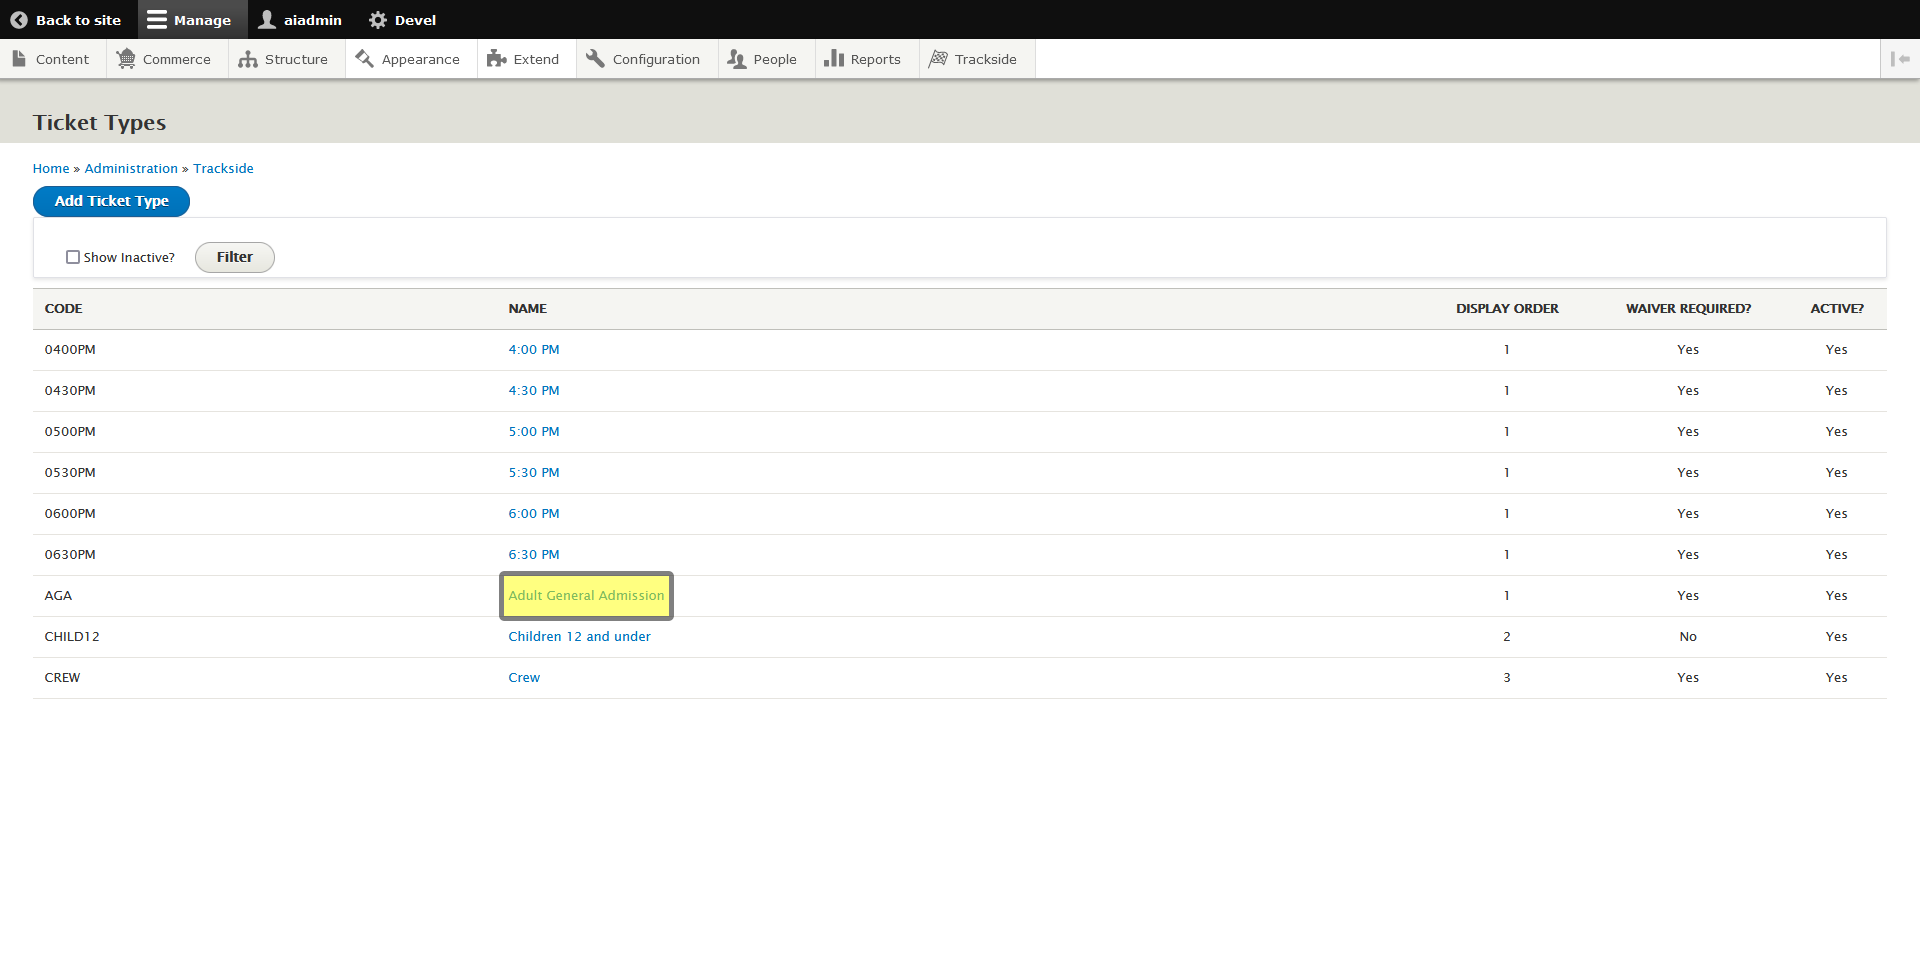
If you're ready to add a new Ticket Type, click Add Ticket Type.
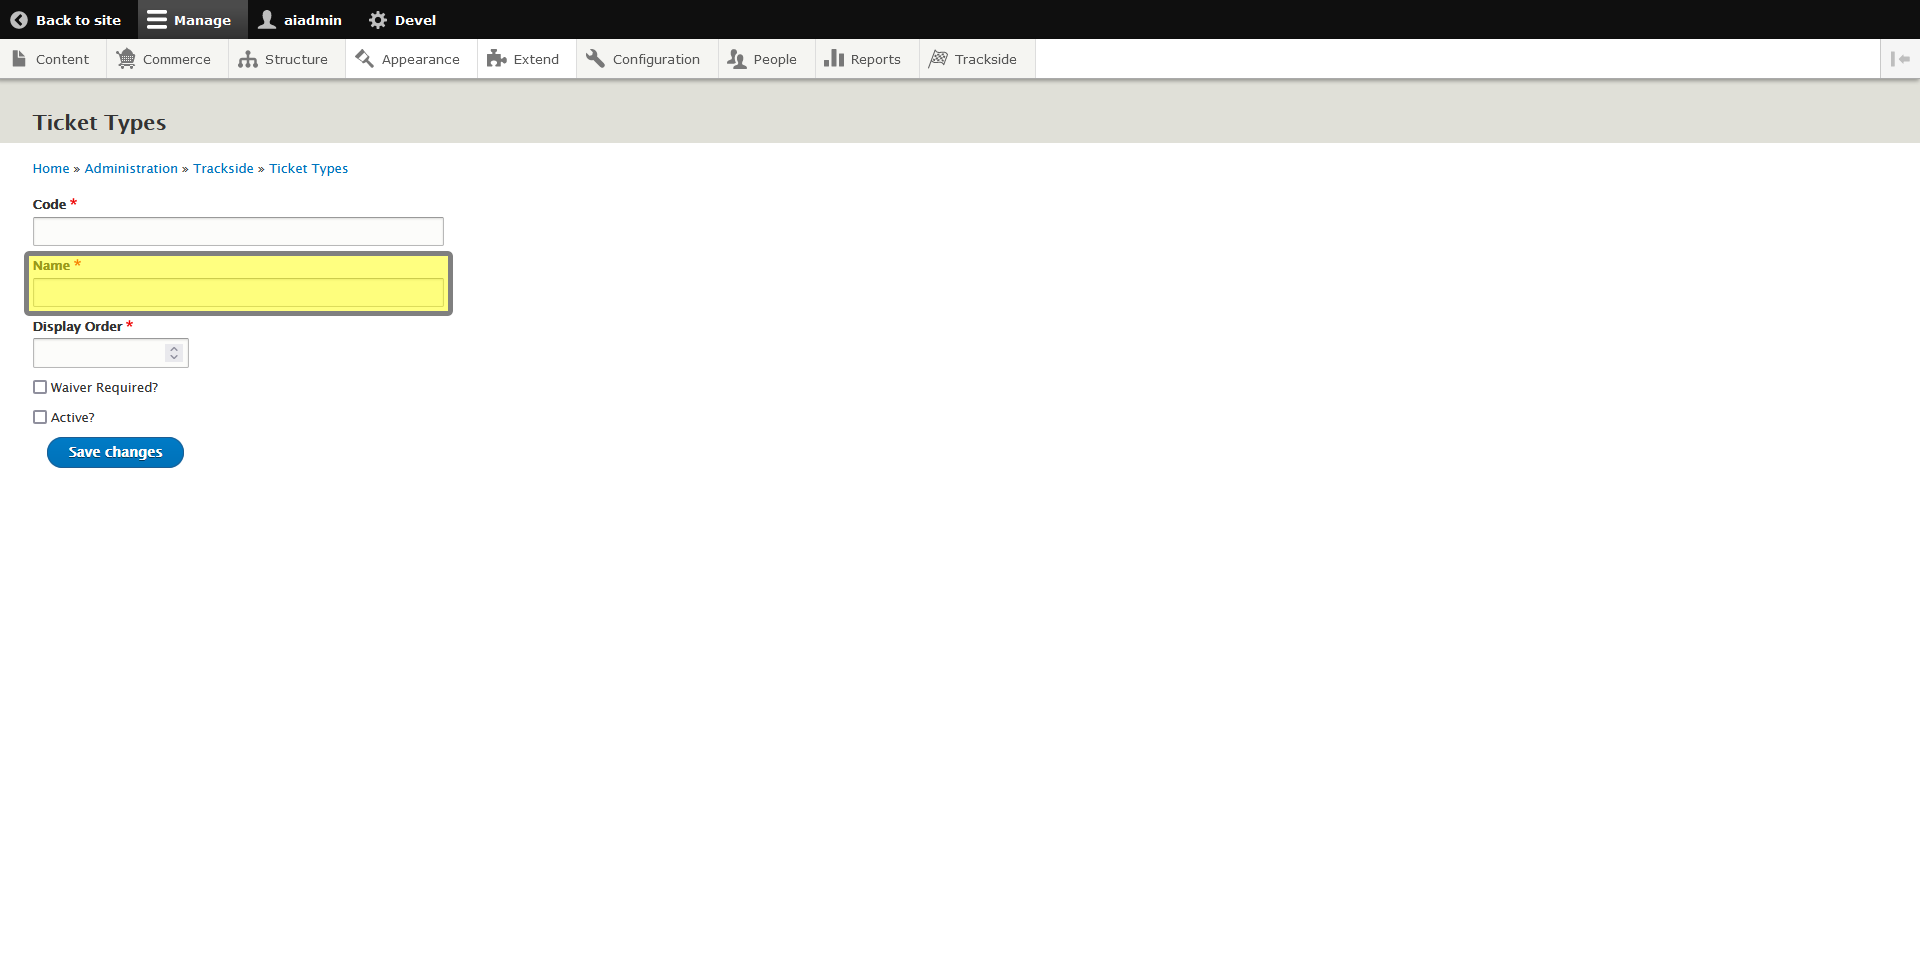
Step 5 - Enter Ticket Type Code
This will take us to a screen to create a new Ticket Type. The first thing we're going to do is create a short Code for the SKU generation of the General Admission Ticket Products we will be creating from this Ticket Type when events are created.

Step 6 - Enter Ticket Type Name
We will then enter a Name for the Ticket Type. This can be more of a full name description.
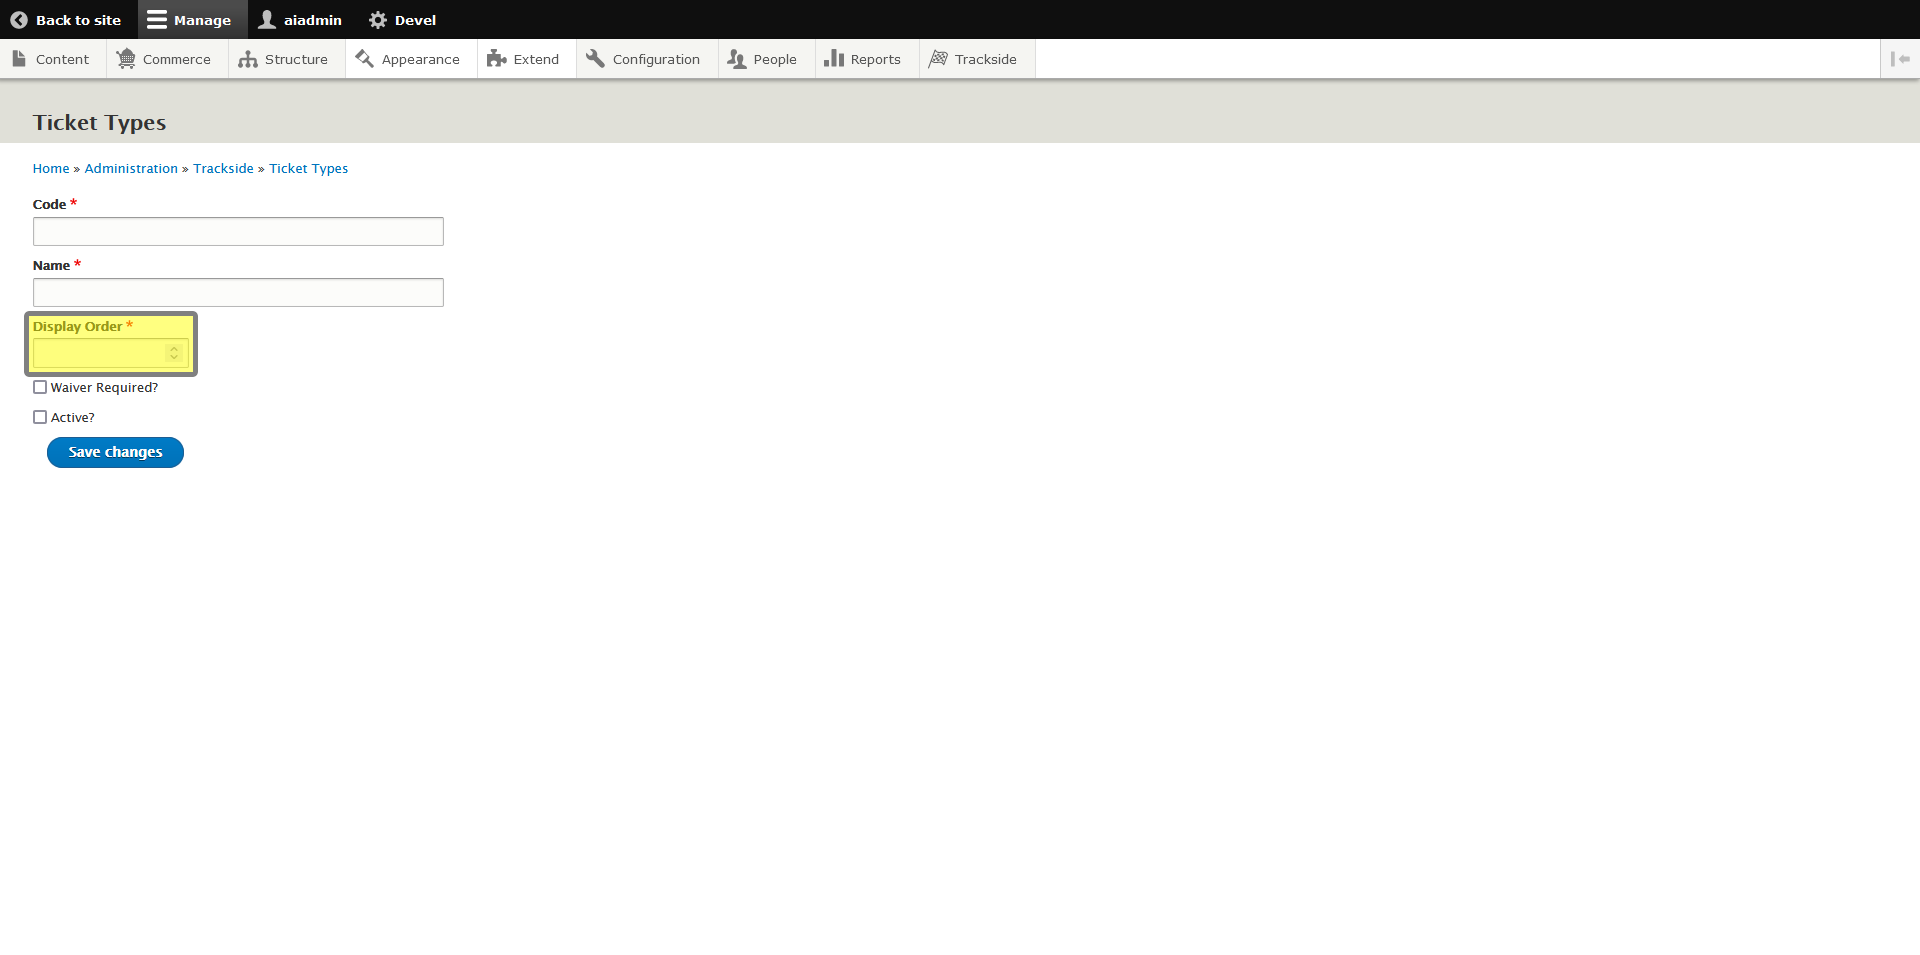
Step 7 - Configure Display Order
This option allows you to order how the Ticket Types will show up in the list when your customers are purchasing General Admission Ticket Products. You can number this if you want them in a specific order, or if you want to just leave it in a default order, you can just enter 1 for any Ticket Types you set up.
Step 8 - Select if Waivers are required and if the Ticket Type will be Active