
Receipt Settings & Customization
This article will assist you in customizing some of the basic receipt settings.
Step 1 - Navigate to Receipt under Configuration
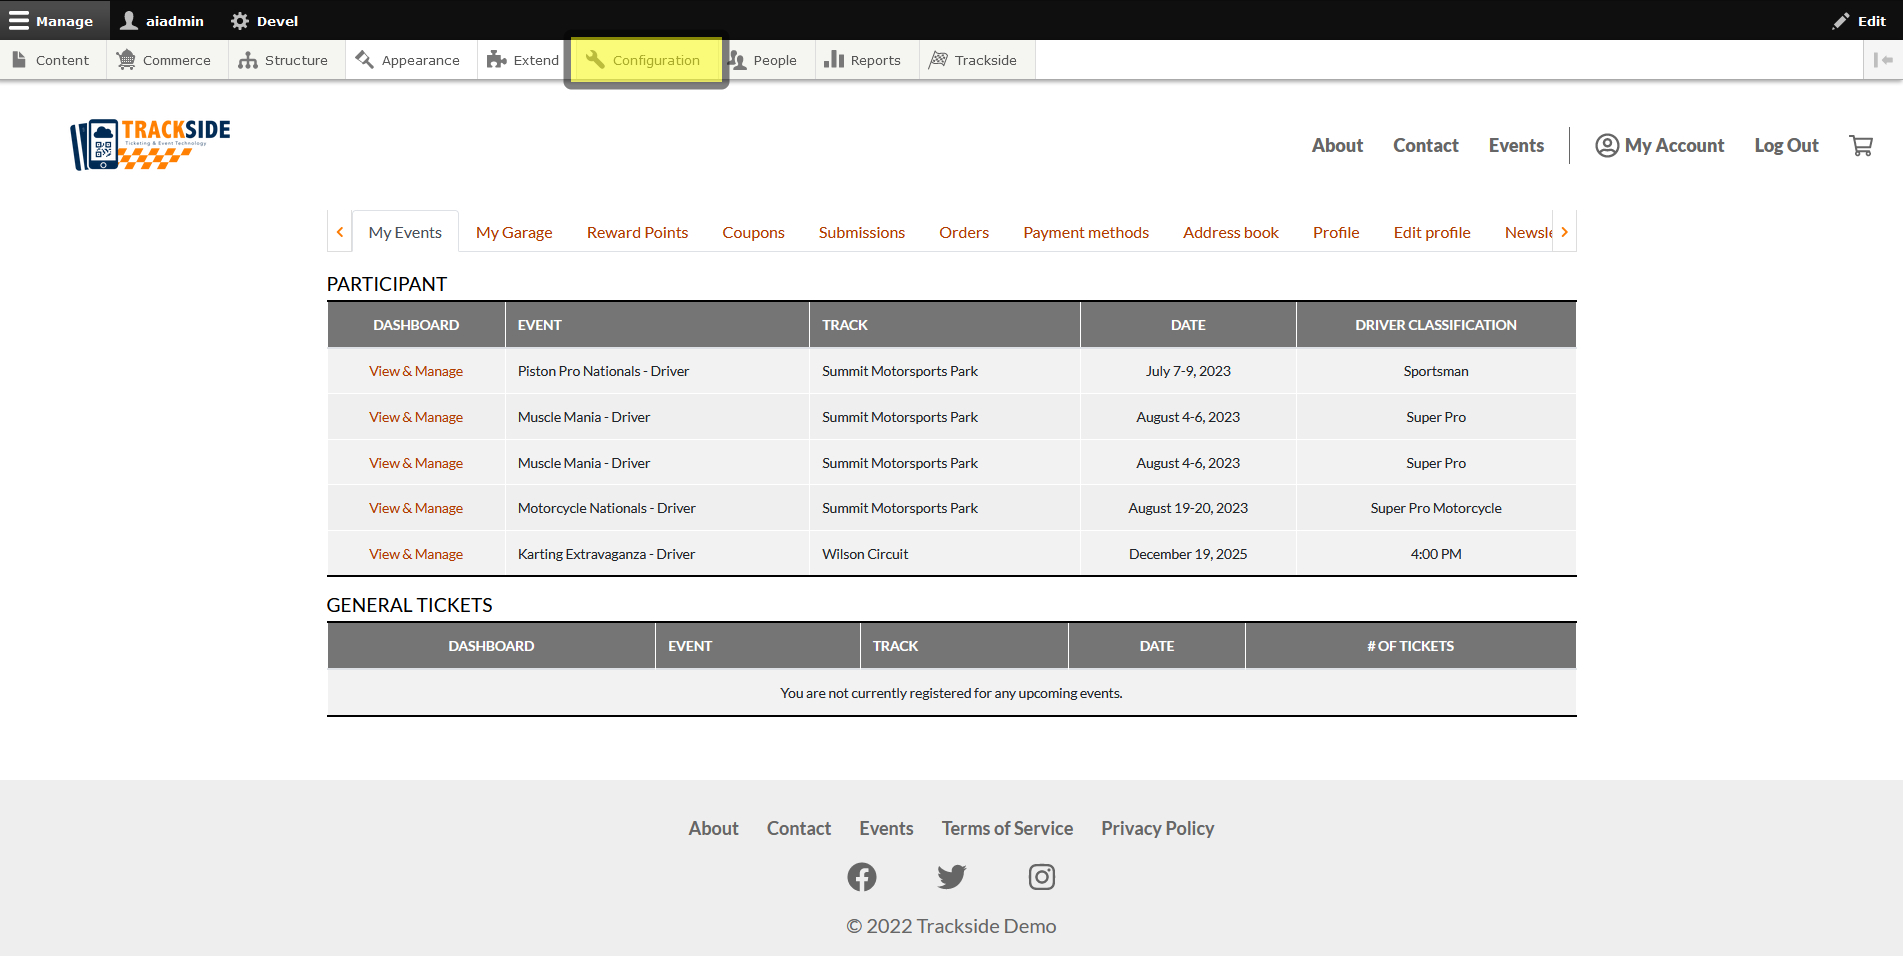
Once you're logged in, we need to navigate to Receipt under the Configuration menu. For the following steps, you may click on the button when told to hover also and it will take you to a separate page where you can also click the next button to get the same end result as hovering. We need to start by hovering over Configuration.
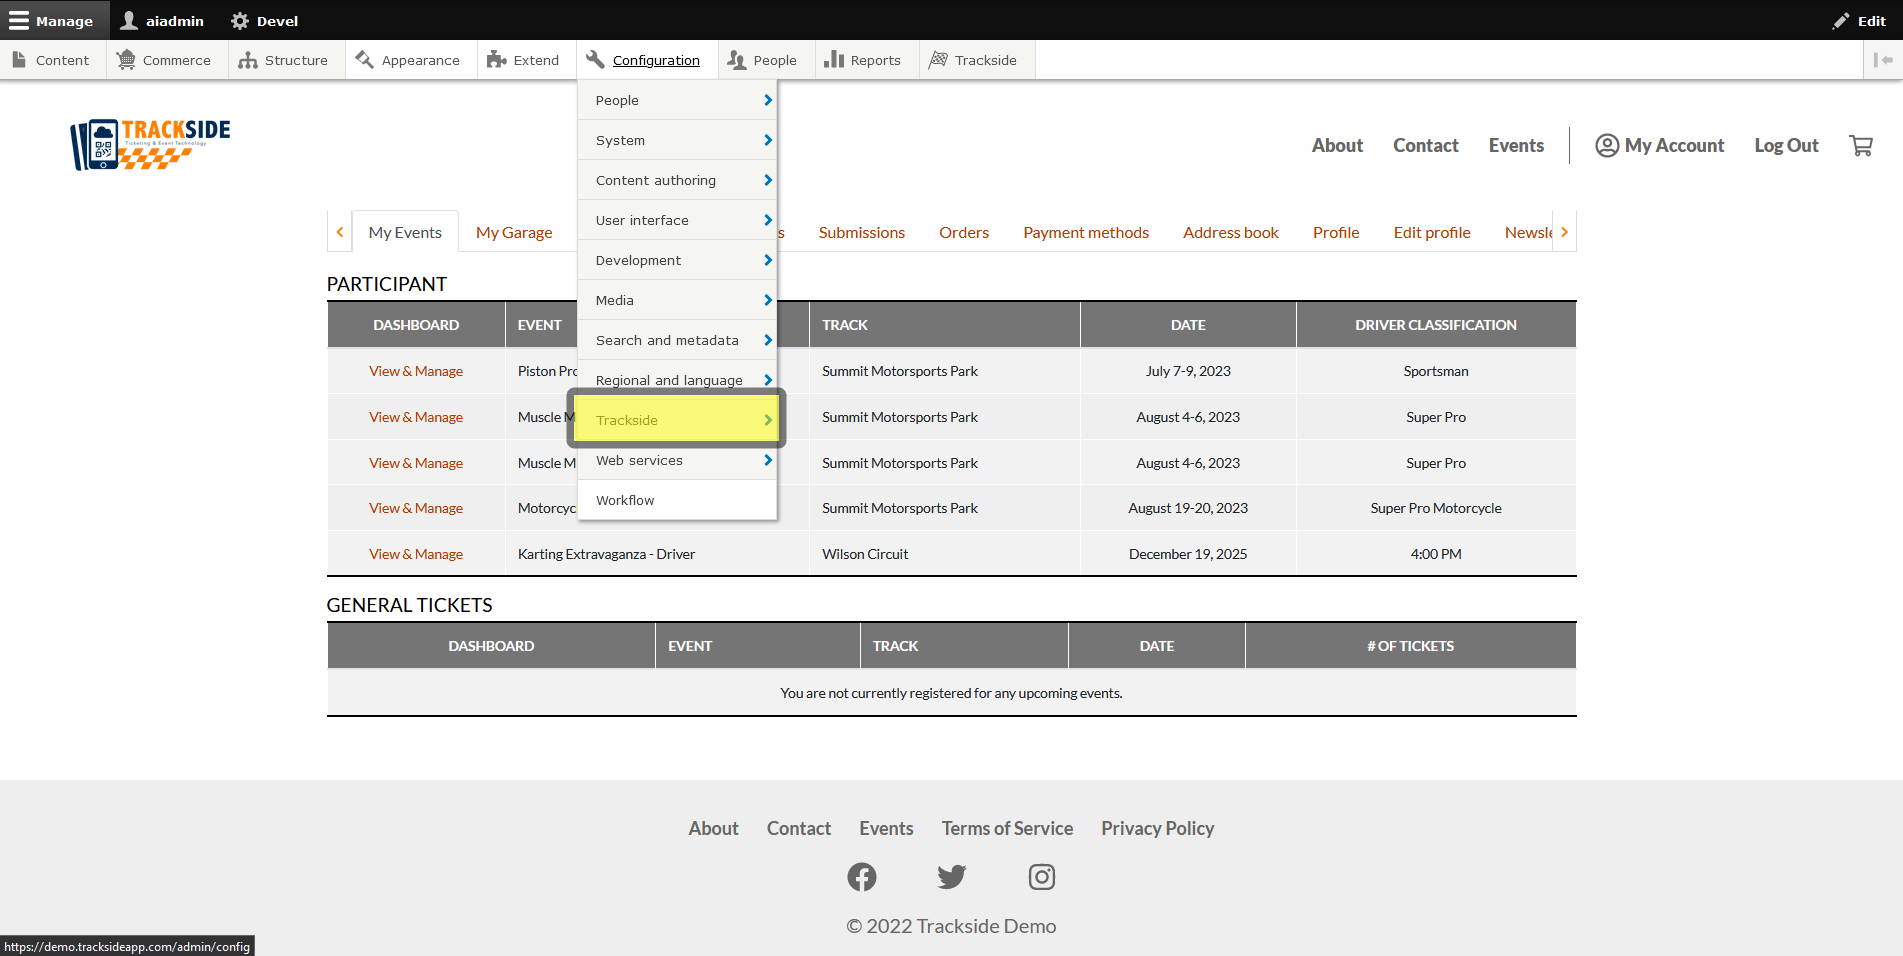
Hover over Trackside.
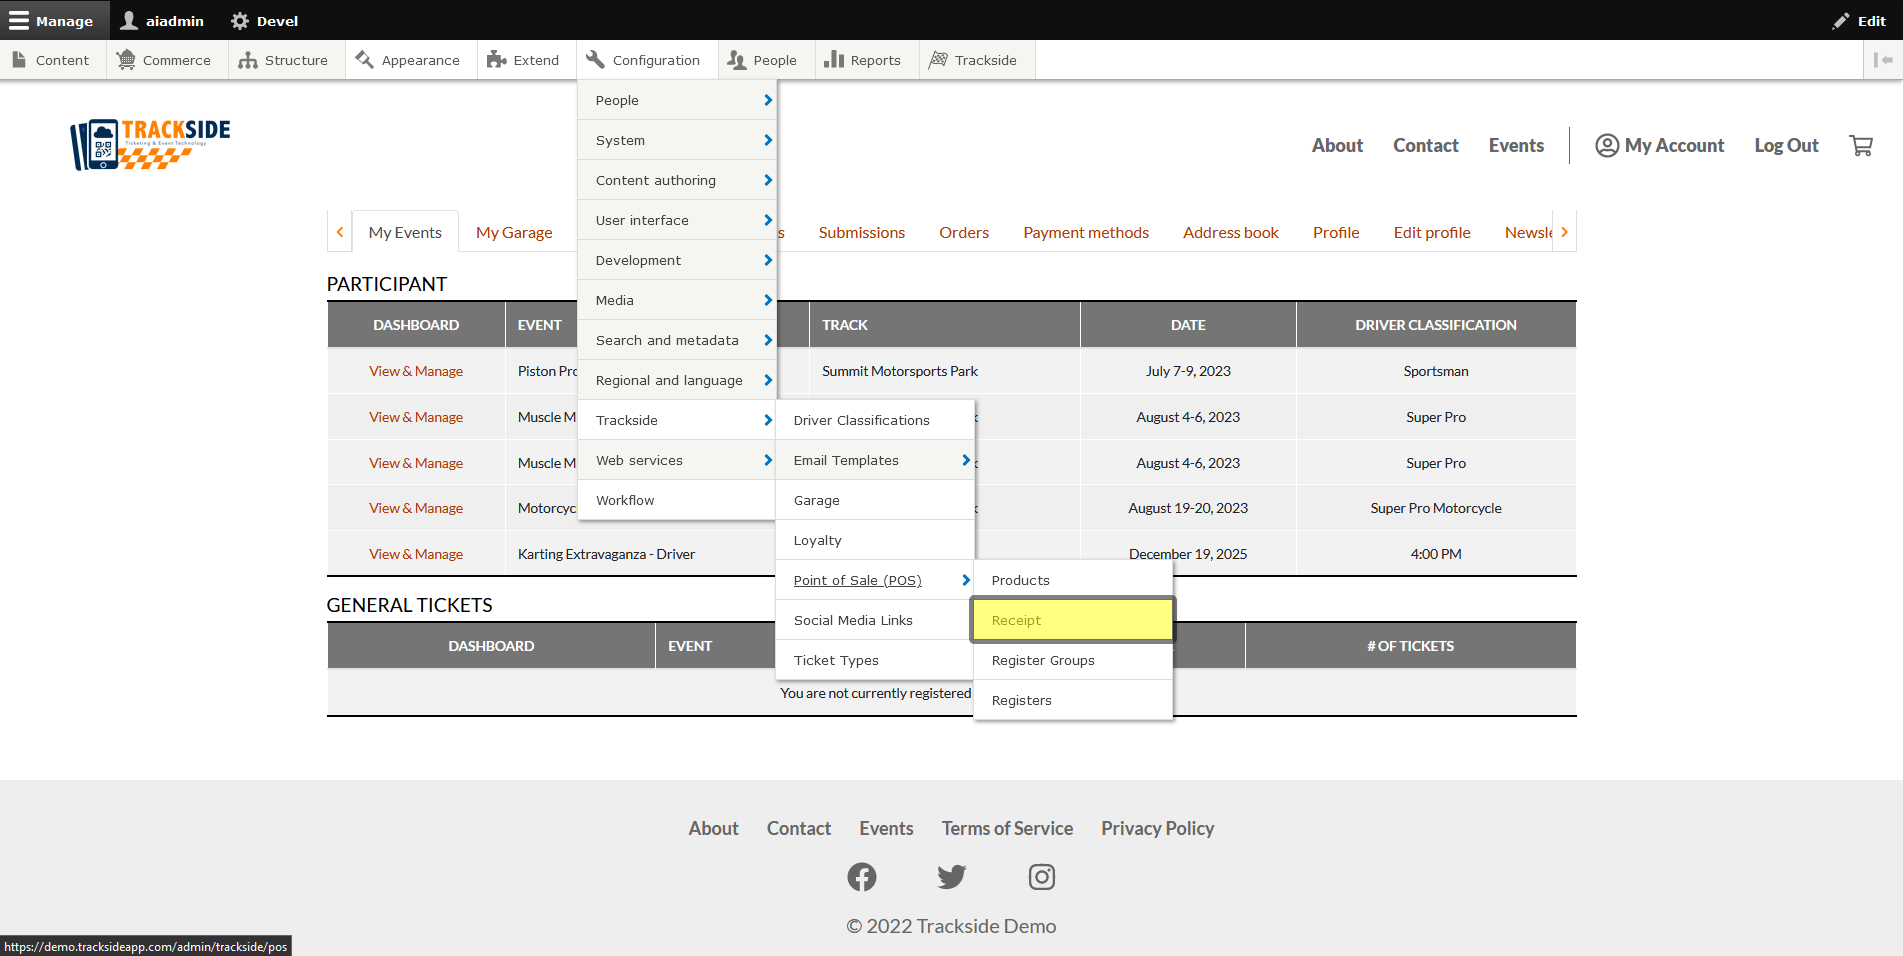
Hover over Point of Sale (POS).

Then click on Receipt.
Step 2 - Enter Customizations
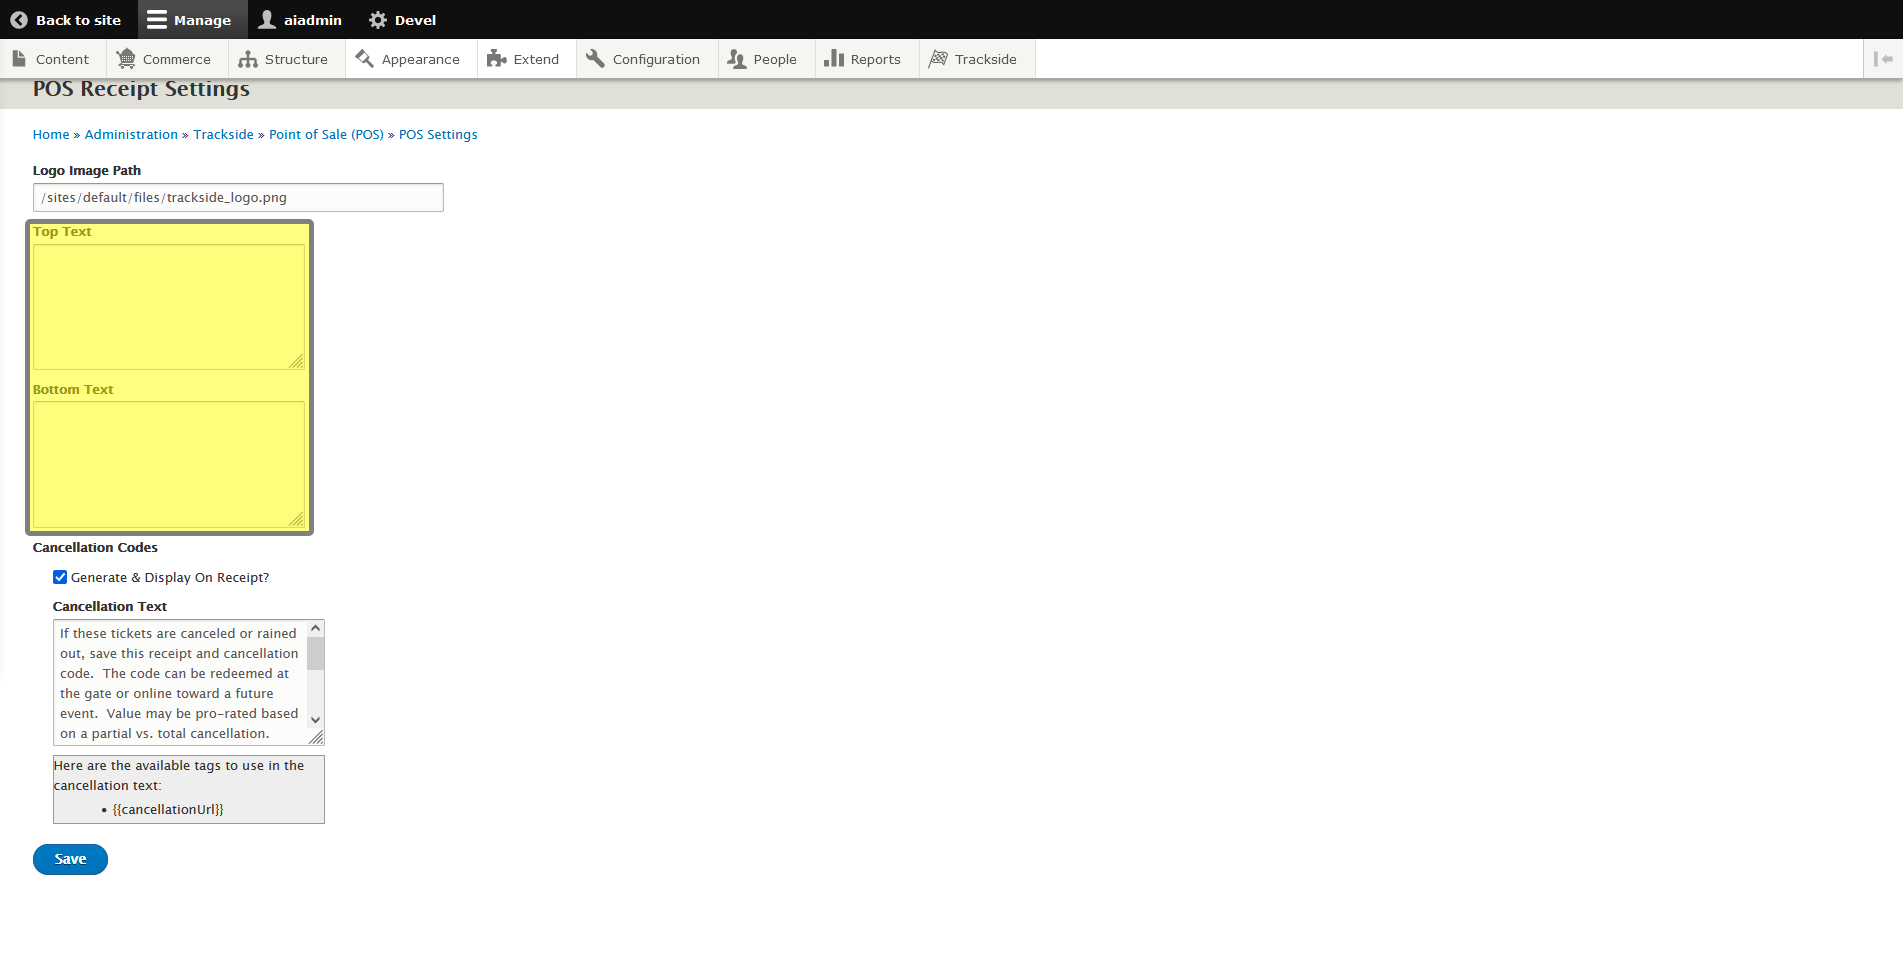
There are a couple options here for customization to make your receipts unique to your track or organization. The first option is to change the logo at the top of the receipt. If you contact support with the image you want included on your receipt, we can configure this for you.
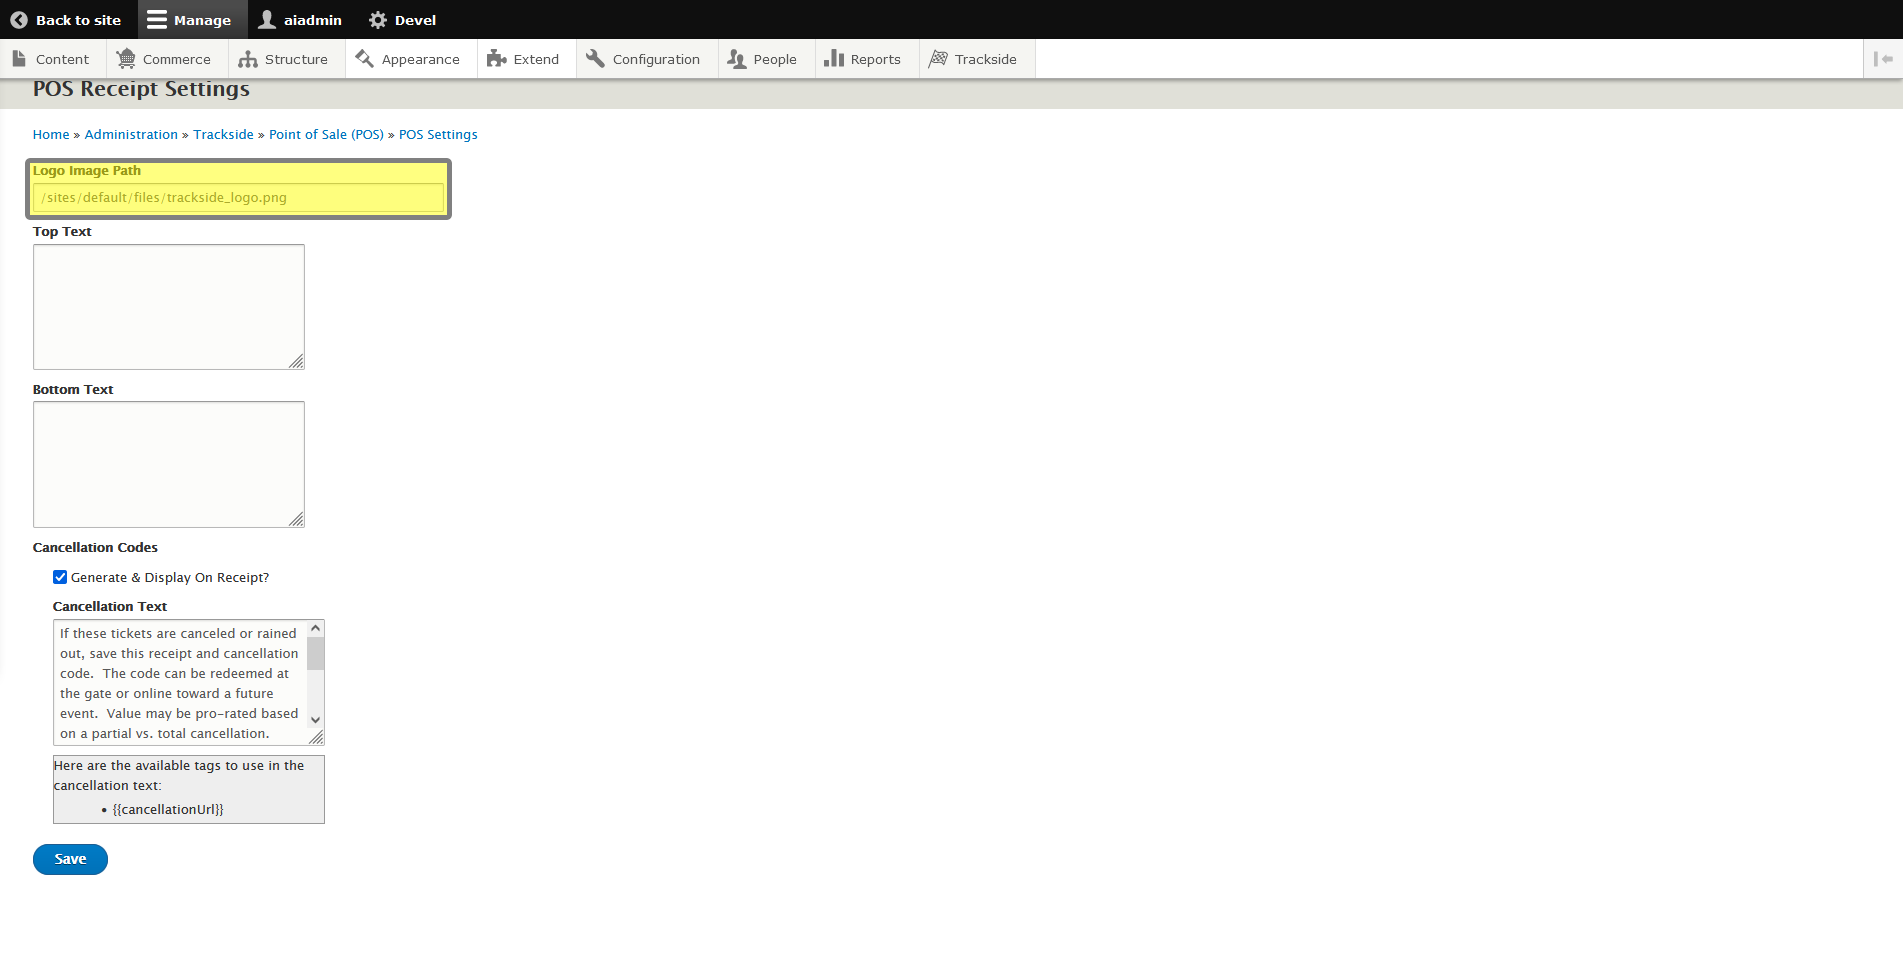
In the two boxes below that, you have the ability to add text to the top and bottom of the receipt, be it a tagline, an event you want to promo, or your policies, these are pretty versatile options to get a little more information to your customers.
For customization of the Event Cancellation Code section of the receipt, see Point of Sale Receipt - Editing Cancellation Code & Text .
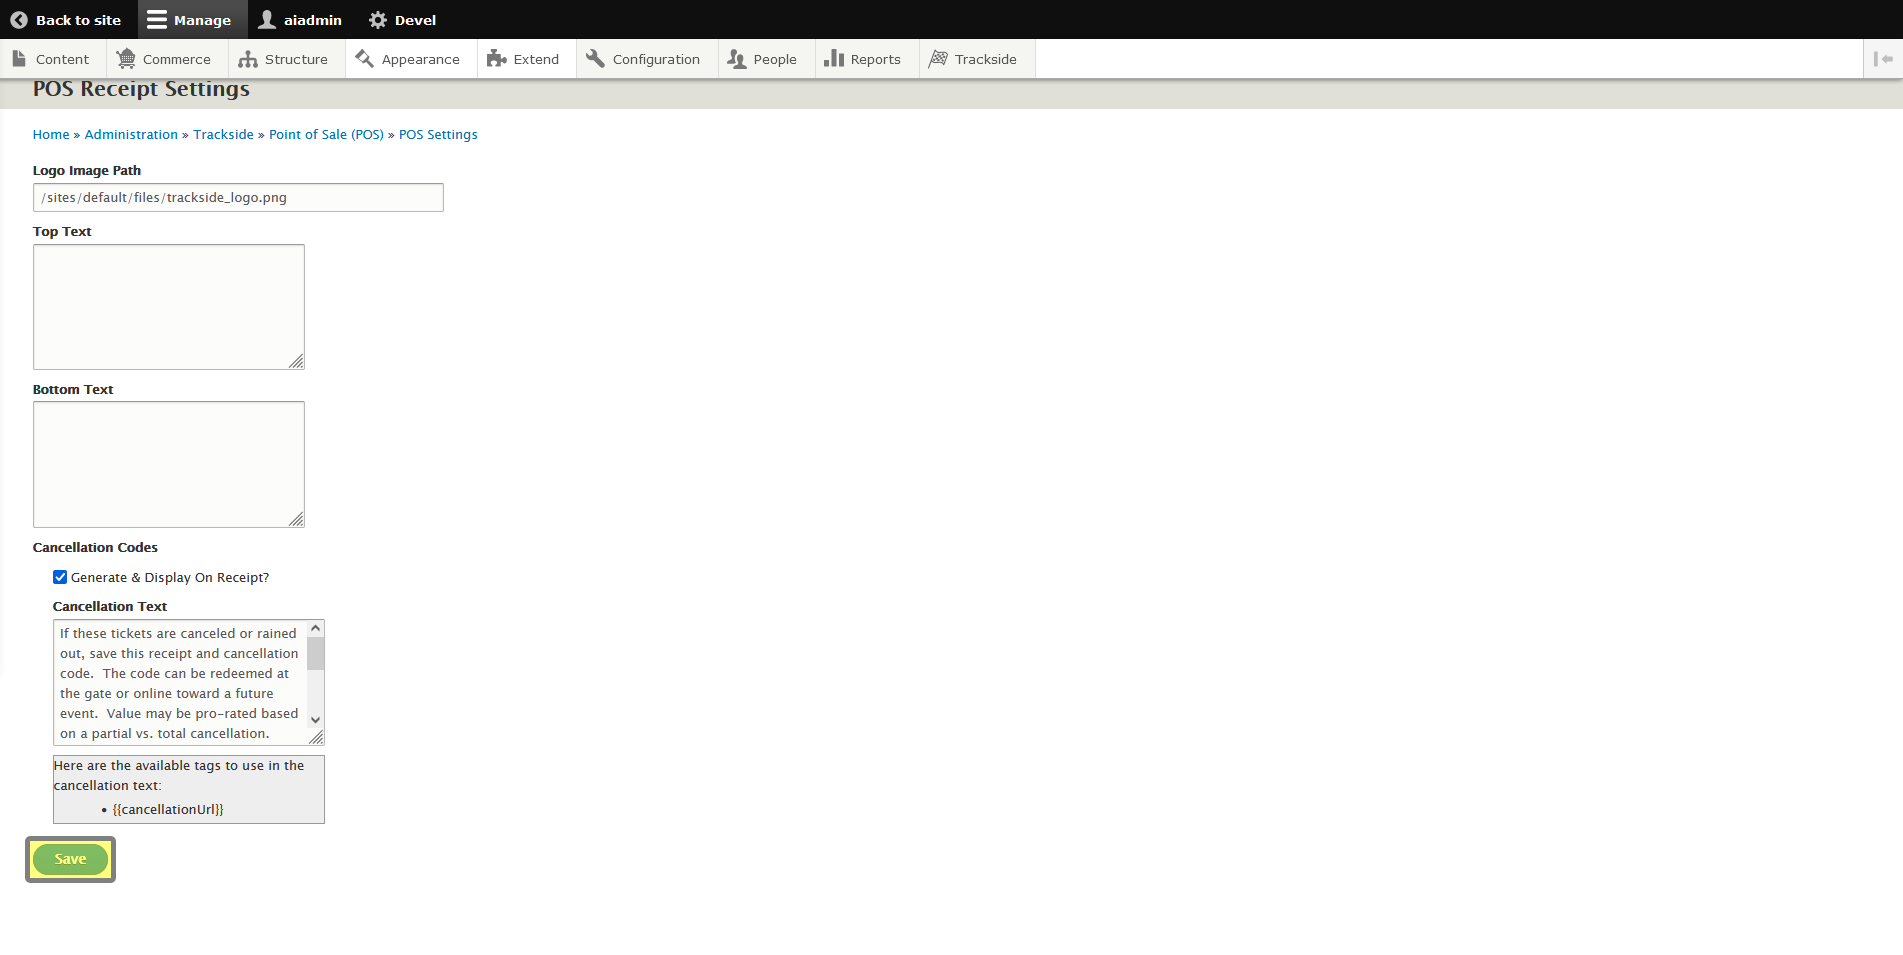
Step 3 - Save Your Changes
Once you've made your changes, don't forget to save your changes before leaving!
At this point, you may want to run a test transaction to print a receipt and check that it prints as expected and you're happy with your changes.