
Manually Create an Order for a Customer (In Progress)
This article will show you how to manually create an order for a customer. It takes several of the processes talked about earlier in this section of the wiki to complete this process. As was noted in Payment Methods, at some point in this process, even if you create their account, the customer will have to add credit card information to their account as you will not have access to their card information. The article linked above can send you to a customer centered walkthrough on that process as well.
Step 1 - Compile the Order
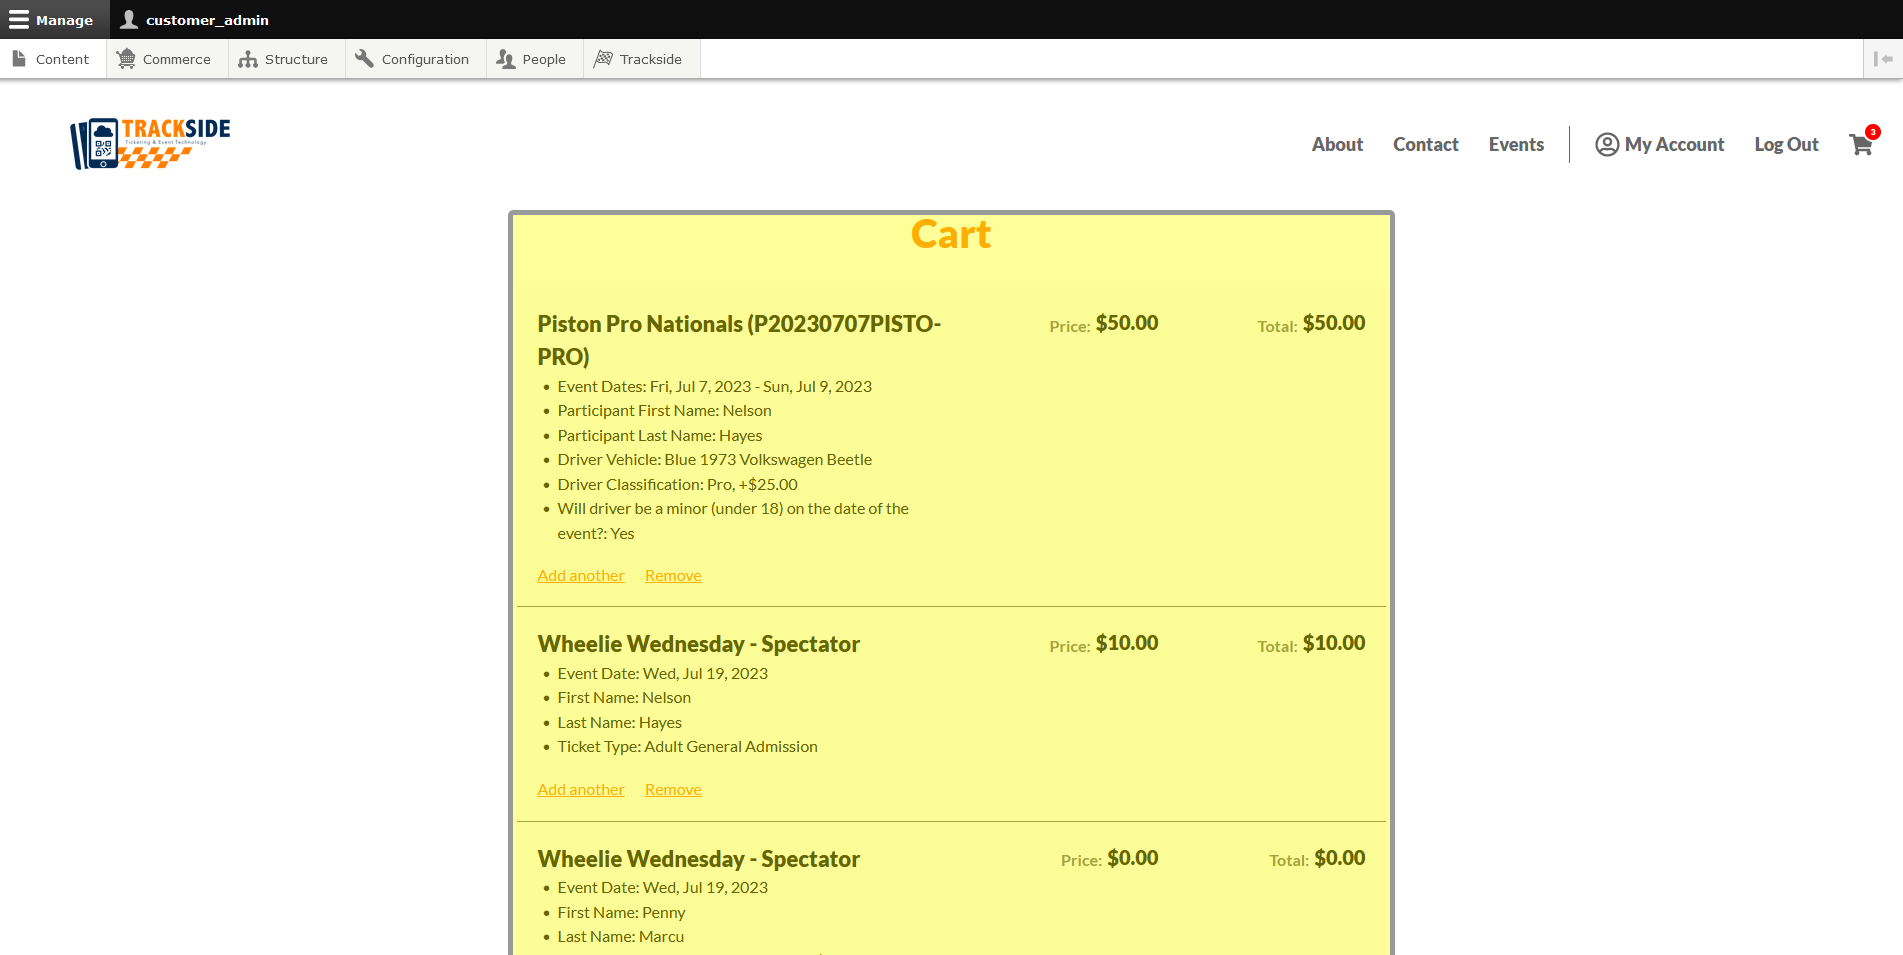
Begin by logging in. The first real step to the process is to assemble the customer's order in your cart. Go through your Trackside site and pick out what you need to pick out in order to complete their order.
Step 2 - Reassign the Order to the Customer
The next step is to Go into the Carts tab in the Orders screen and Reassign the order to the customer who will be purchasing the items in the cart.
Go to the Carts tab as was talked about in detail in View Pending Carts, step 1.
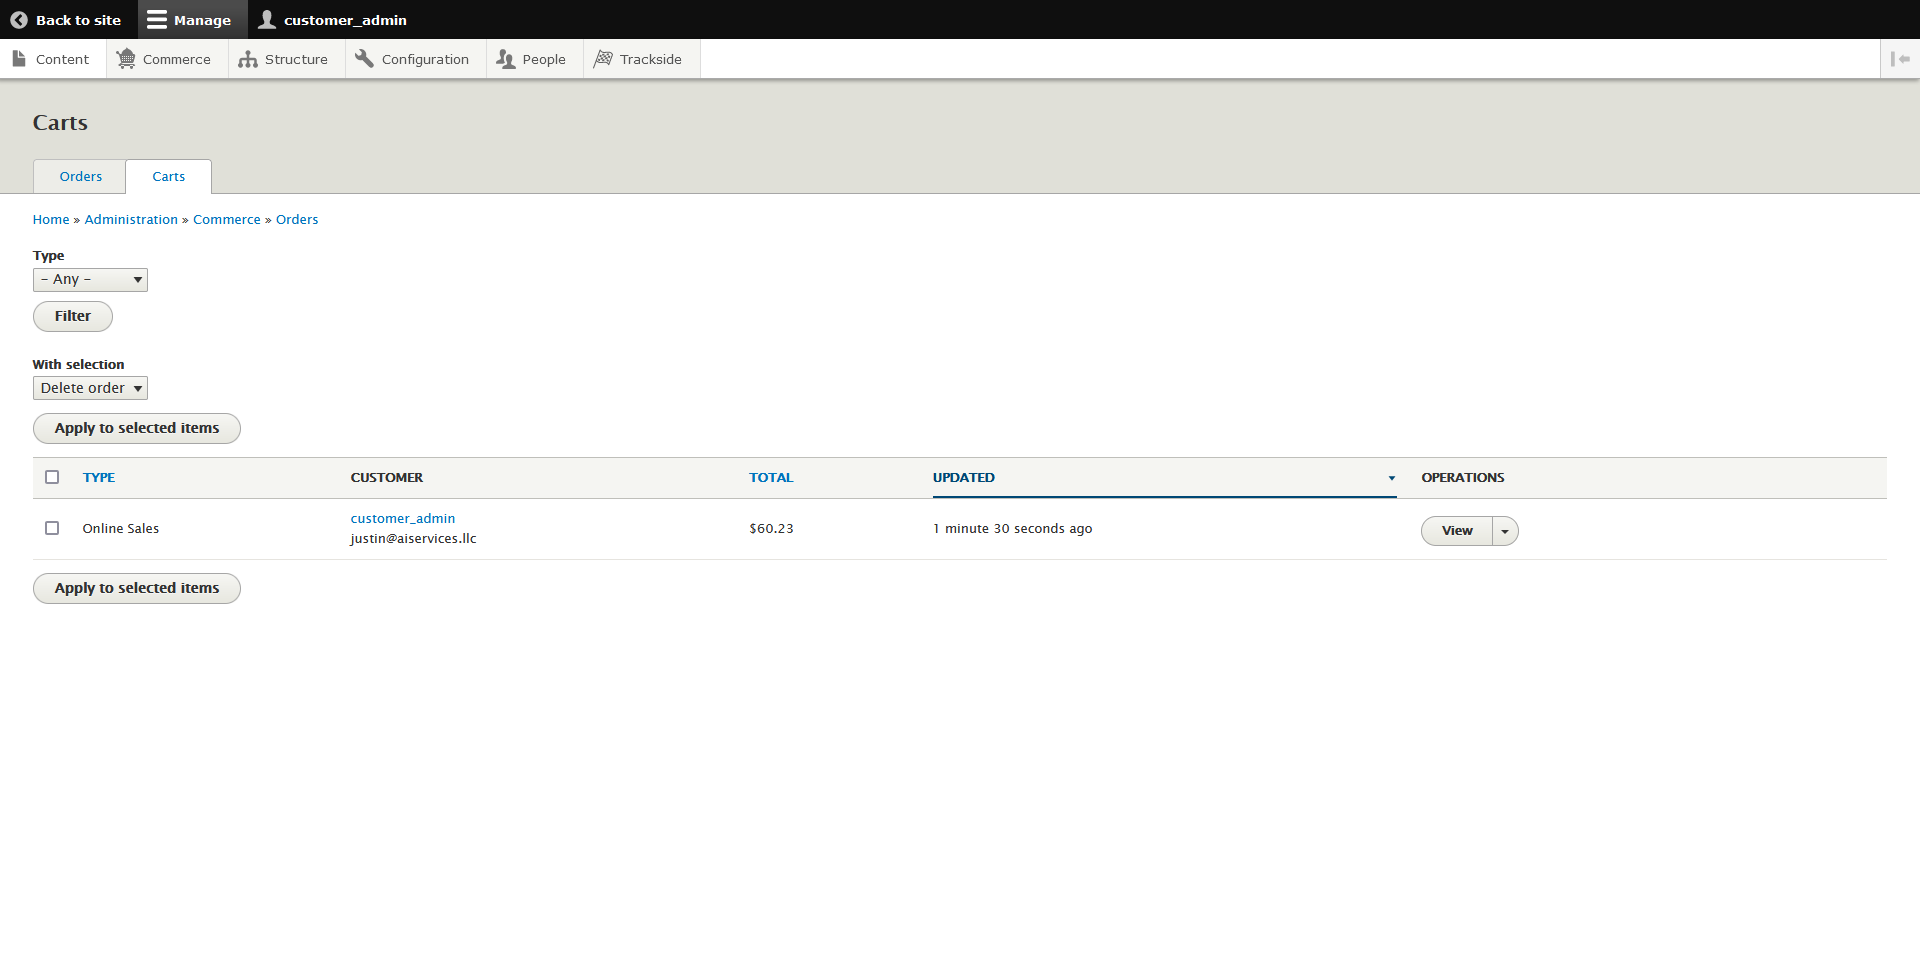
The order in the Carts tab
Once you reach the Carts tab, you'll reassign the order with the same process in Reassign an Entire Order, step 2. You already know you're working on the right order, so start from the part about clicking Reassign.

Reassigning the cart to the customer
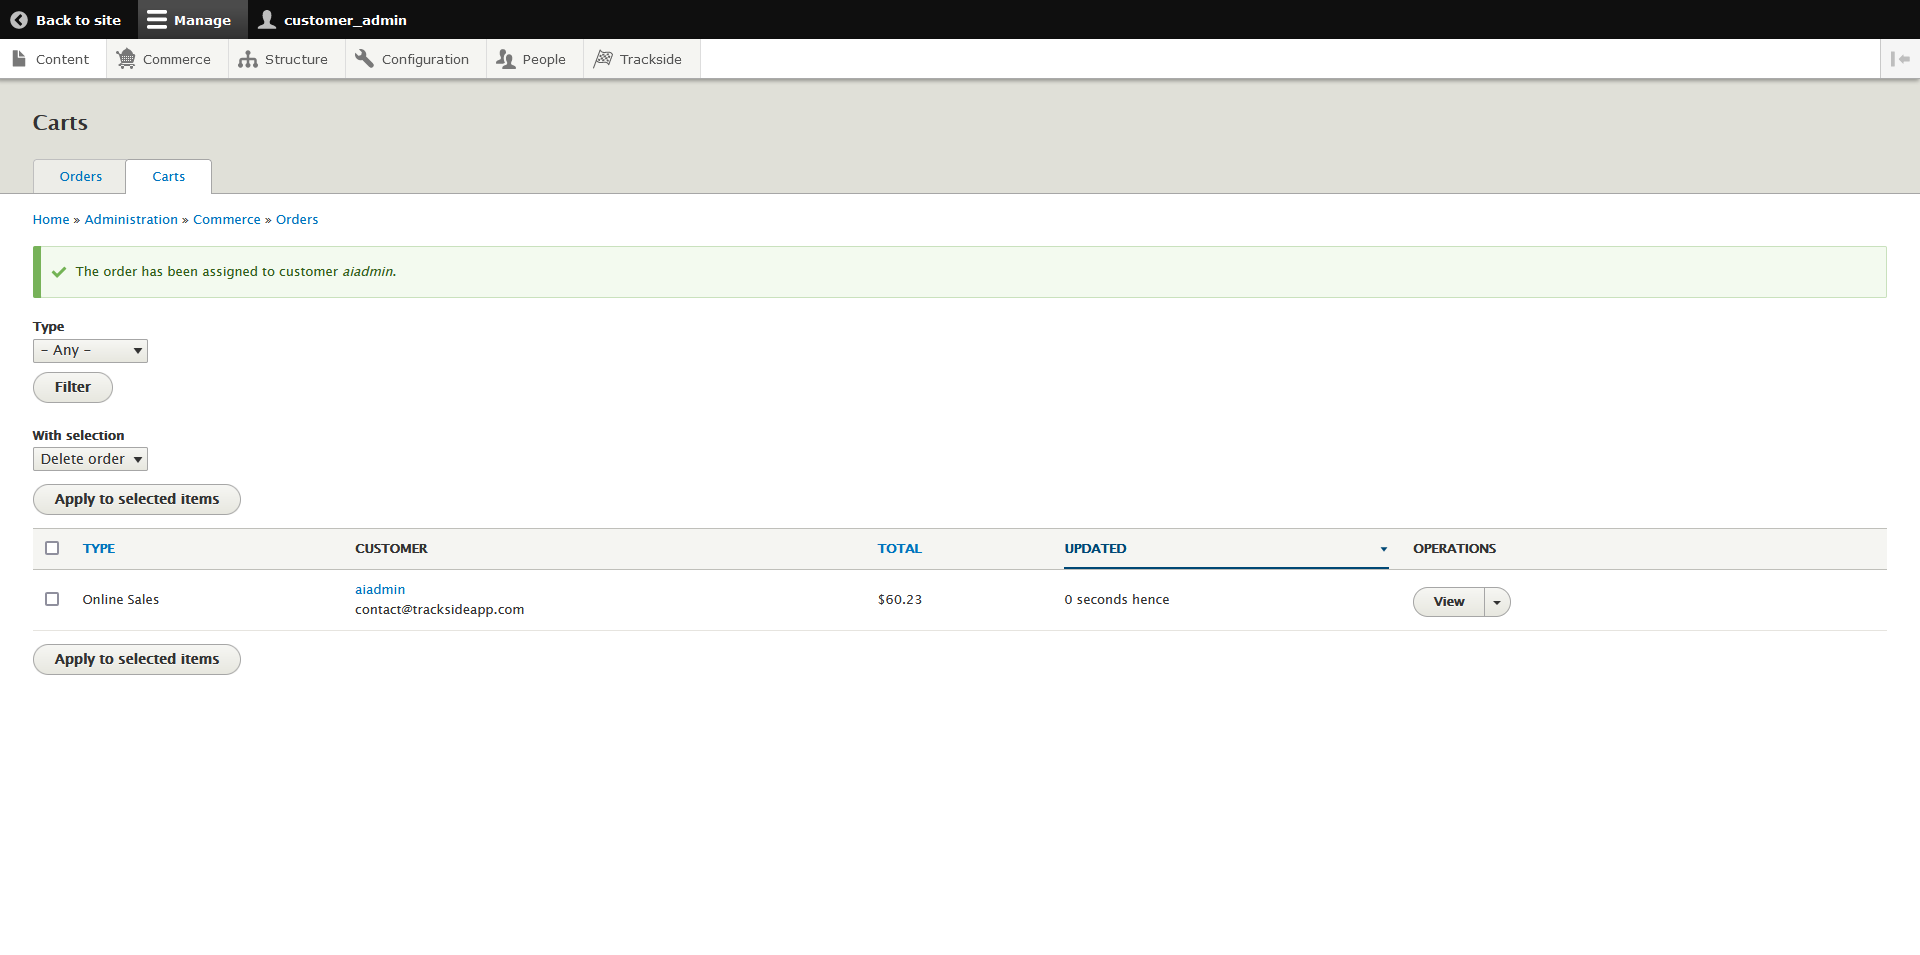
The confirmation the order was successfully reassigned to the customer after being returned to the Carts tab
Step 3 - Enter Customer Info
Once the order is reassigned, verify the customer's billing information is correct if the order is for an existing customer. If you had to create a new customer to reassign the order, you will also have to add billing information. This process is covered in Edit Pending Carts, step 2. You're going to use the drop down menu in the carts tab to get to Edit, then you only need to worry about the part about billing info.
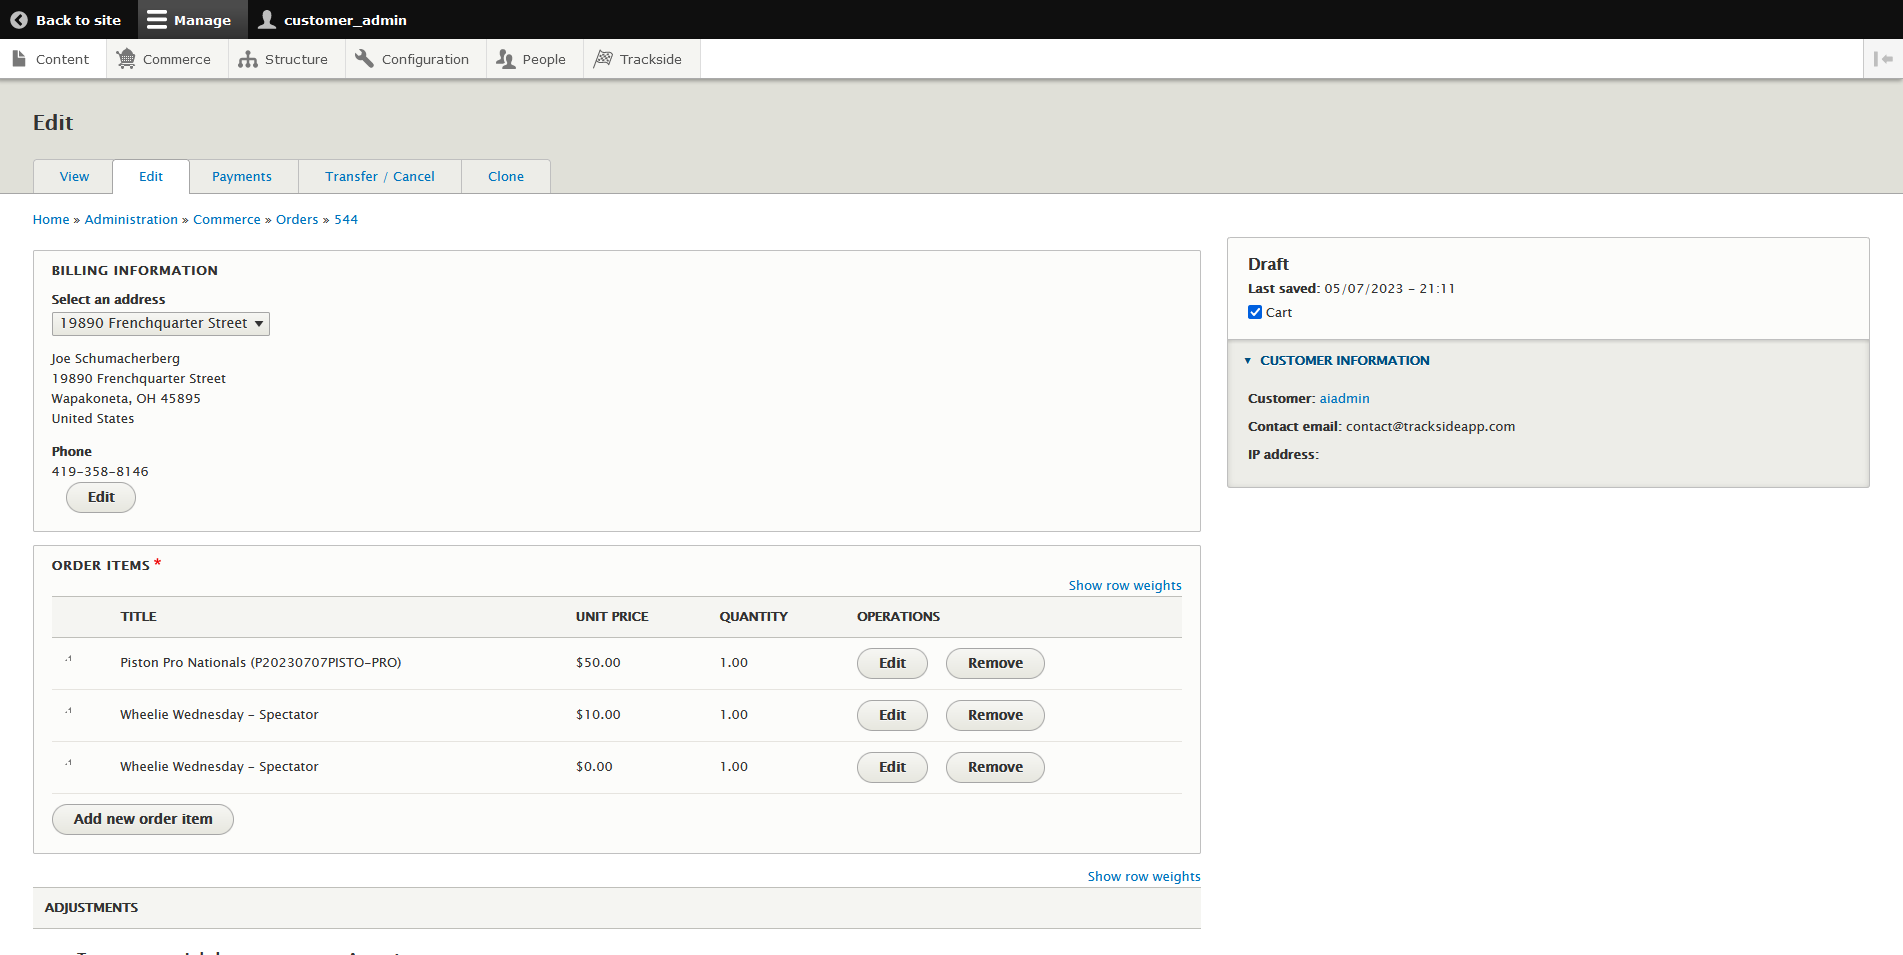
Verifying an existing customer's billing information
Step 4 - Enter Customer Payment Method
It's at this point you will not be able to proceed until the customer has entered a payment method into their account. You can send them to Managing payment methods; is my credit card information secure? if they need a walkthrough.
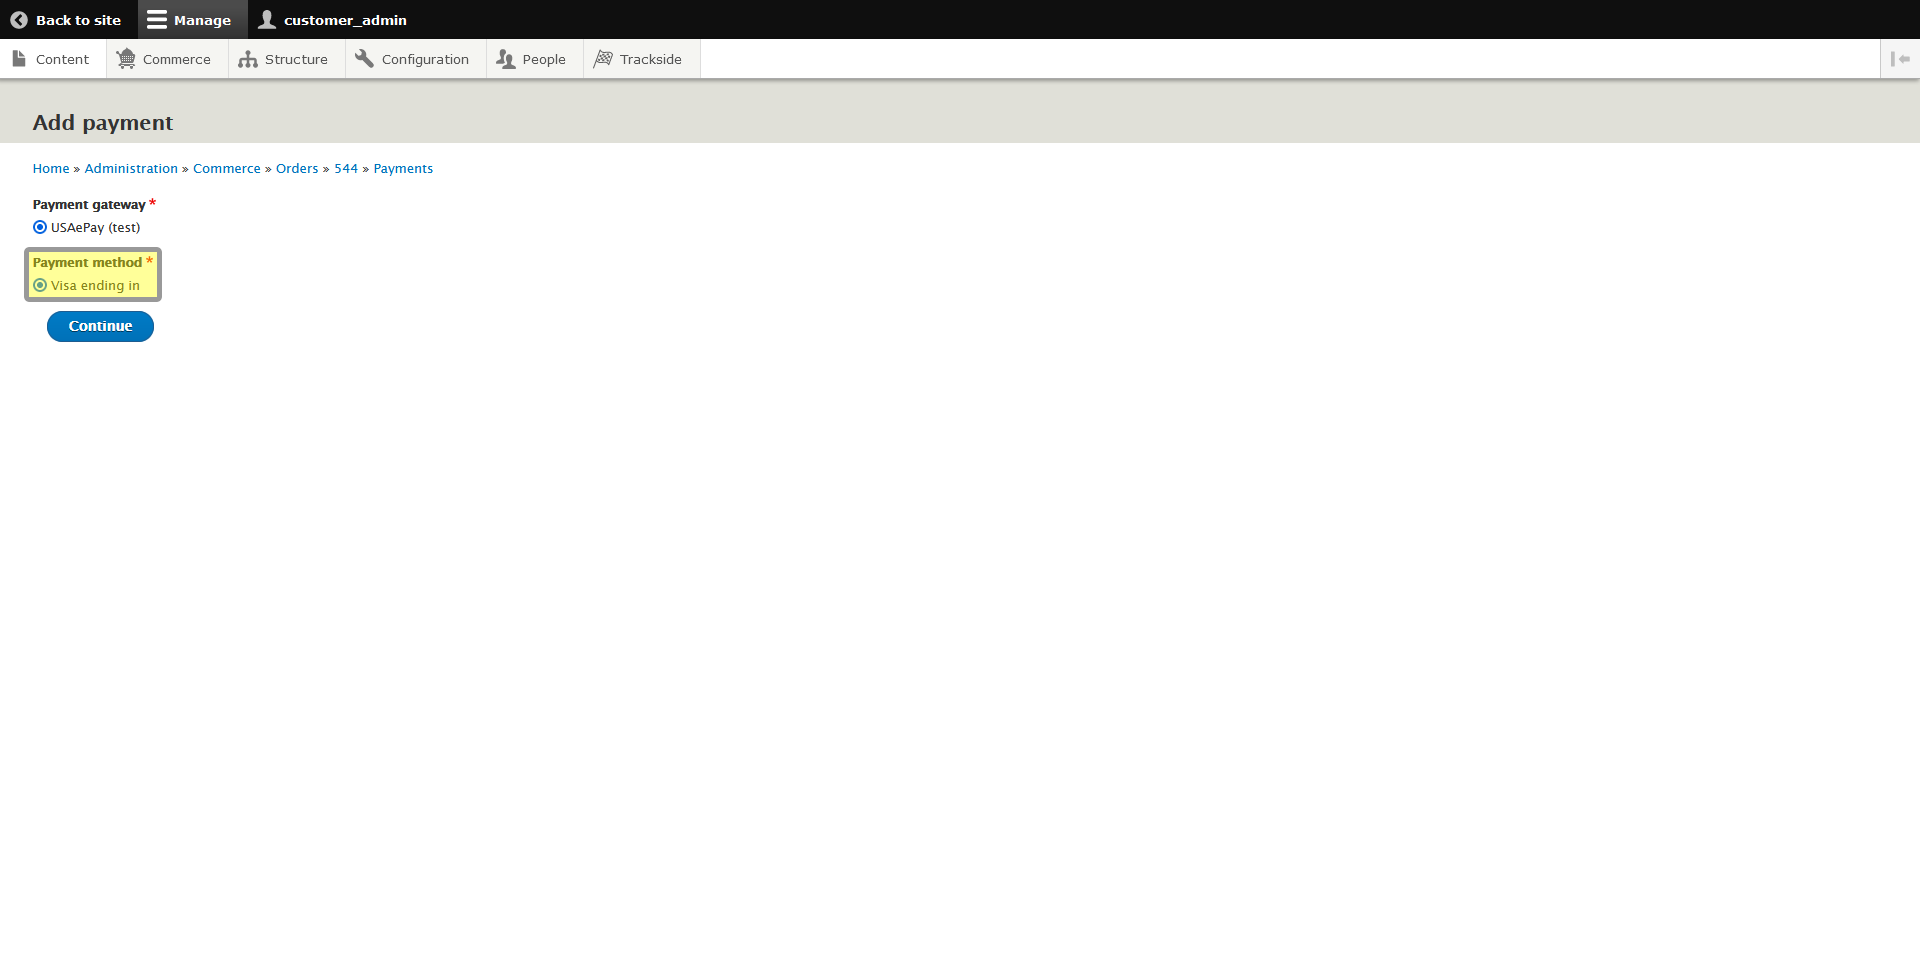
A customer's payment method displayed while manually applying a payment. The last 4 digits of the card have been redacted from the image for security purposes.
Step 5 - Add a Payment to the Order
Once the customer has entered their payment method, you can apply the payment to the order like was shown in Apply a Payment to a Pending Cart, Step 2. Once you apply the payment, you've taken the customer's payment, but there's still more to complete the order, so be sure to follow on to the next step.
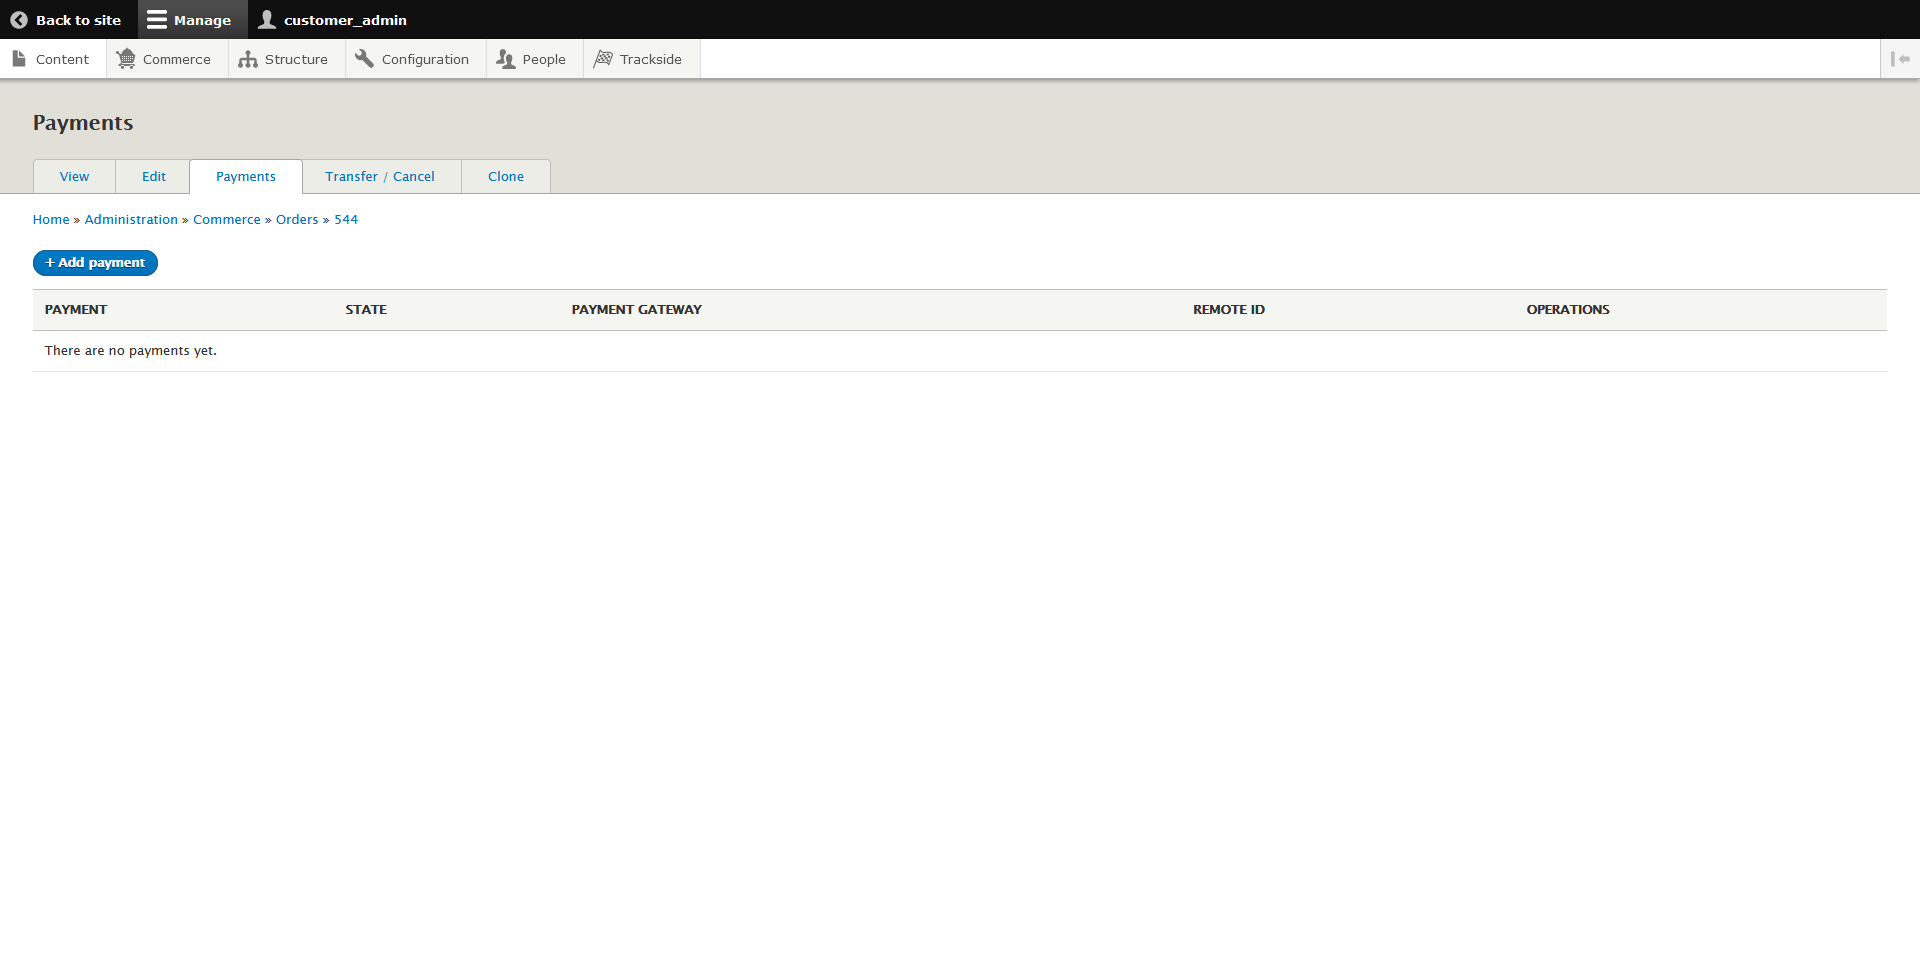
Payments tab showing no payment has been applied to the order yet
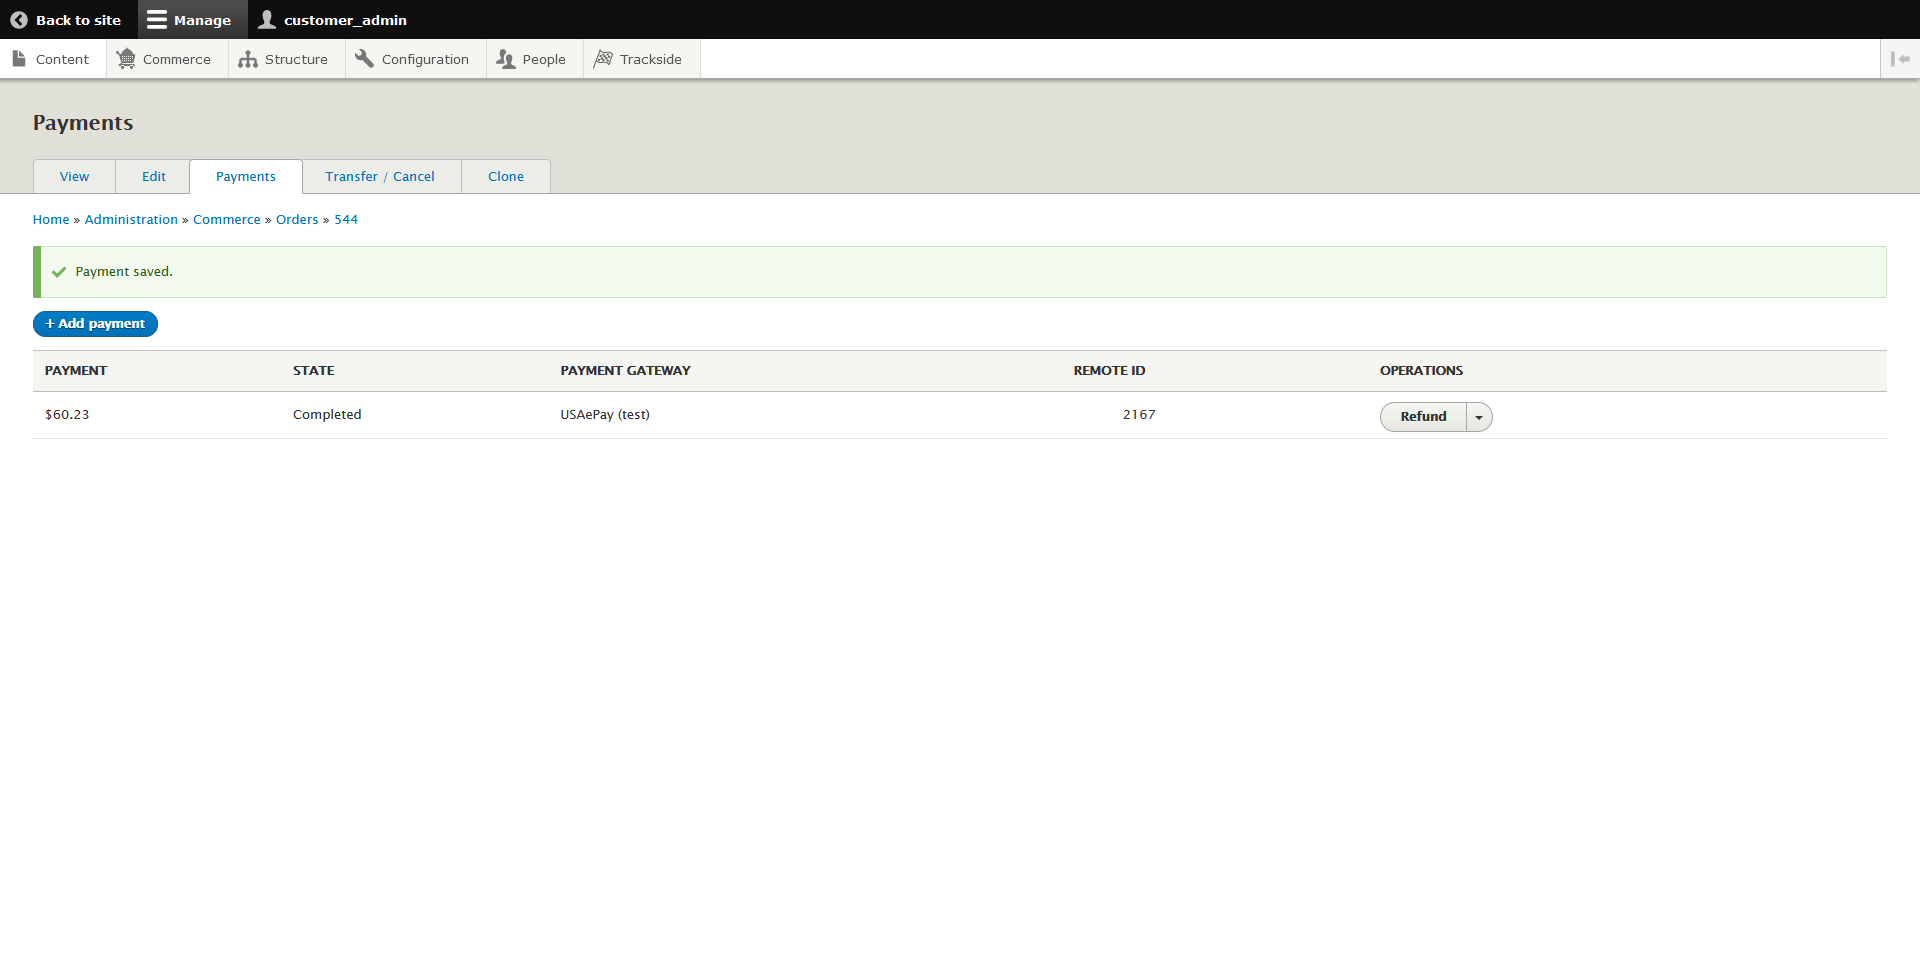
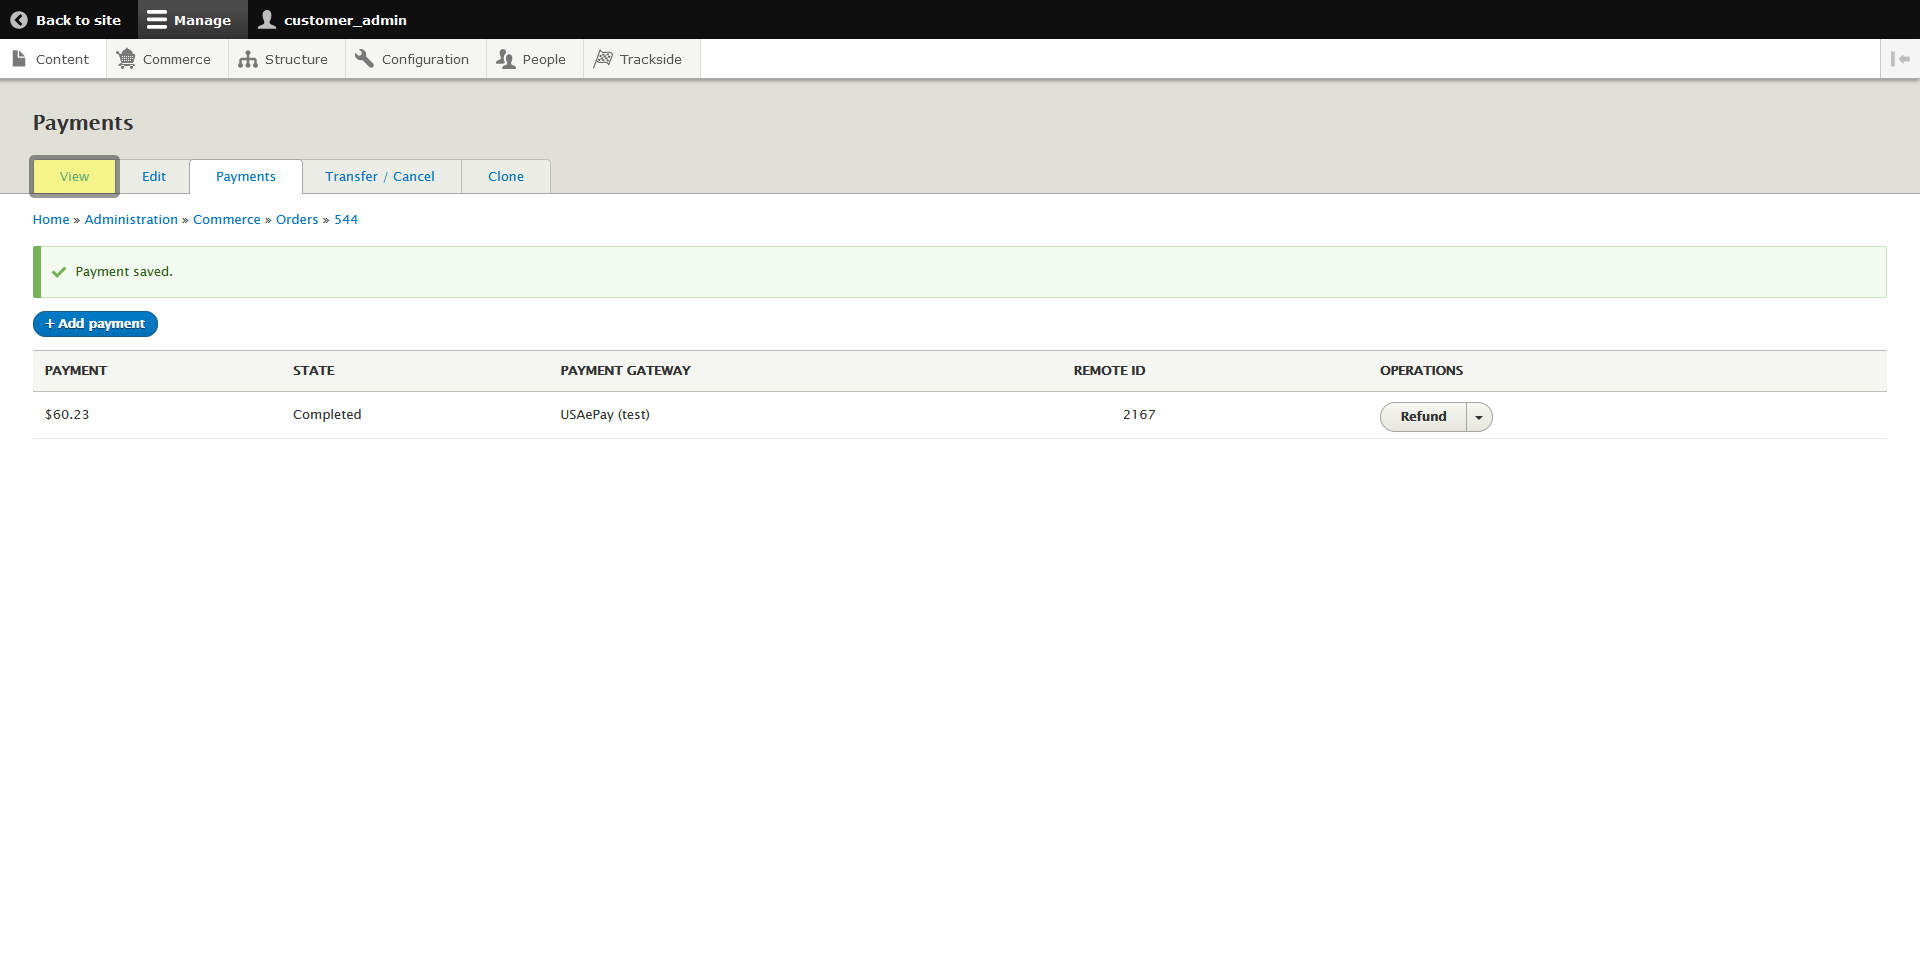
Payment tab showing a completed payment and confirmation once the payment is entered
Step 6 - Complete the Order
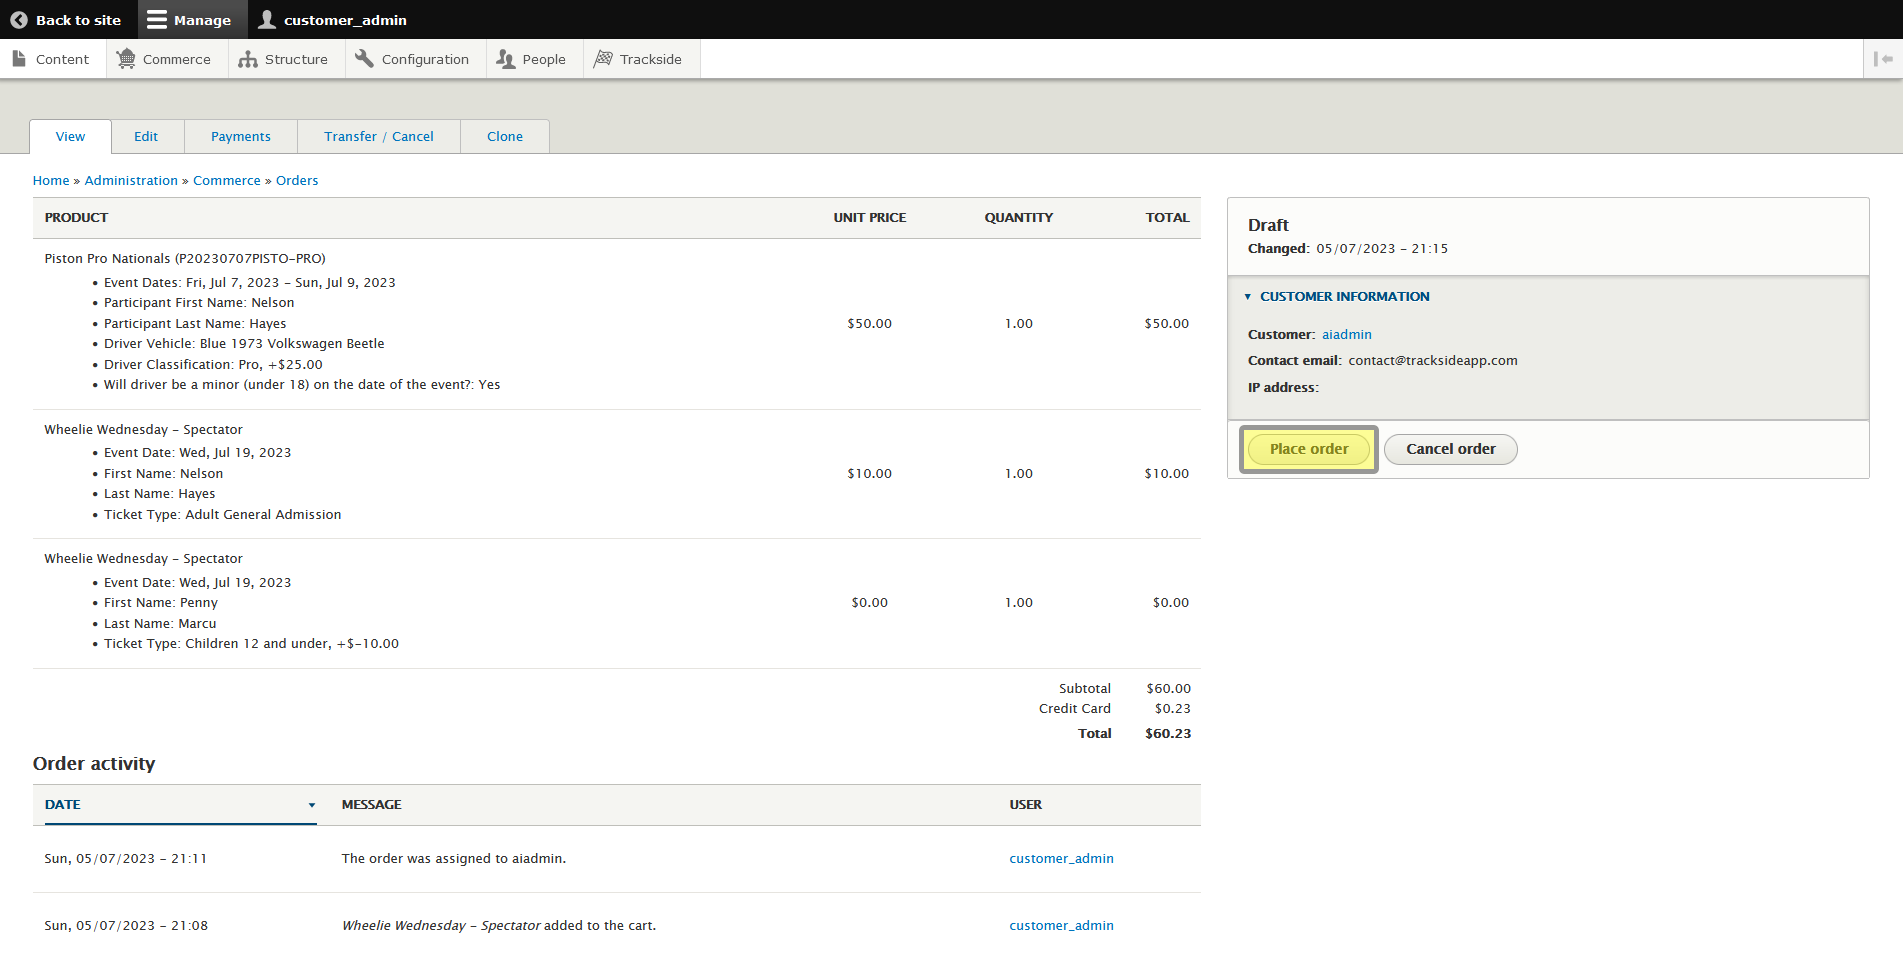
Remember when we talked about not pressing the Place order button in View Pending Carts? This is where you get to press that button. Head back over to the View tab.
Once we're here, now you can press the Place order button.
Your order should be complete at this point if everything's been done correctly. There's a few ways to check this. In your View tab, you should see that the order changes from a Draft status to Completed. You'll also see entries there for Placed and Completed in addition to the Changed time stamp you had before.

Which means in the Orders screen, it should also show as Completed there as well. These two should be exclusive to one another, so if you can verify it in one spot or the other, that should be sufficient. You don't necessarily have to check both.
