Publish Checkbox & Save Changes
Click on Edit toward the top of your your Event Listing.
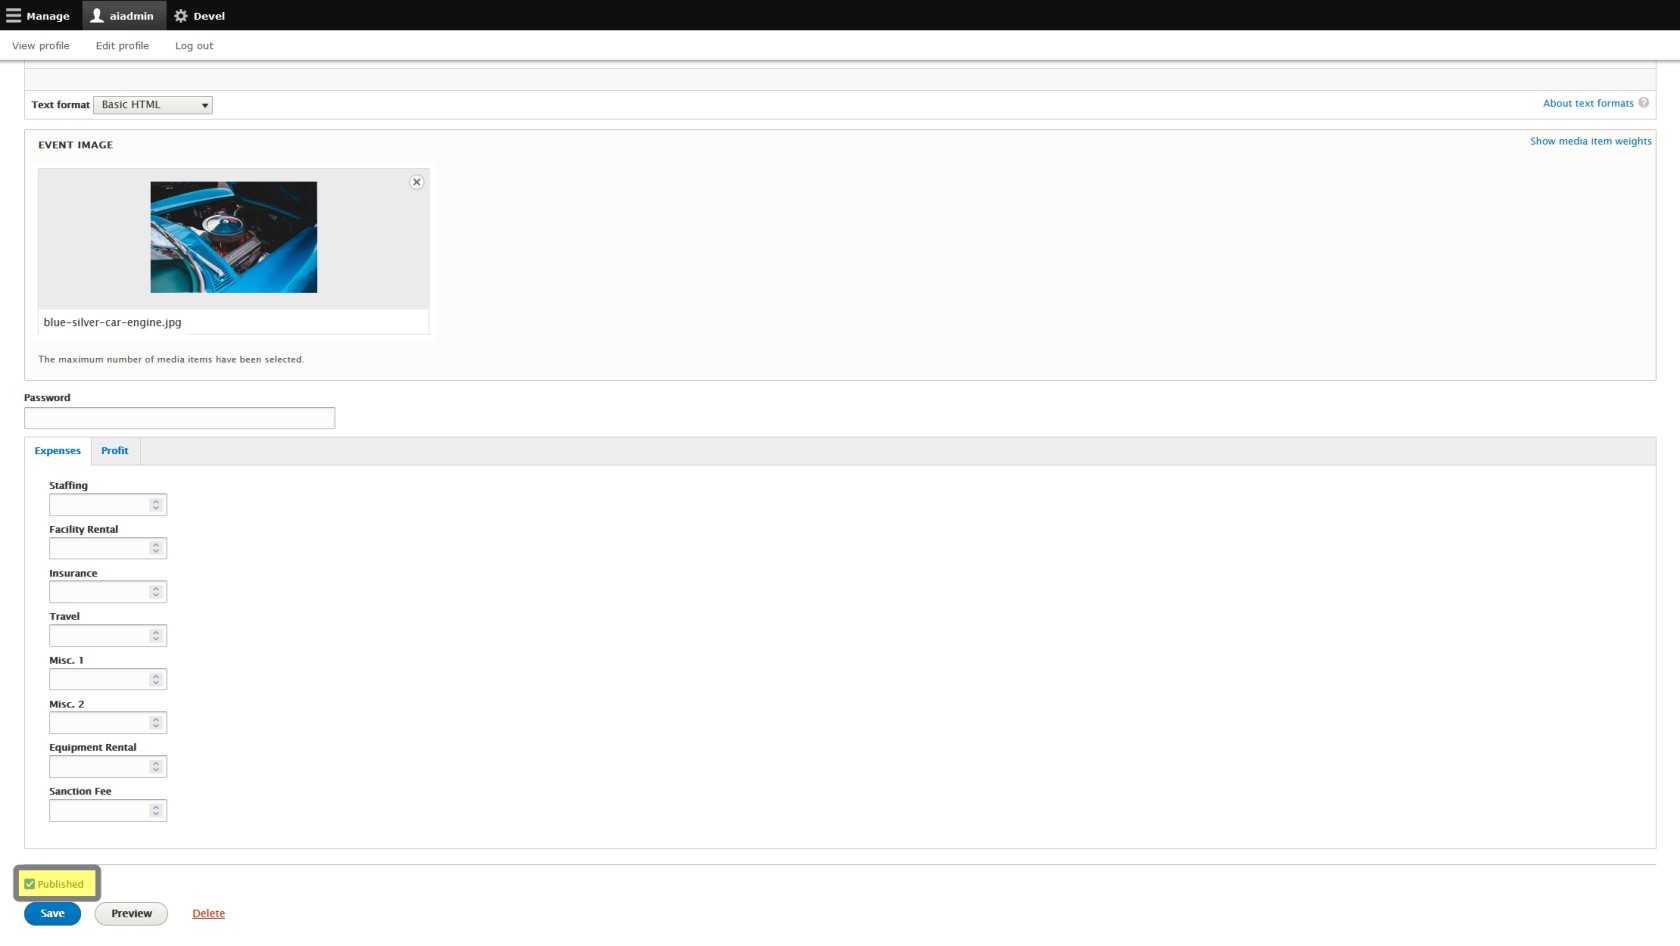
This check box is very important. This will determine whether the event will be shown on your Default Trackside HomeEvents Page when you complete the assistant.
Check the box to publish your event, or uncheck it and your event will not be published to the public.
If you're creating an event for later in the season, but you don't want to have tickets available for purchase yet, leave the box unchecked. Be aware the event won't be available from your home page, and you'll need to find it in your your Content Page to find it again later. View an Unpublished Event Listing will show you how to do this if you're not familiar with it.
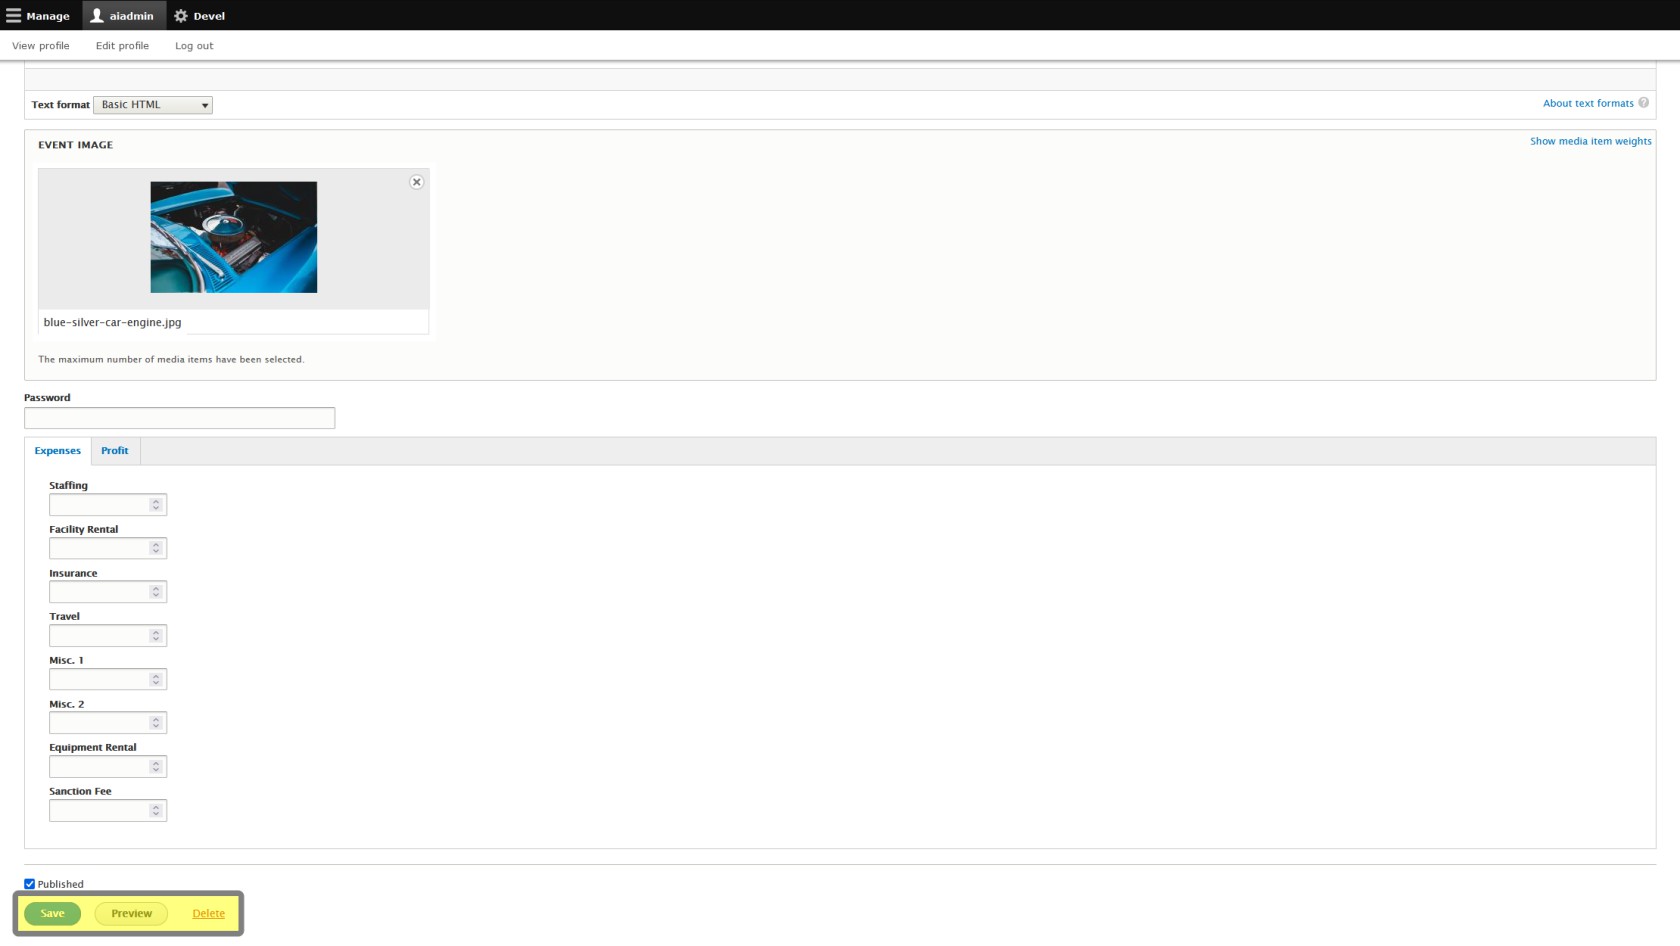
Make sure to click Save at the bottom!
Preview, save, or delete your event. If you want a preview of your changes, you may view them from here before overwriting the old version of your event.
If you want to delete this event entirely, you may do it from here. WARNING: this can not be reversed! Take into consideration whether you would like to keep information for analytic purposes, and if you've already sold tickets to the event. DO NOT delete events that you have already sold tickets to.
Remember you also have the option of unpublishing the event, and this is recommended in most cases.
Be aware deleting the event will not delete the associated Participant Registration Product and General Admission Ticket Product. If you have already deleted your event, and still need to get rid of the associated registration products, please see Manage Product. If you have already sold tickets you can see Event Cancellation for how to issue a cancellation of tickets previously sold.
Changes will not take effect to the event until you click save, published or not. If the event is published, the changes to your event viewable from the Home Page will take effect immediately.


