
Manage Product
This article will follow up from Find/View a Product and help you manage your Products once you have them established. This will basically take you back through the Product Setup Assistant to make changes to your Products.
Step 1 - Navigate to Product Page
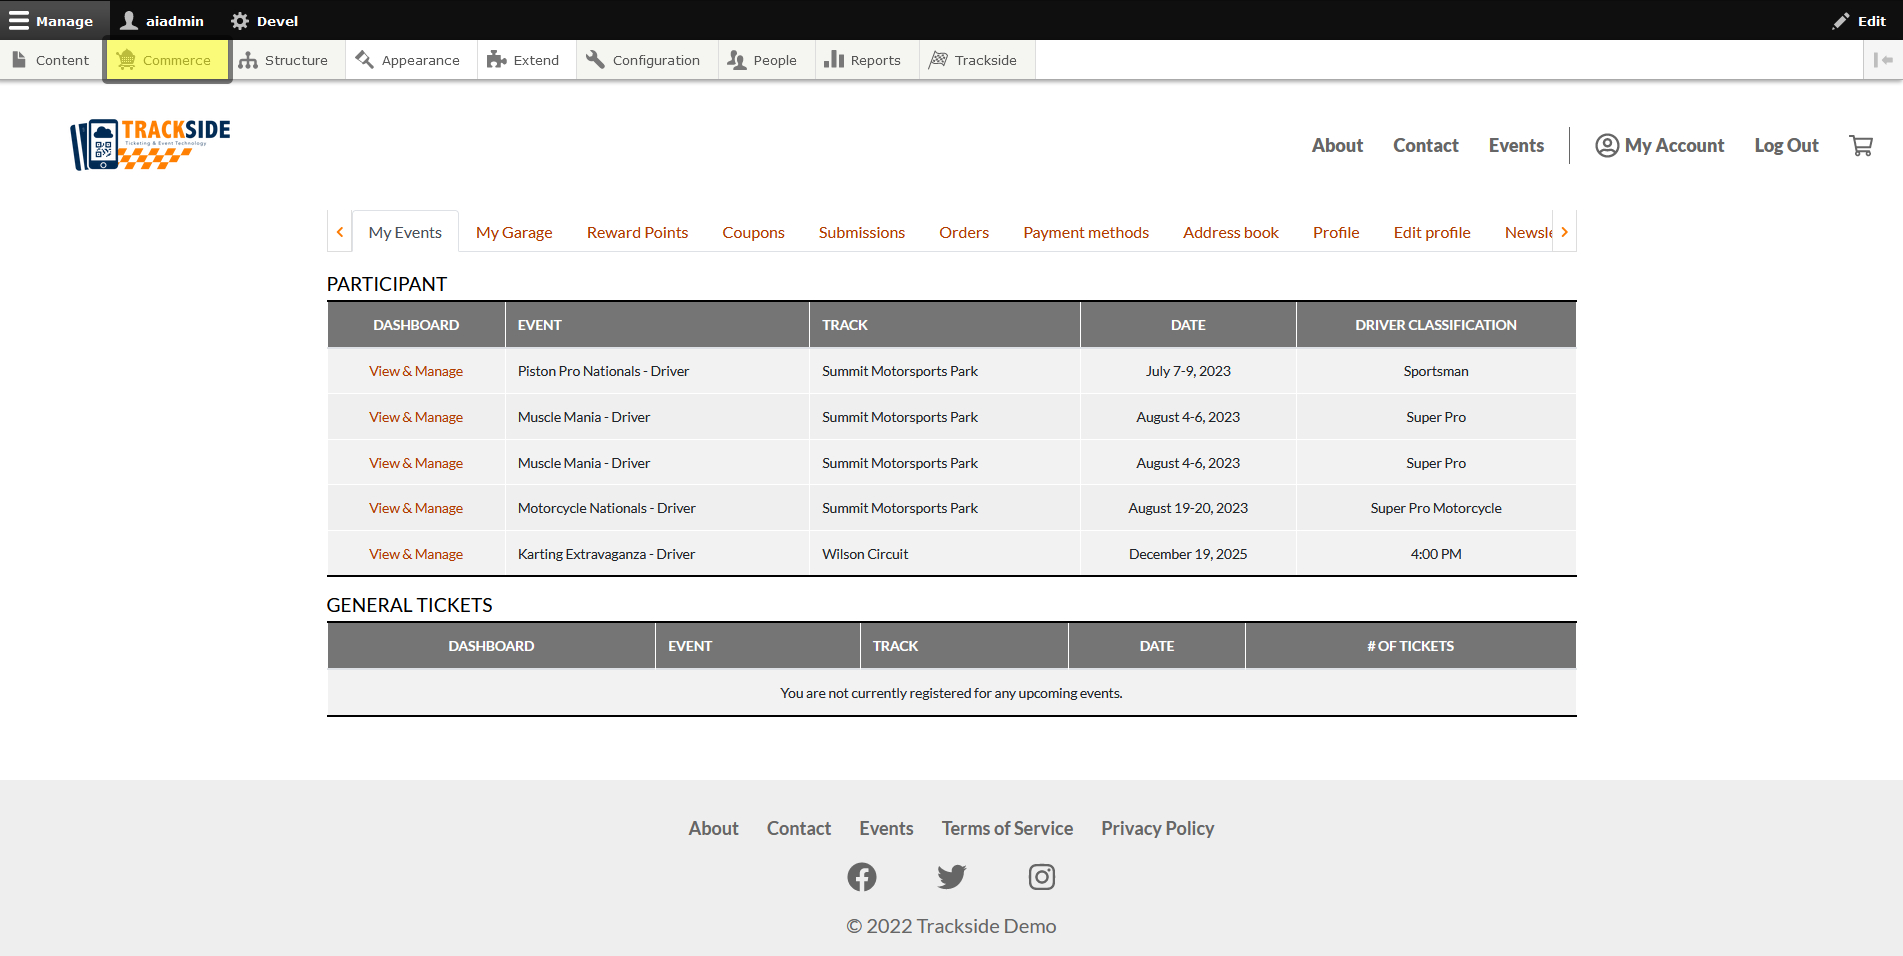
First, to manage our Products, we need to get back to the Product Page again. Once you're logged in, hover over Commerce in your Management Menu.
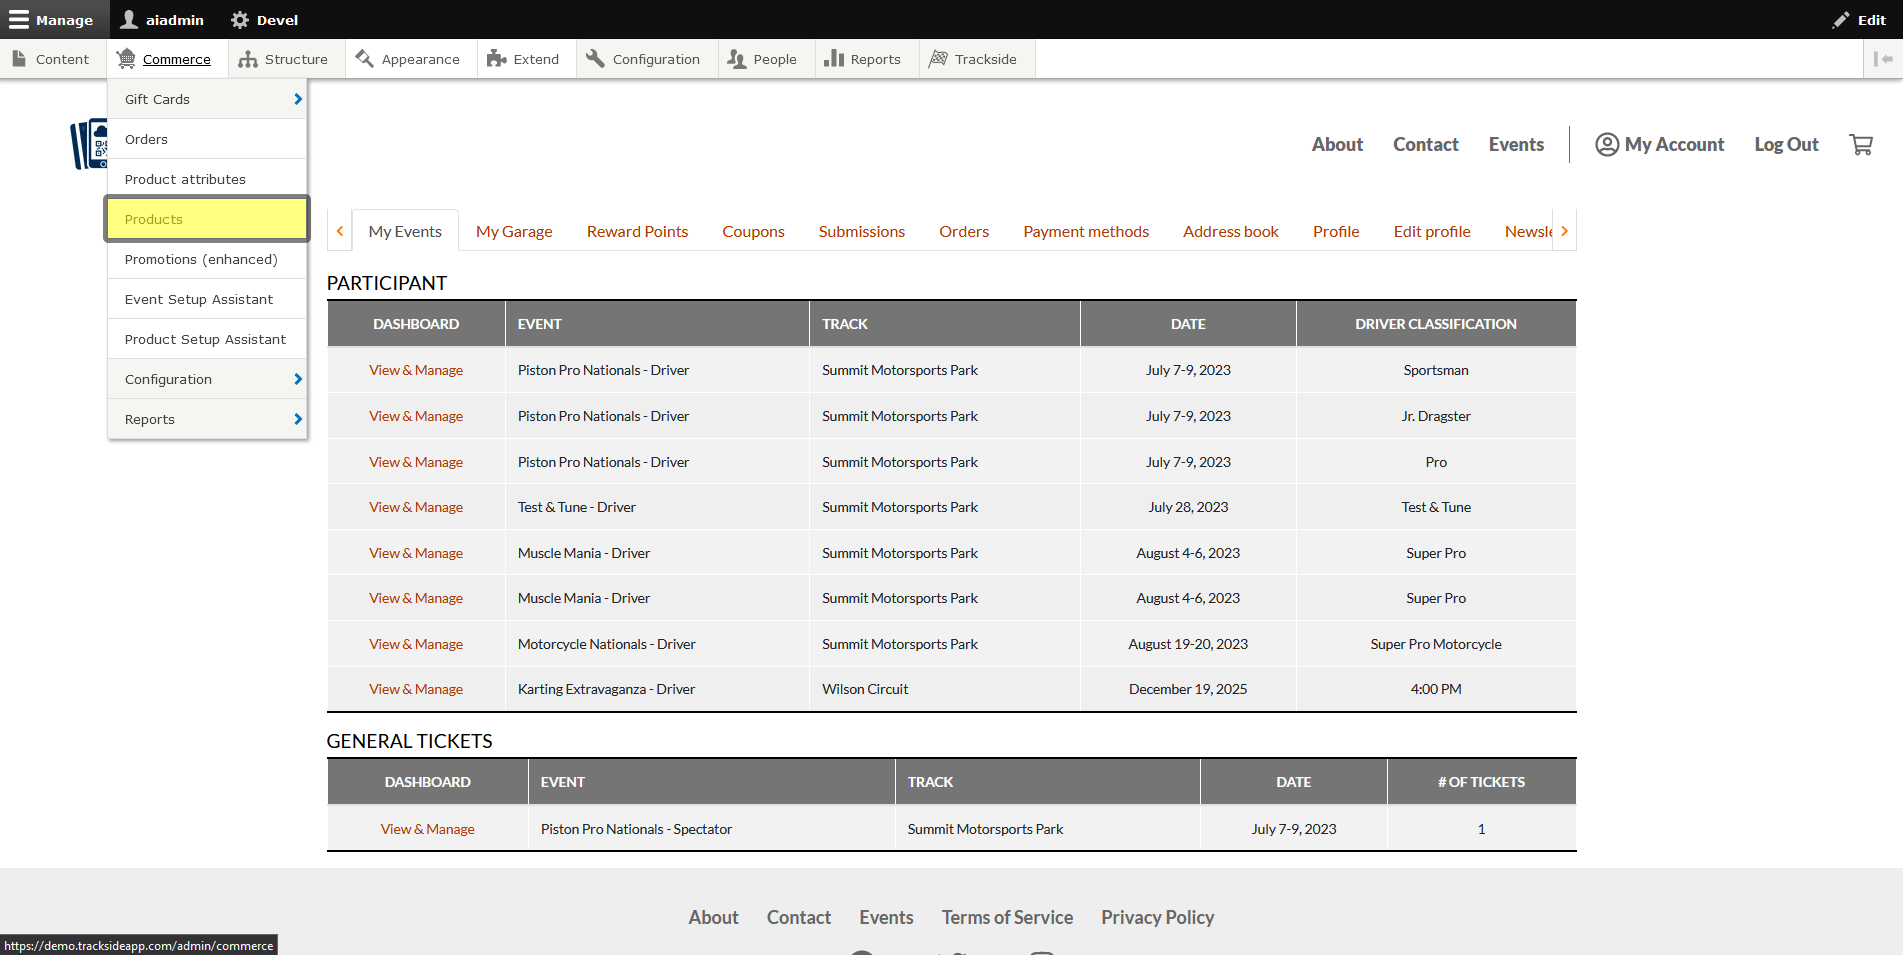
Once the Commerce menu expands, click on Products.
Step 2 - Manage your Product
Before we go any farther, note managing Products is for Products set up in the Product Setup Assistant. That is, this is only going to work for Merchandise and Concession Product Types.
- For Participant Registration Products, see Edit a Participant Registration Product
- For General Admission Ticket Products, see Edit a General Admission Ticket Product
- For Gift Cards, see Credits
- For Memebership Products, see Membership Programs
Other Product Types will not have this option.
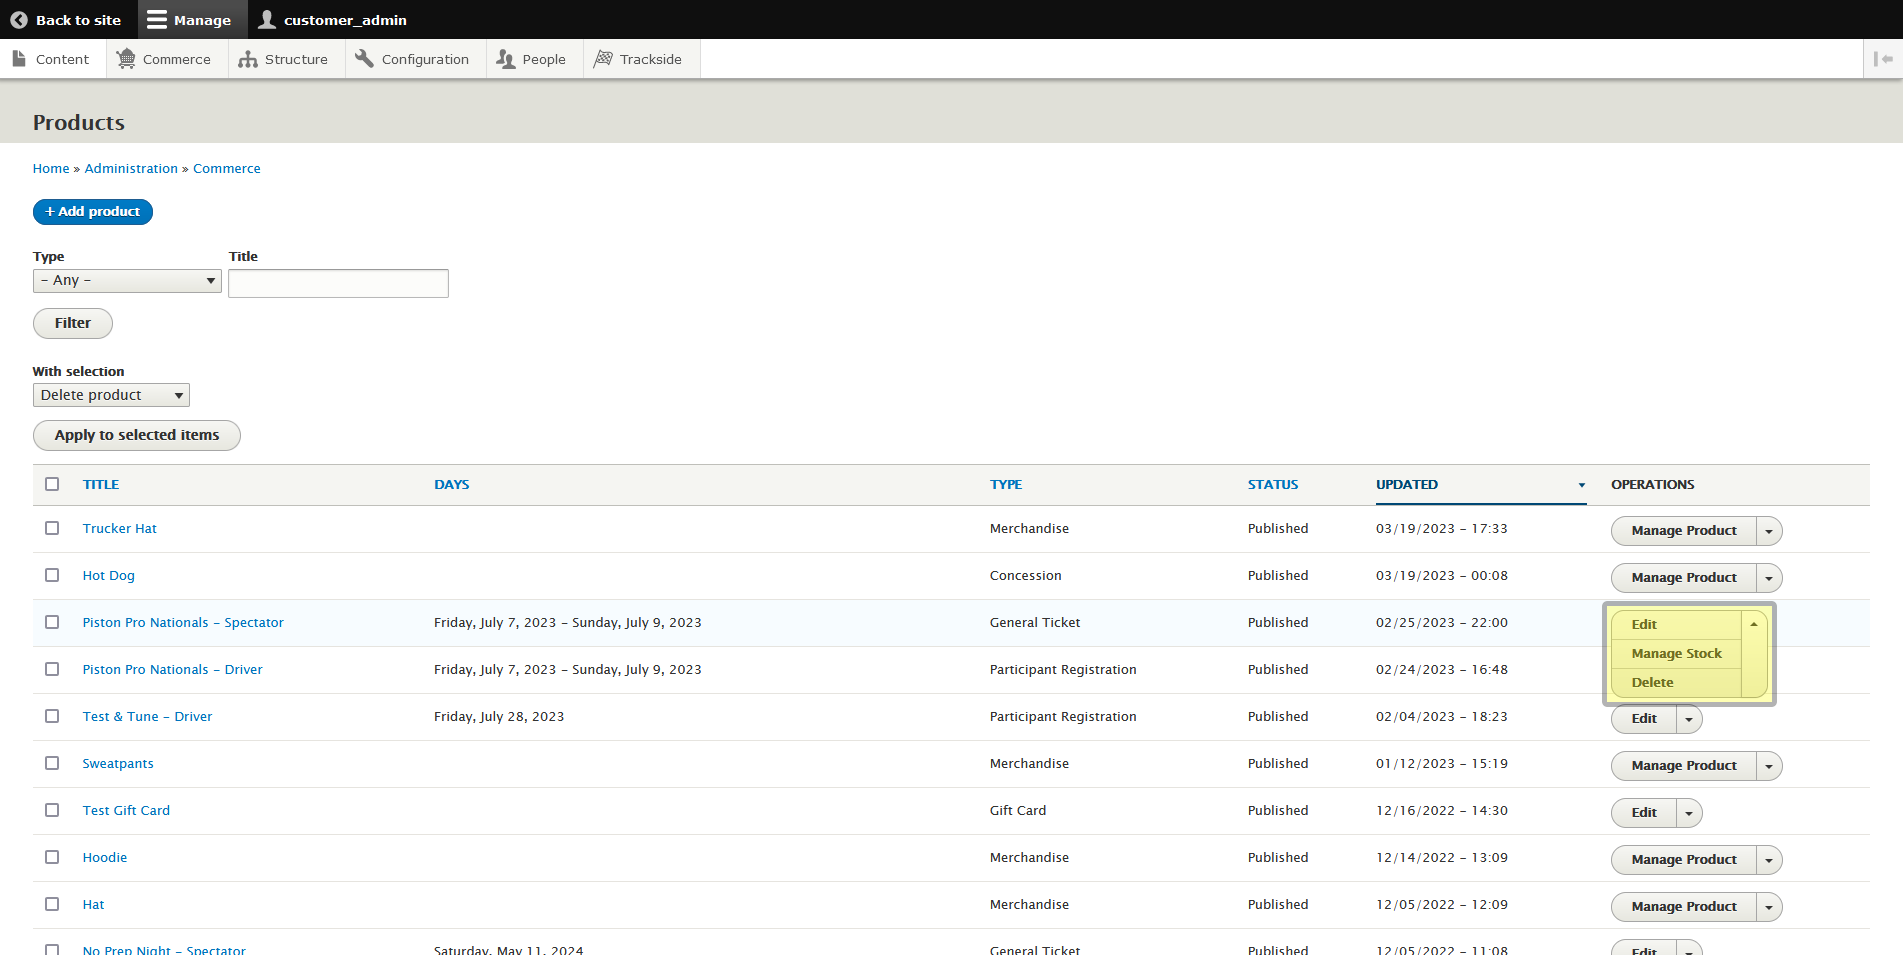
Under the drop down menu on the right, there's a Clone button...
See the Clone tab? We don't talk about the Clone tab. We don't touch the Clone tab. DON'T USE THE CLONE TAB!
When you find your merchandise or concession, you can click on the Manage Product button on the far right. For this example, we'll use our trucker hat as an example.
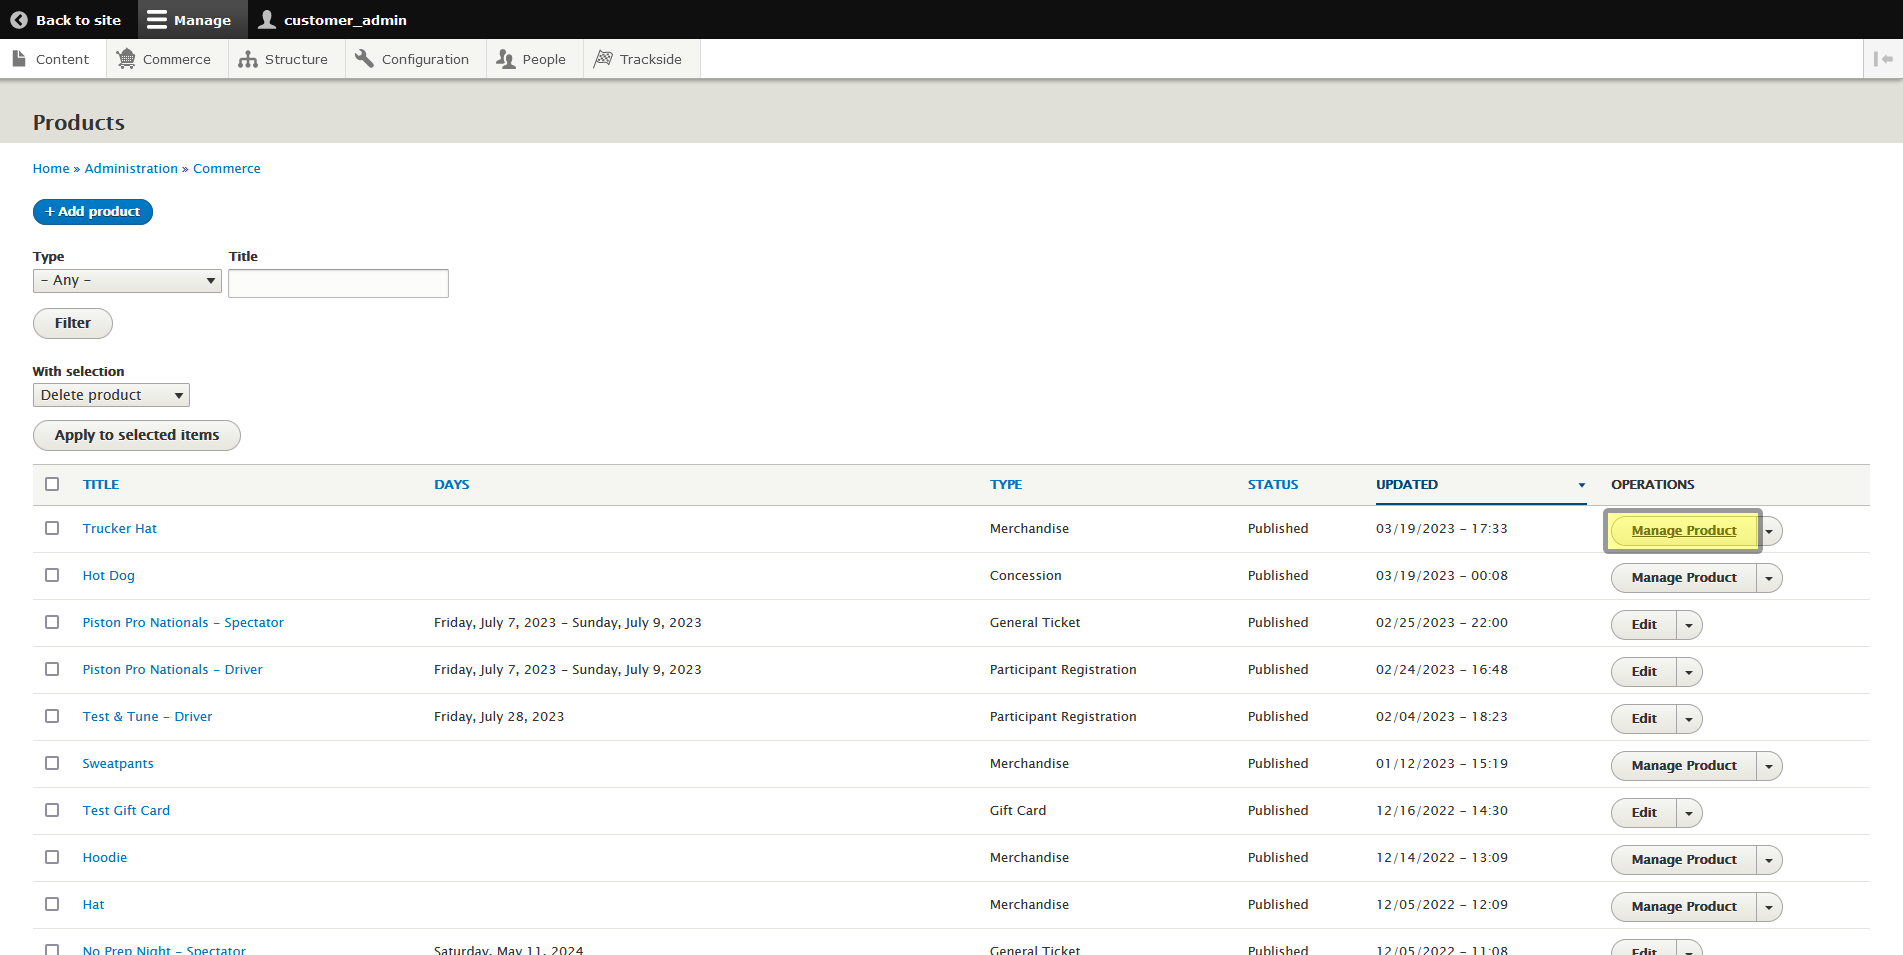
When you click that button, it will drop you back into the Product Setup Assistant with details carried over from that Product and you can make your desired changes from there.
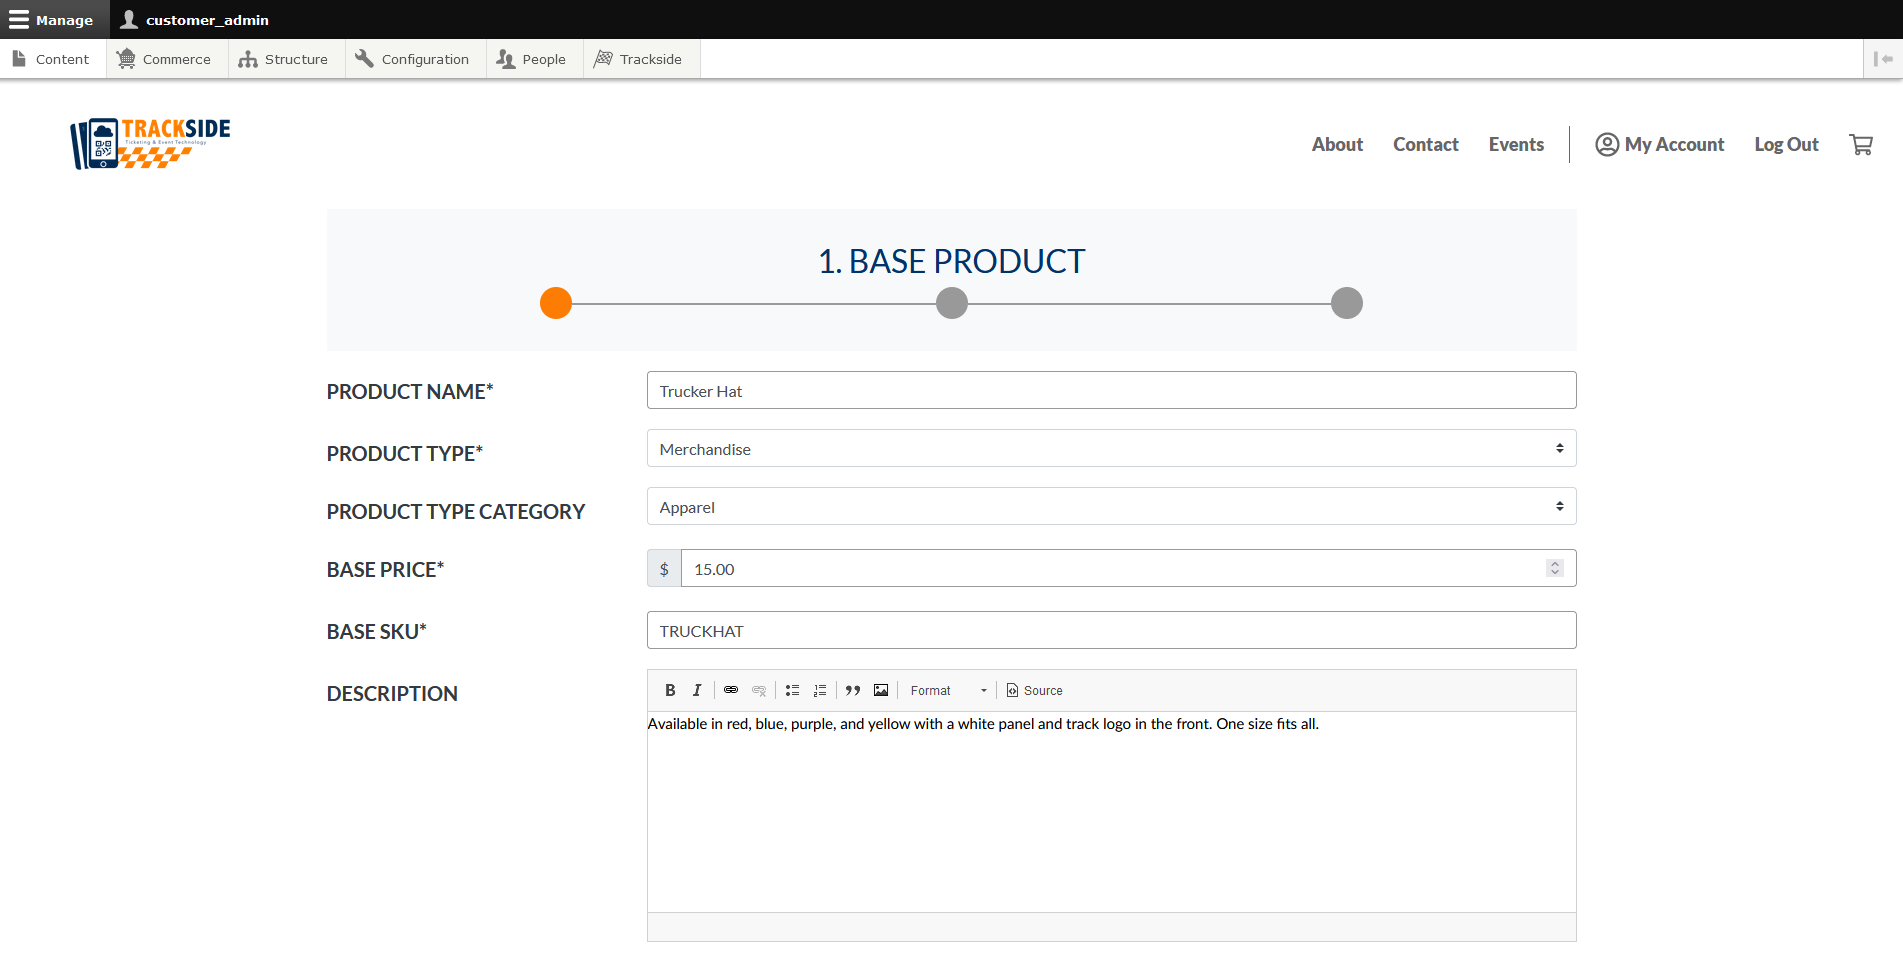
As a reminder, in Base Product you have the option to edit:
- Product Name
- Product Type
- Product Type Category
- Base Price
- Base SKU
- Description
- Image
- Product Published Status
Under Product Options you will edit:
- Option Name
- Choice Name
- SKU Segment
- Price Modifier
- Order Choices
- Delete Choices
On Product Stock you will edit:
- Always in Stock
- Stock Qty
- Barcode
- Choice Published Status
Detailed coverage of each of these aspects is covered in Product Setup Assistant.