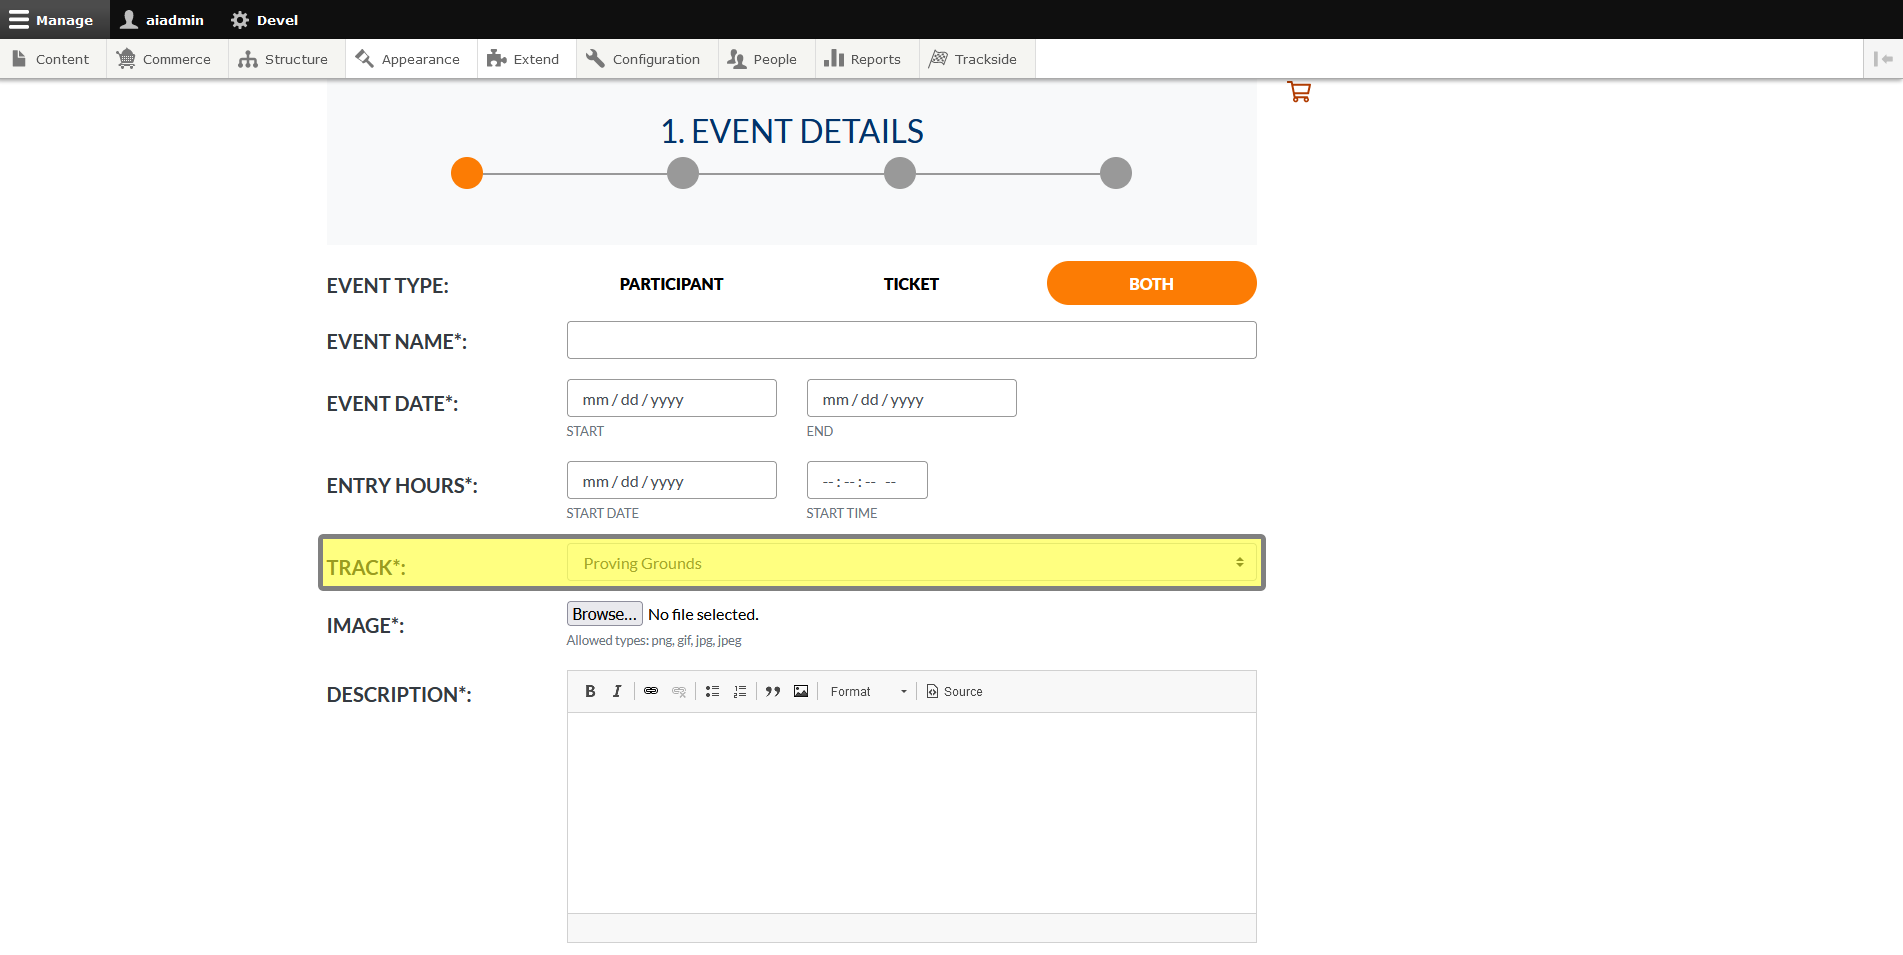
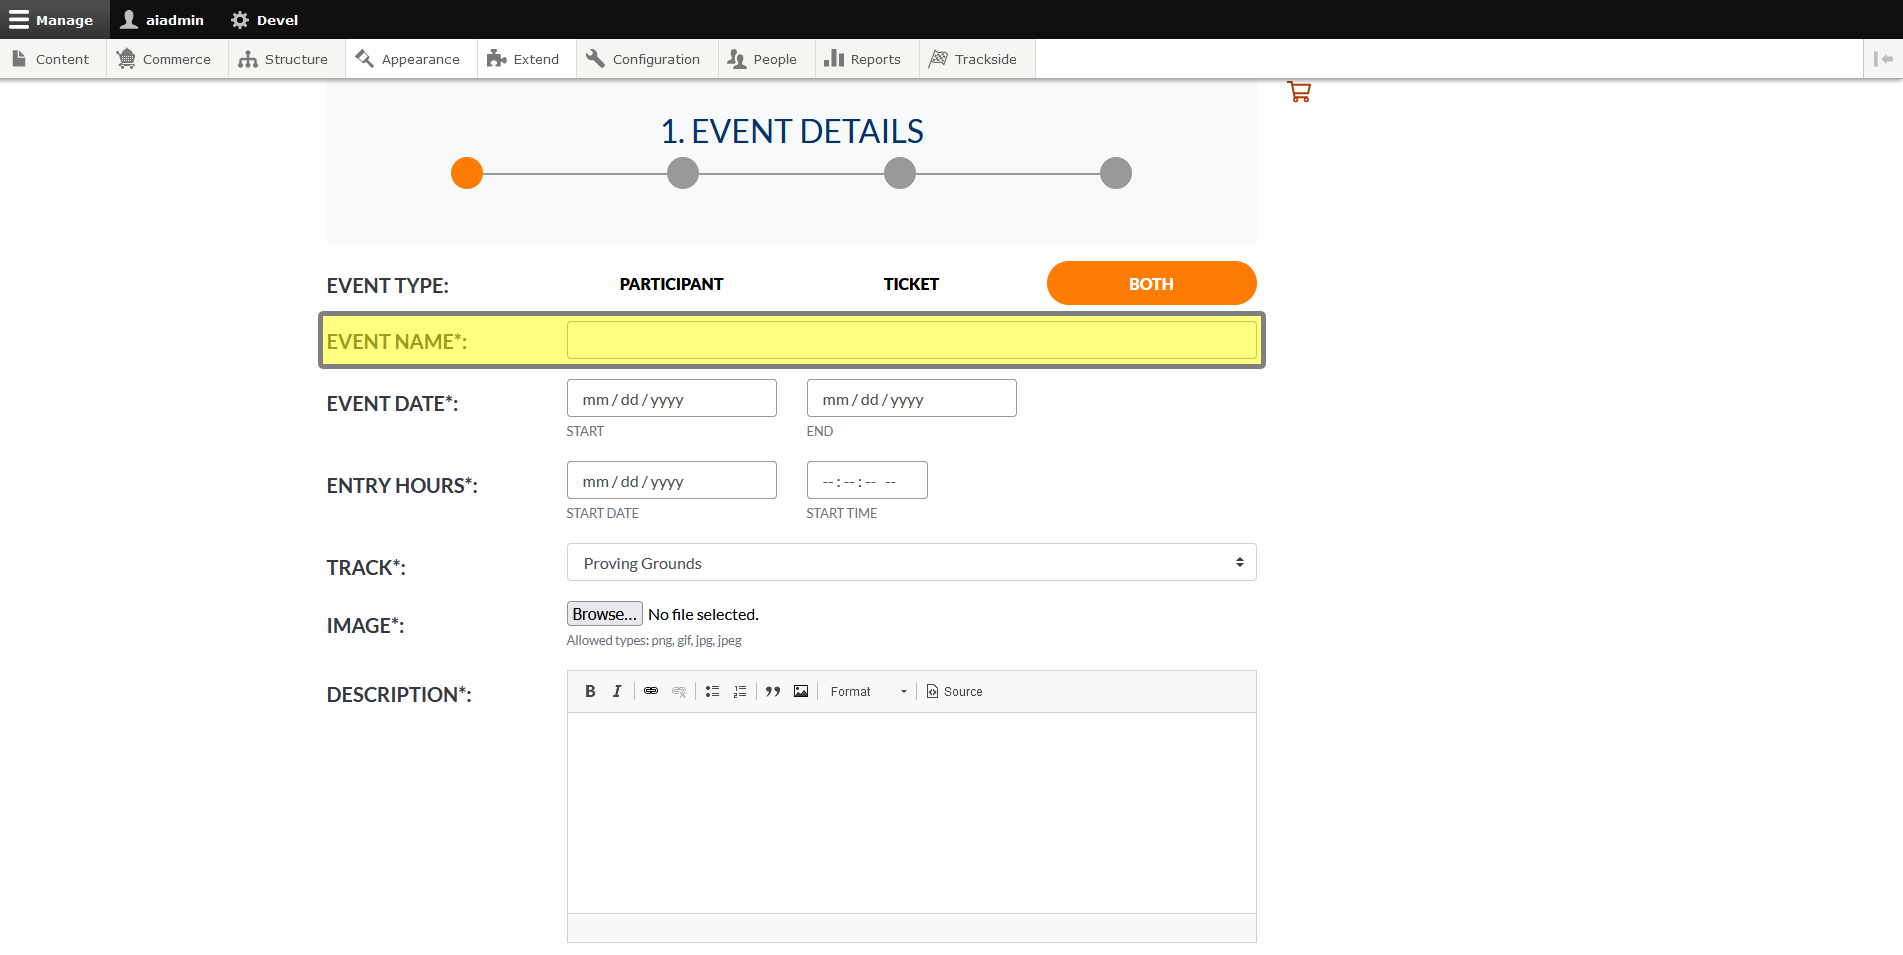
Event Details
This article will walk through setup of your first event using the Event Setup Assistant. Ensure you have the prerequisite steps in this book set up, as when your event is published, that's it, your ticket sales are live!
If you've already set up an event and can't find it listed on your Default Trackside Home Page, see View an Unpublished Event Listing before making another event.
If you already set up an event and need to make changes to it, see Editing Events & Pricing.
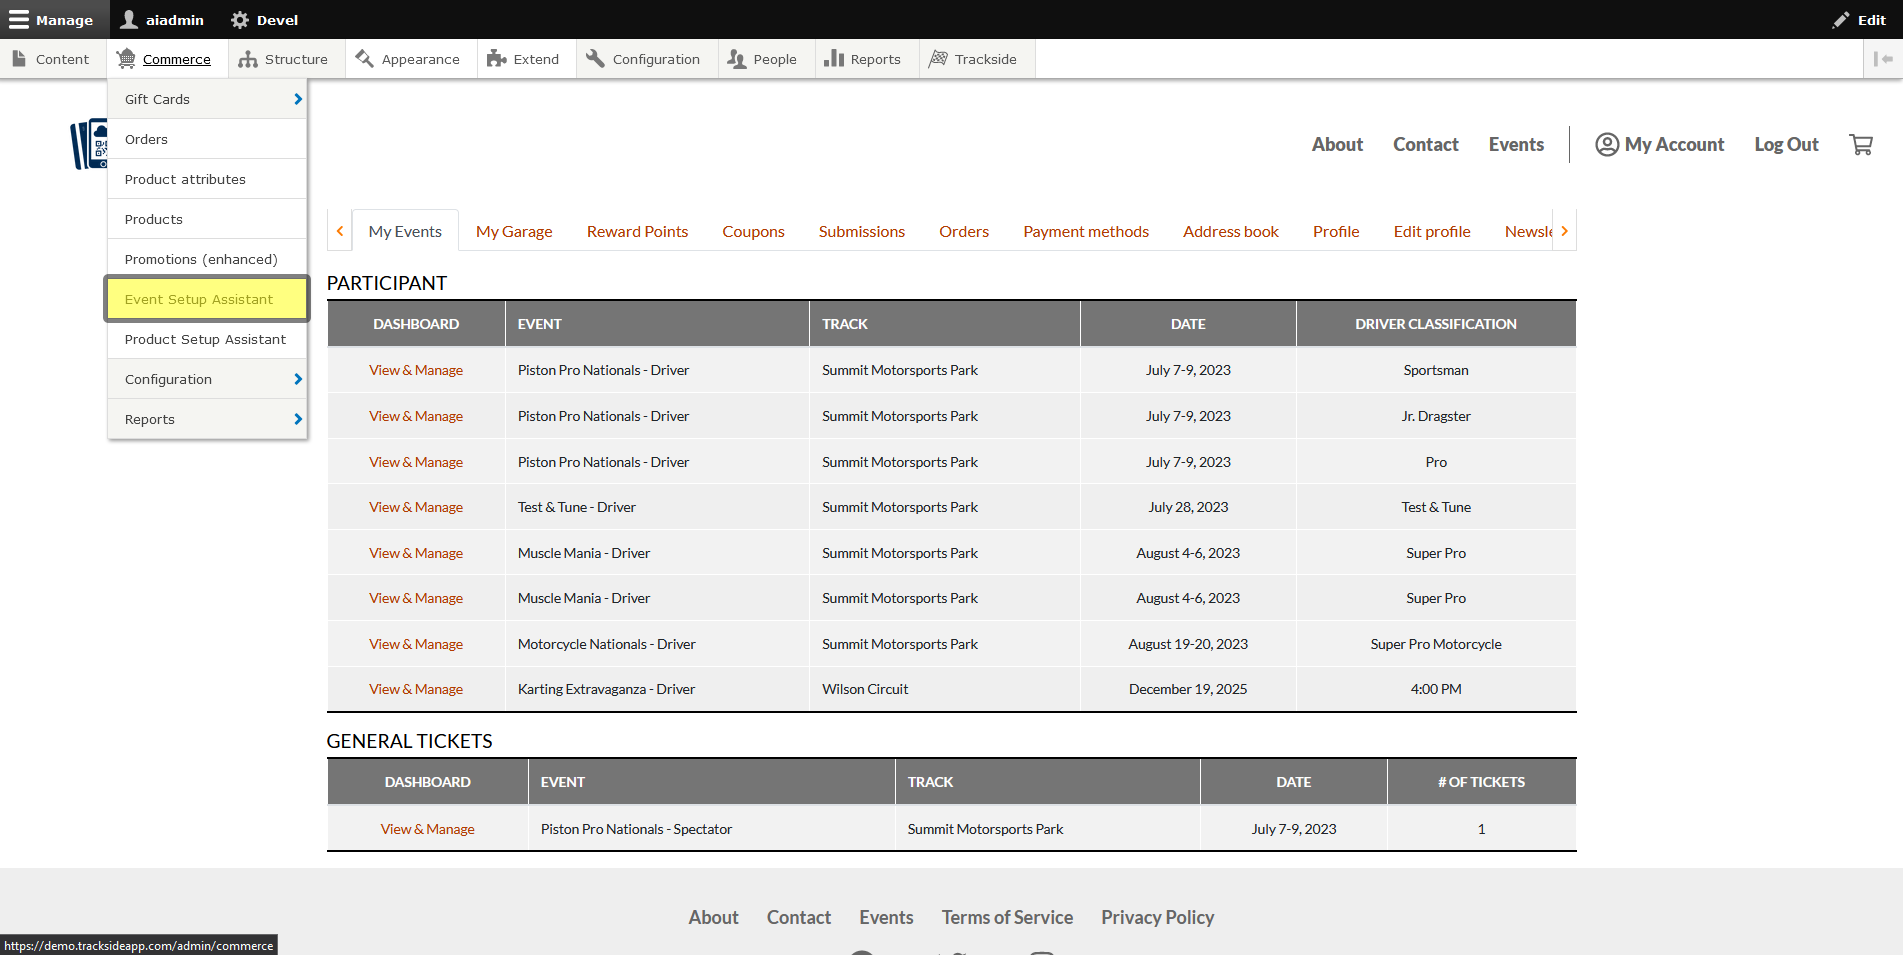
Step 1 - Hover over Commerce
Once you're logged in, hover over Commerce in the management menu. If you can't see the menu, click Manage in the top left. You can also click on Commerce, and it will take you to a separate screen where you can also click on the next step there.
Step 2 - Click on Event Setup Assistant
In the Commerce menu, click on Event Setup Assistant. This will take you to the assistant so you can get your first event set up.
Step 3 - Select Event Type
There's a few stages to the assistant, depending on the type of event you're having. We're going to set that up very first thing. By Event Type, you can see the options. Participant will make registration Participant only, and you'll only have a Participant Registration Product associated with the event. Ticket will create just a General Admission Ticket Product. This would be useful if you're hosting a holiday event at your track, but won't have drivers participating at the event. Both will set up an event with both ticket product types available for purchase. As long as you're setting up an event with drivers and you're also selling tickets for spectators, you'll want to leave this selected. Understanding this, you will proceed to select your Event Type.

Step 4 - Enter Event Name
Enter the name of the event you want displayed in it's Event Listing.
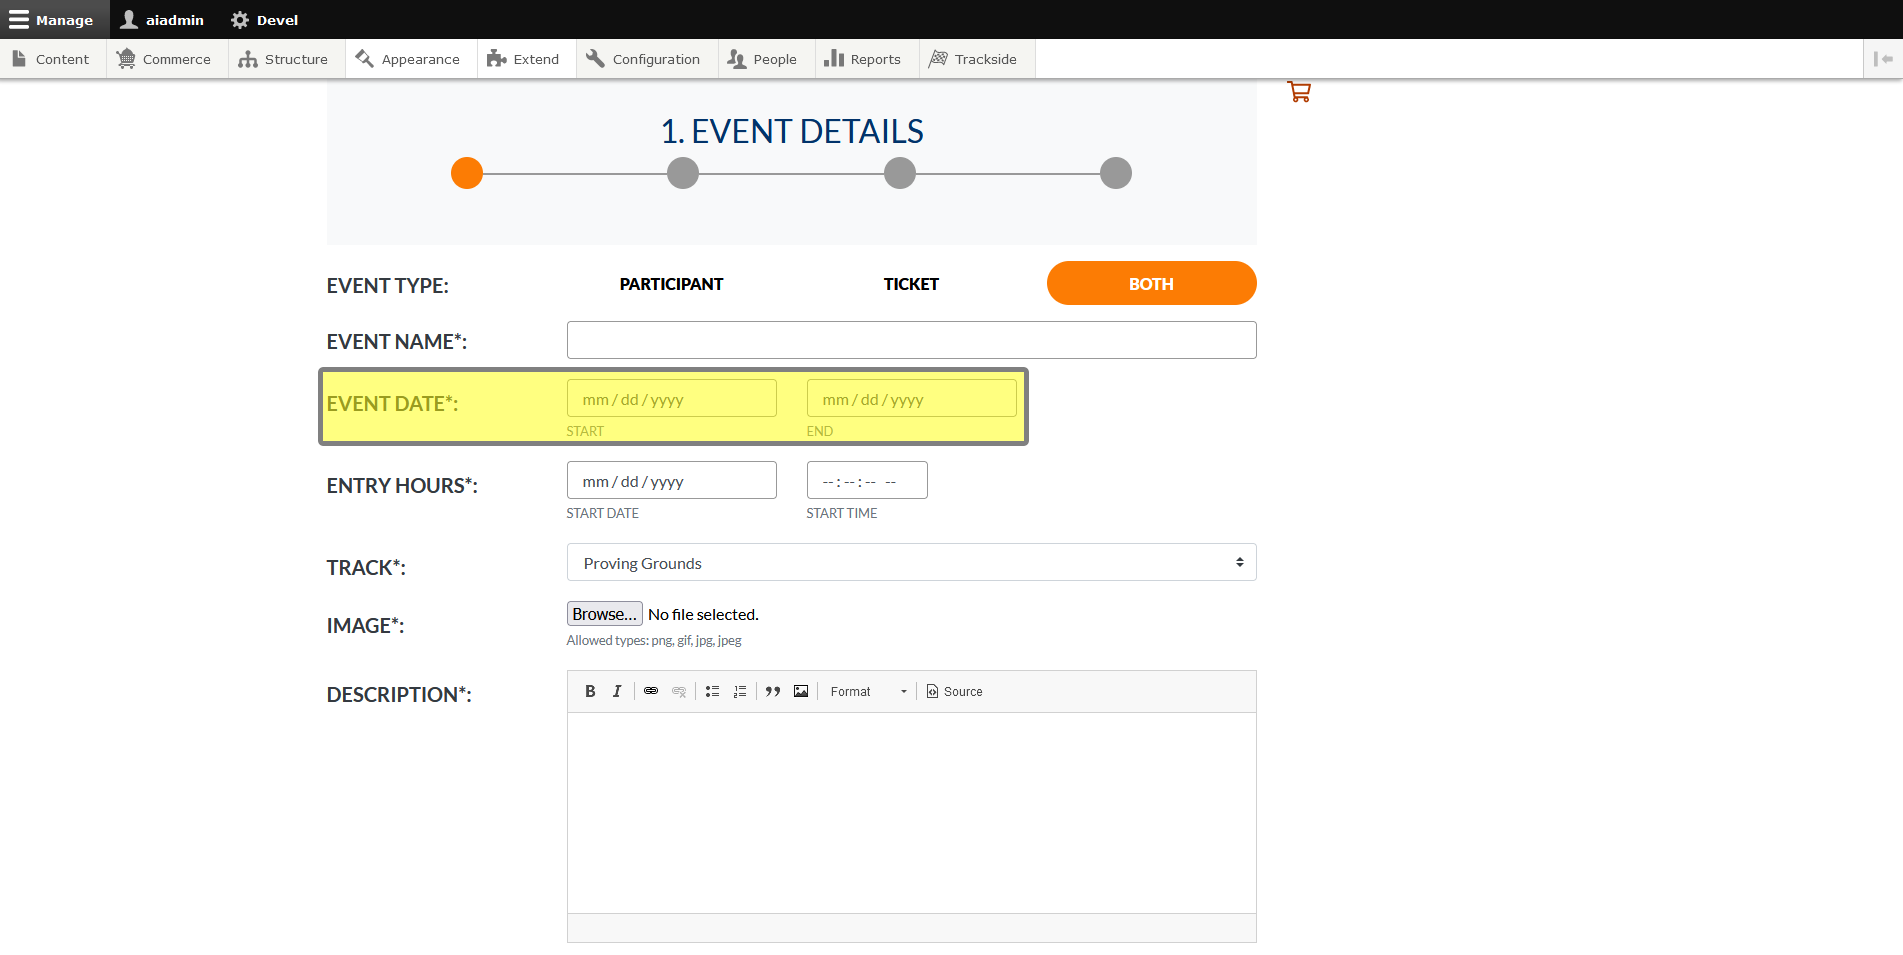
Step 4 - Enter Event Dates
Here you'll list the start and end dates for your event.
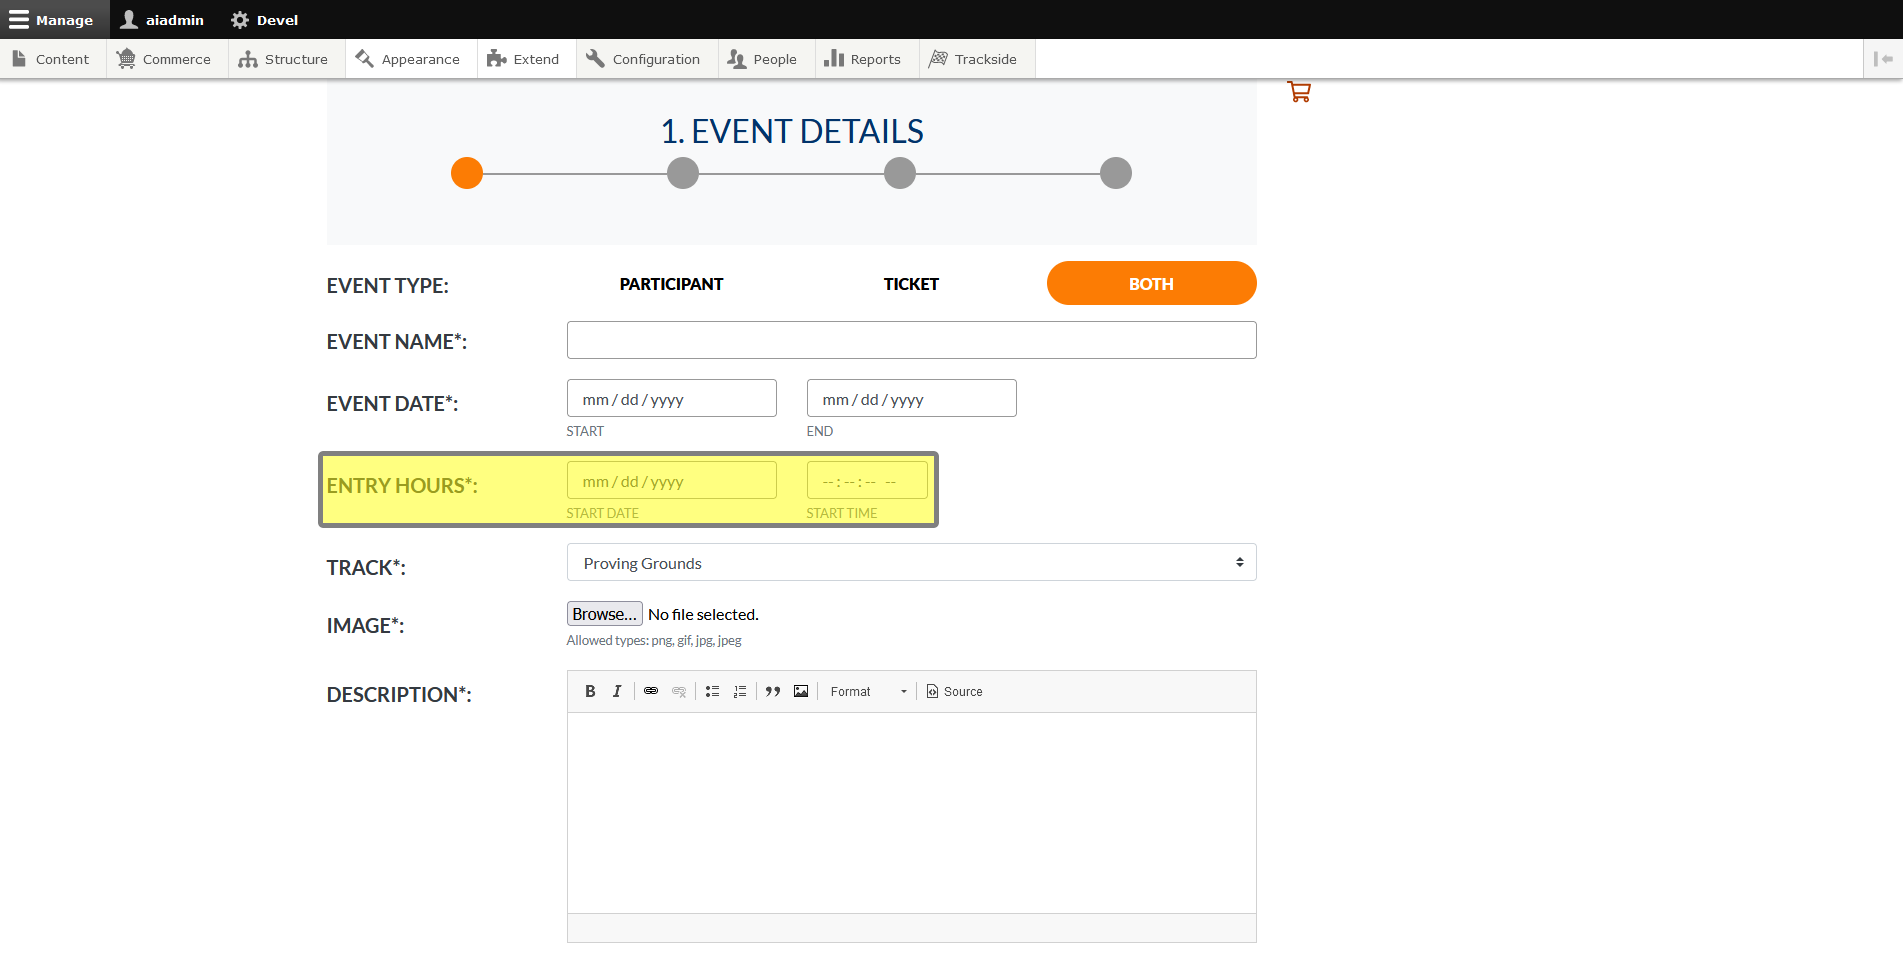
Step 5 - Enter Entry Hours
This is another important step that is worthy of some extra explanation. When you select a time to open the gates, this is when Trackside will begin allowing tickets on site for this event. If you try to scan tickets before this time, they will show as valid, but for a future event and will not be consumed. As a tip, if racers are showing up the night before, set this to the day before so you can check off their tickets and begin the check in process the night before. If your drivers are showing up the day of, make this maybe an hour before you expect your first drivers, as this will alleviate any troubles with allowing early drivers in.
Step 6 - Select Track
Select the track that you will be hosting the event from from the drop down list. If you don't see the track listed here, see Tracks in your prerequisites for how to add the one you need.