Quick Waiver (Modified Plan Feature)
Note: This is a Modified Plan feature. If you are on a lower level plan, use of this feature may change your per-ticket usage rate to the associated higher rate.
This article will show you how to use the new Quick Waiver feature added to Trackside. This feature is intended for spectator waivers without an online ticket purchase through Trackside.
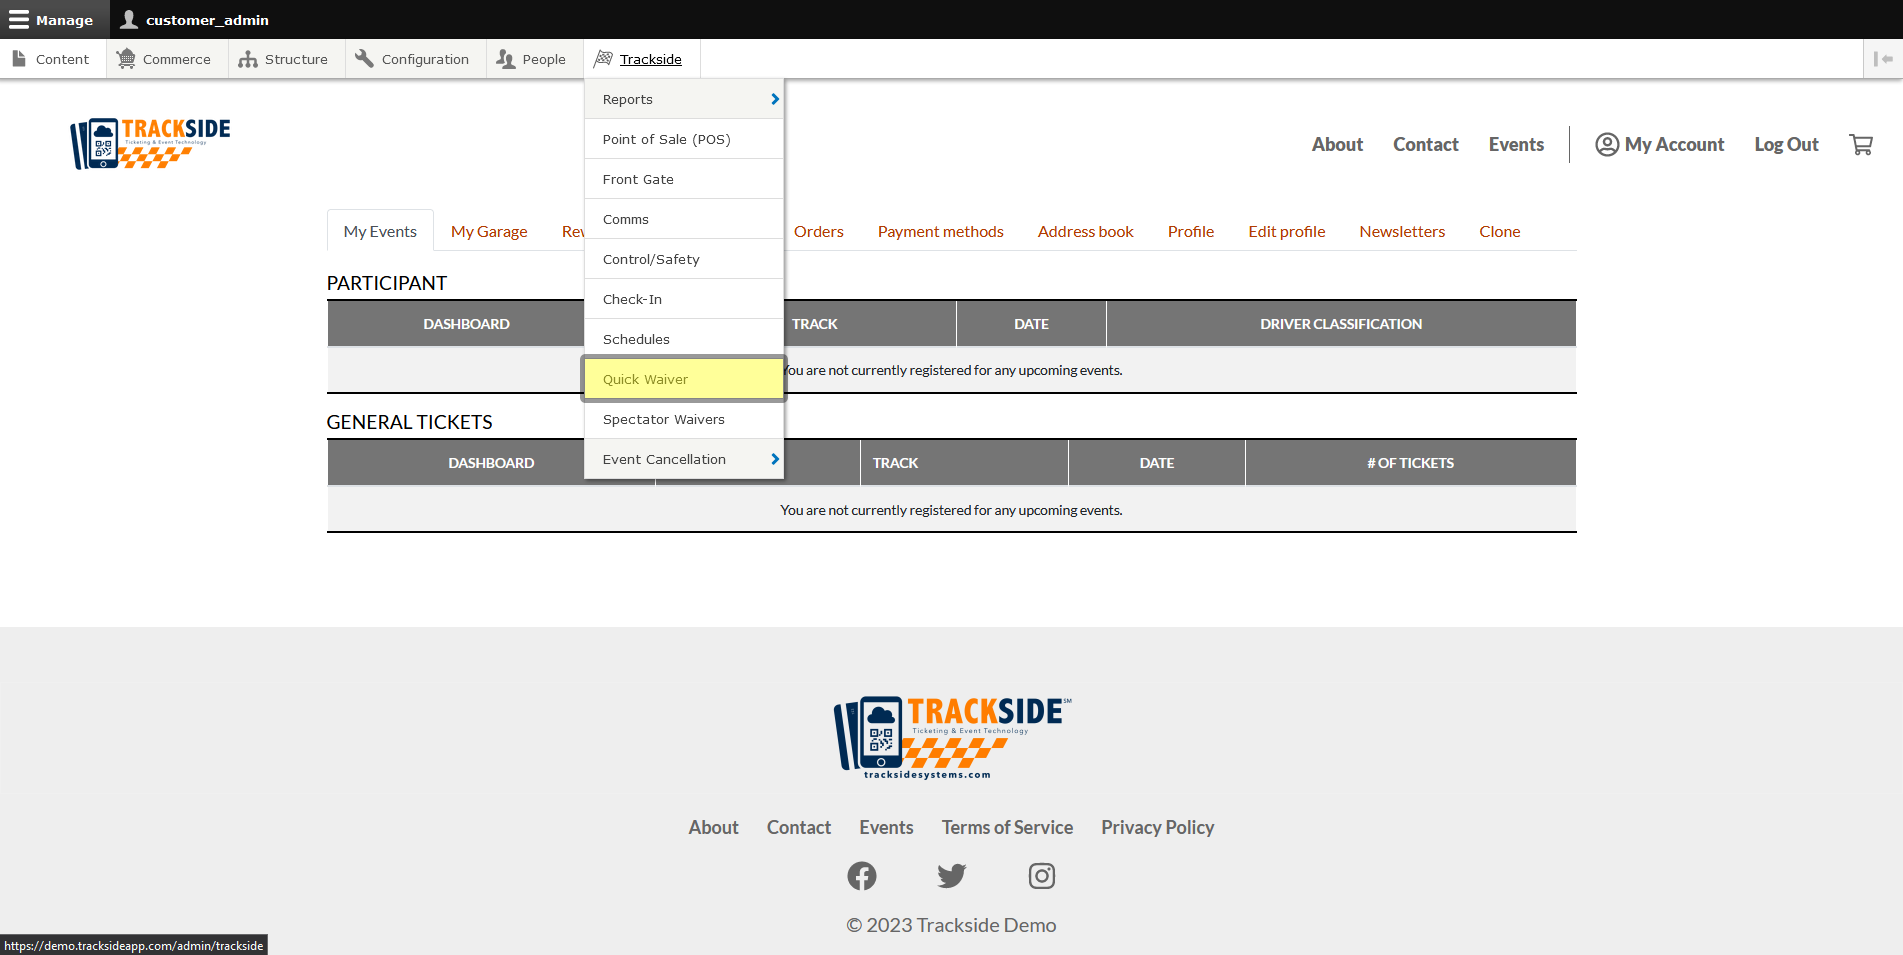
Step 1 - Navigate to Quick Waiver
Then click on Quick Waiver.
Step 2 - Fill Out Waiver
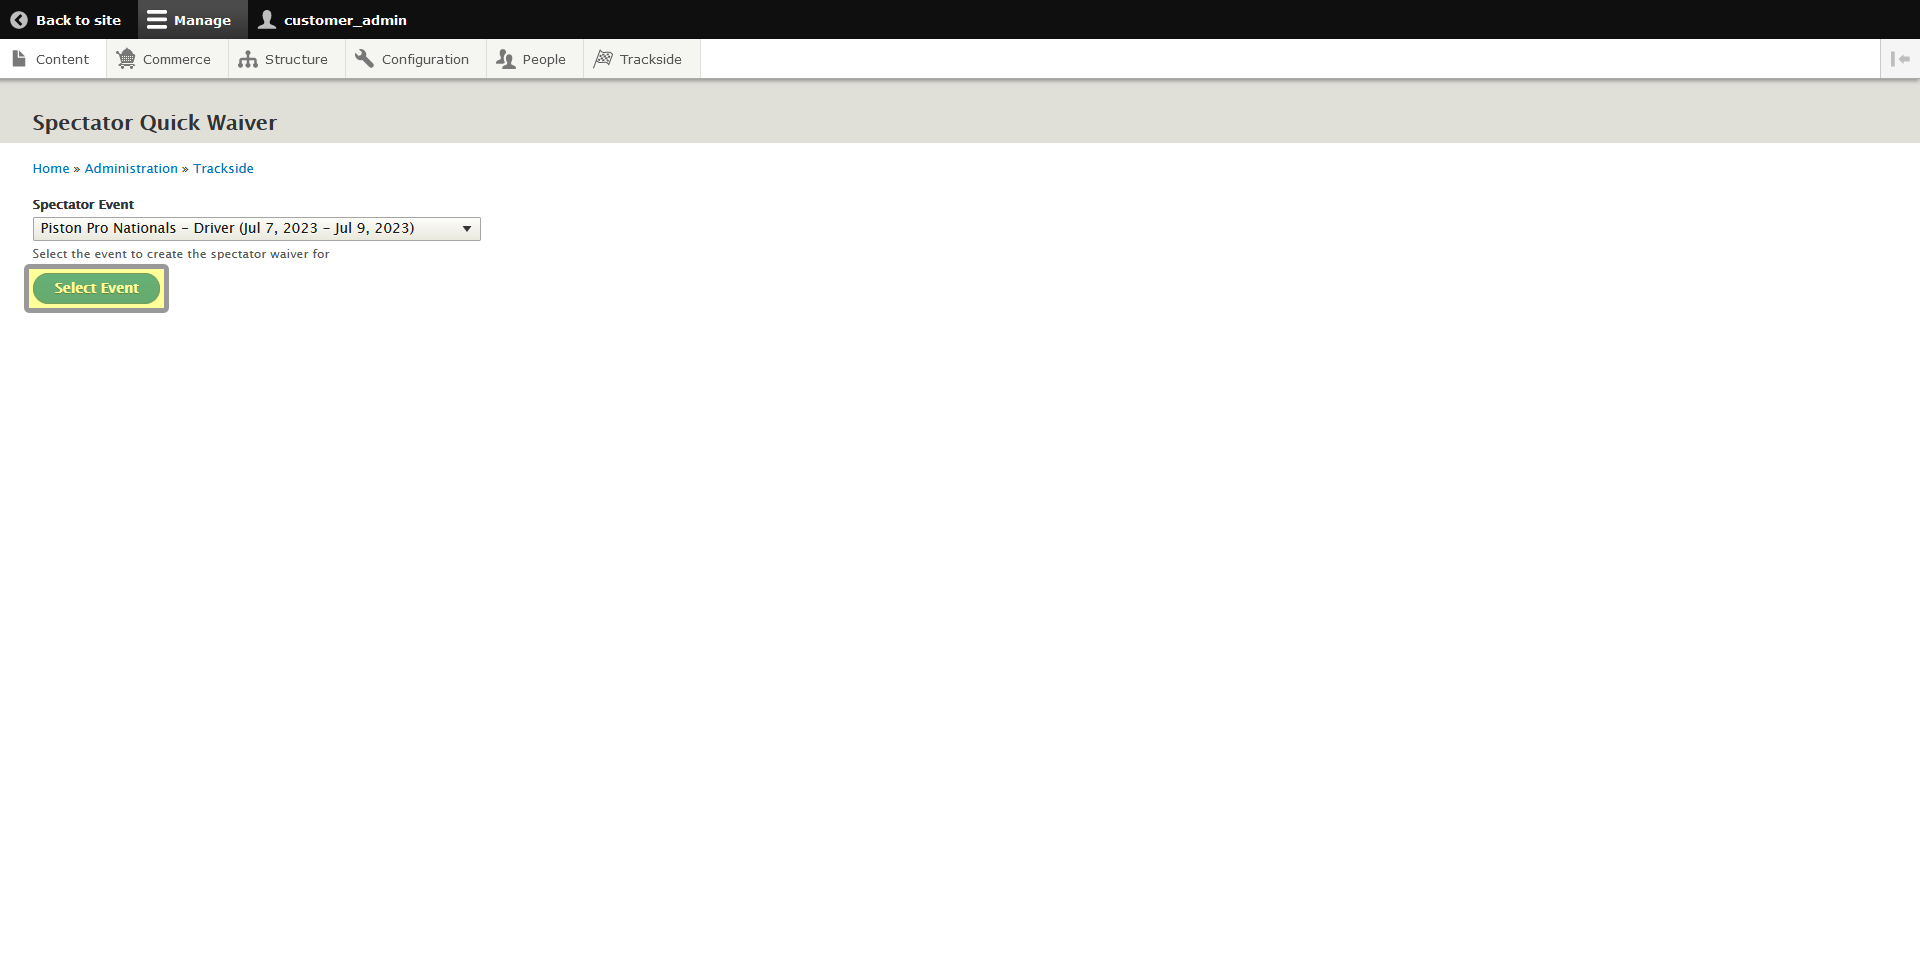
Once the page gets loaded, the first thing you need to do is select the event the waiver is going to pertain to.
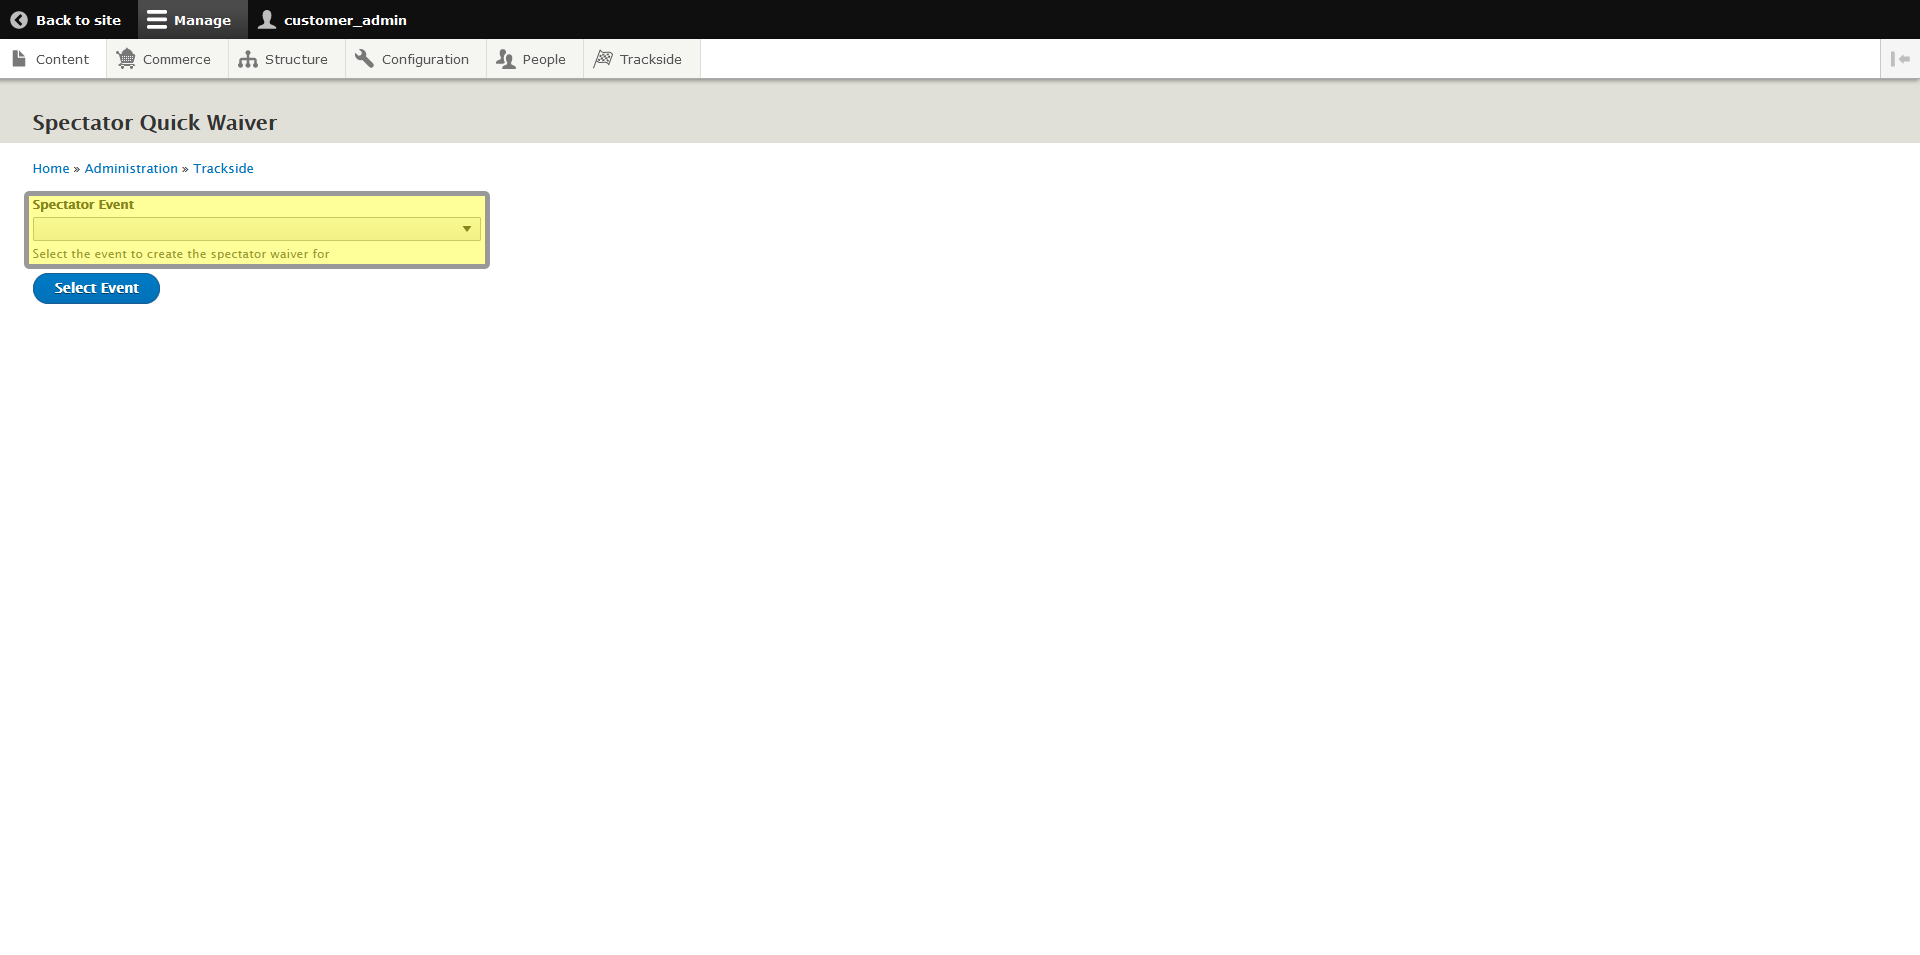
Then click Select Event and we'll move on to filling in your Spectator Waiver.
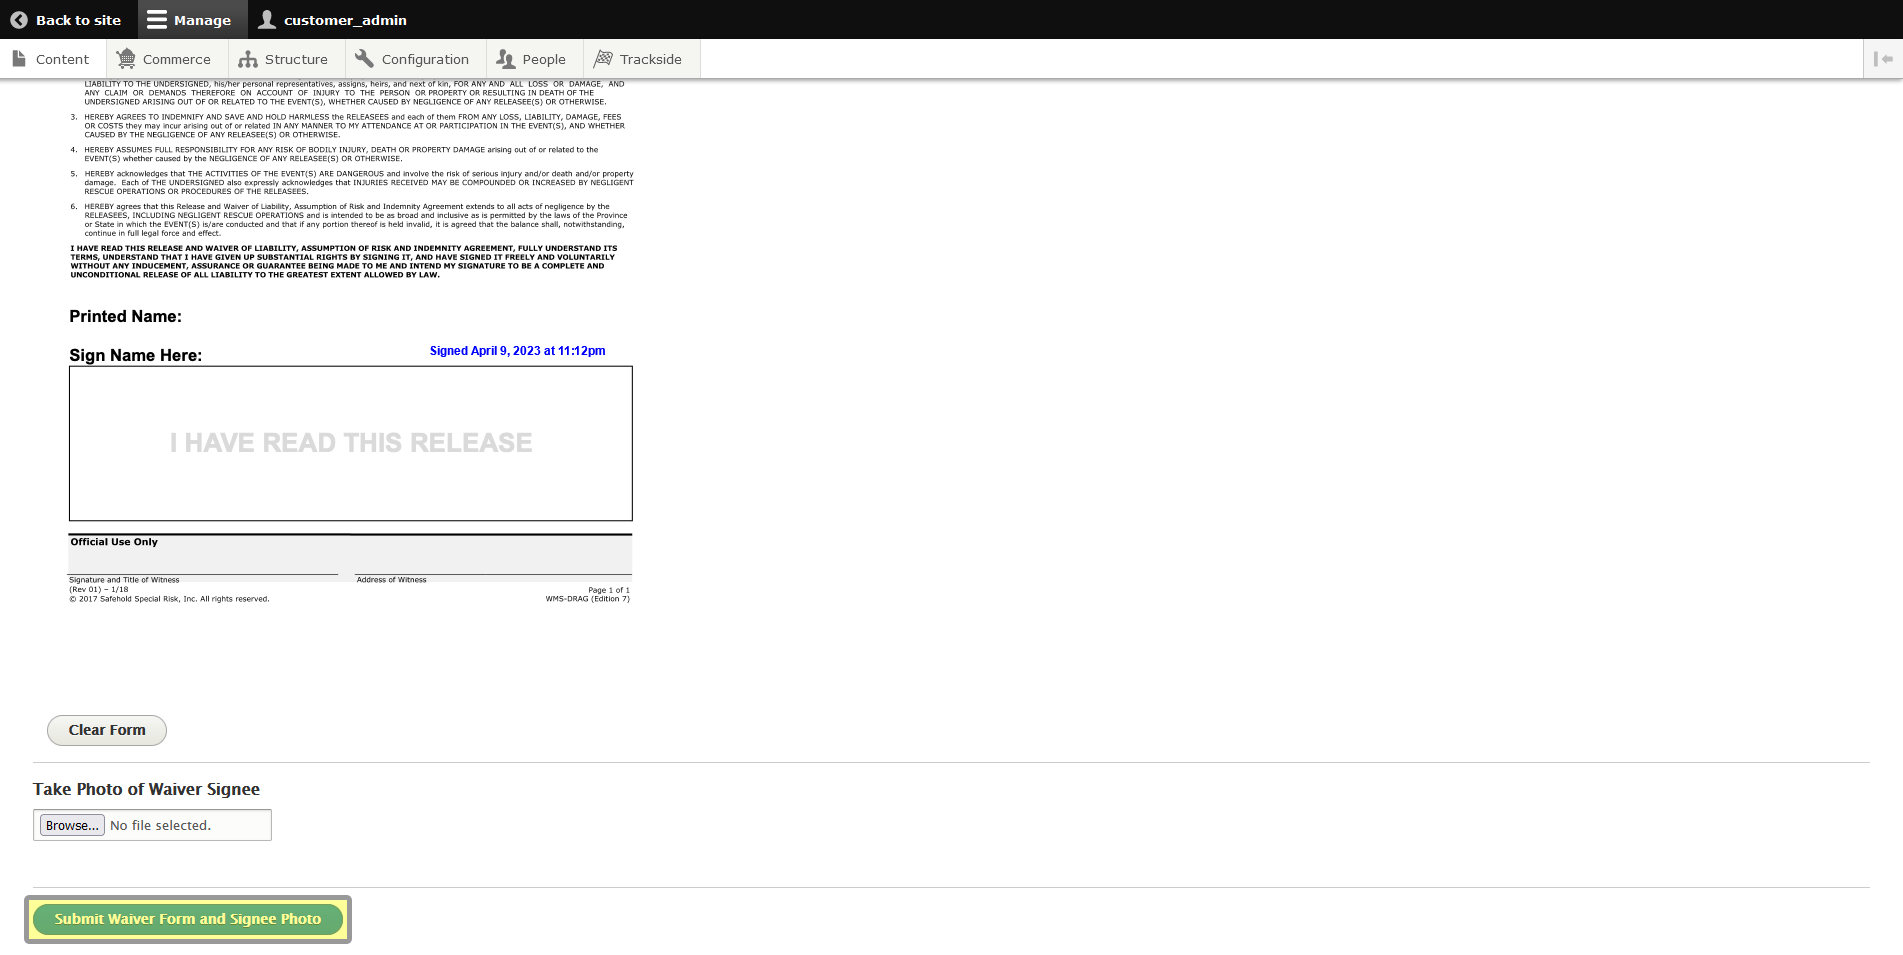
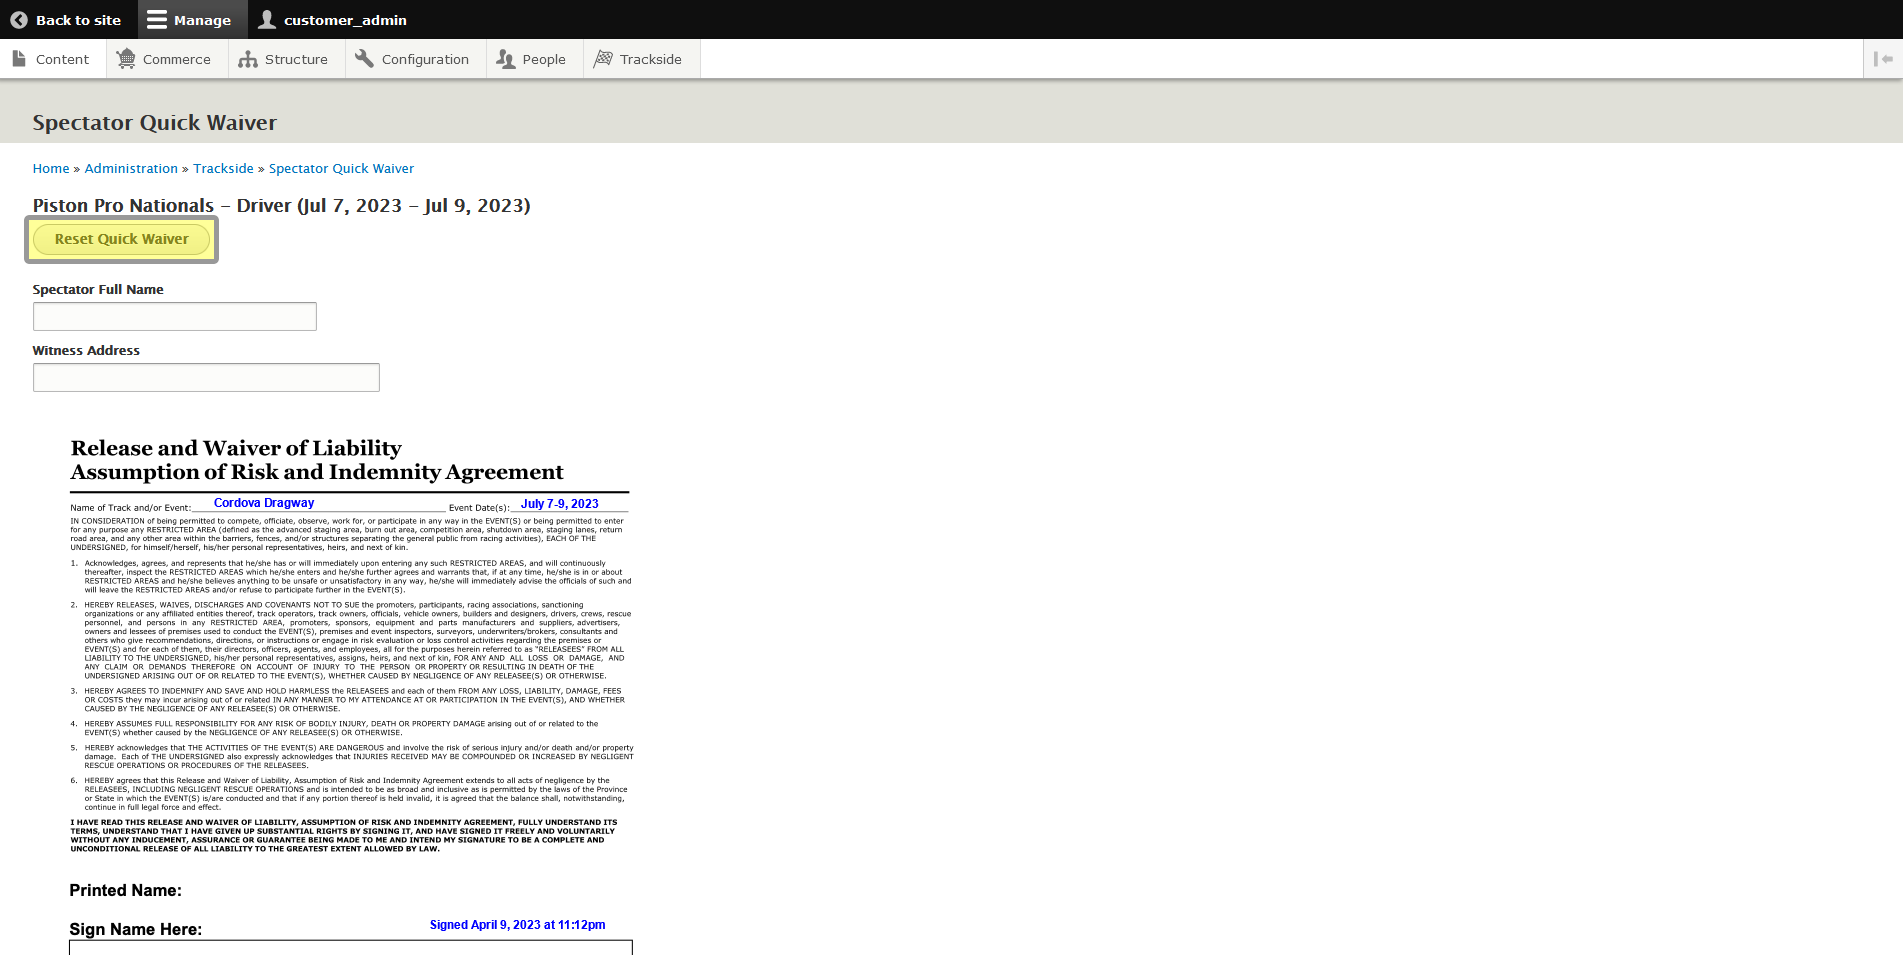
Start by completing the waiver. Some of the information is filled in based on the event selected. There will be text boxes for you, your staff, or the spectator to fill in. These will vary depending on how you've set up your waiver.

Then you can complete any signature fields on the waiver. This will again depend on your waiver.
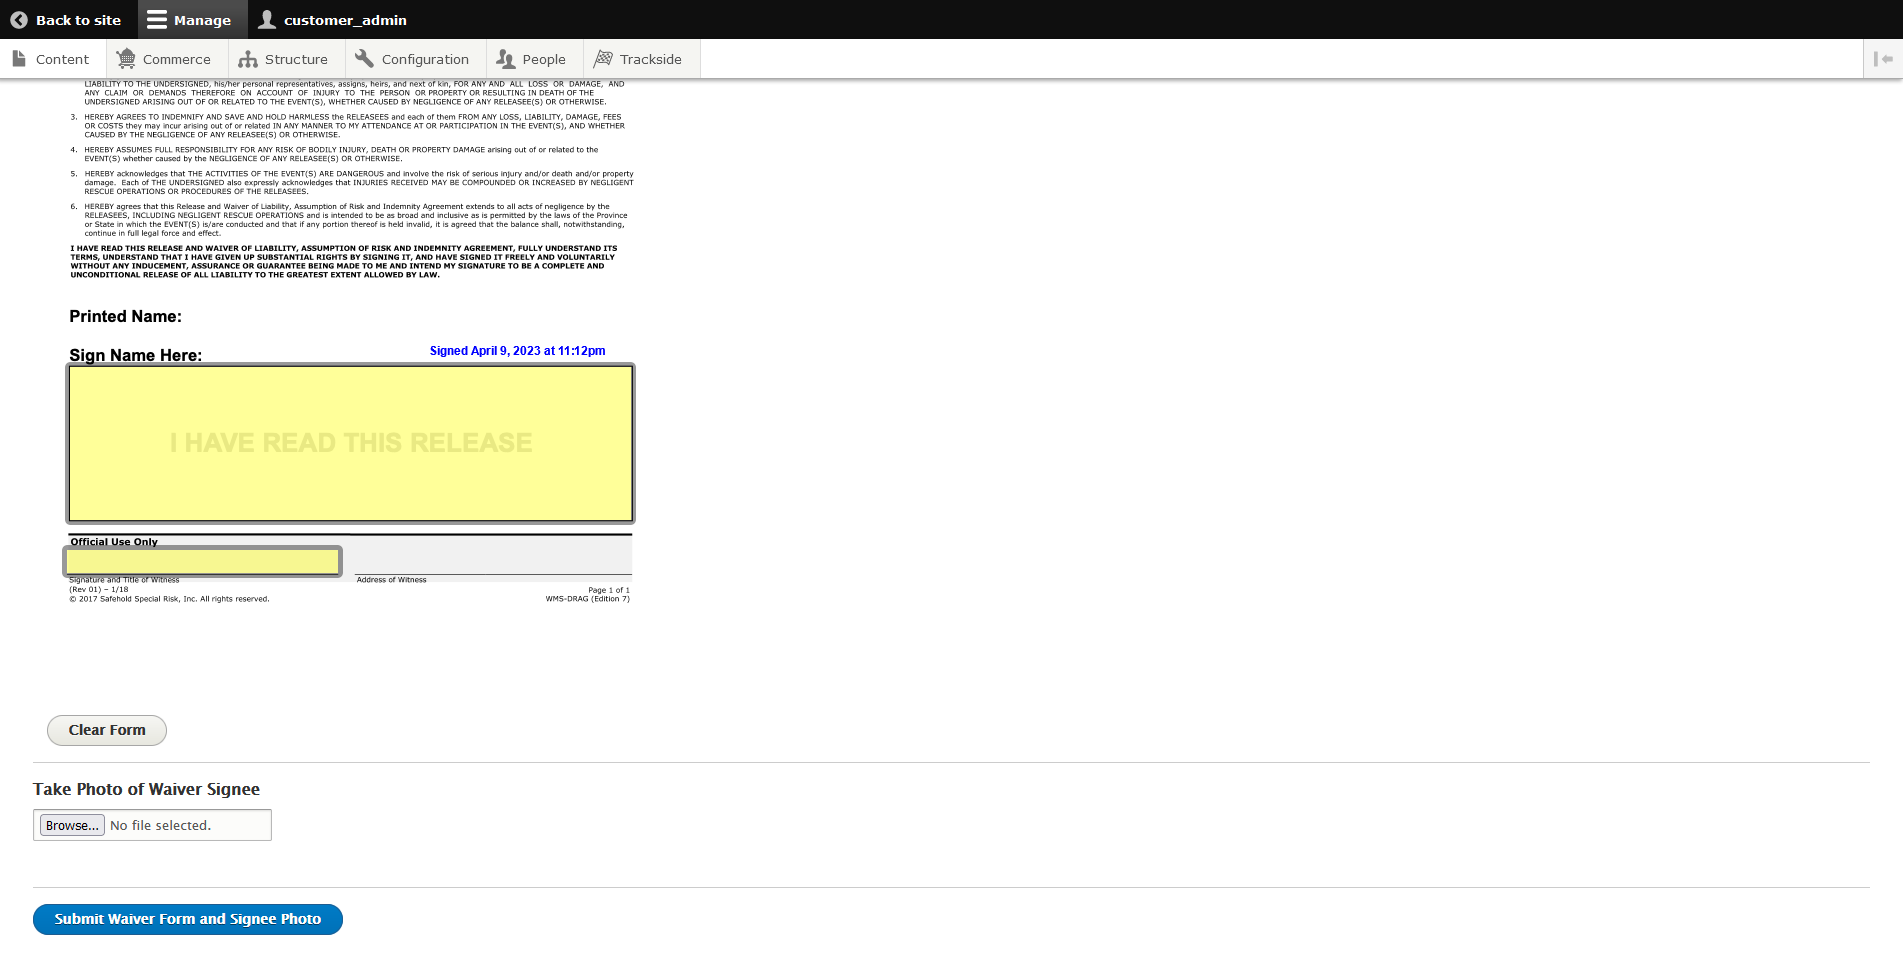
The Clear Form button below the waiver simply clears the signature fields if you need to restart them.
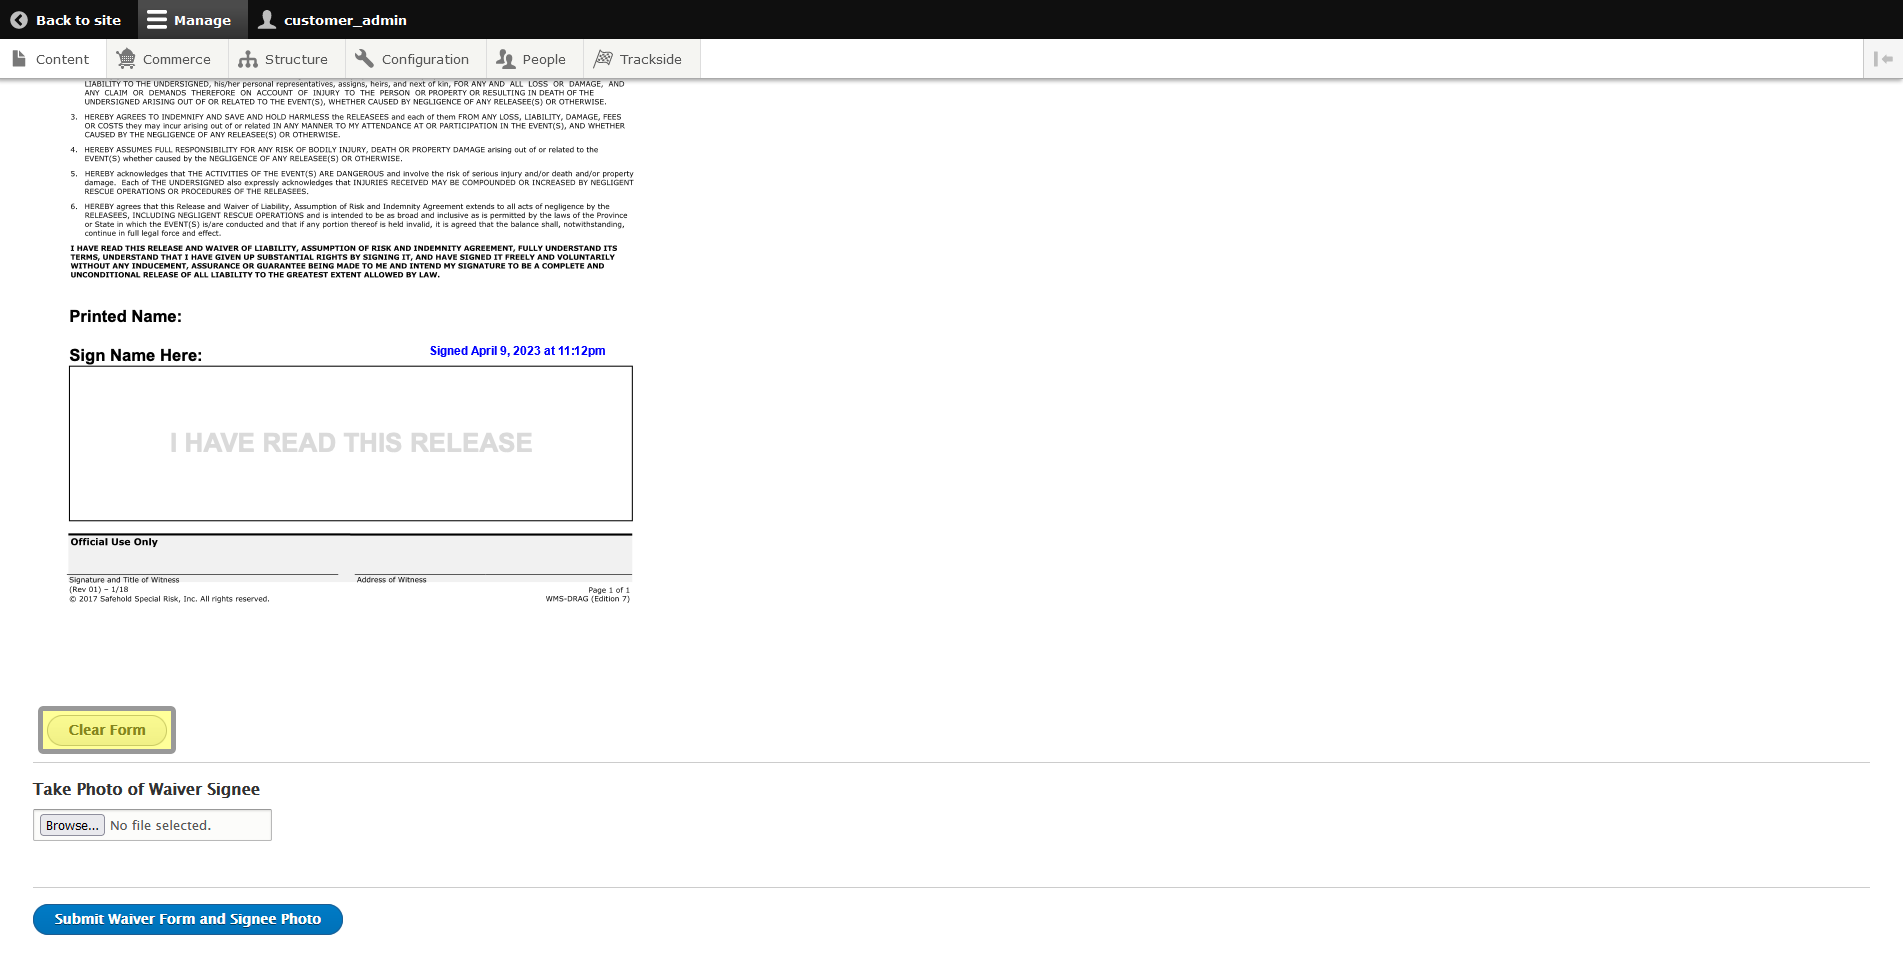
Reset Quick Waiver will reset everything on the page, including the picture below the waiver.
You will need a picture of the signee to add to the waiver as well.
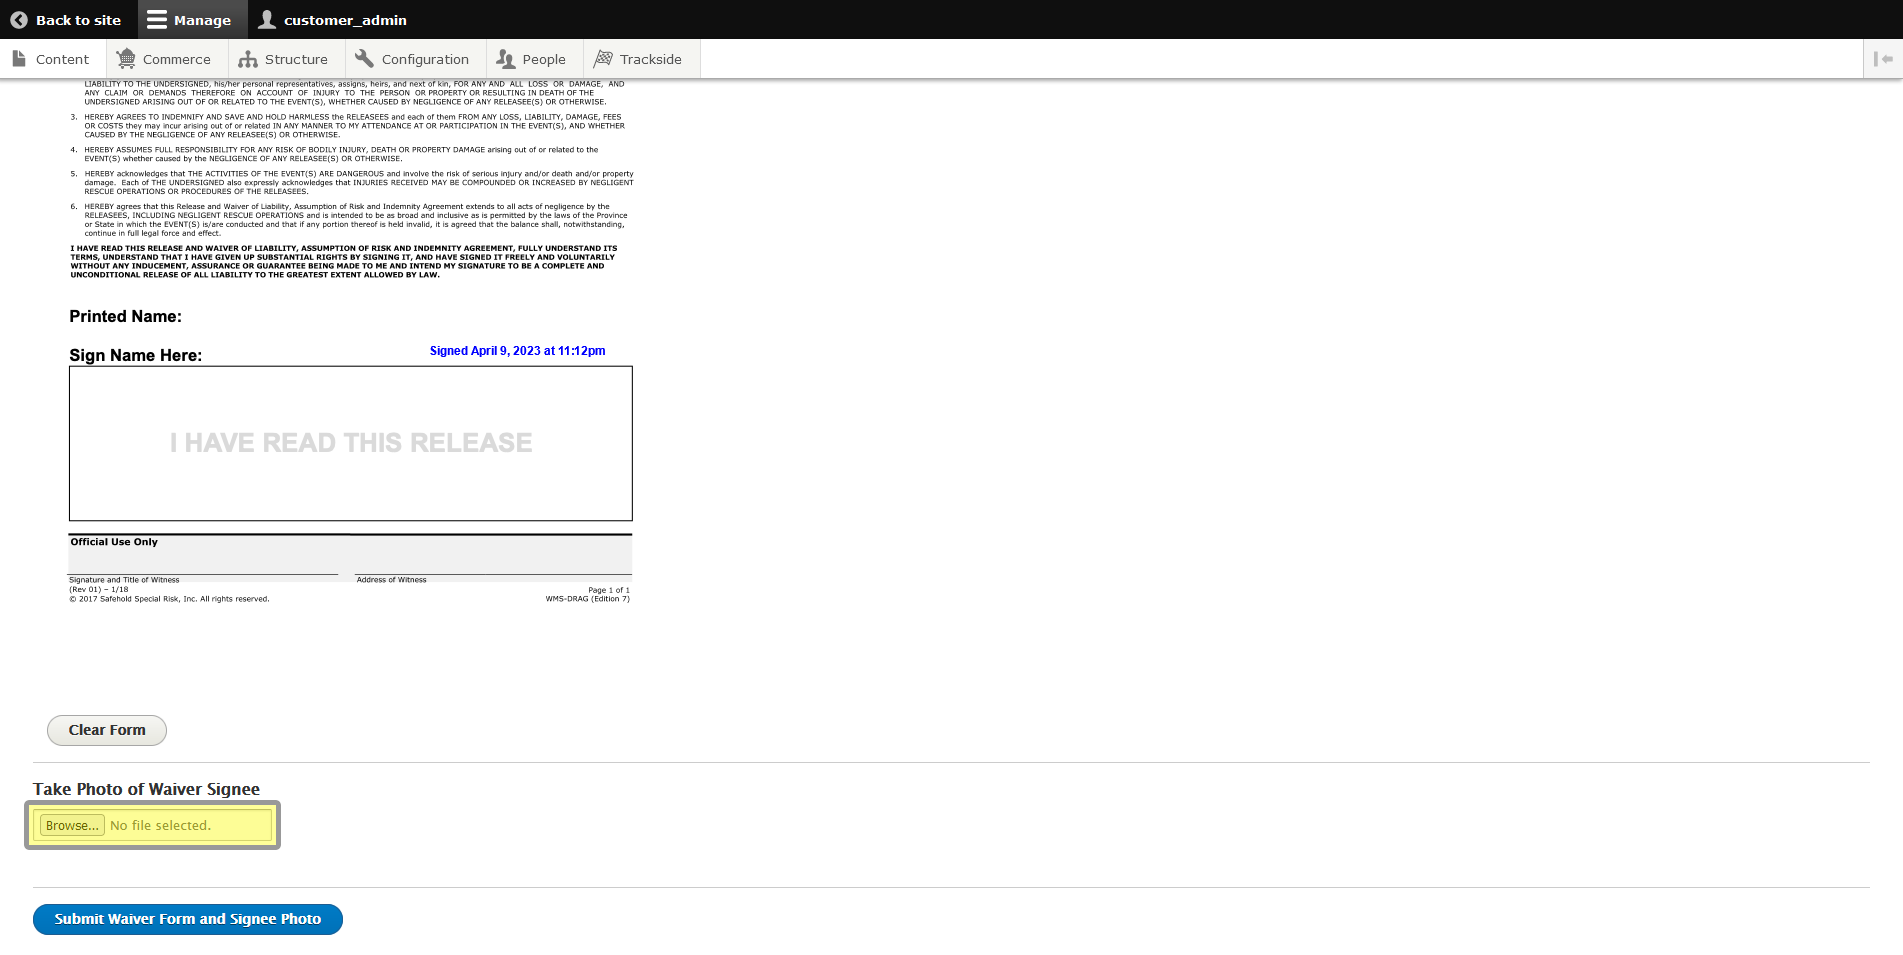
When you're done filling everything for the waiver in, click Submit Waiver Form and Signee Photo to save the waiver!