Spectator Waiver Coordinates (Modified Plan Feature)
Note: This is a Modified Plan feature. If you are on a lower level plan, use of this feature may change your per-ticket usage rate to the associated higher rate.
This article will help you take the information the spectator and your staff input into Trackside and make it go into the correct place on the Spectator Waiver.
Step 1 - Navigate to Settings under Check-In
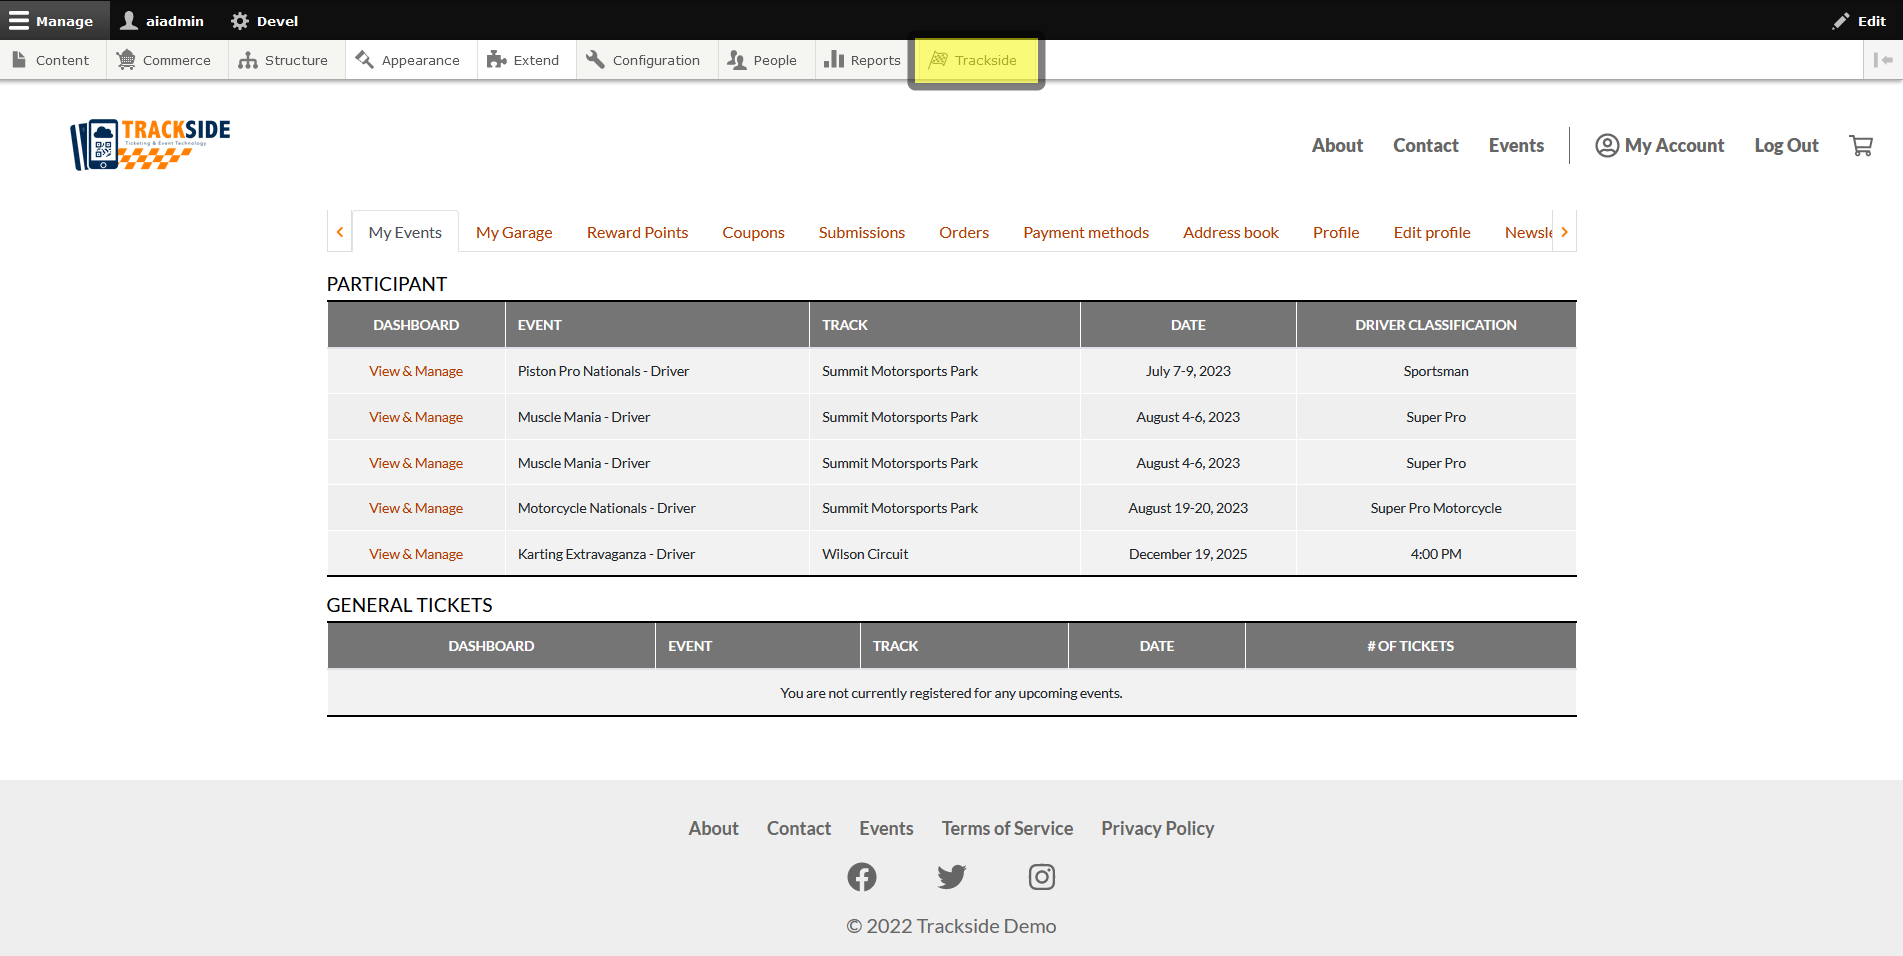
Spectator Waiver coordinates will be accessed from Check-In, so first start by hovering over Trackside.
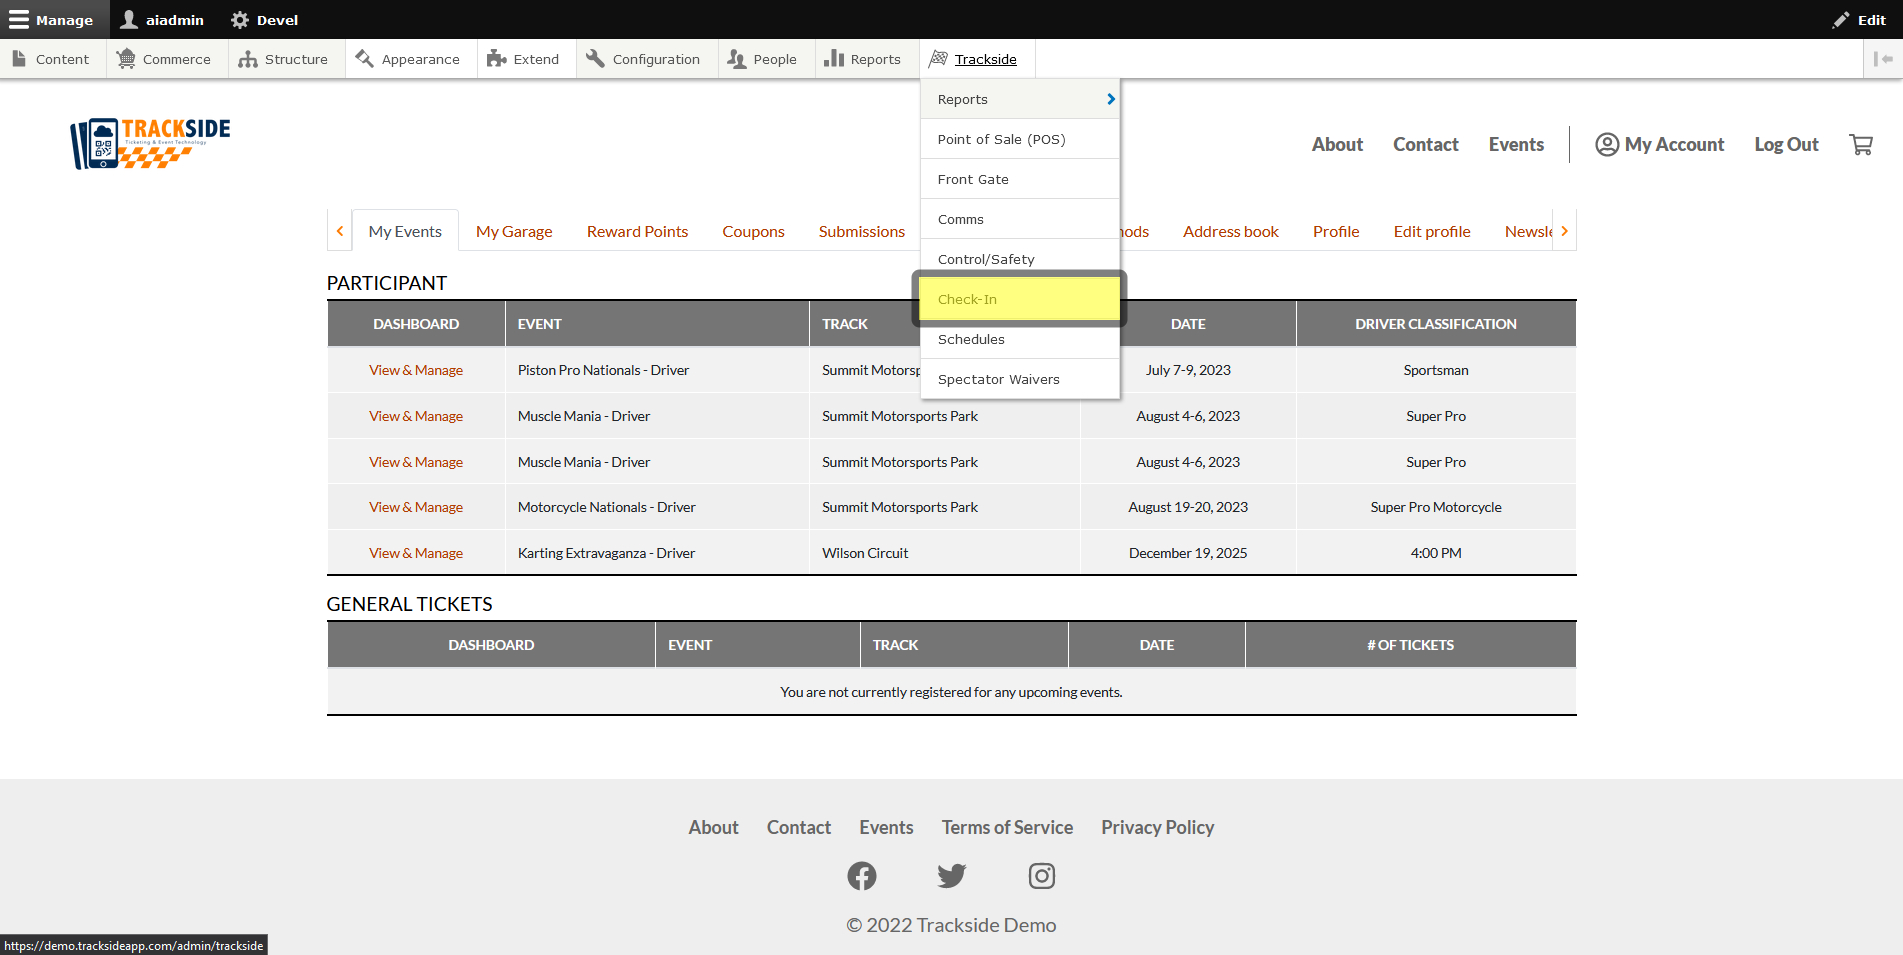
From the Trackside menu, click on Check-In.
Once the Check-In screen loads, you'll need to click on the Settings tab.
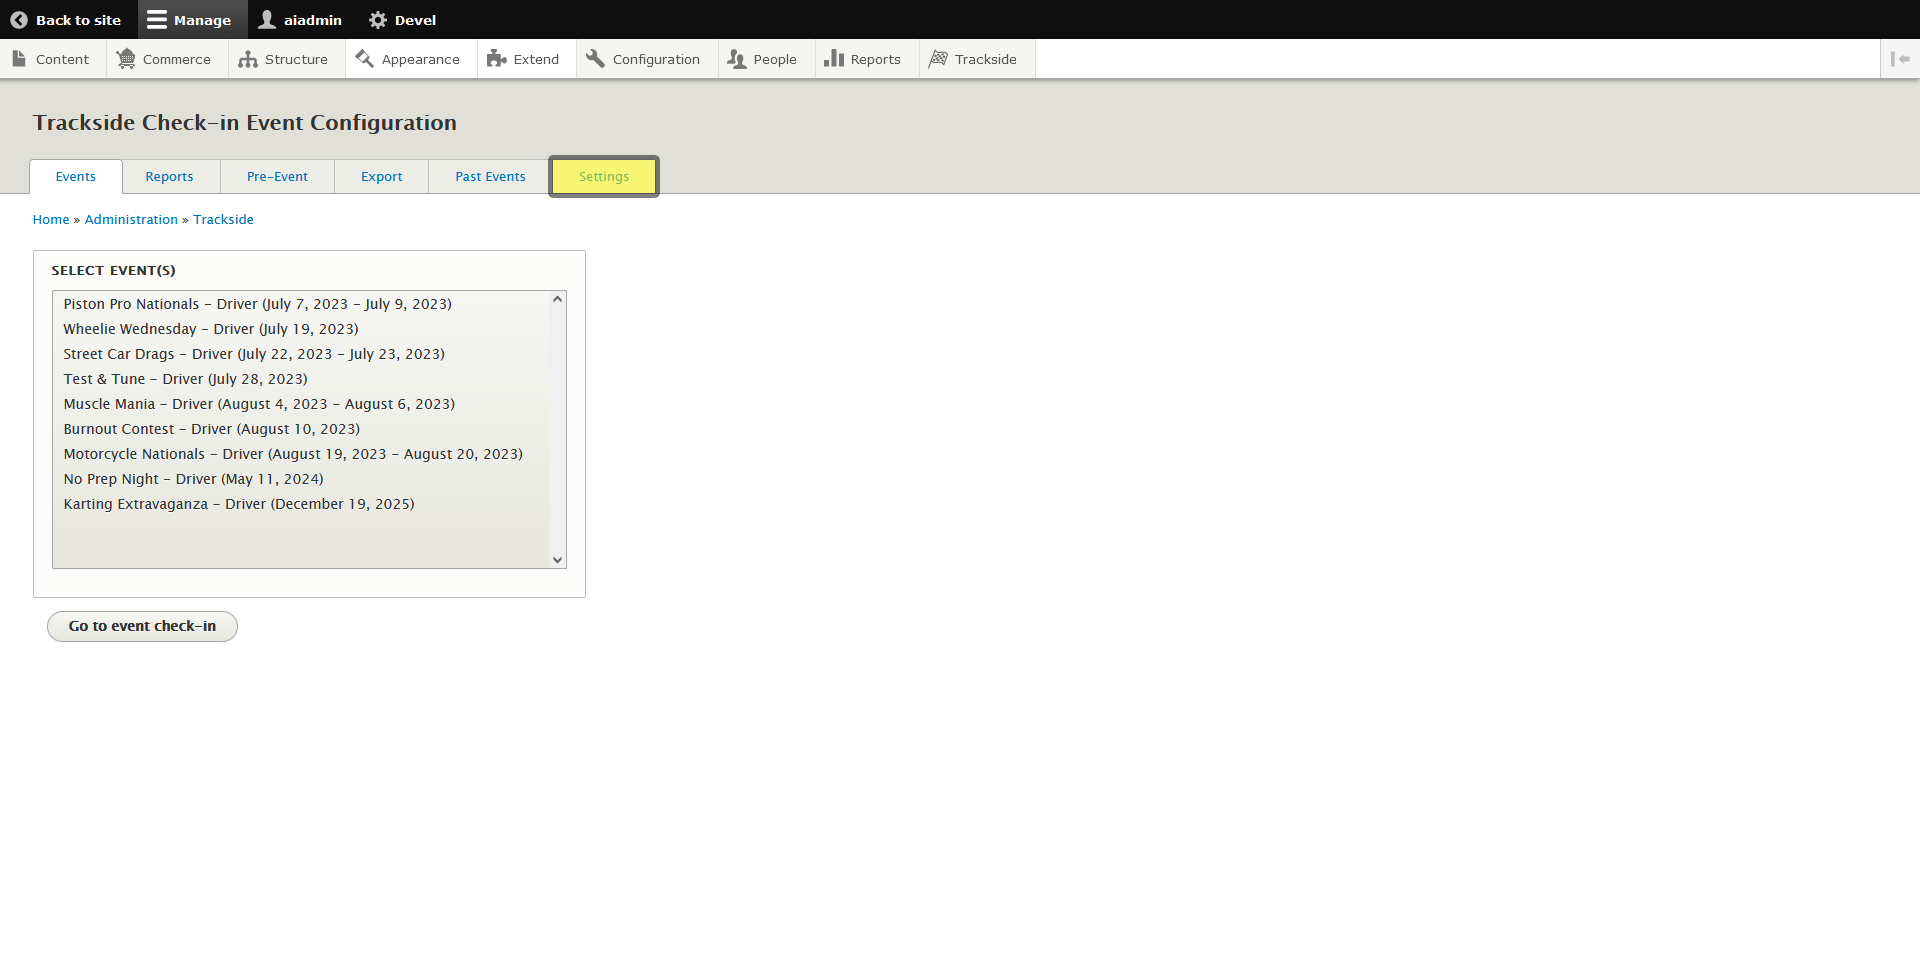
Step 2 - Position Coordinates
Once on the Settings tab, you'll notice a submenu on the left. You'll need to click on Spectator Waiver coordinates to continue.
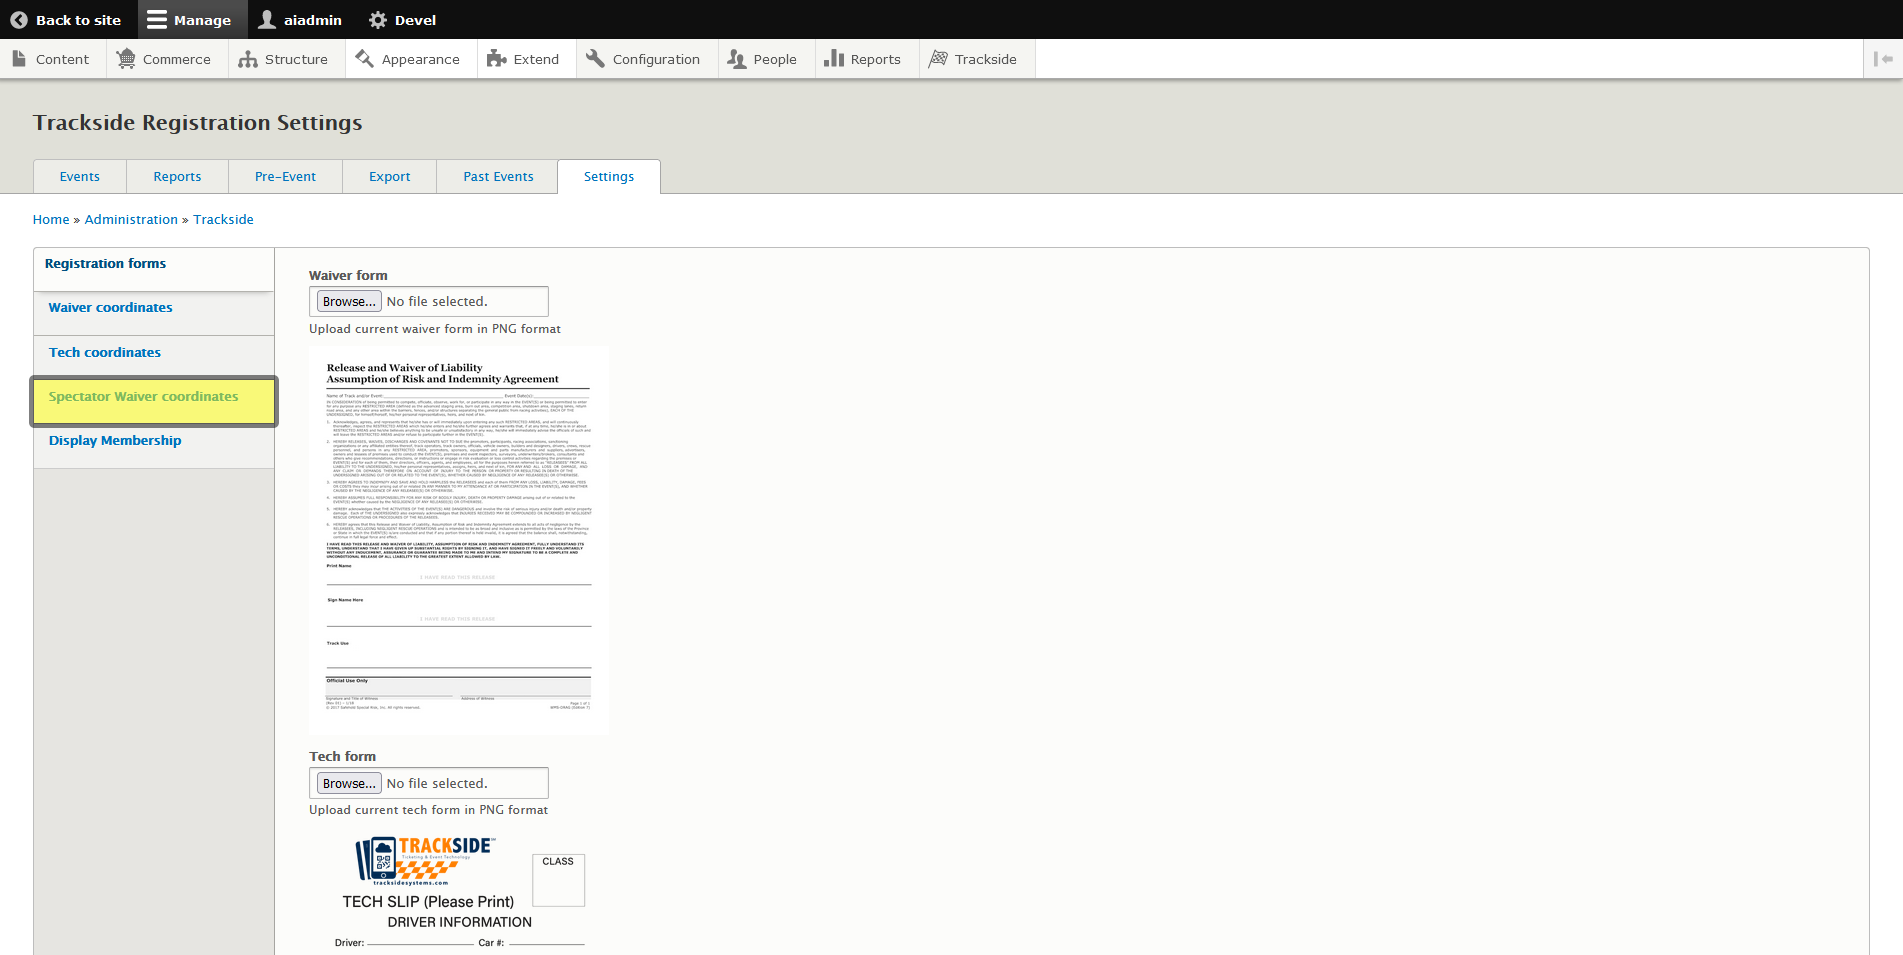
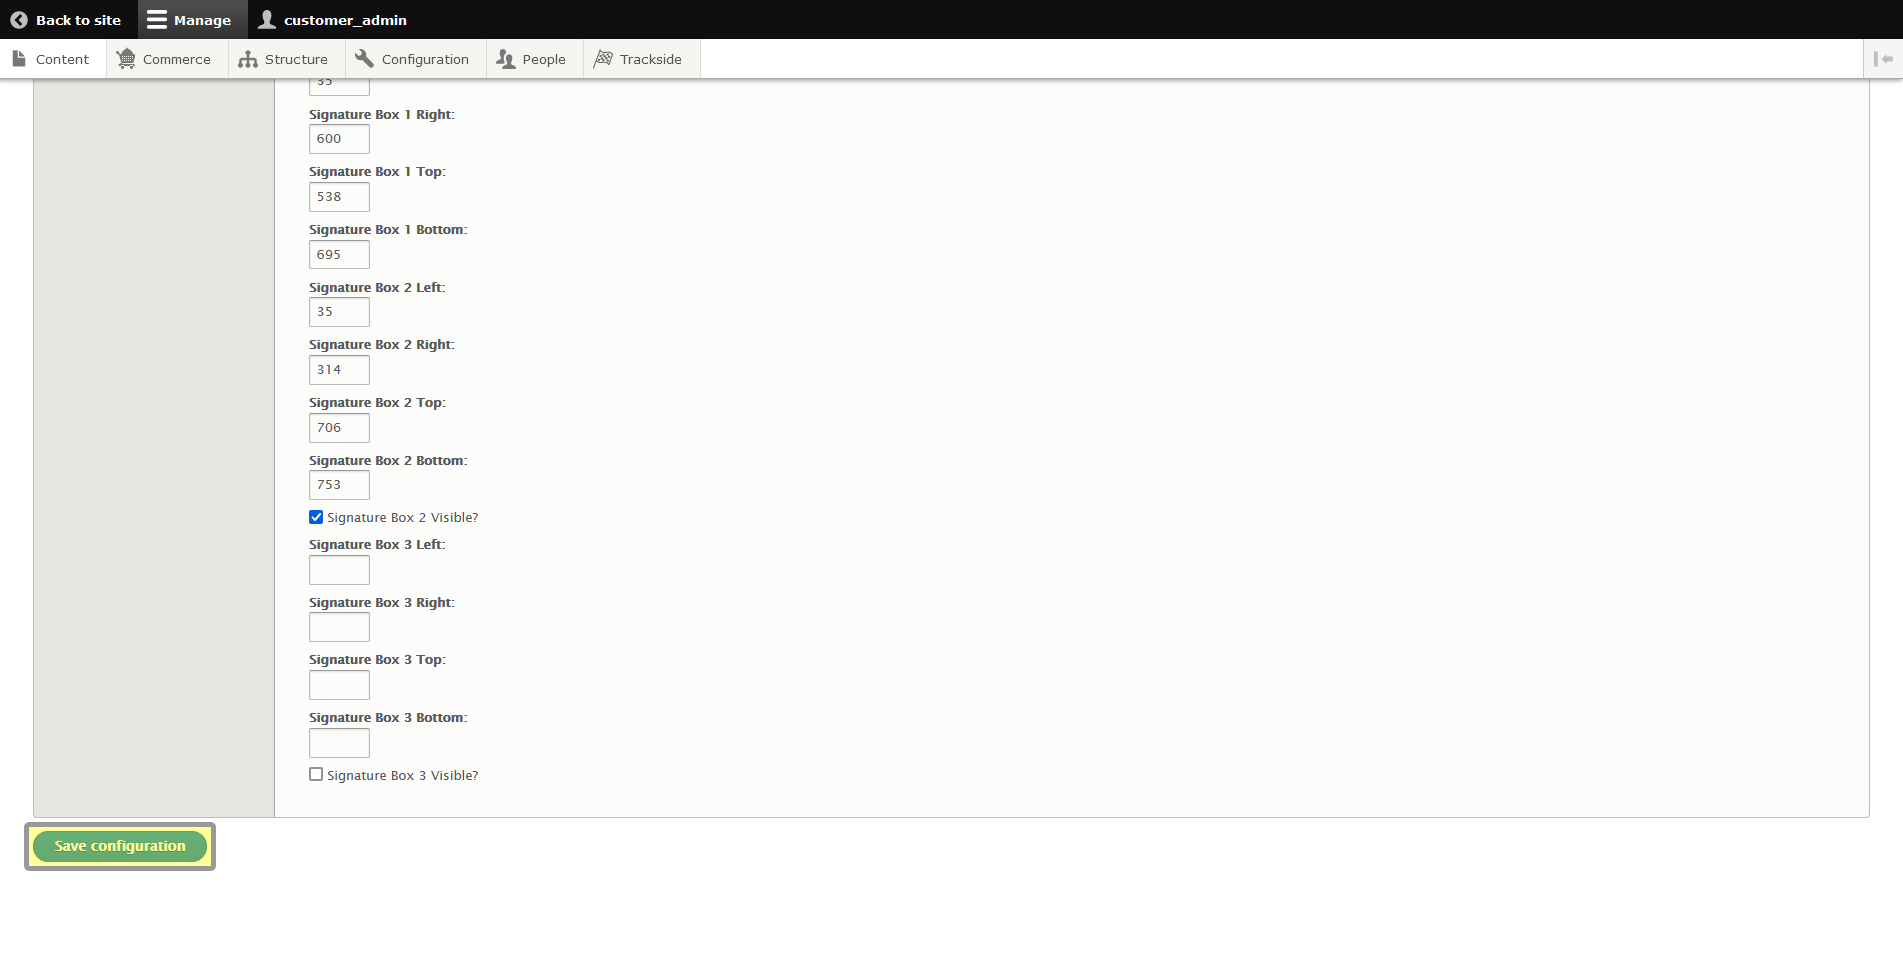
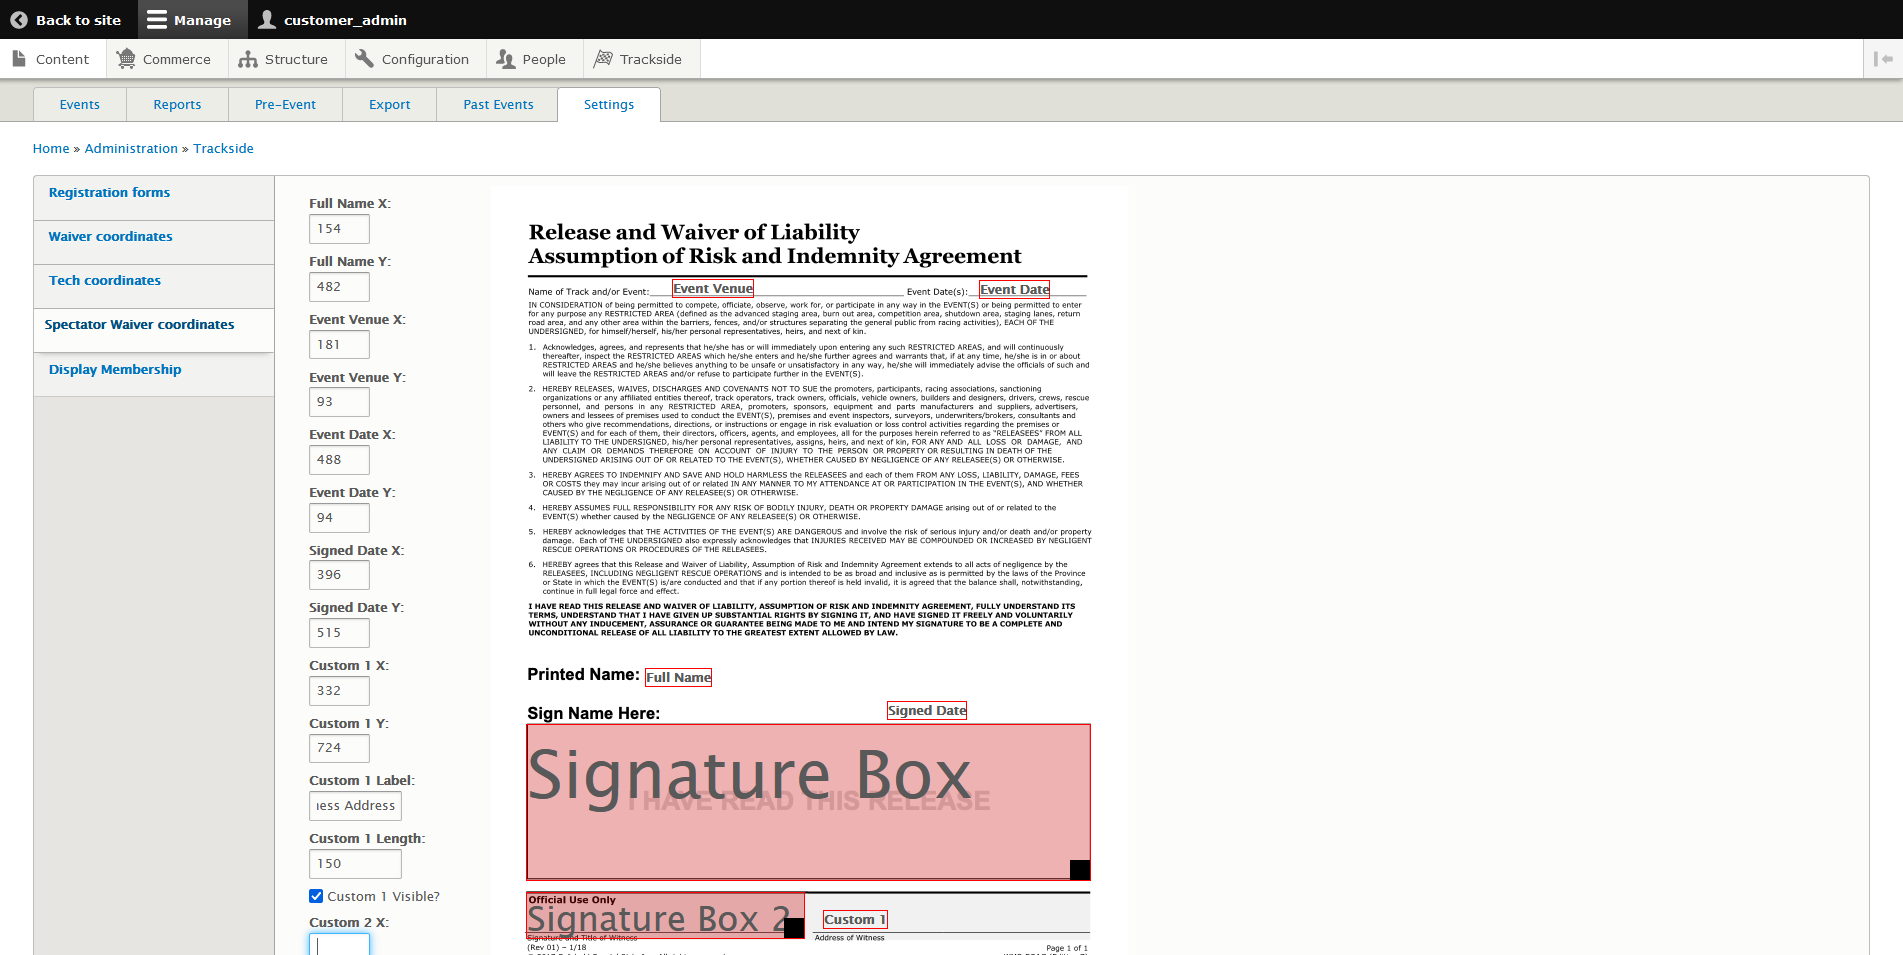
You should now be looking at your Spectator Waiver along with some information boxes and signature boxes.
Most of these information boxes are labeled but you also have a few custom boxes available to you. Custom information boxes will request information from the user or staff member during pre-check-in / check-in.
Even though the boxes on the left have coordinates in them, you can simply drag and drop these boxes into place where you need them on your form!
The signature box(es) are also drag & drop with the added option to resize. Make sure you leave plenty of room to sign! The little black box in the bottom right of the signature box will allow you to change the size more easily. Just position the top left of the box where you want it to end up, and you can drag the bottom right into place.
Have information boxes you don't need? Either place them below the form or uncheck the box in the list on the left if it has one.
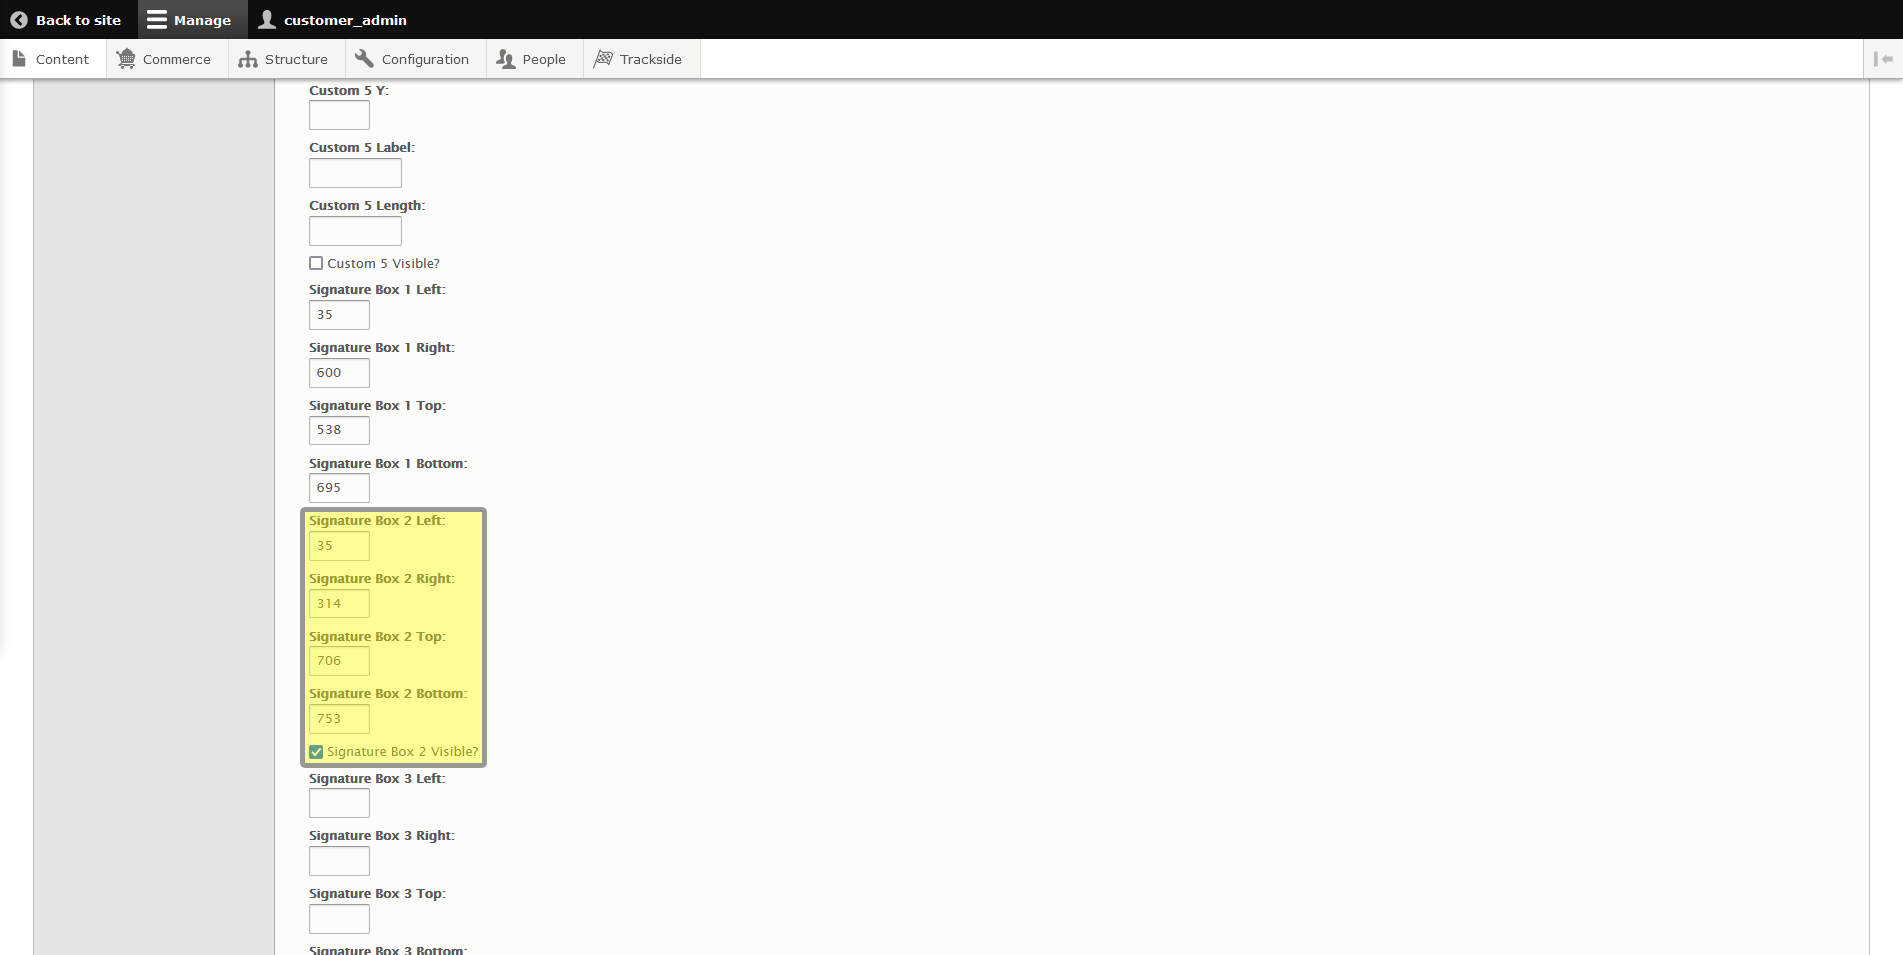
You'll notice you have custom field options if you need them as well, which have their own labels you can customize. These will show up during check in above your form with text boxes which can be typed into. Check out the article for Participant Check-In for a little more insight into using the custom fields.
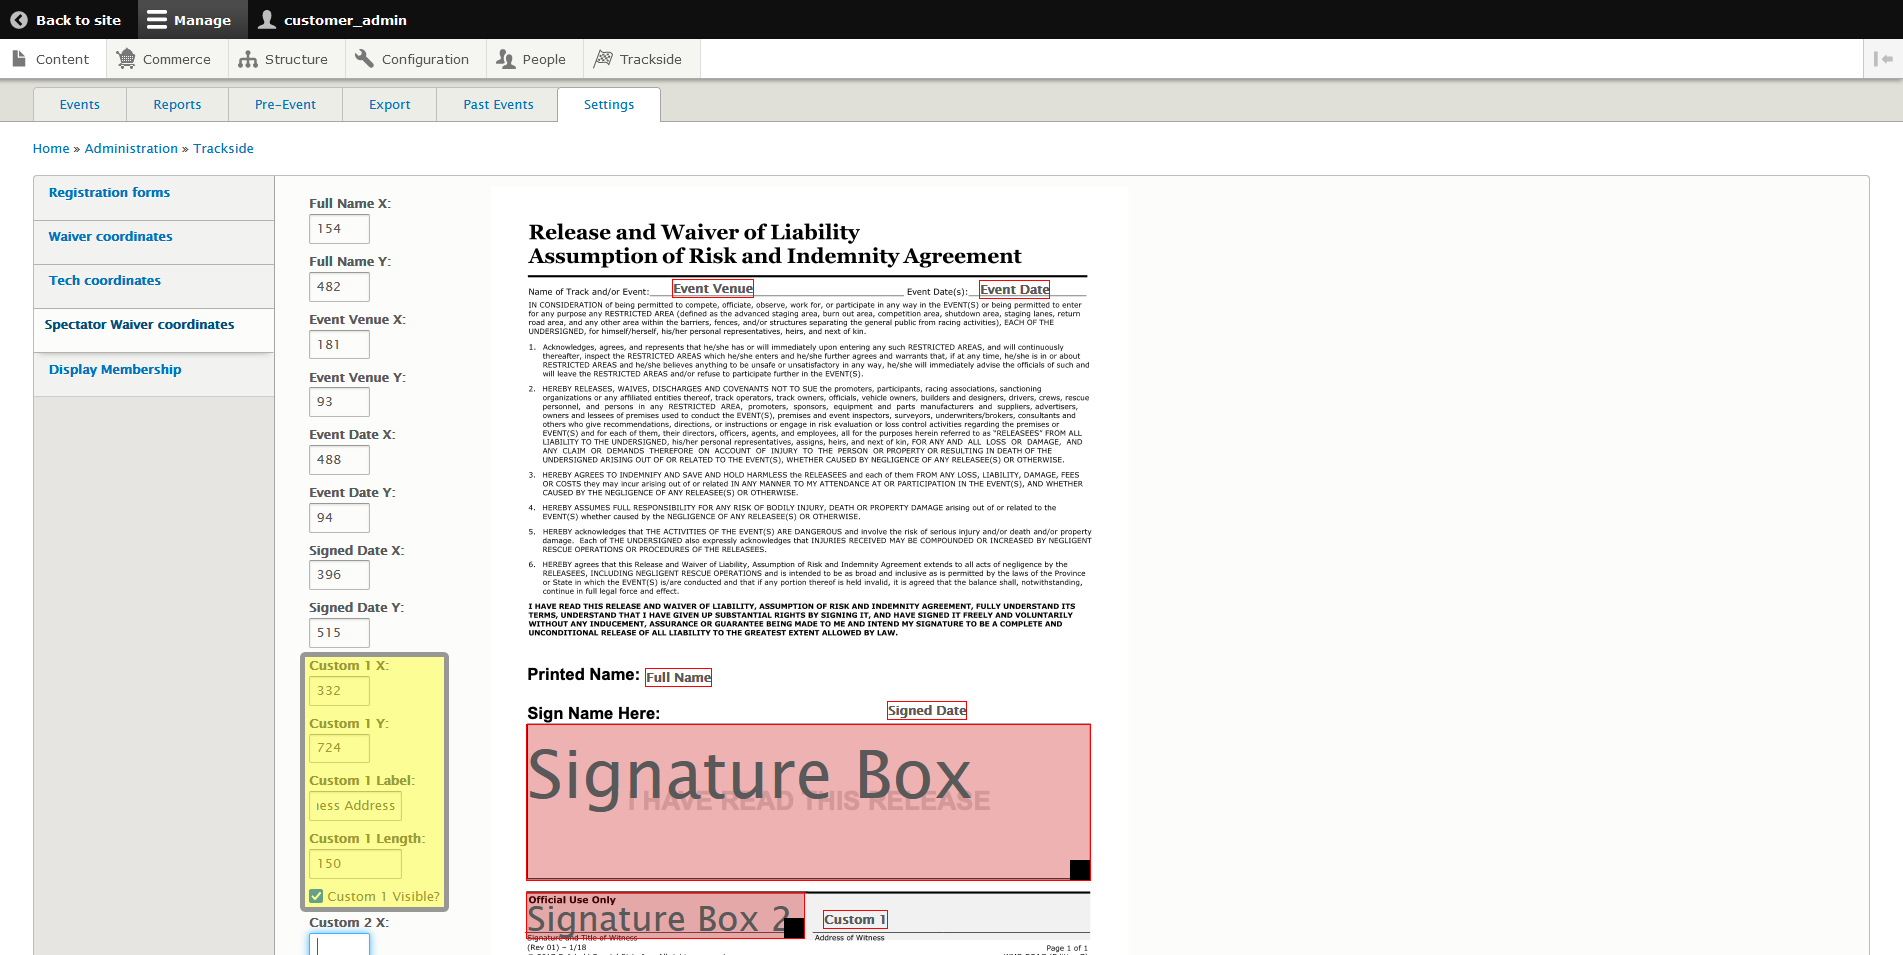
You also have up to 3 signature boxes you can add if you need them. HINT: they don't have to be used for signatures - you can also use them in spots if you have boxes someone may need to check off, or anywhere else manual writing/marking needs to happen.
Once you have everything in place, click Save configuration at the bottom and your Spectator Waiver is all set! You may want to do a test check-in just to make sure all of the information fills in on the form like you expect so it's not an issue that crops up the day of the event!