
Upload Spectator Waiver (Modified Plan Feature)
Note: This is a Modified Plan feature. If you are on a lower level plan, use of this feature may change your per-ticket usage rate to the associated higher rate.
This article will show you how to upload your Digital Spectator Waiver so you can begin utilizing them in your check-in process.
Step 1 - Navigate to Settings under Check-in
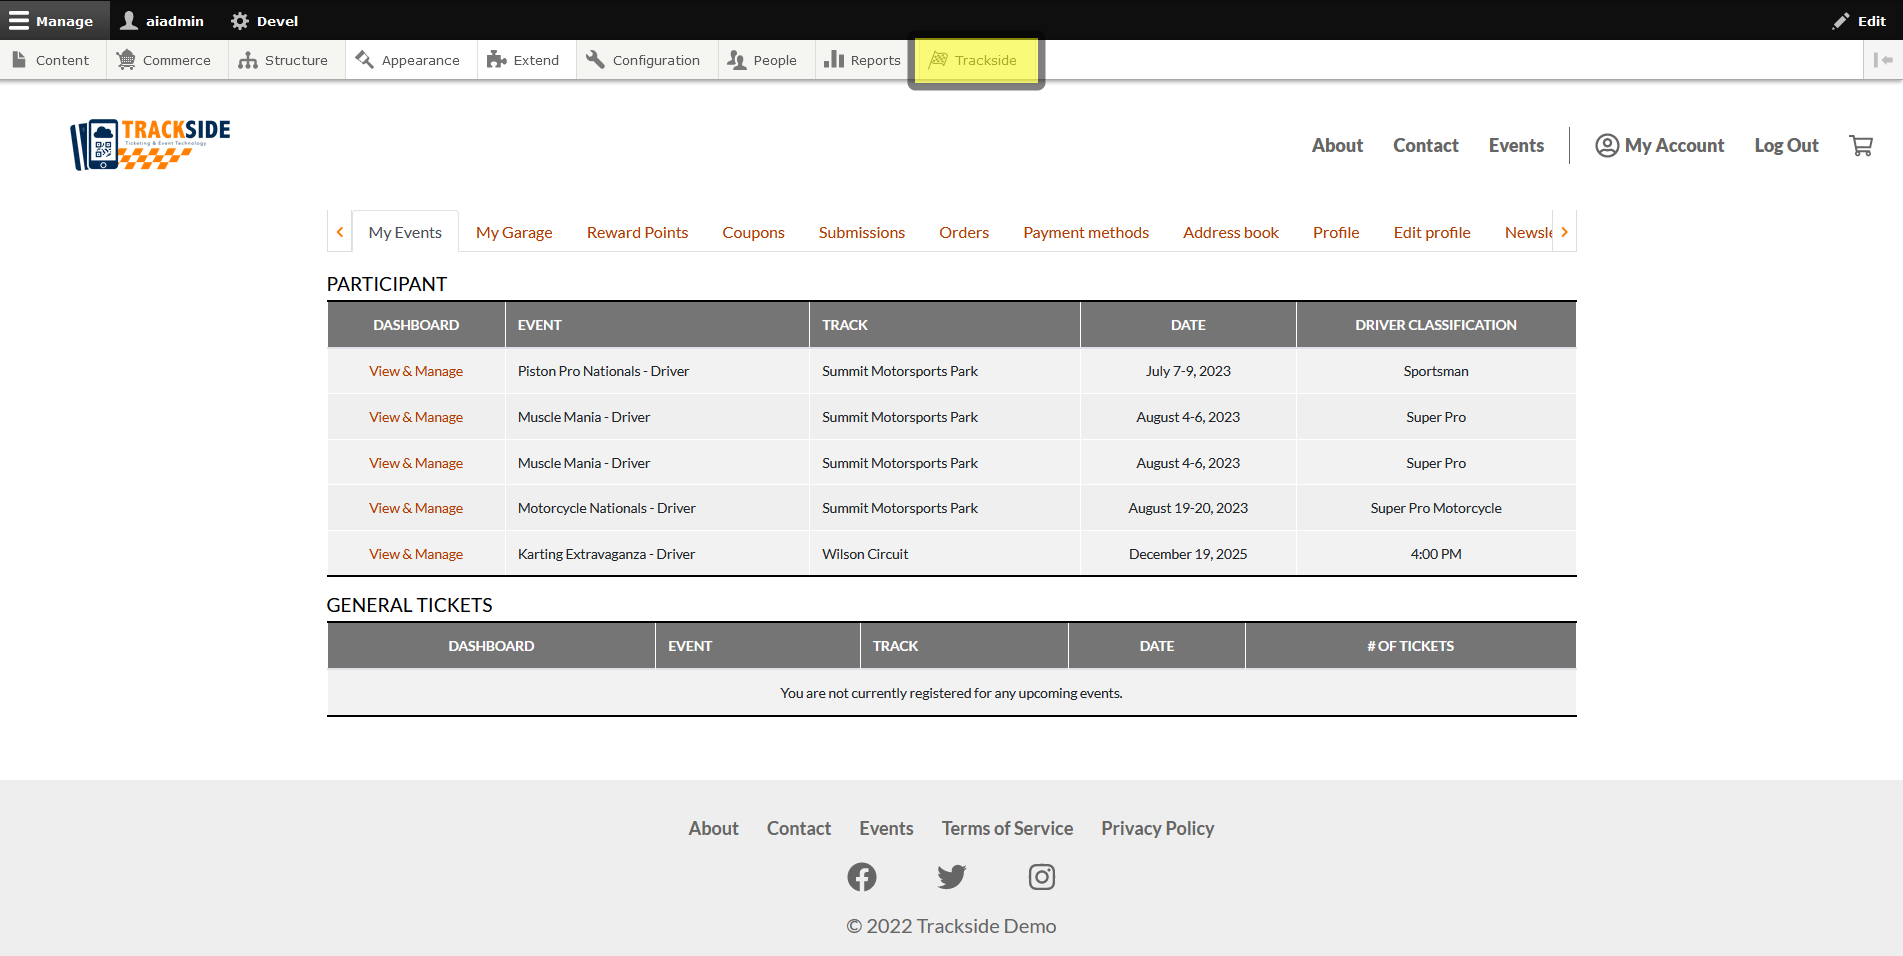
We need to get to Check-in, so once you're logged in, start by hovering over Trackside in your Management Menu.
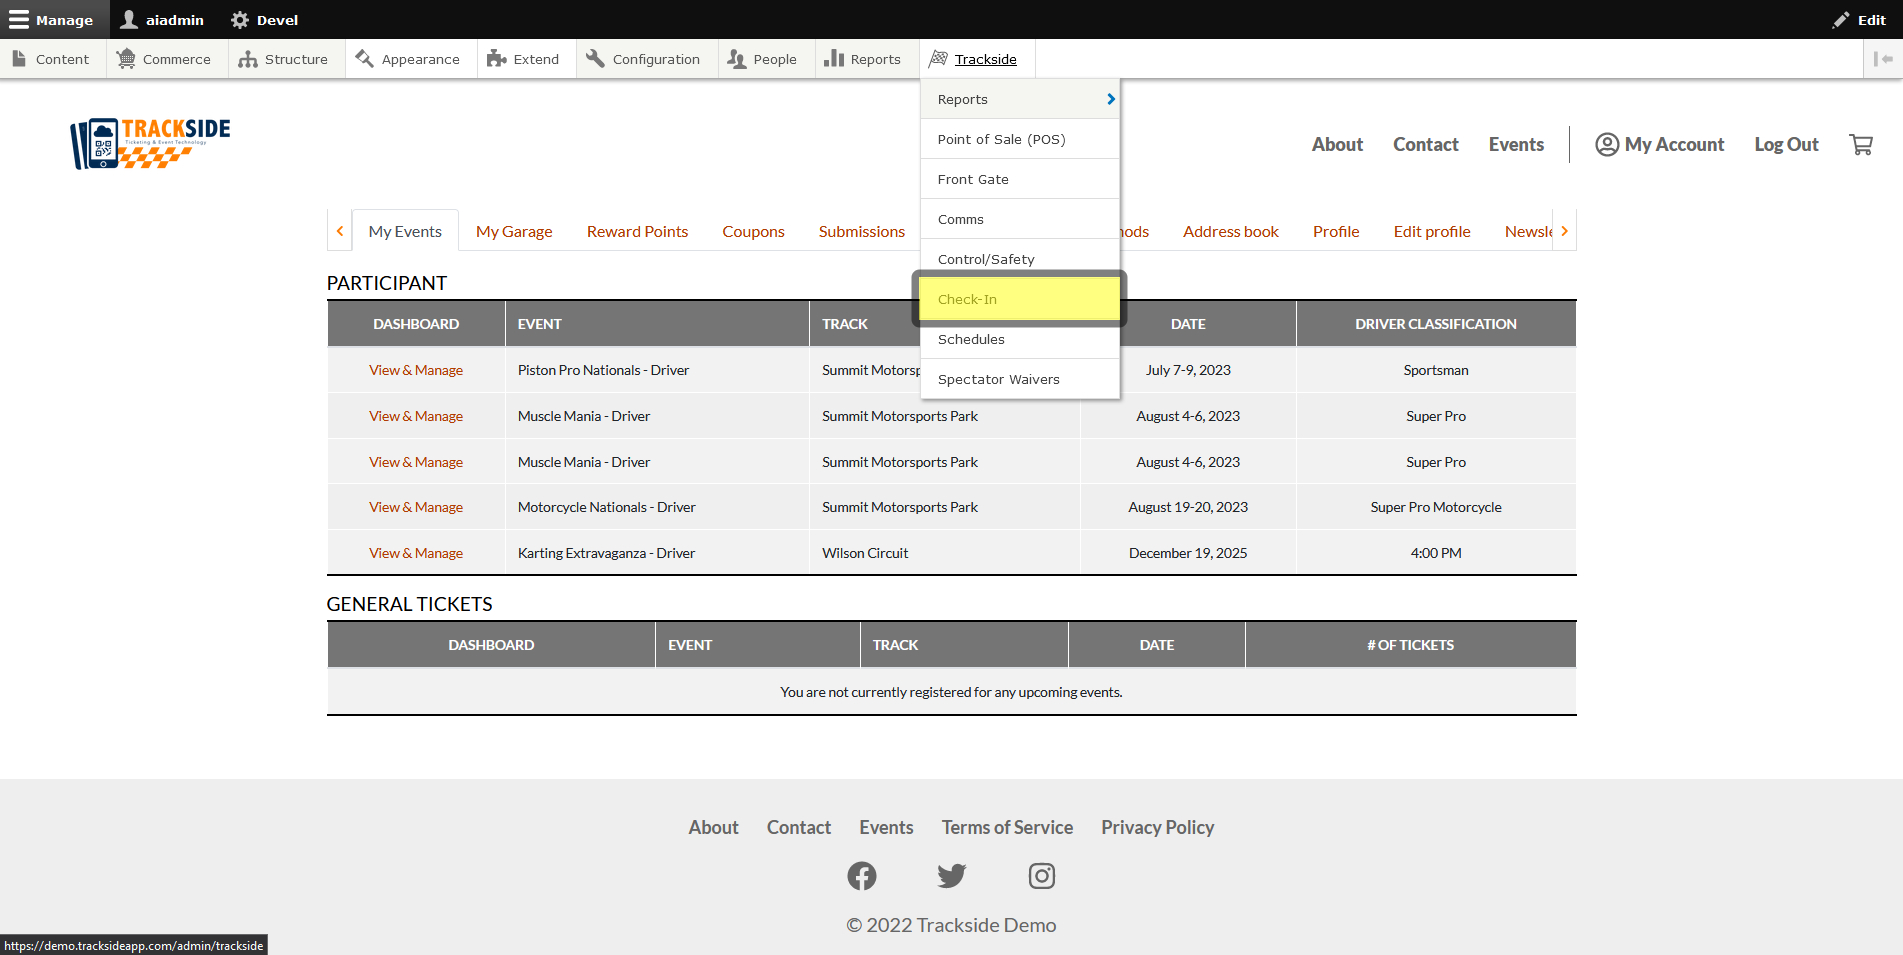
Then click on Check-in under the Trackside menu.
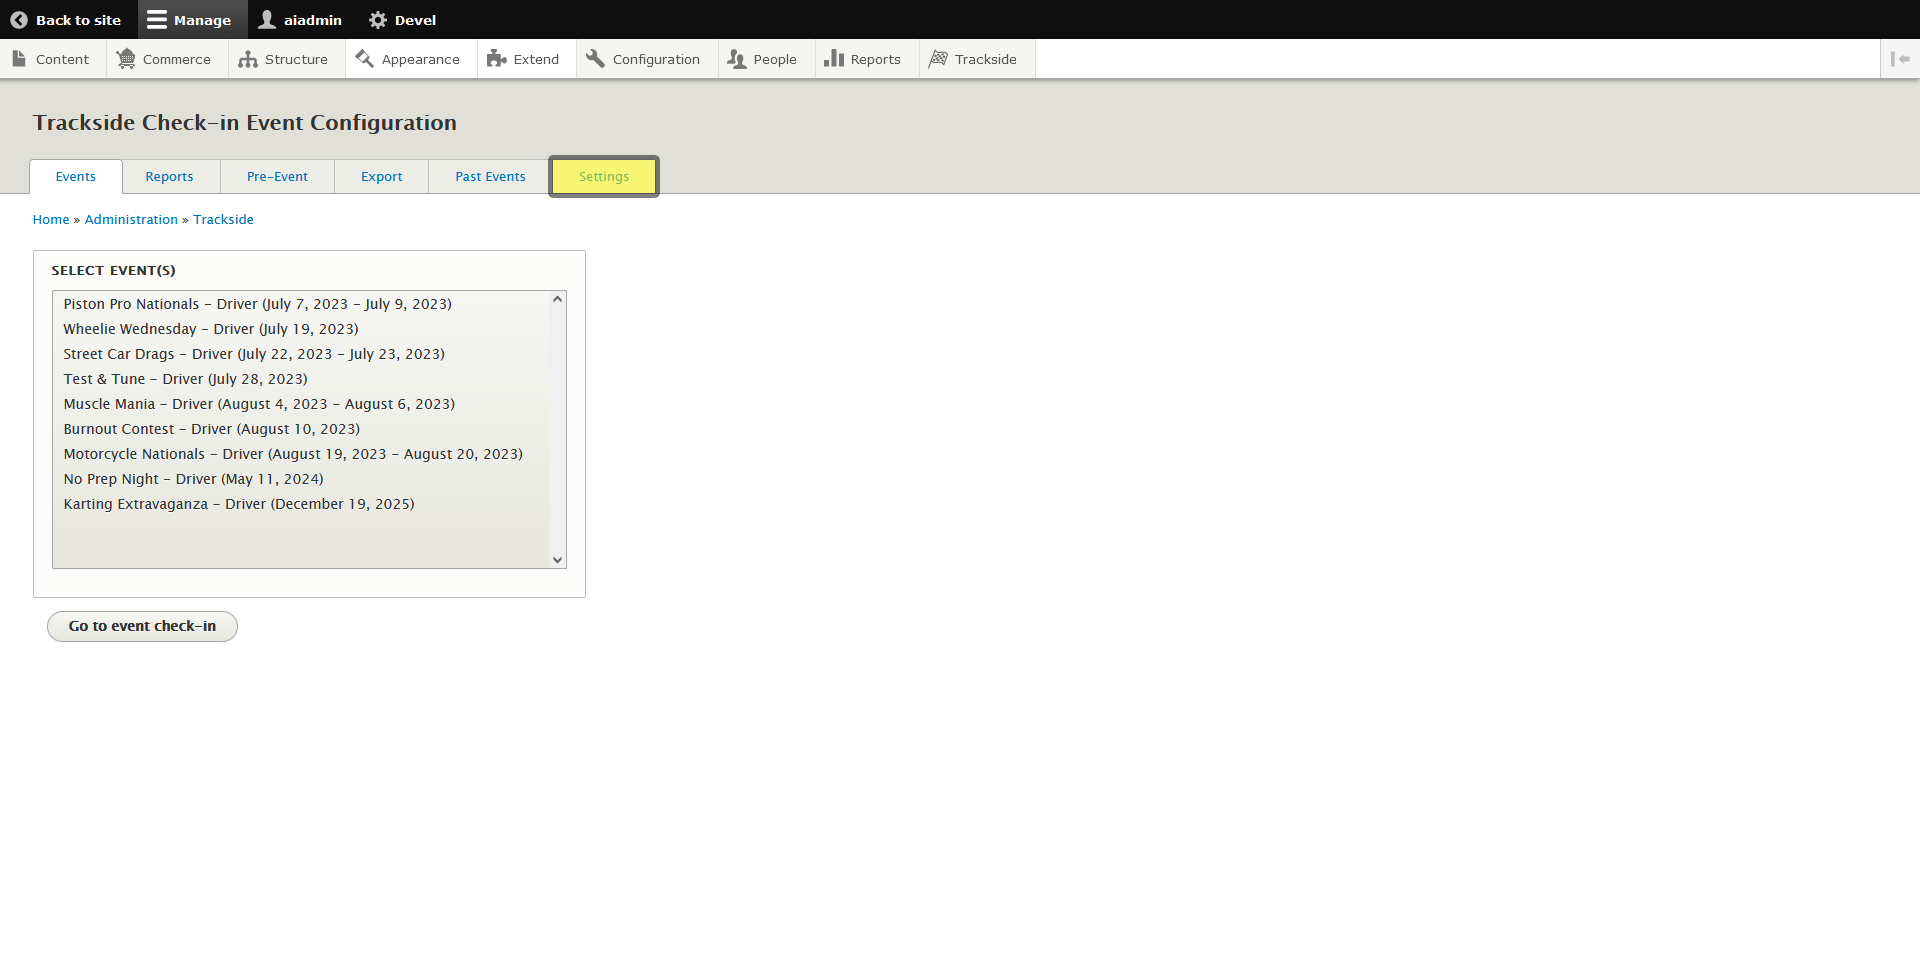
Once you get into the Check-in screen, click on the Settings tab.
Step 2 - Upload Spectator Waiver
Once you get to Settings, look for the Spectator Waiver box toward the bottom of the list and click Browse in it.
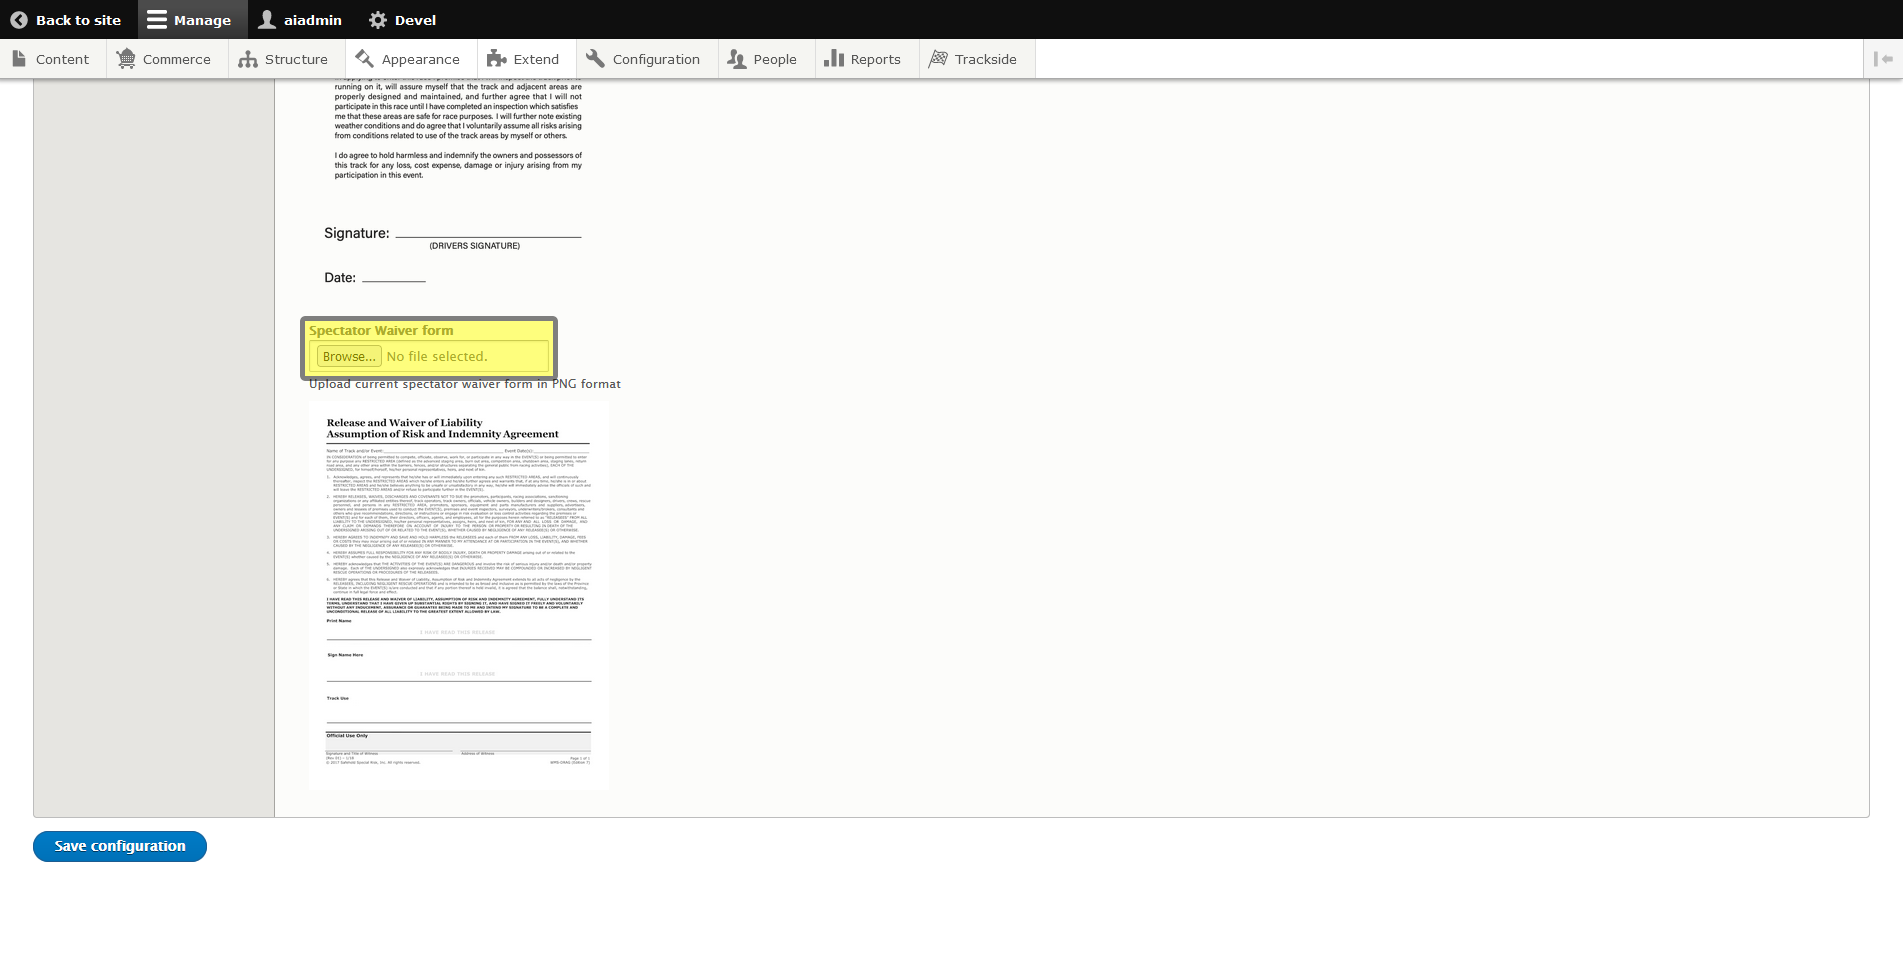
You'll find your Spectator Waiver on your device and upload it from there. Remember, as we talked about in Prerequisites, This has to be a .png file.
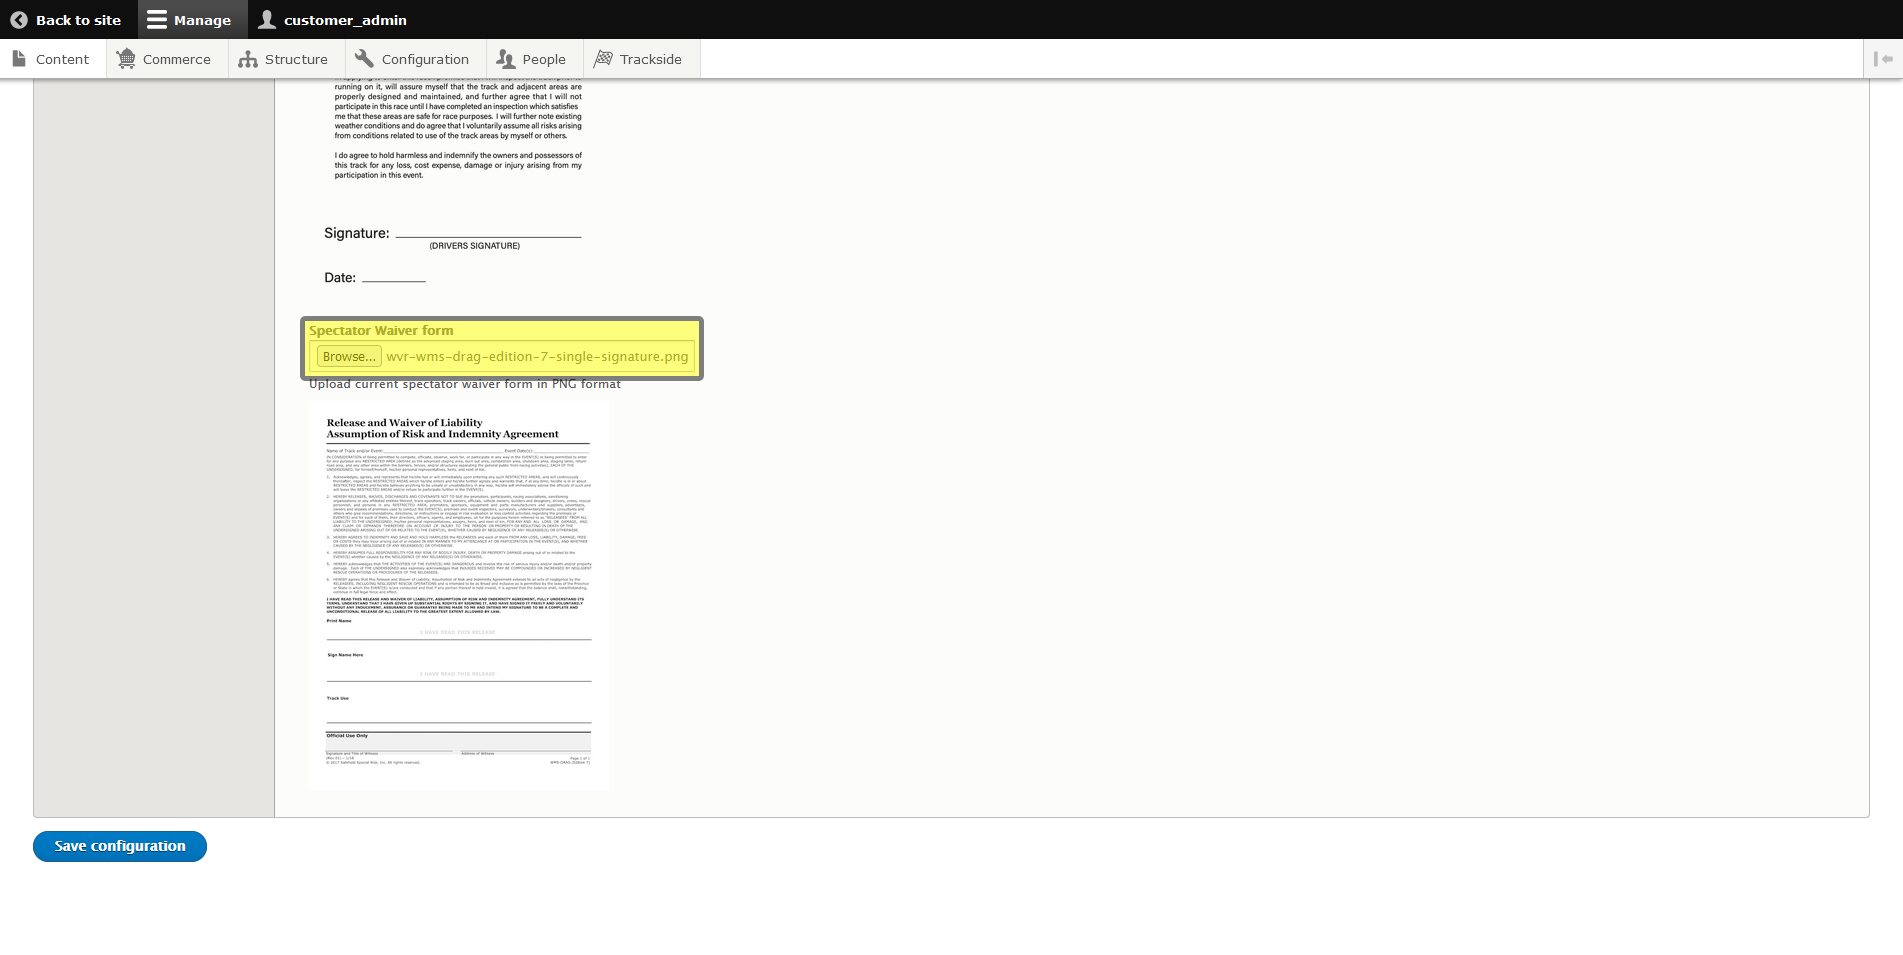
Once you select your file, scroll to the bottom of the page and click on Save configuration and your form will upload.
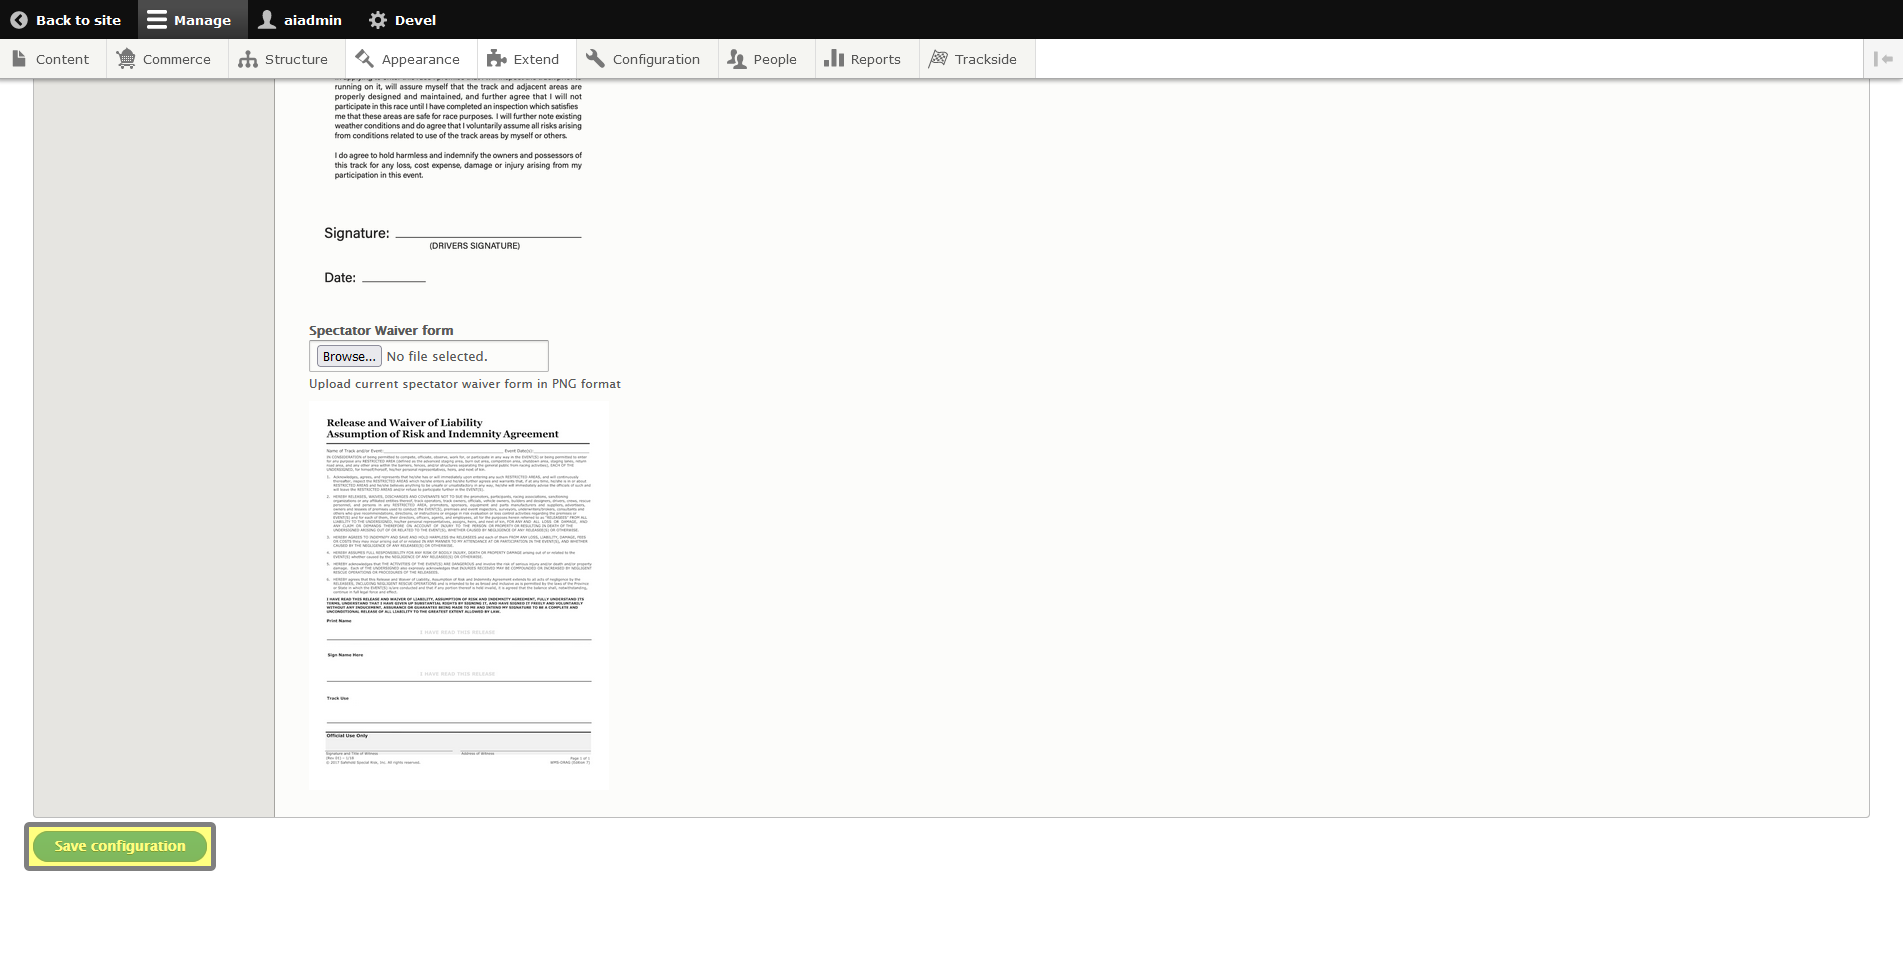
Once the upload is complete, you'll find yourself back on the Check-In Events tab. There's still a little more setup though. Follow over to Spectator Waiver Coordinates so you can get the information in the right place on the form!