Manage & Receive Stock
This article will show you how to manage & receive stock for your merchandise & concession Product Types in the interface you're used to seeing for Participant Registration Products and General Admission Ticket Products.
Step 1 - Navigate to Product Page
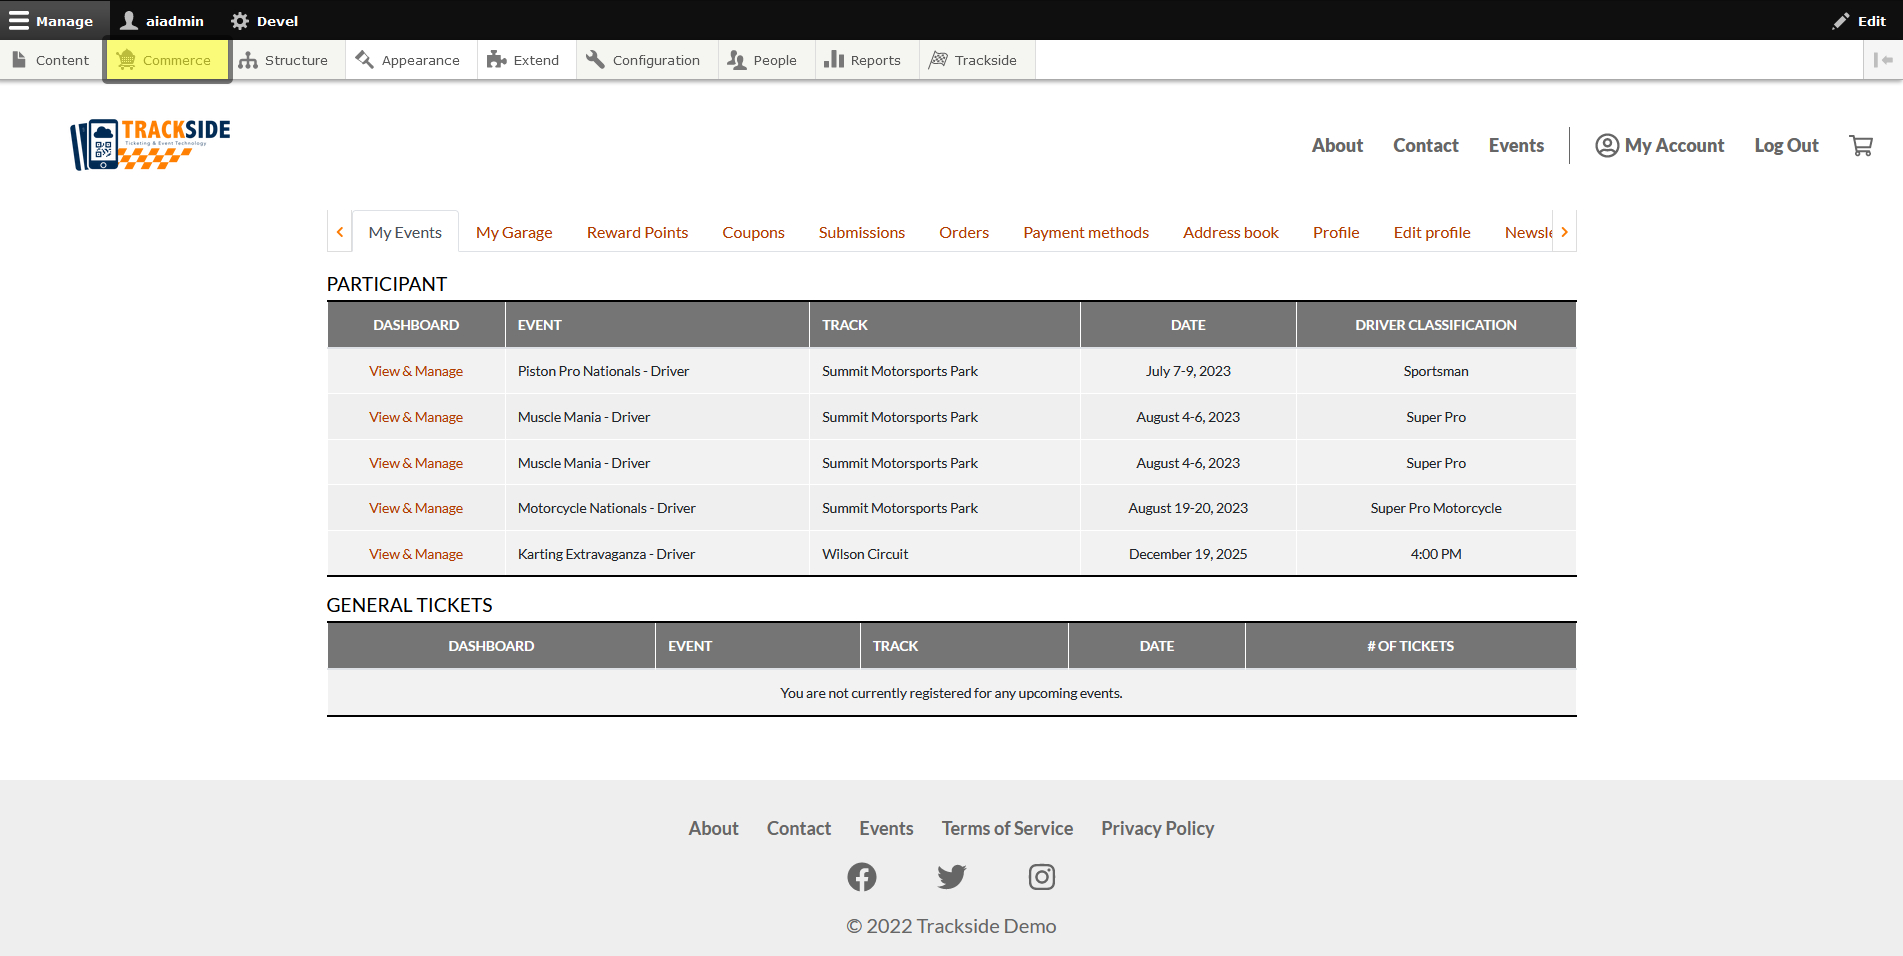
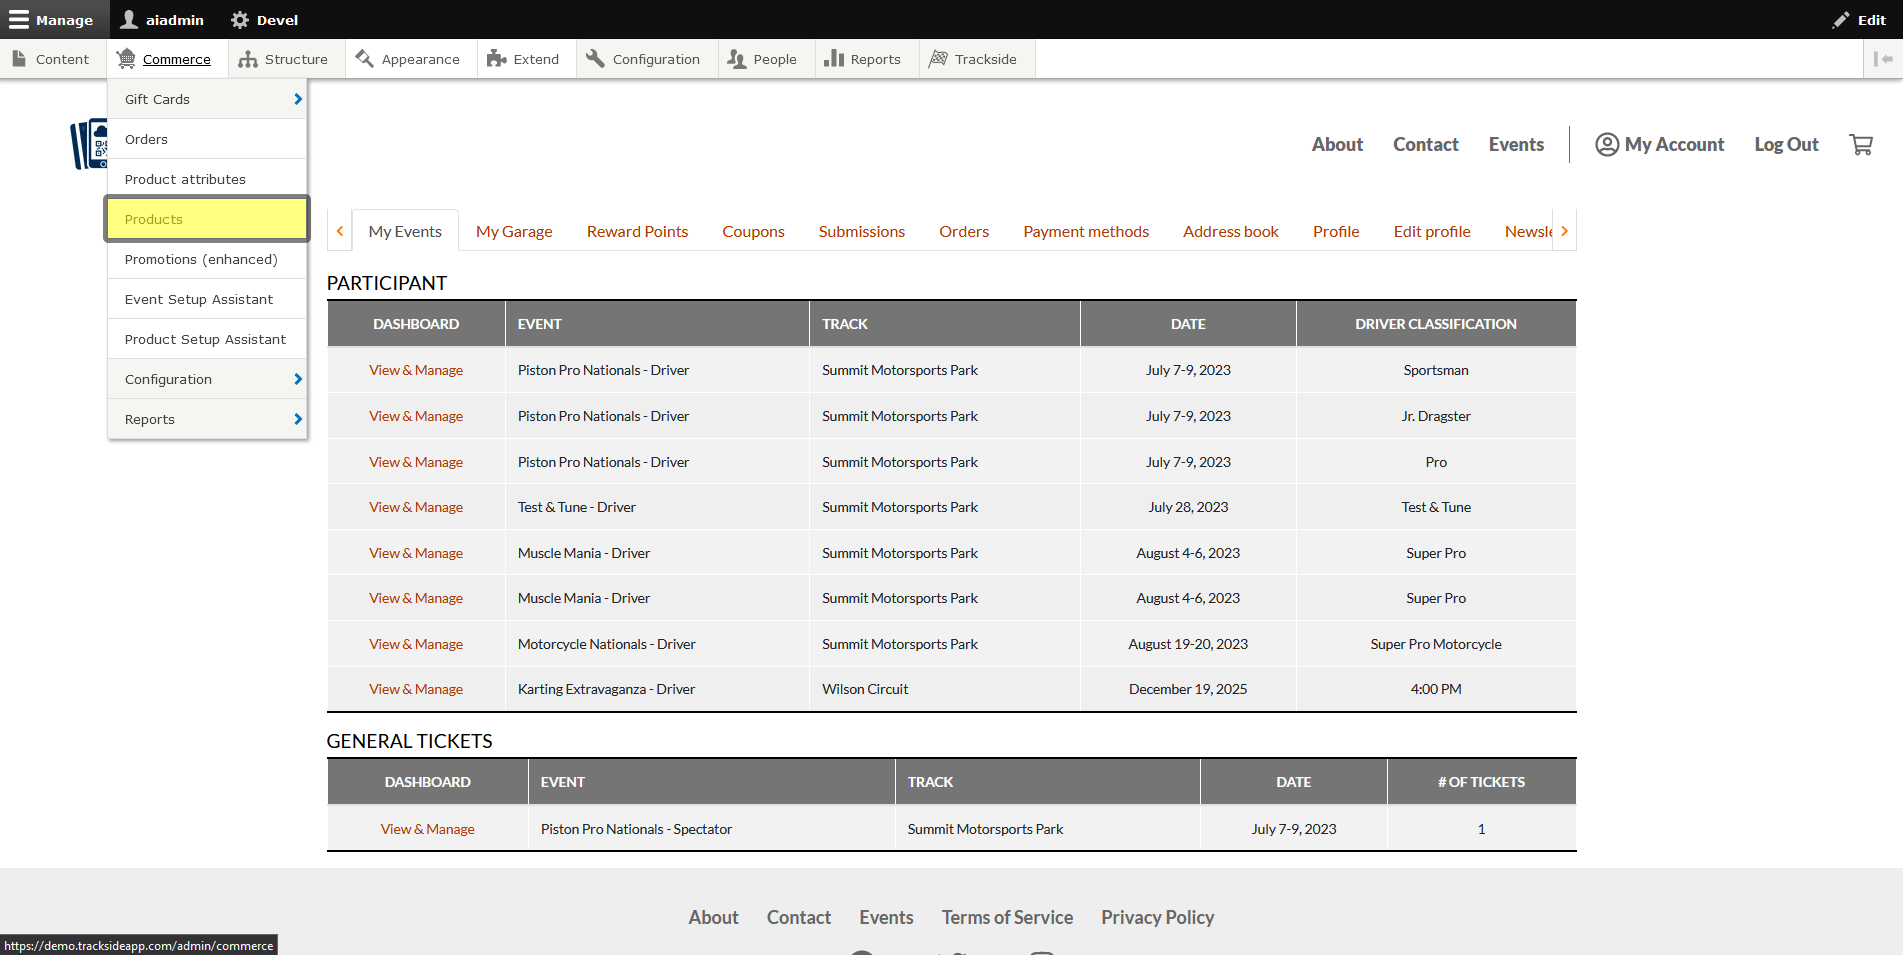
We're going back to the Product Page again, so once you're logged in, hover over Commerce in the Management Menu.
Then click on Products.
Step 2 - Manage Stock
You also have the option of clicking on Manage Product once you're on the Product Page to go back through the Product Setup Assistant as was shown in Manage Product, and adjust your stock that way. You can also adjust stock in the interface you're used to seeing for managing your Participant Registration Product and General Admission Ticket Product stock, and that's what we'll cover here. As was the case with the other Product Types, there's a couple ways to get there, although one is much quicker since both have to be accessed from the Product Page.
Under the drop down menu on the right, there's a Clone button...
See the Clone tab? We don't talk about the Clone tab. We don't touch the Clone tab. DON'T USE THE CLONE TAB!
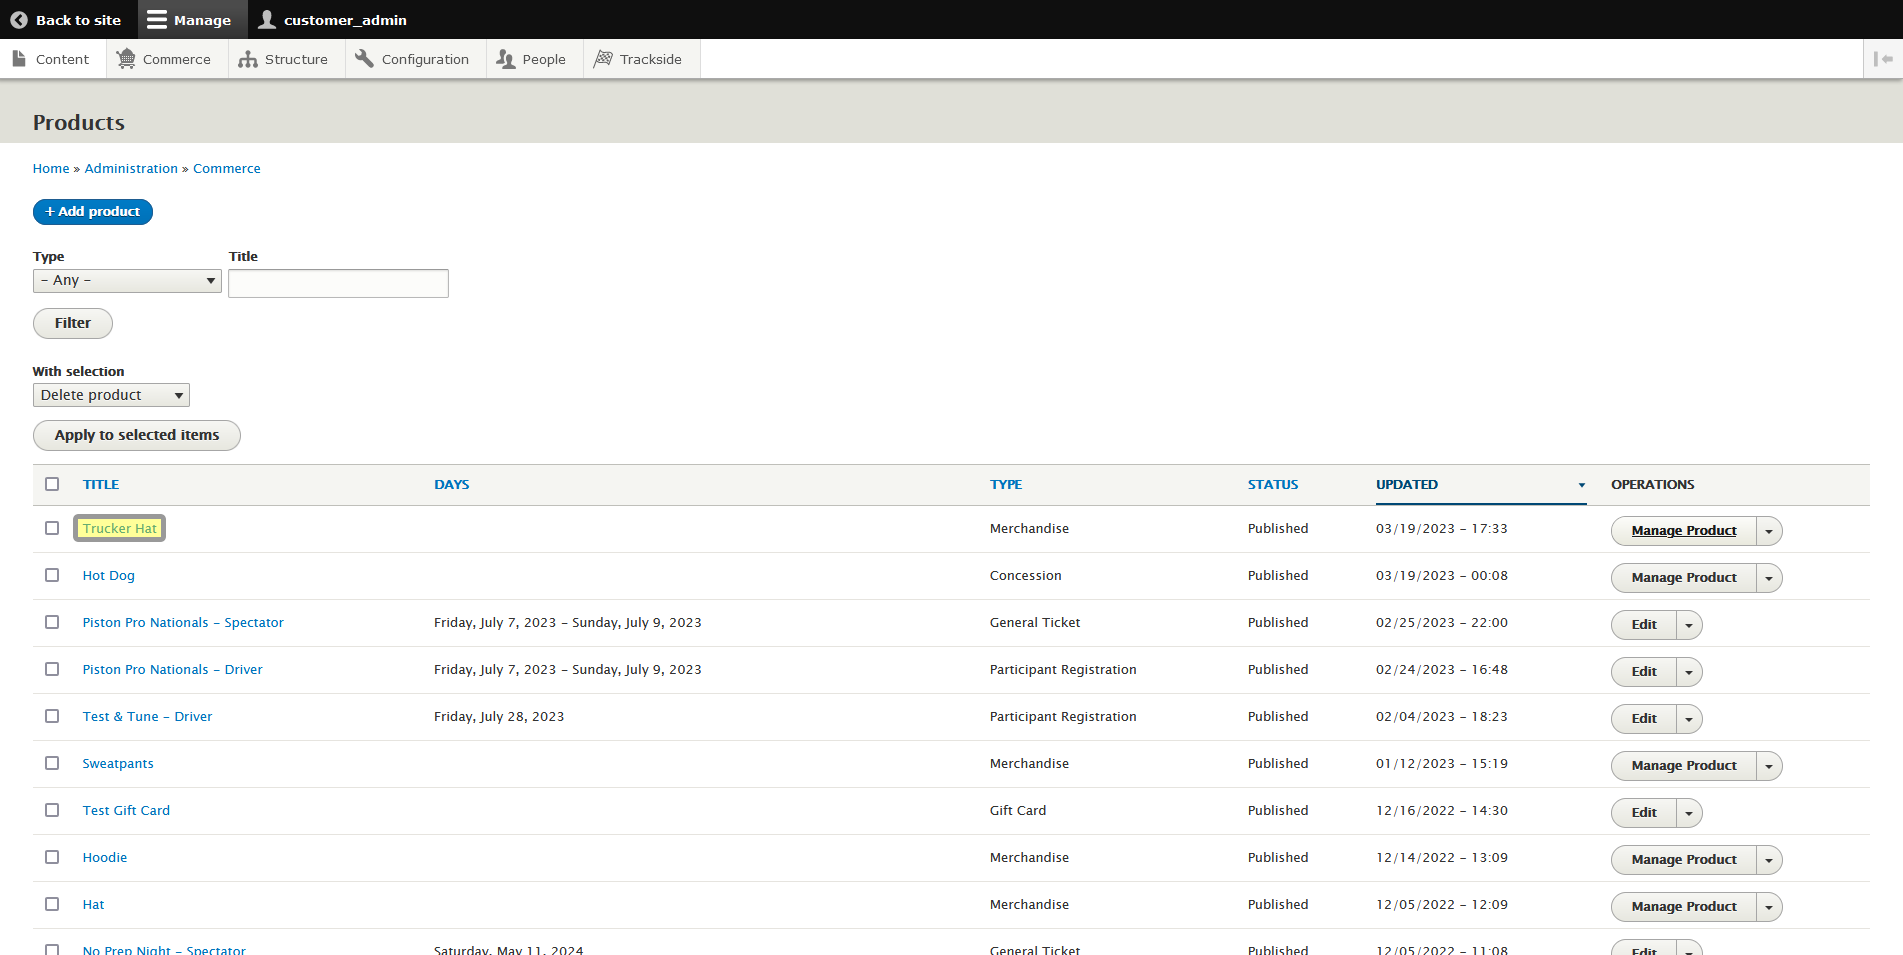
Once you find your Product, the quicker option is to click the drop down arrow on the right and click Manage Stock from there.
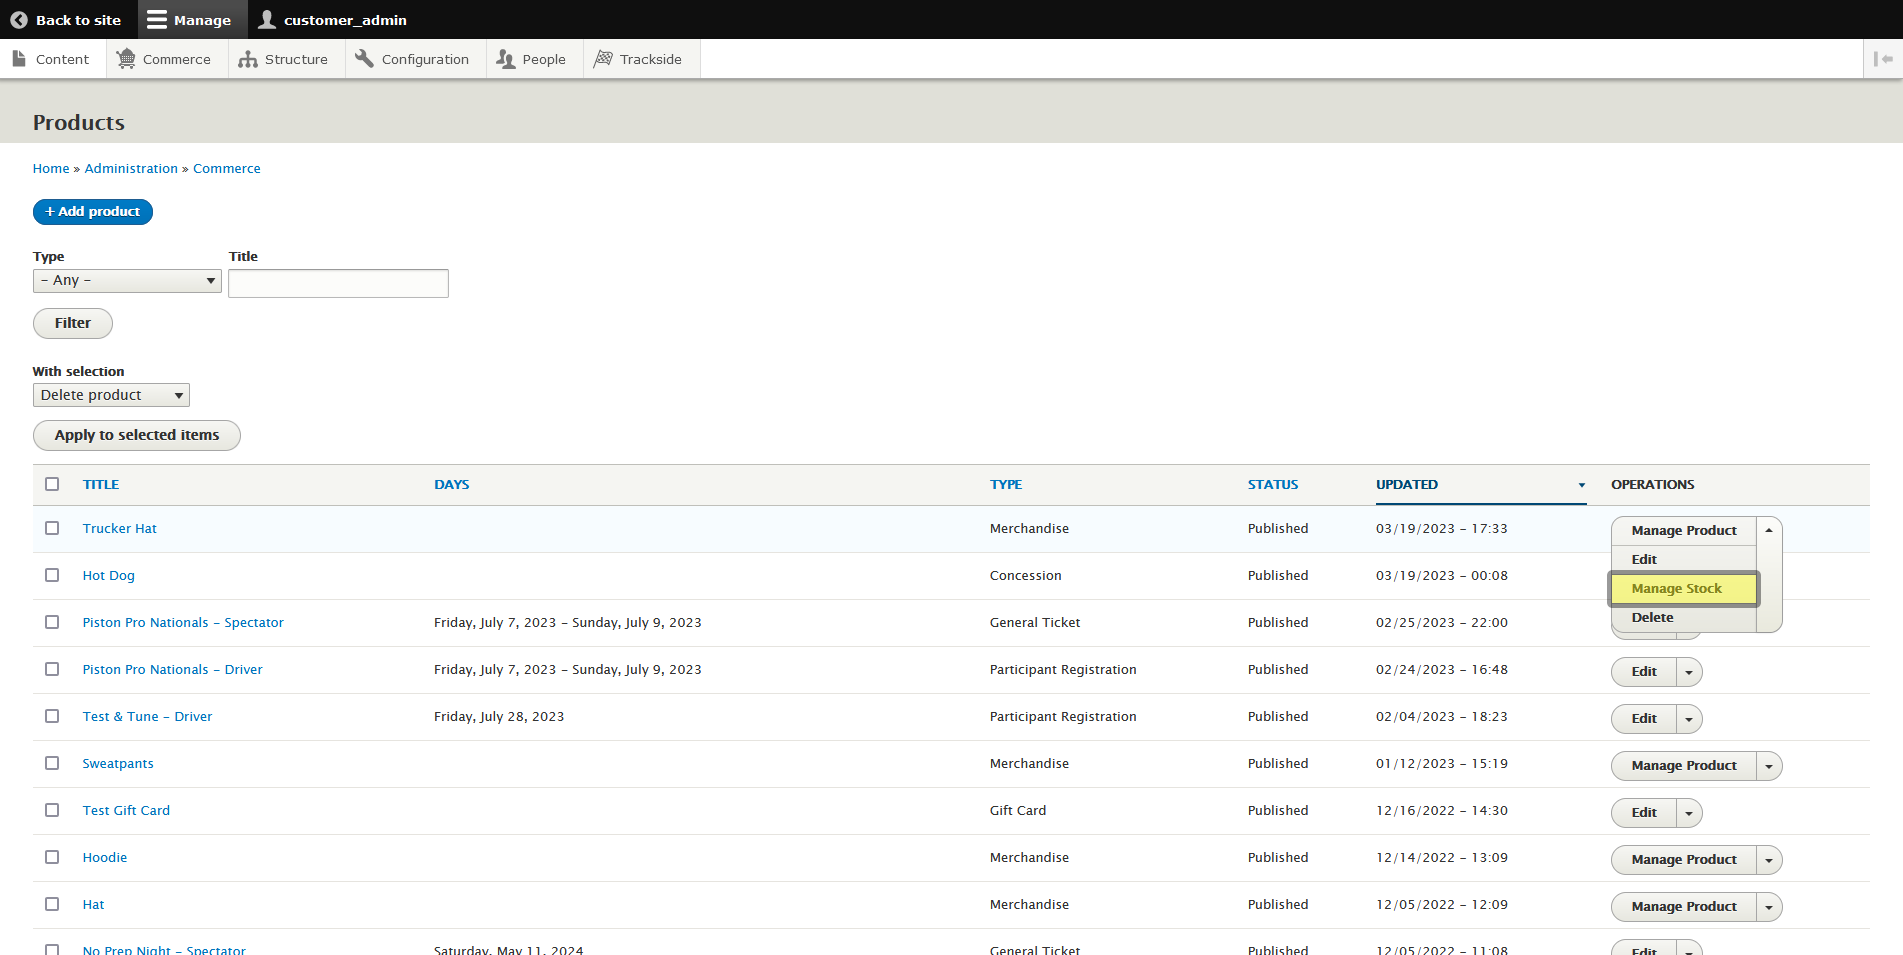
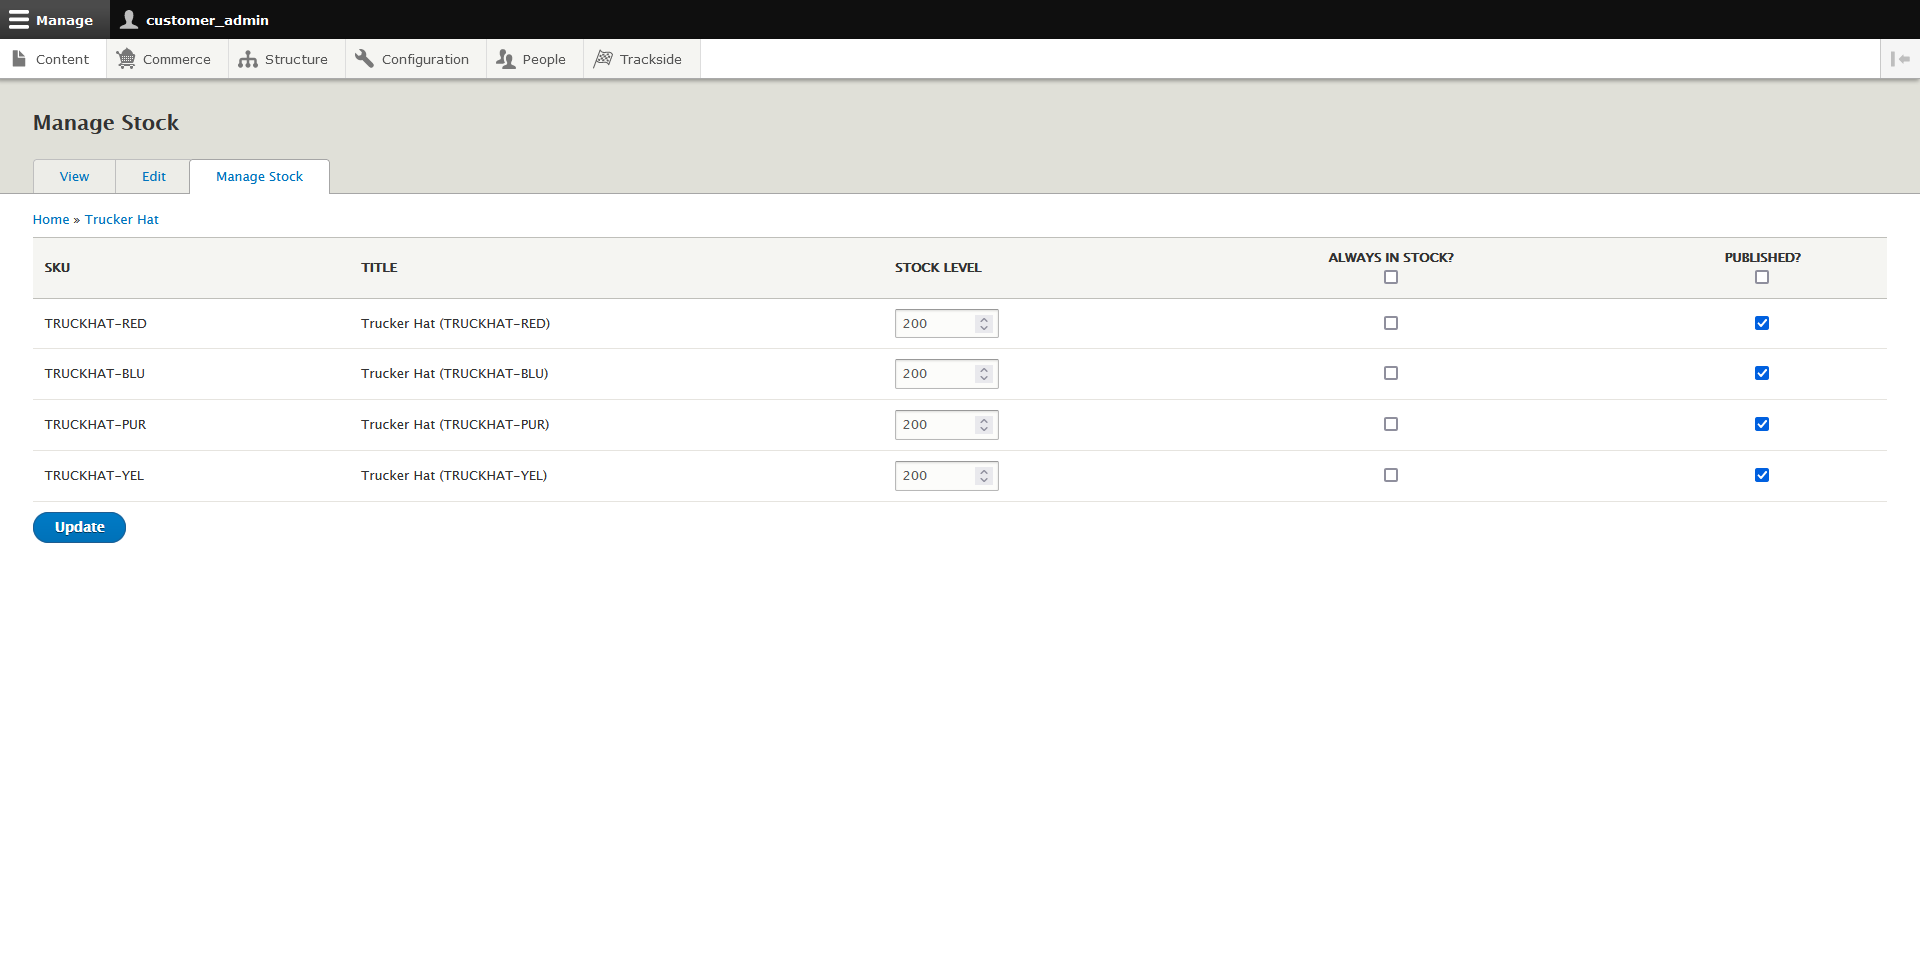
This will put you back into the interface you've used for other Product Types. Here you can edit Stock Level, Always in Stock, and choice publish status.
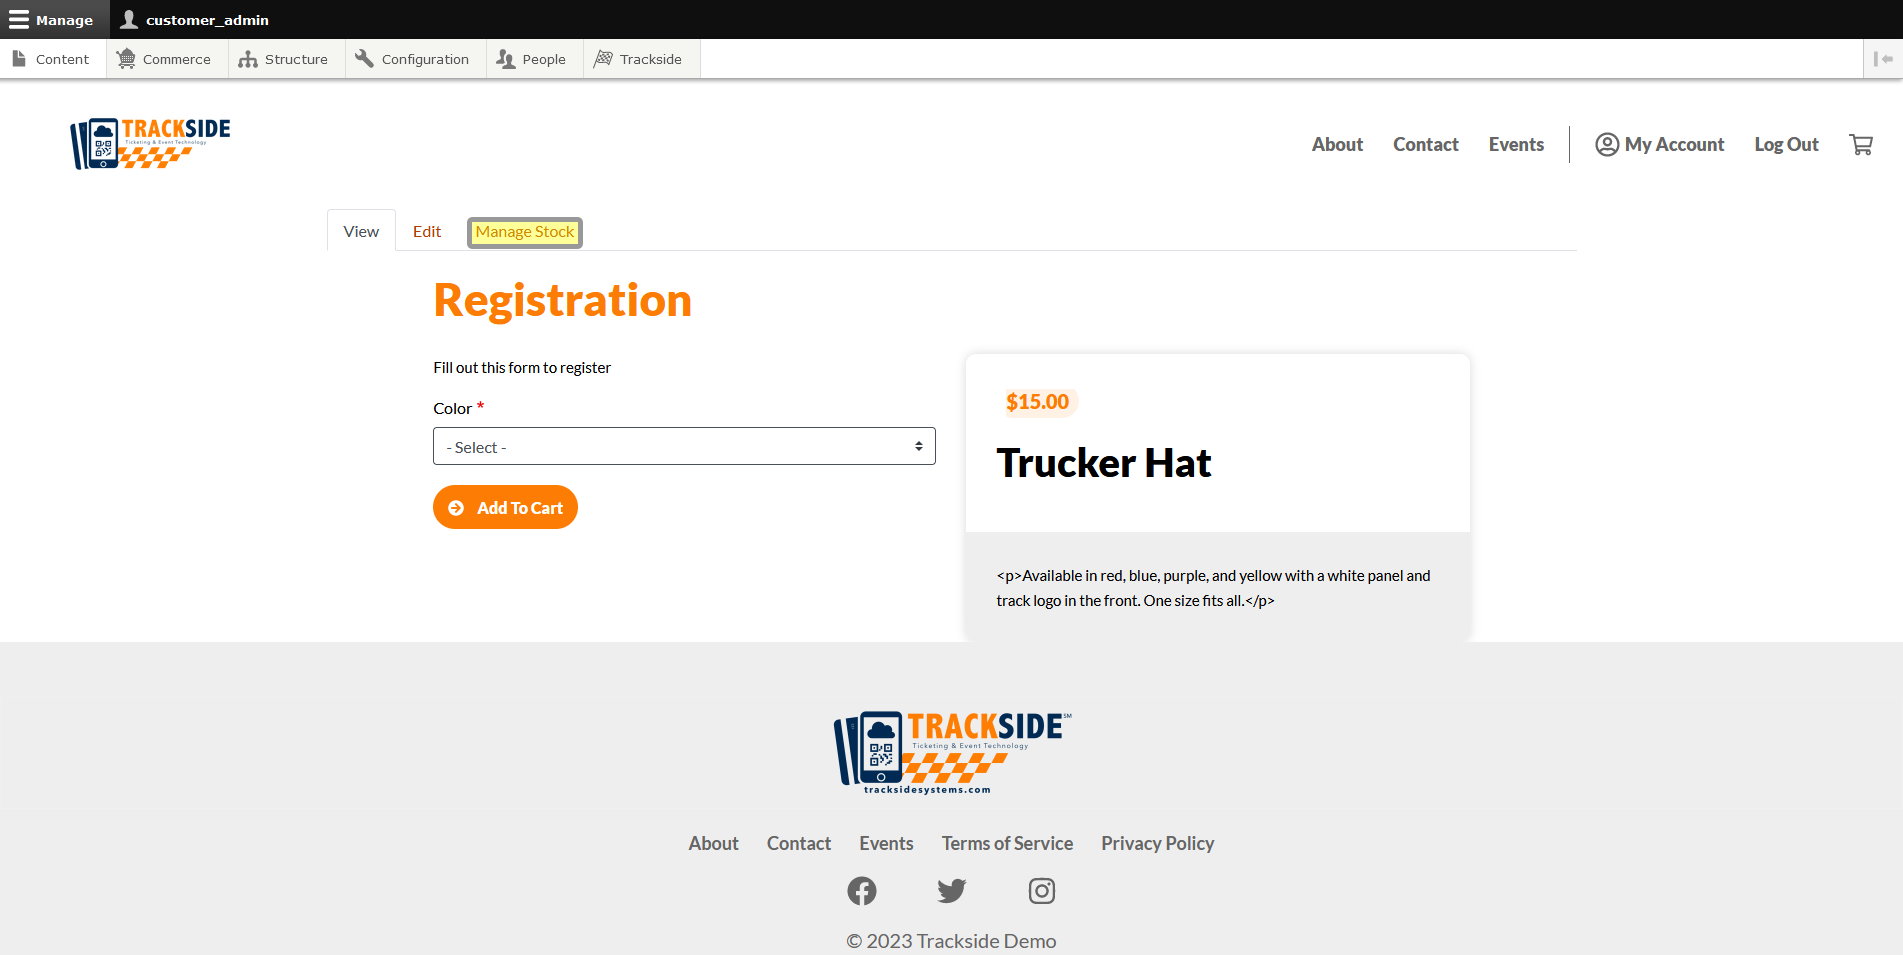
The second way, if you happen to click the name of the Product...
... and end up on the page for the Product, you can click the Manage Stock tab, and it'll take you to the same screen for adjusting your stock.