Participant Event
Continuing from where Event Details left off, we'll now set up the Participant Registration Product aspect of our event.
Enter Participant Description
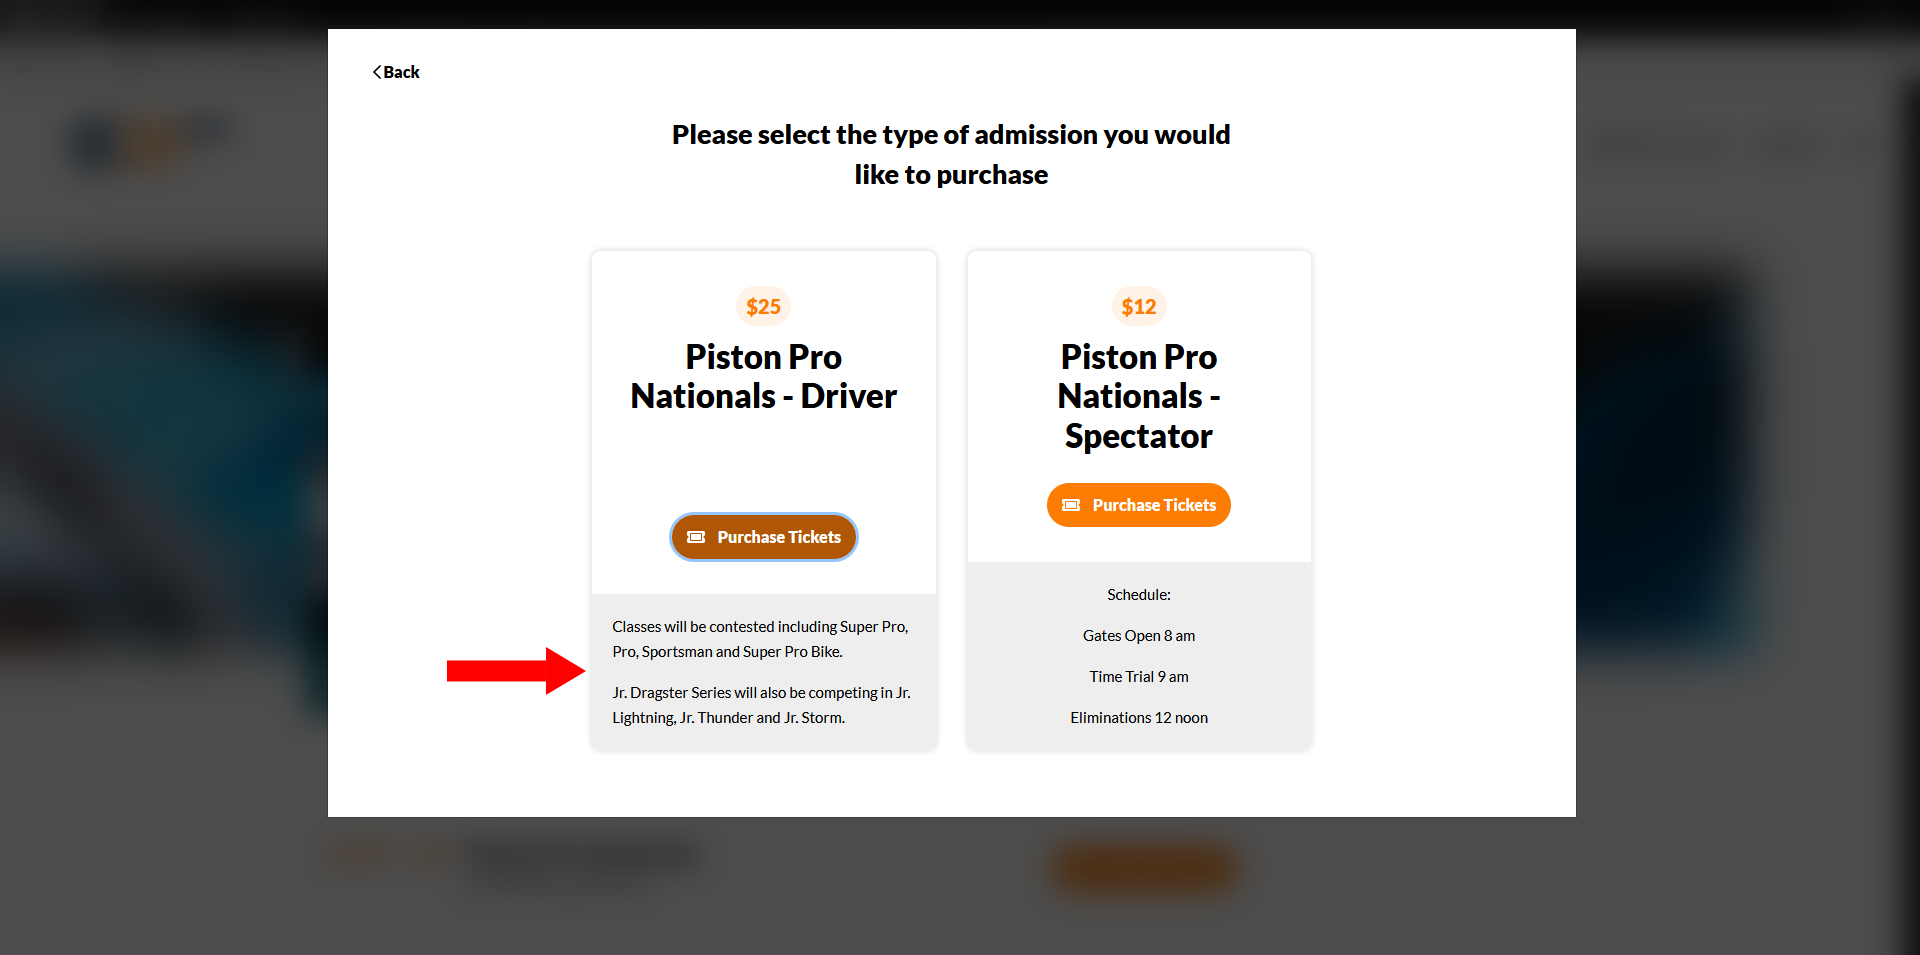
Here you have the chance to add a description or important information that's pertinent to just your Participants.
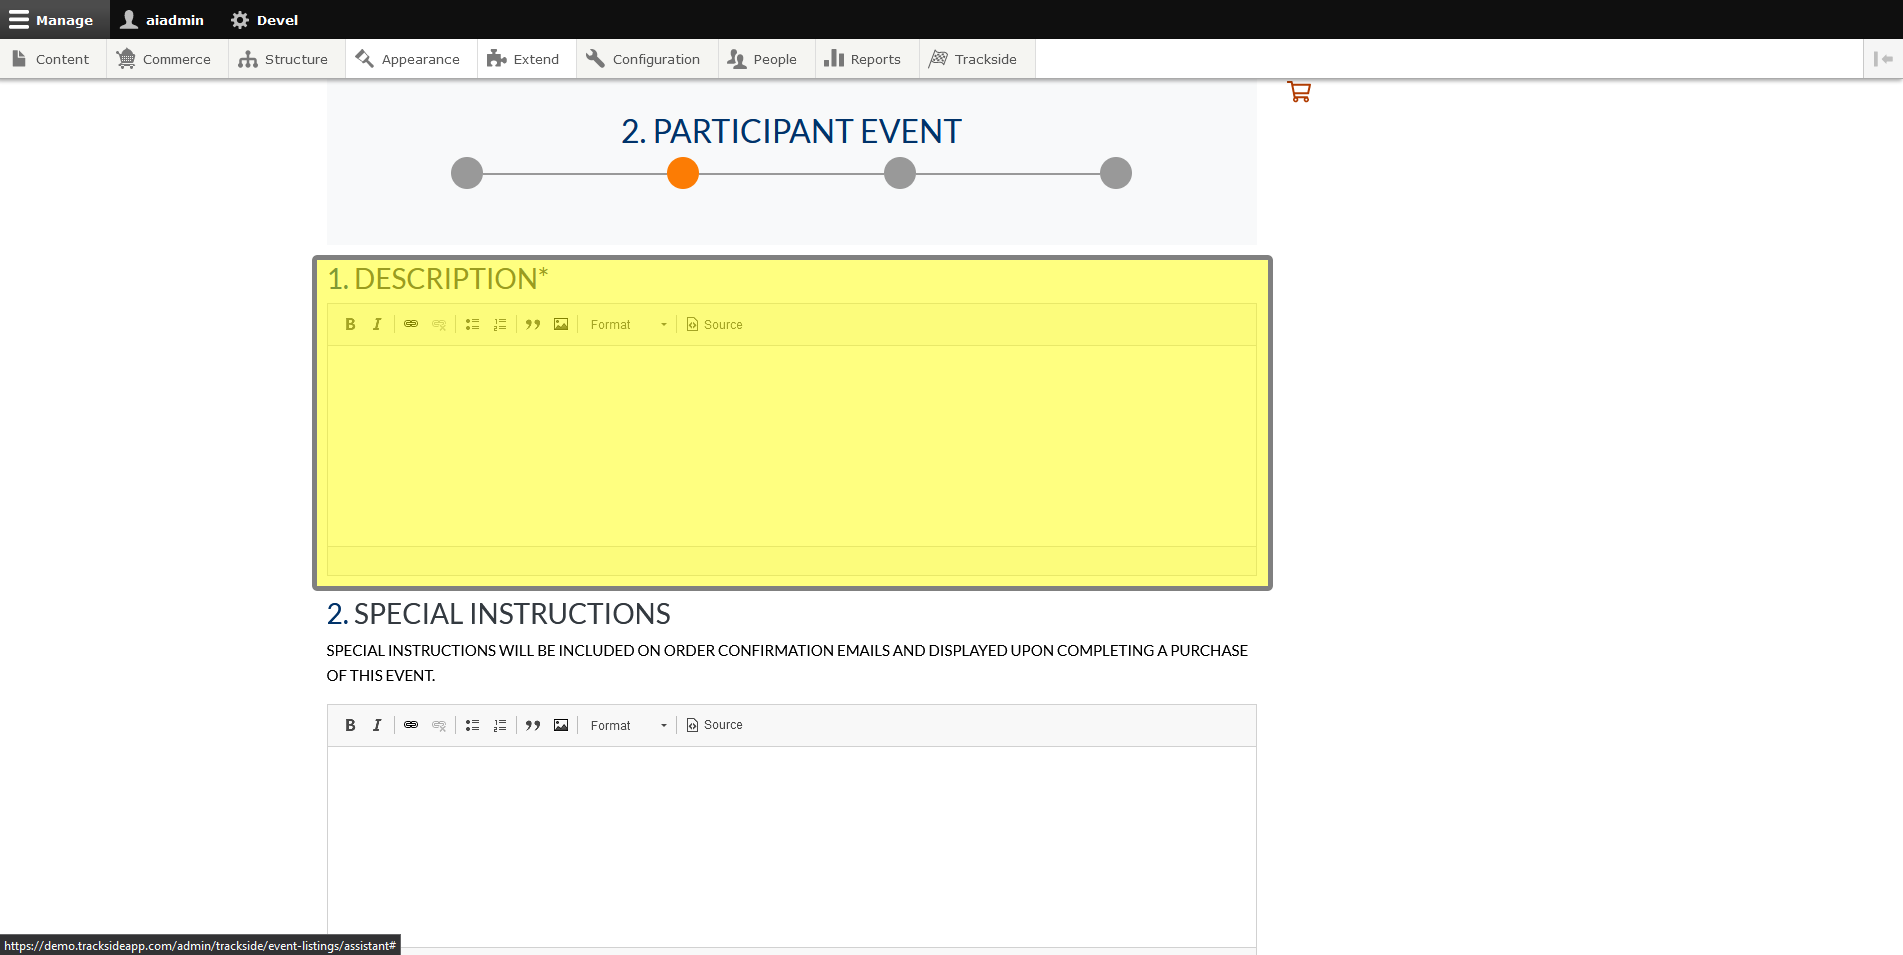
This will show up when your Participants click on Purchase Tickets from your Event Listing Page.
Enter Participant Special Instructions (optional)
This box will allow you to add special instructions for your event specific to the Participants. As stated in the assistant, these will be sent in the order confirmation email and displayed after ticket purchase on your Trackside site.
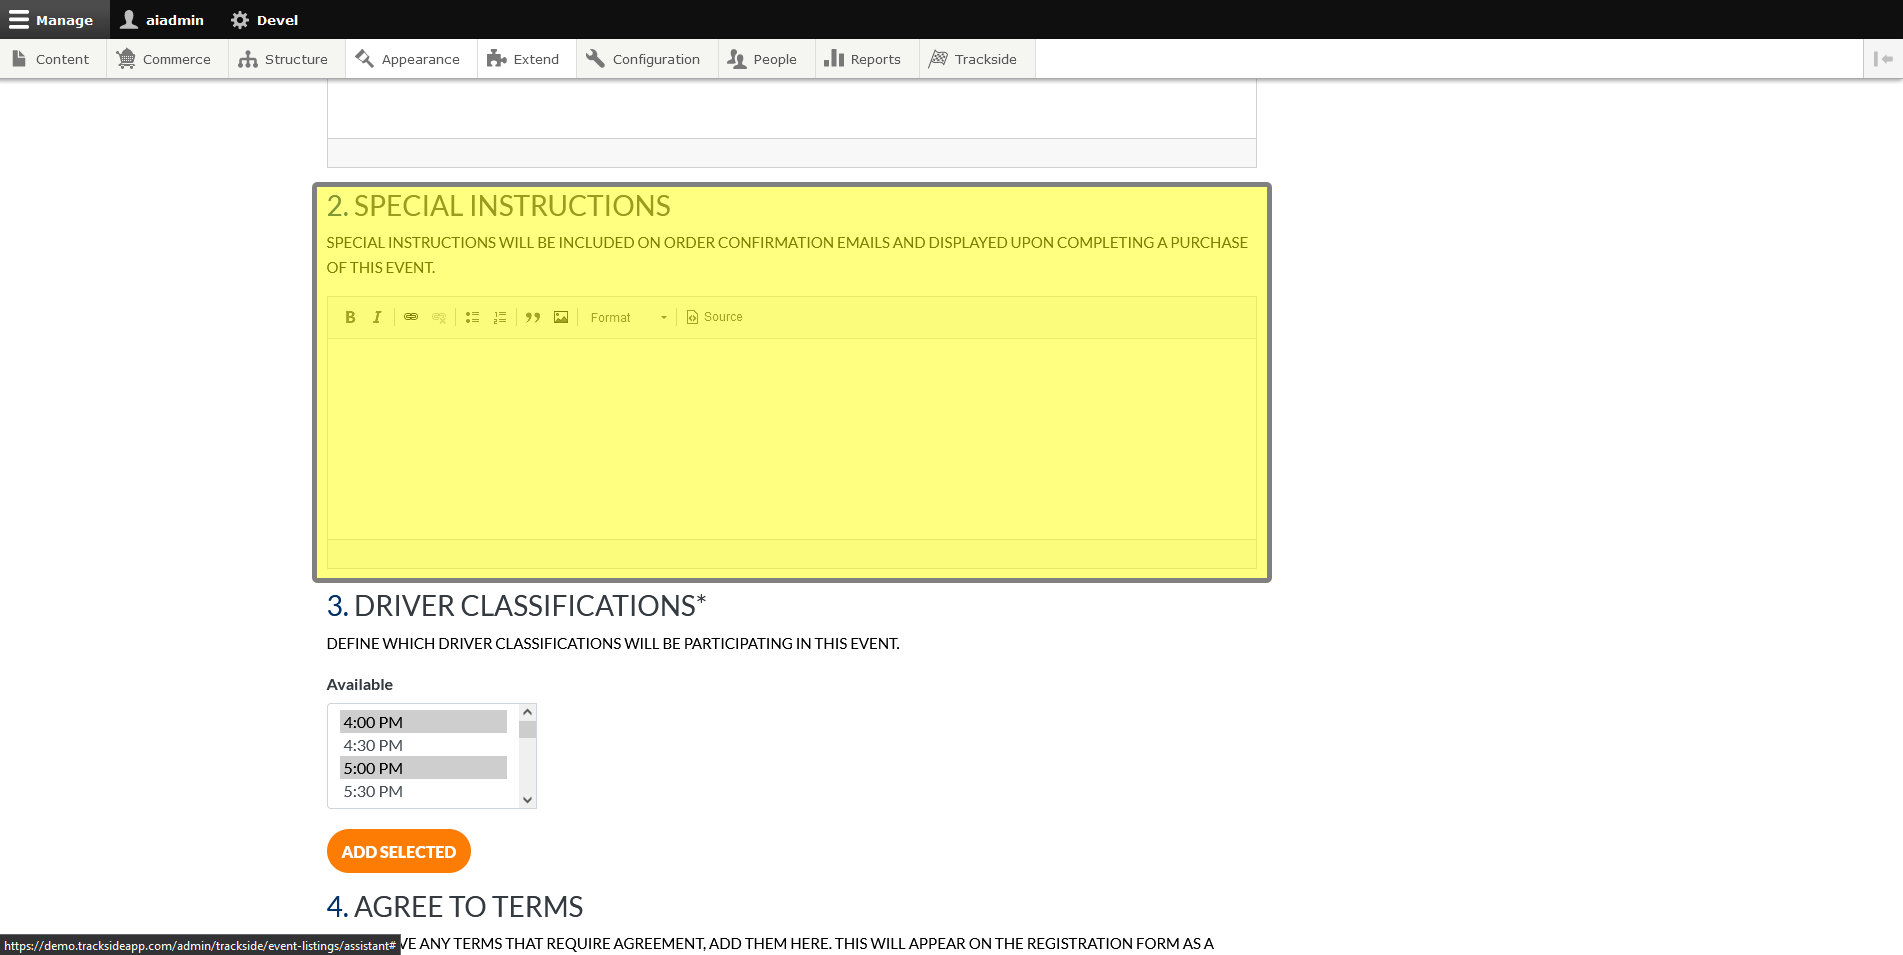
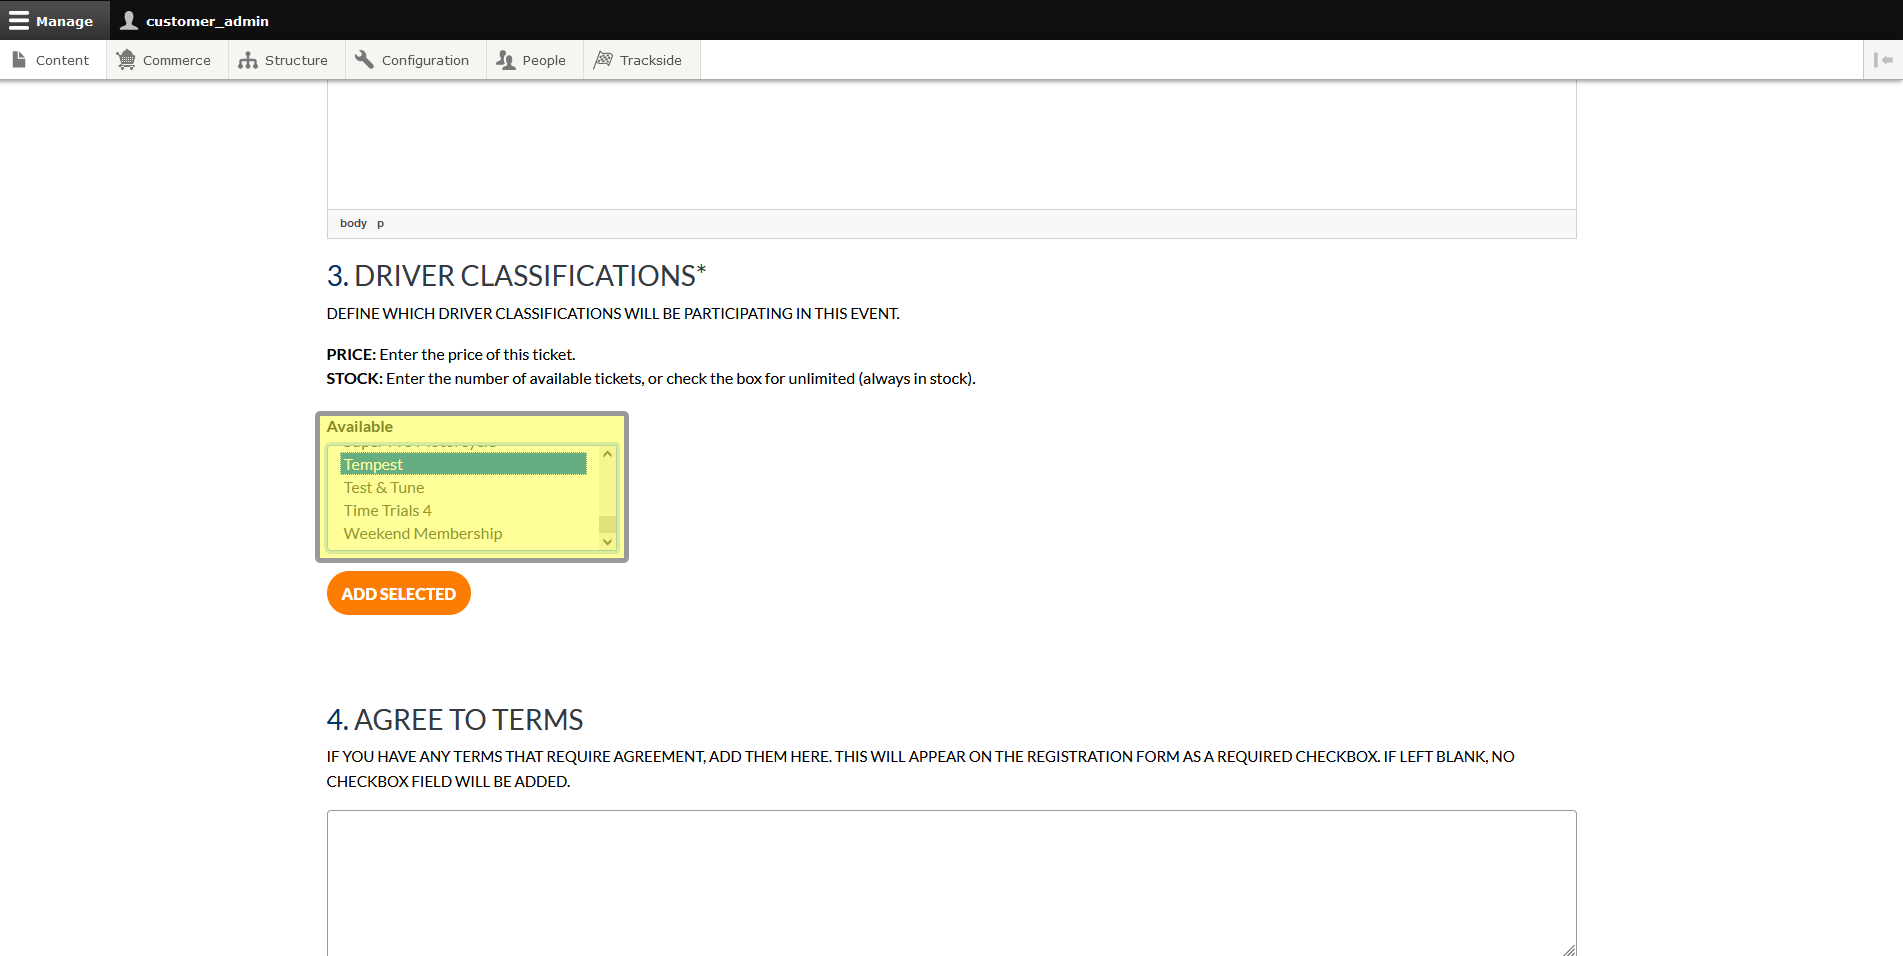
Select Driver Classifications
Next we'll select the Driver Classifications for your event.

Select the Driver Classifications you want to offer for the event from the available list. You can click one at a time, or you can select multiple classes to add at once by holding Ctrl before you click on the next one.
If you don't see the class you need shown here, refer to Driver Classifications to verify your class is active, and create it if needed. Revisit Prerequisites to verify you have everything you need set up for creating an Event Listing. The Driver Classification list in the Event Setup Assistant does not auto update, so you can either opt to restart the Event Setup Assistant (Note there is a back button at the bottom of this page for you to copy/paste any information from the previous page to save yourself starting entirely from scratch again), or if some of your Driver Classifications are in the list, go ahead and select them, continue with the assistant, and once you've completed the Event Setup Assistant and have an Event Listing, fix your Driver Classifications. You will then follow Add Driver Classifications to add more classifications to your Event Listing.
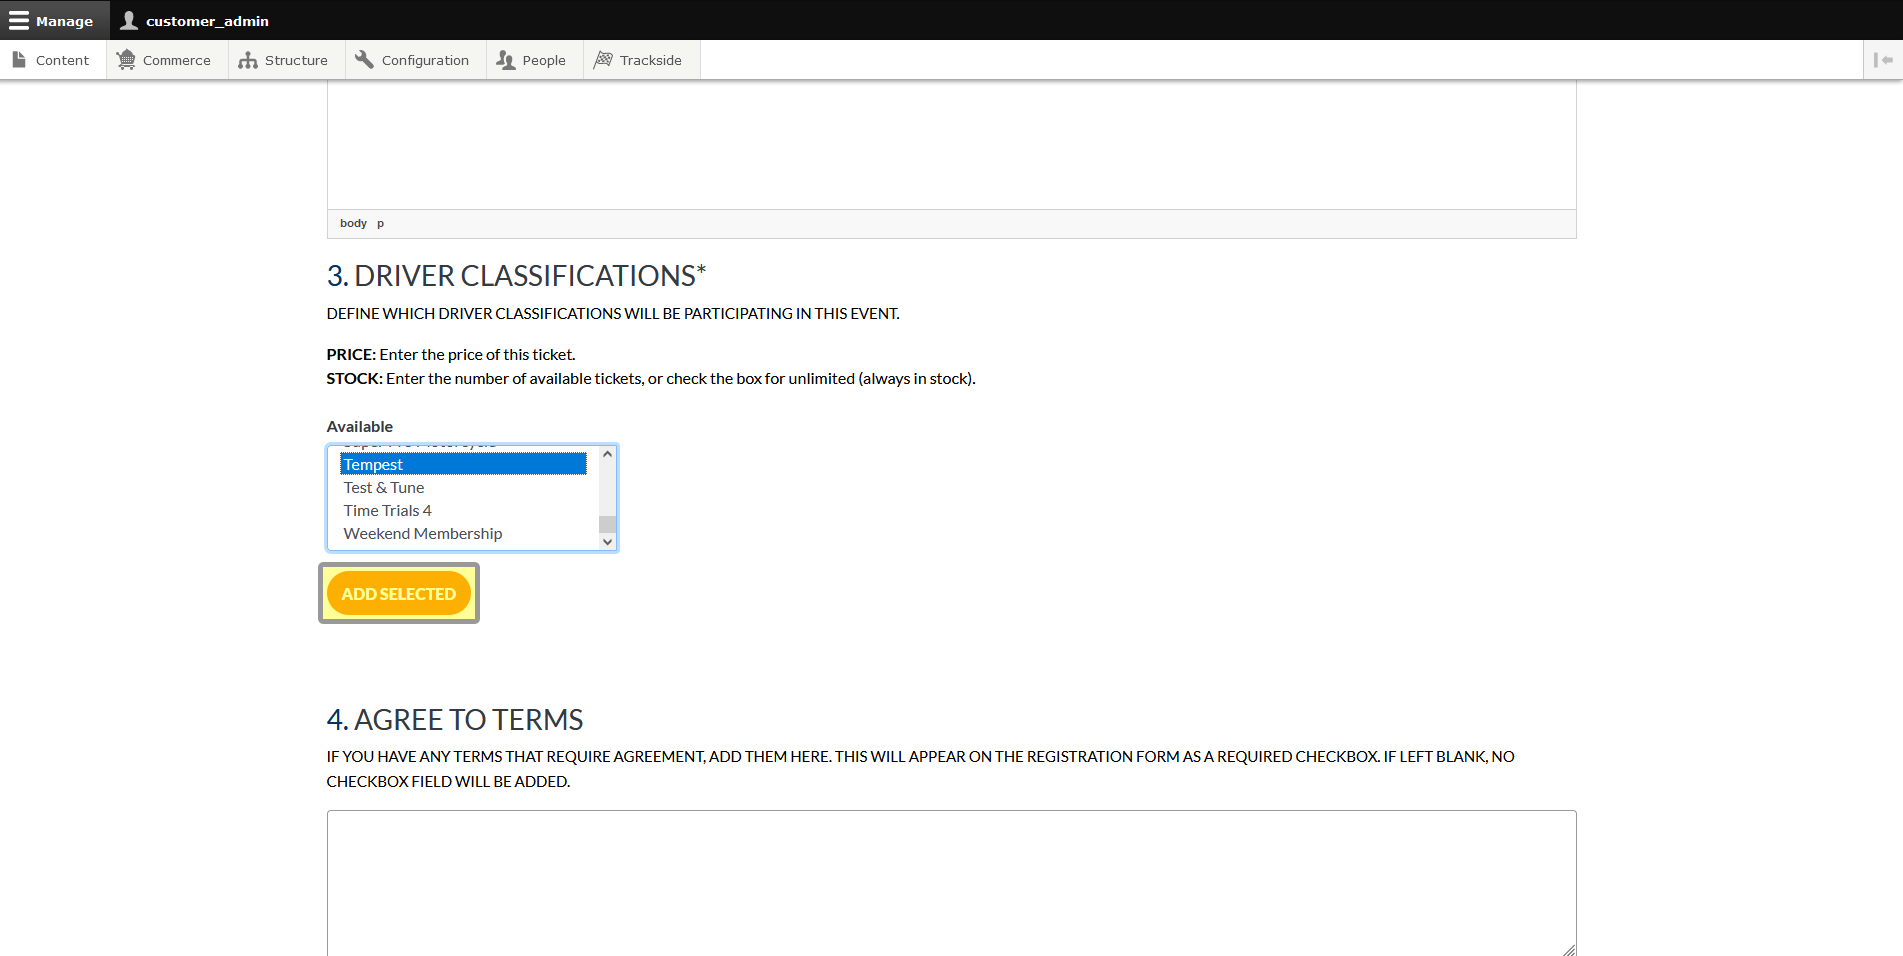
Click on "Add Selected" to add them to a list that will appear on the right.
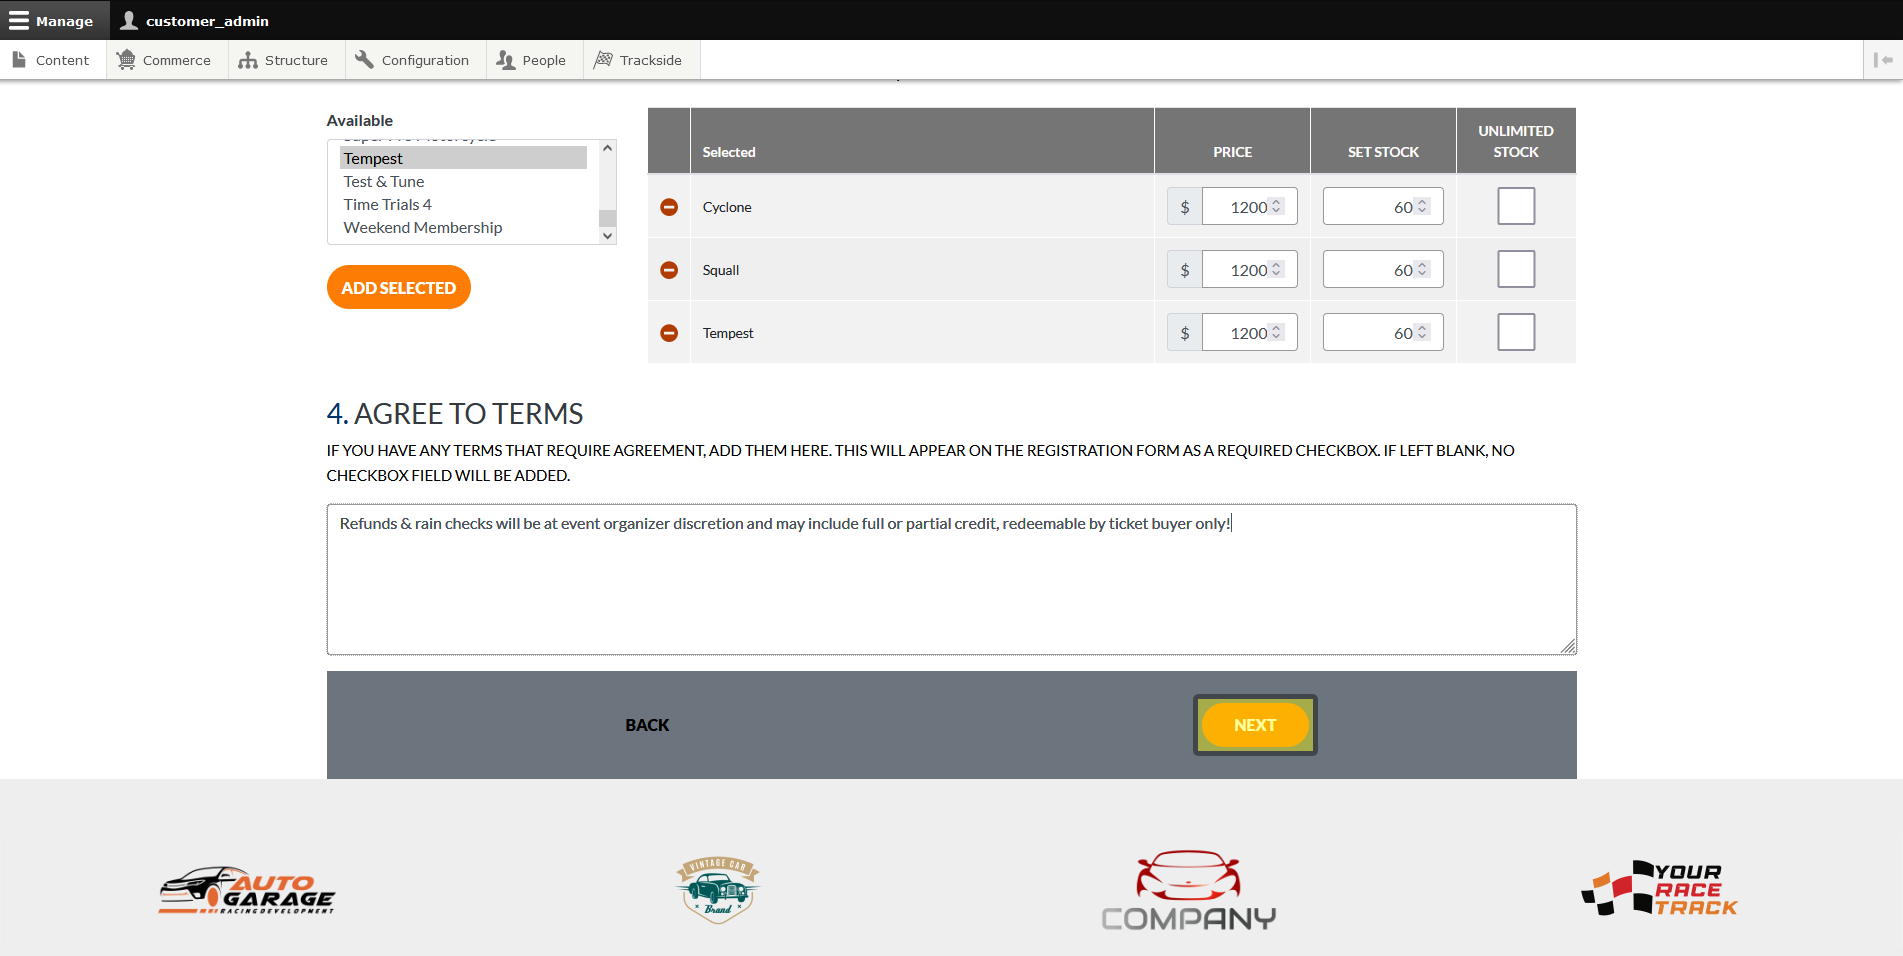
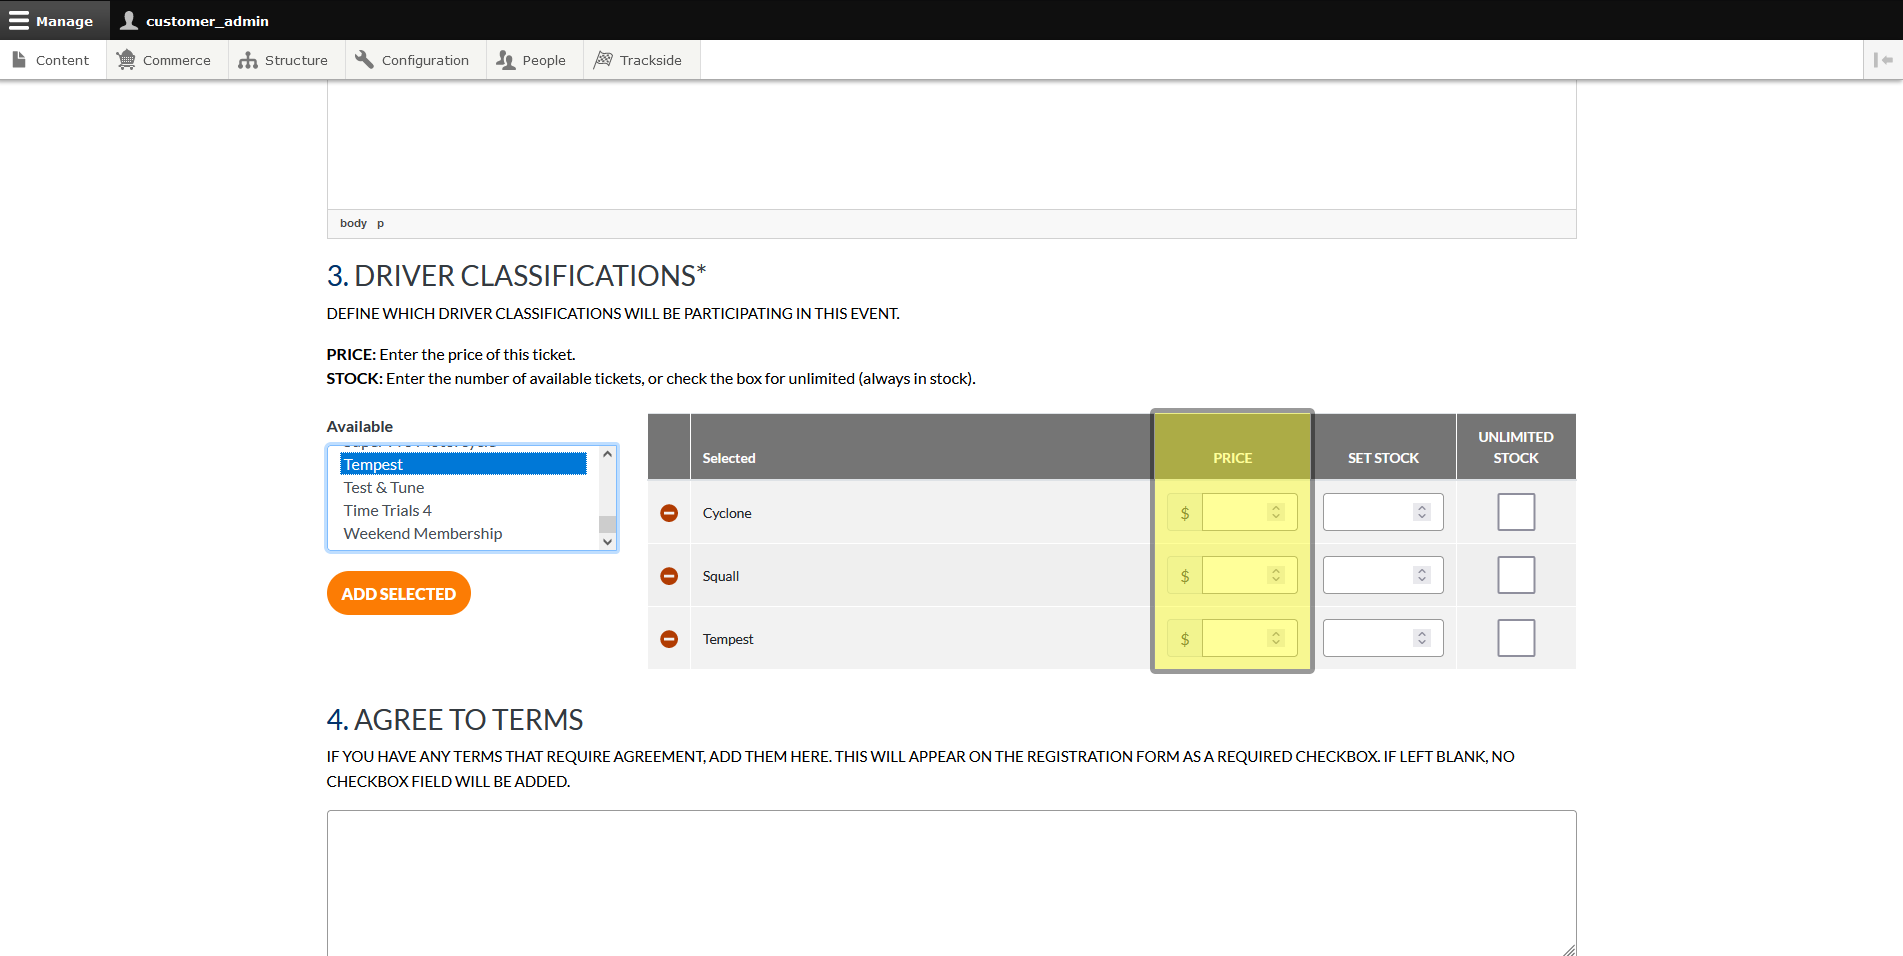
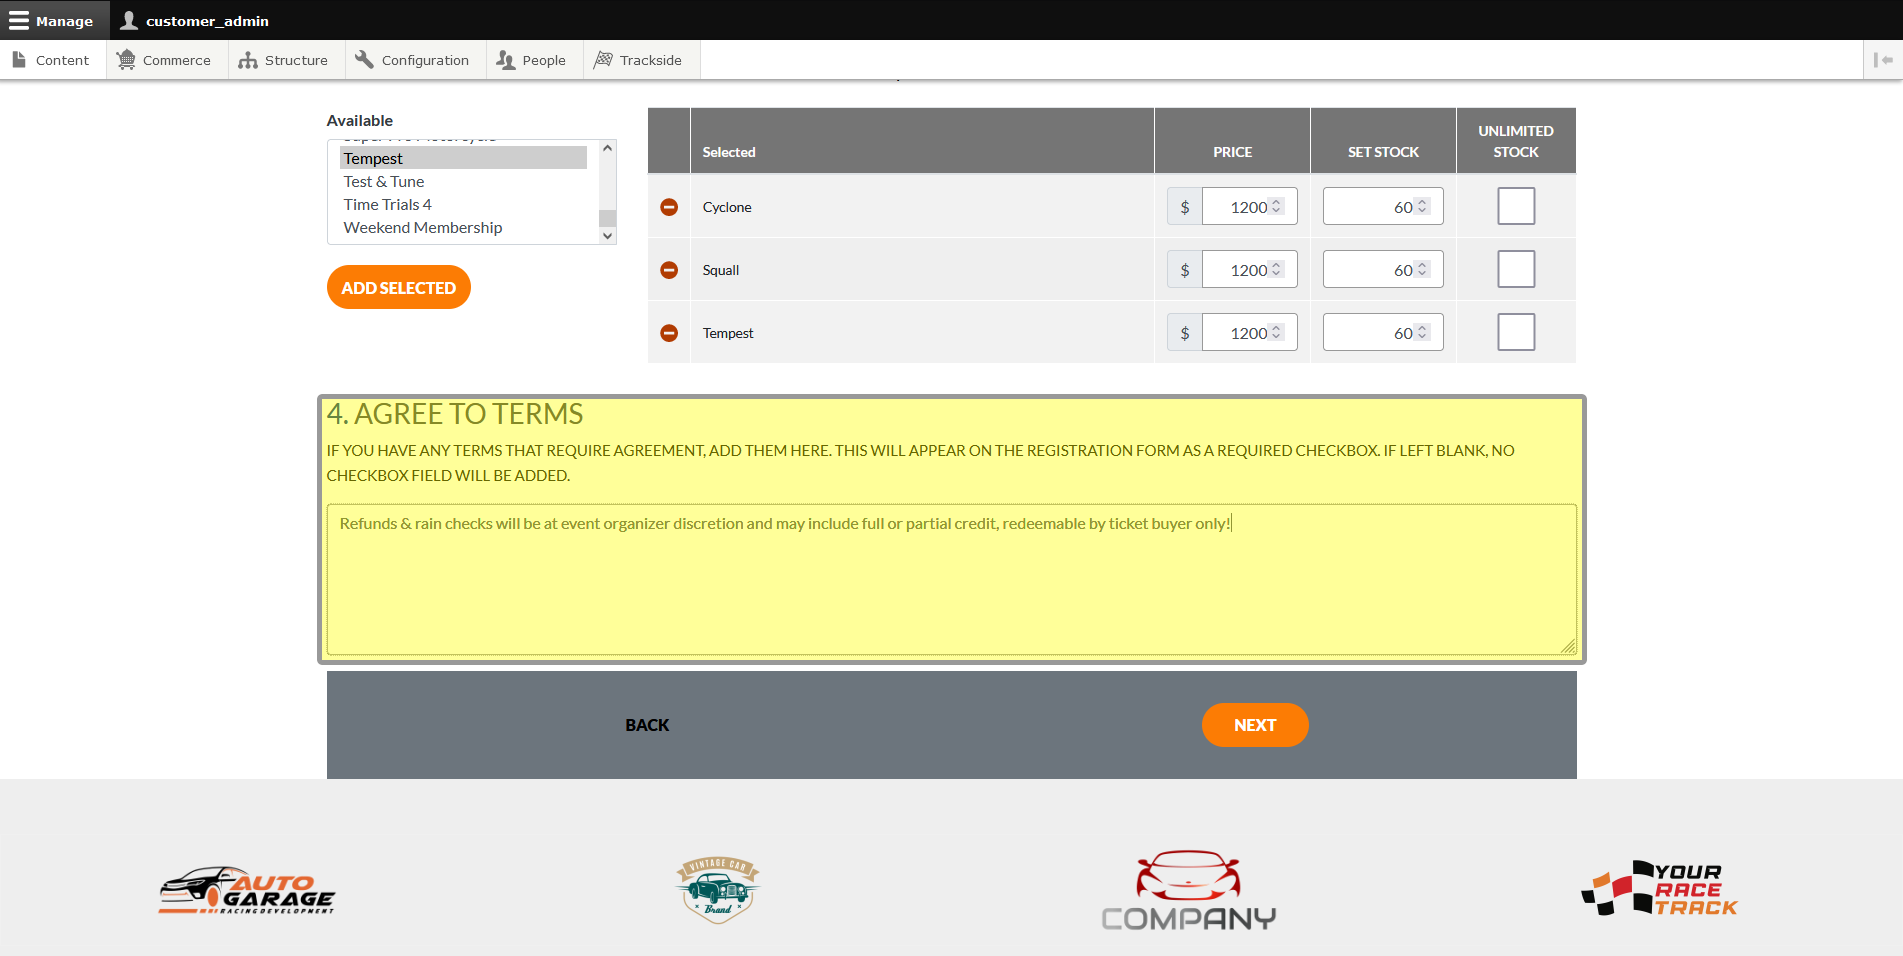
Set Driver Classification Price
Once your Driver Classifications are added, an additional box will appear on the right with the classes you have added. Under the price column, you may then set the ticket price for each class as needed.
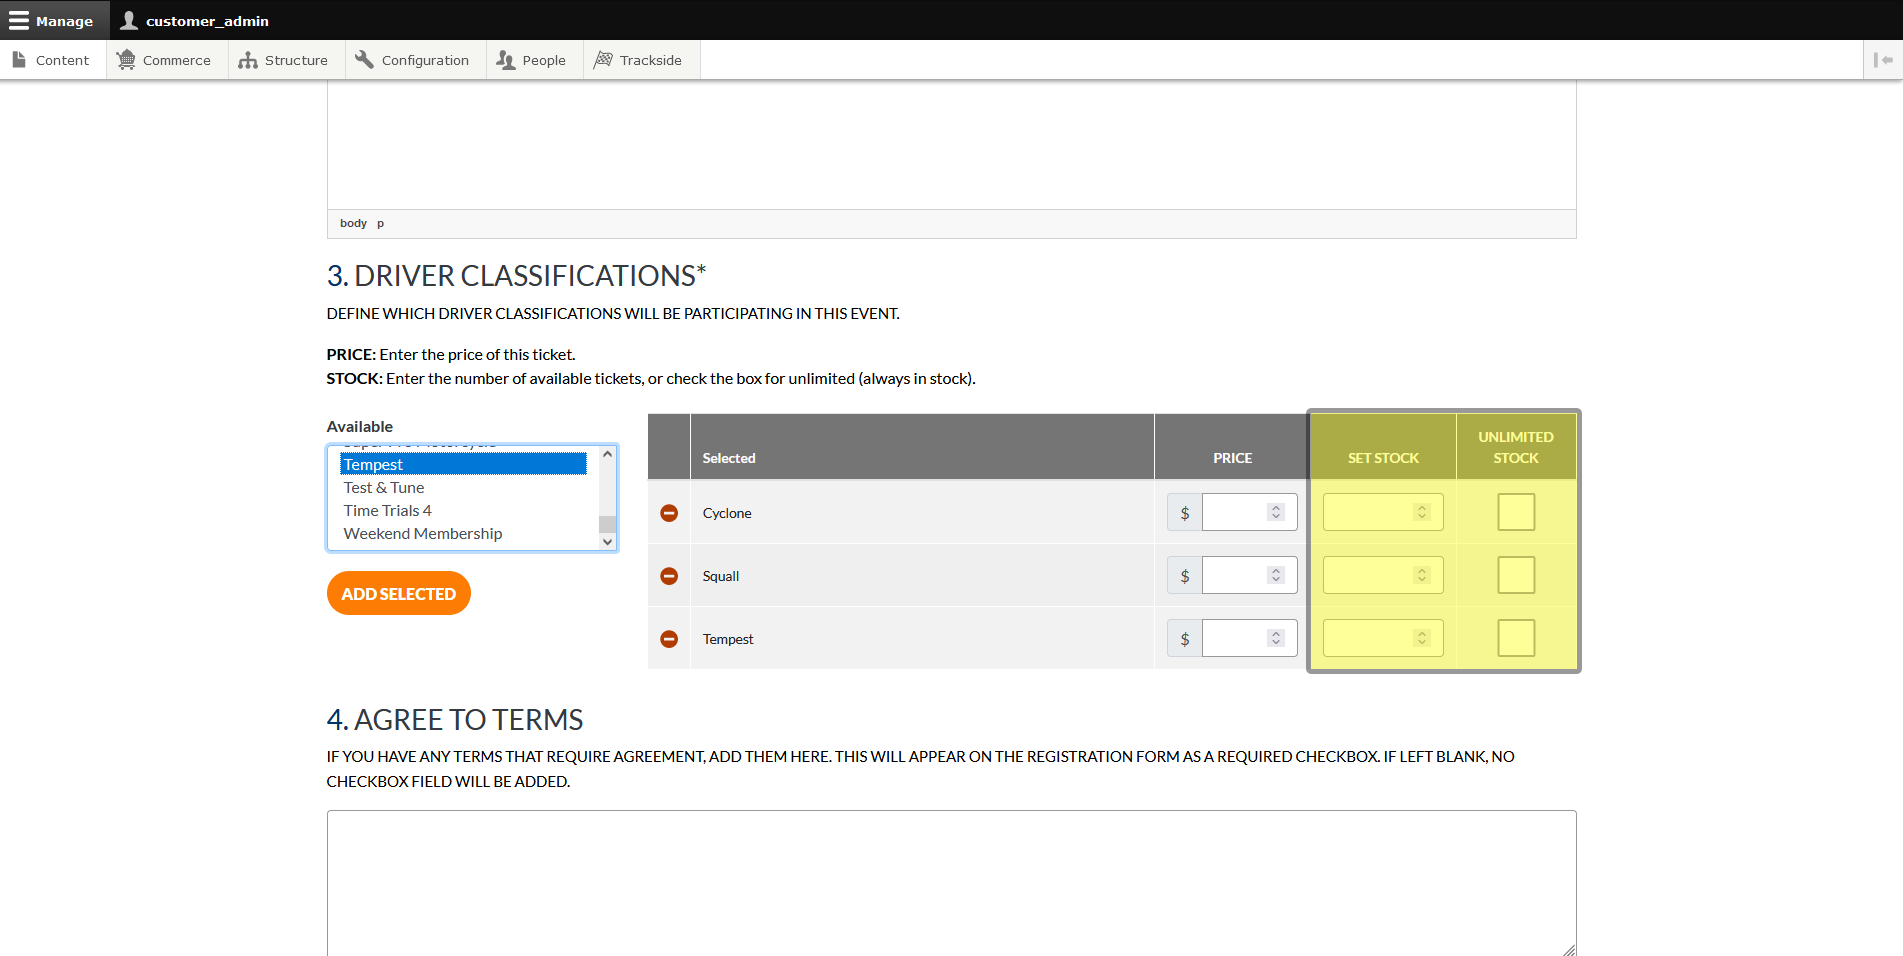
Set Participant Registration Stock
You may limit the number of Participant Registrations here.
- Entering a number under Set Stock sets a maximum limit to those registrations.
- The Unlimited Stock button will make it so there is no upper limit to how many tickets you can sell to that Driver Classification. This will override any stock you've set.
If you later need to change ticket stock or want unlimited stock - see Manage Stock.
Add Agree to Terms (optional)
As shown on the Assistant, text entered into this box will create a check box the Participant must acknowledge by checking before they can purchase their registration.
This area is good for general terms and conditions such as:
- I have read and agree to all terms and conditions set forth by Your Race Track.
- I had read and agree to the purchase, refund and cancellation policy.
- I have read and agree to the track's rules and regulations.
Click Next
Once you have the Participant Registration Product all set up, click Next at the bottom of the form, and we'll move on to the General Admission Ticket.