
Add Driver Classifications
Need to add another Driver Class to an existing event? You're in the right place!
If you created an Event Listing with the Event Setup Assistant, and while creating your Participant Registration Product, you forgot to add a class, or decided to add a class to the Event Listing after you initially set up the event, this guide will help you add a new class to your Event Listing.
As a prerequisite, the Driver Class you wish to add must already be created and active, otherwise it won't show up here. See Driver Classifications if you need help setting your class up.
See the Clone tab? We don't talk about the Clone tab. We don't touch the Clone tab. DON'T USE THE CLONE TAB!
From the Manage Stock tab you can:
- Update the Base Price
- Update Variation Prices
- Manage Stock
- Add driver classes
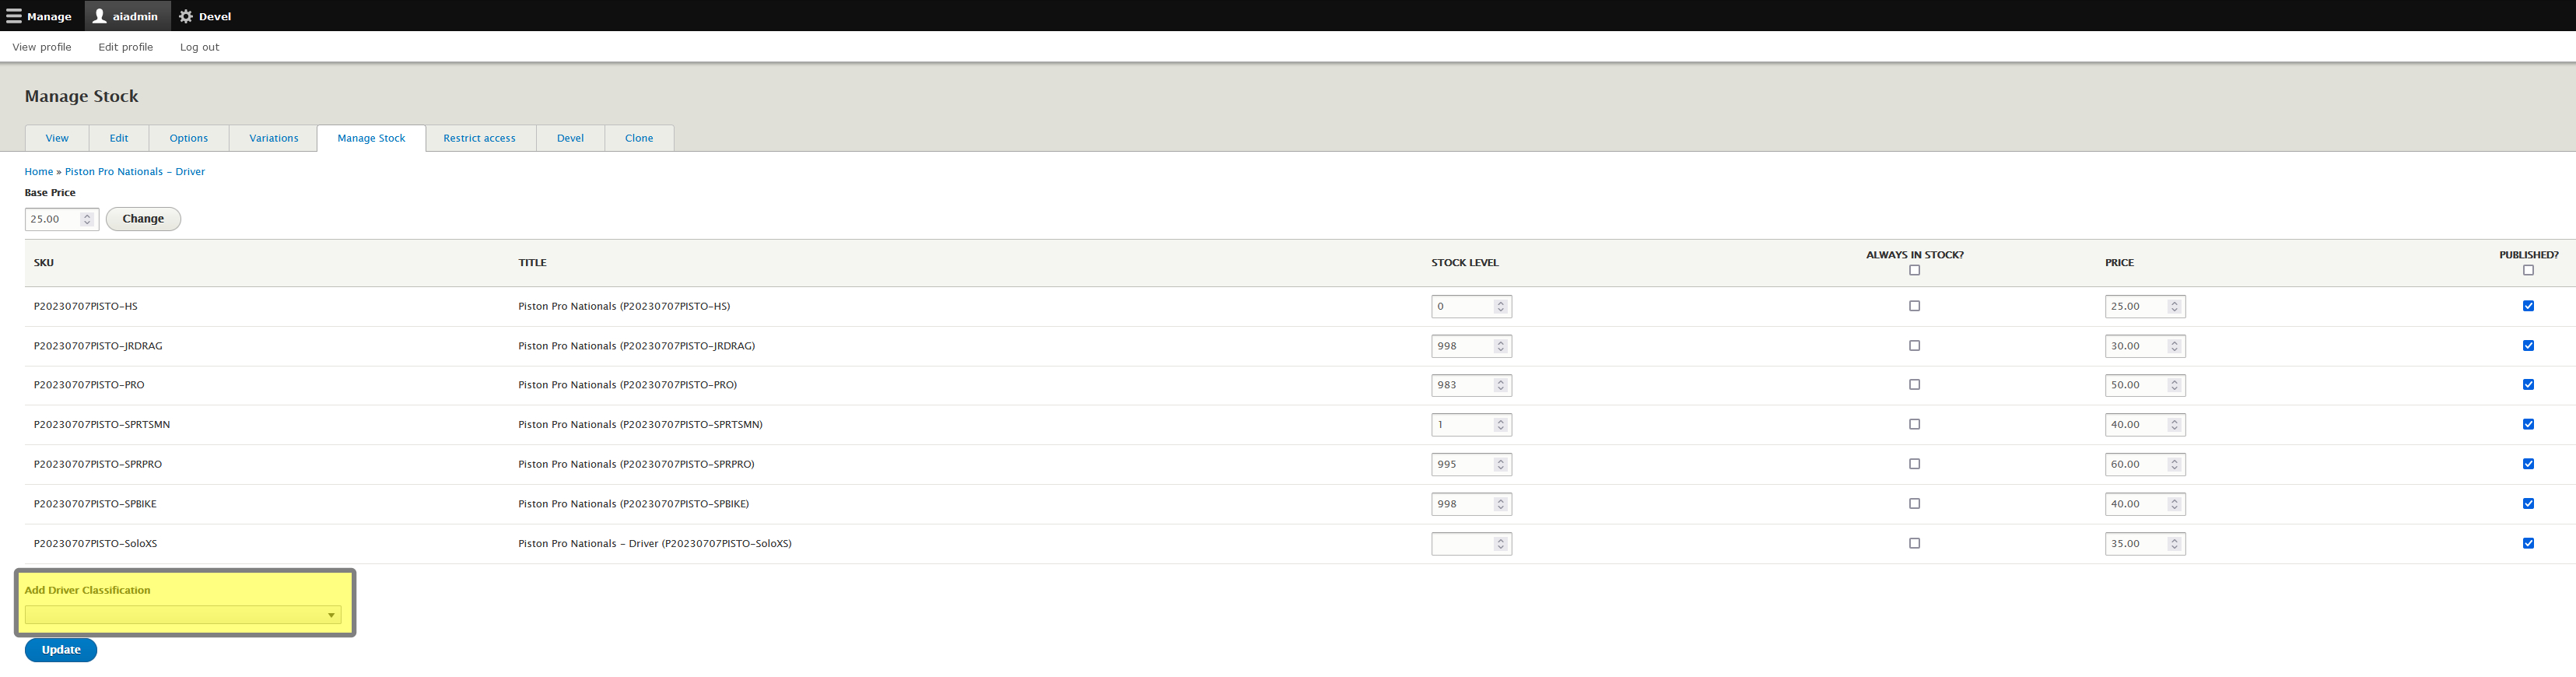
Step 1 - Select New Driver Classification in Drop Down Menu
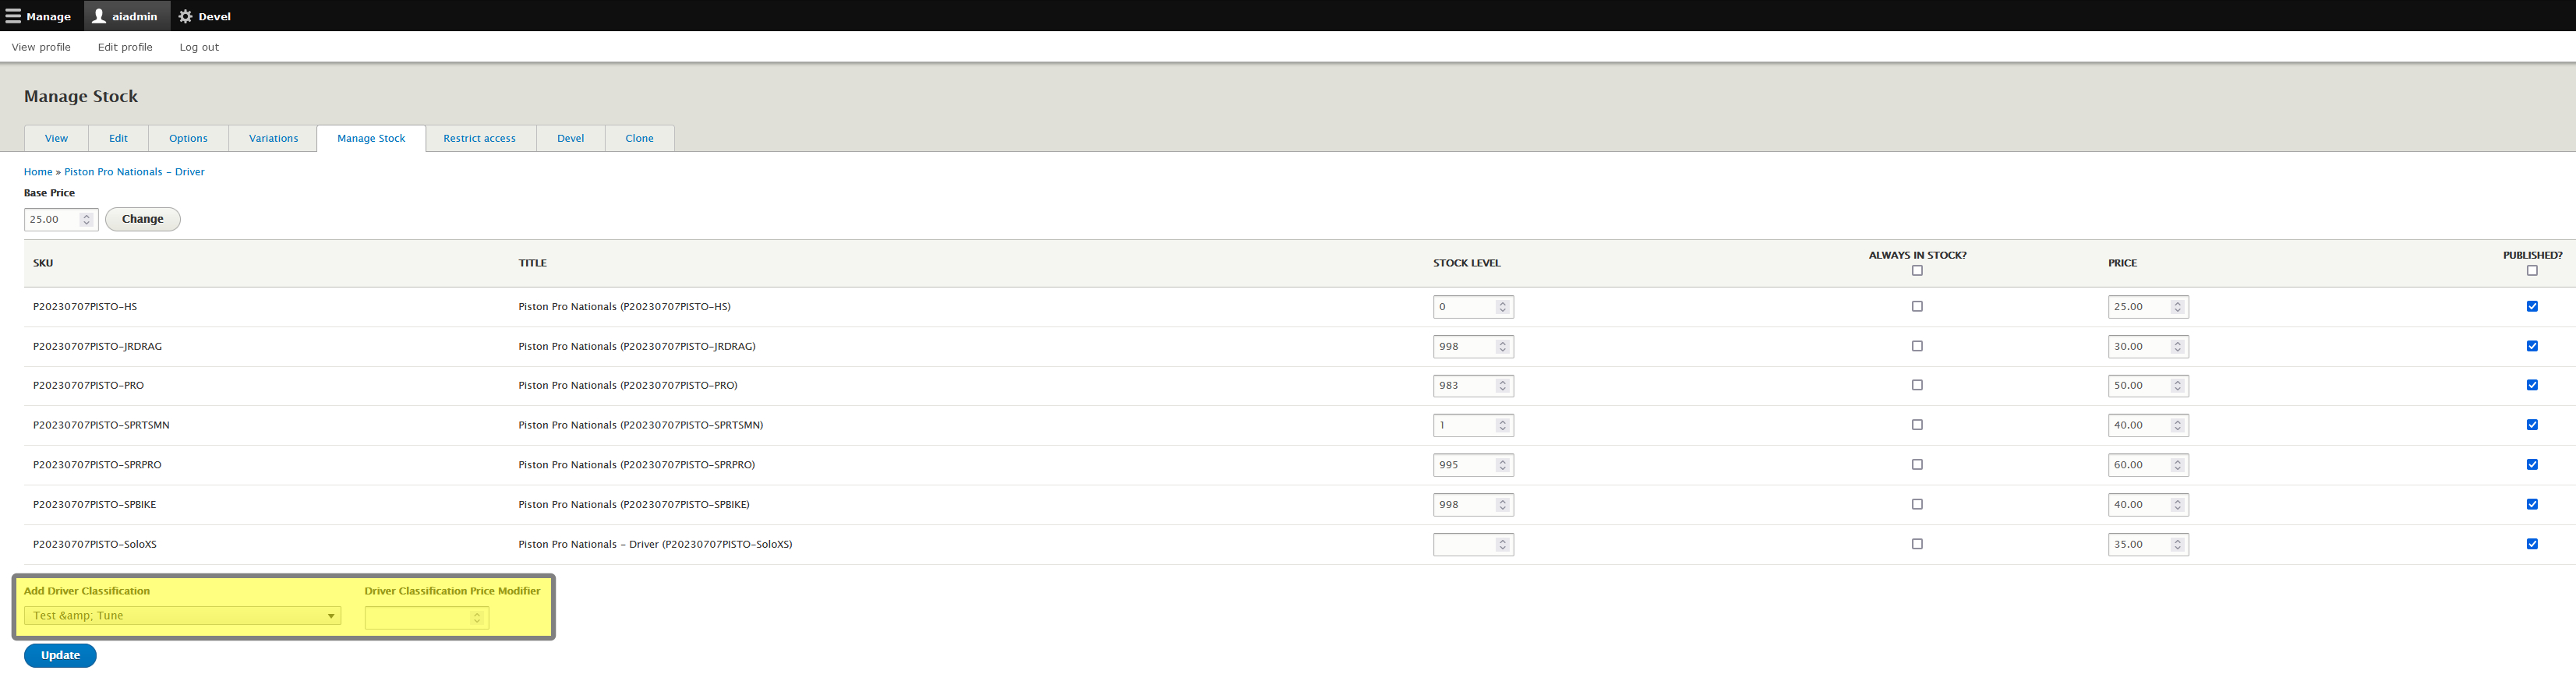
While still on the Manage Stock tab, at the bottom of the page, you will see Add Driver Classification. Select your class from the drop down menu and the Driver Classification Price Modifier box will appear.
Step 2 - Enter Price Modifier
You will now set your Driver Classification Price Modifier. It's important to understand that this is a modifier, unlike setting class variation prices before.
The Driver Class Price (the final price your customer will pay) is equal to the Base Price plus the Price Modifier.
Driver Class Price = Base Price + Price Modifier
To help you figure out the Driver Class Price Modifier, use this formula:
Price Modifier = Driver Class Price - Base Price
Also remember that negative numbers will work here as well if the class needs to be cheaper than the base price.
Correct Example: Your base price is $20 and the new class needs to be $40. You put $20 in here, which will make the price $40 ($20 base + $20 modifier = $40 total).
Incorrect Example: Your base price is $20 and the new class needs to be $40. You put $40 in here, which will make the price $60 ($20 base + $40 modifier = $60 total).
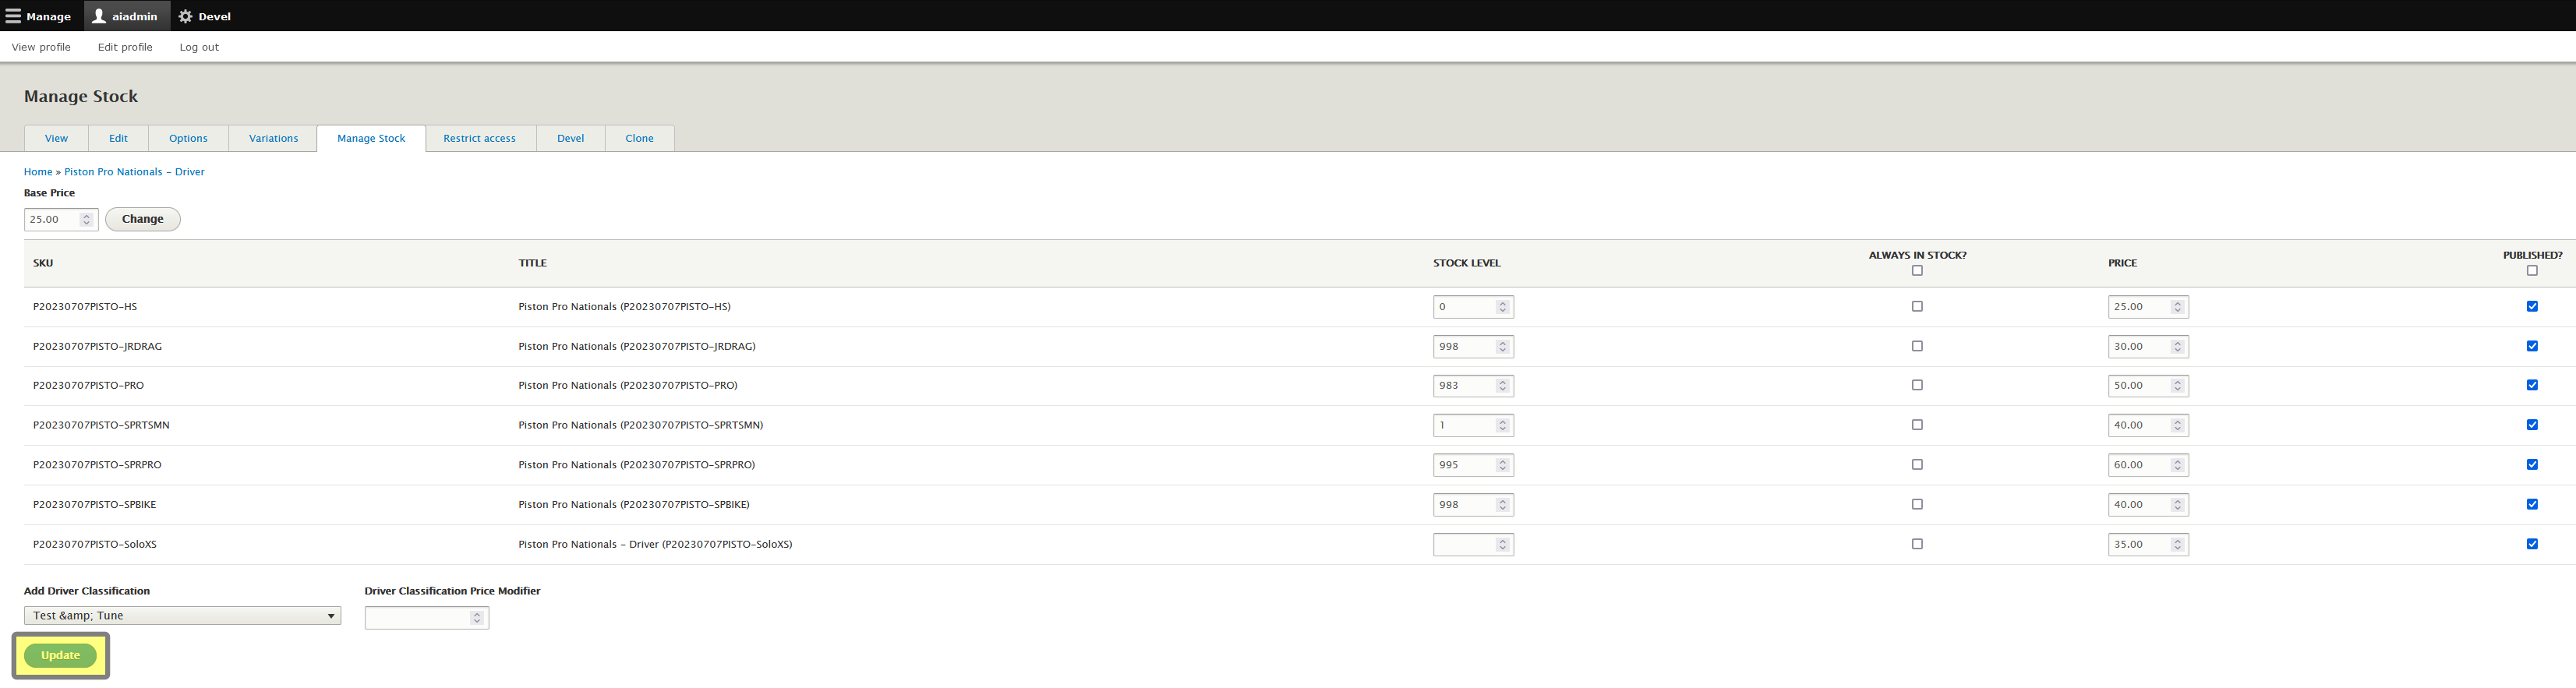
Step 3 - Click Update
Once your modifier is set, click Update and your class will be added to your Participant Registration Product. Once this is complete, you will then edit this class as though it was added during the Event Setup Assistant as detailed in Edit a Participant Registration Product.
Step 4 - Enter Stock
When you add your new class to the list, it won't be able to be purchased immediately, because you will still need to add stock to the class. Don't forget this step or you aren't going to be selling any tickets!
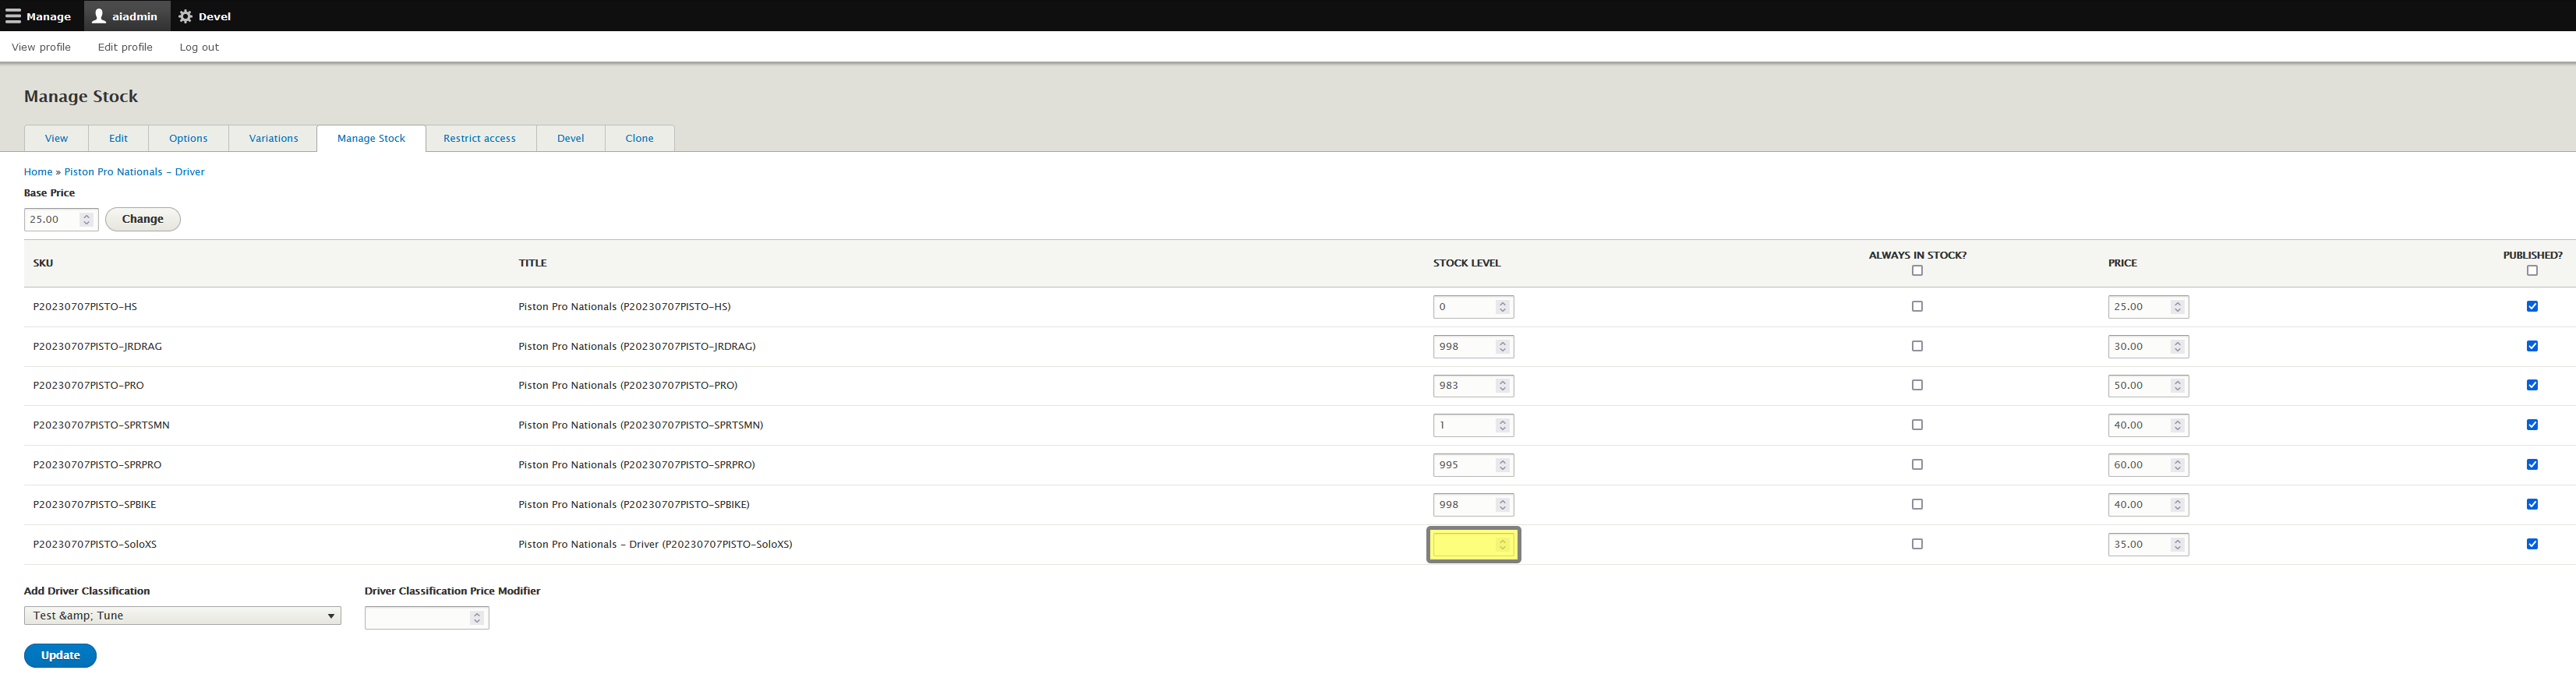
Click Update at the bottom again to add stock to your new Driver Classification!