Assign a Product Loyalty Points (Pro Plan Feature)
Note: This is a Pro Plan feature. If you are on a lower level plan, use of this feature may change your per-ticket usage rate to the associated higher rate.
This article will show you how to assign customers loyalty points for purchase of Products created in the Product Setup Assistant.
Step 1 - Navigate to Product Page
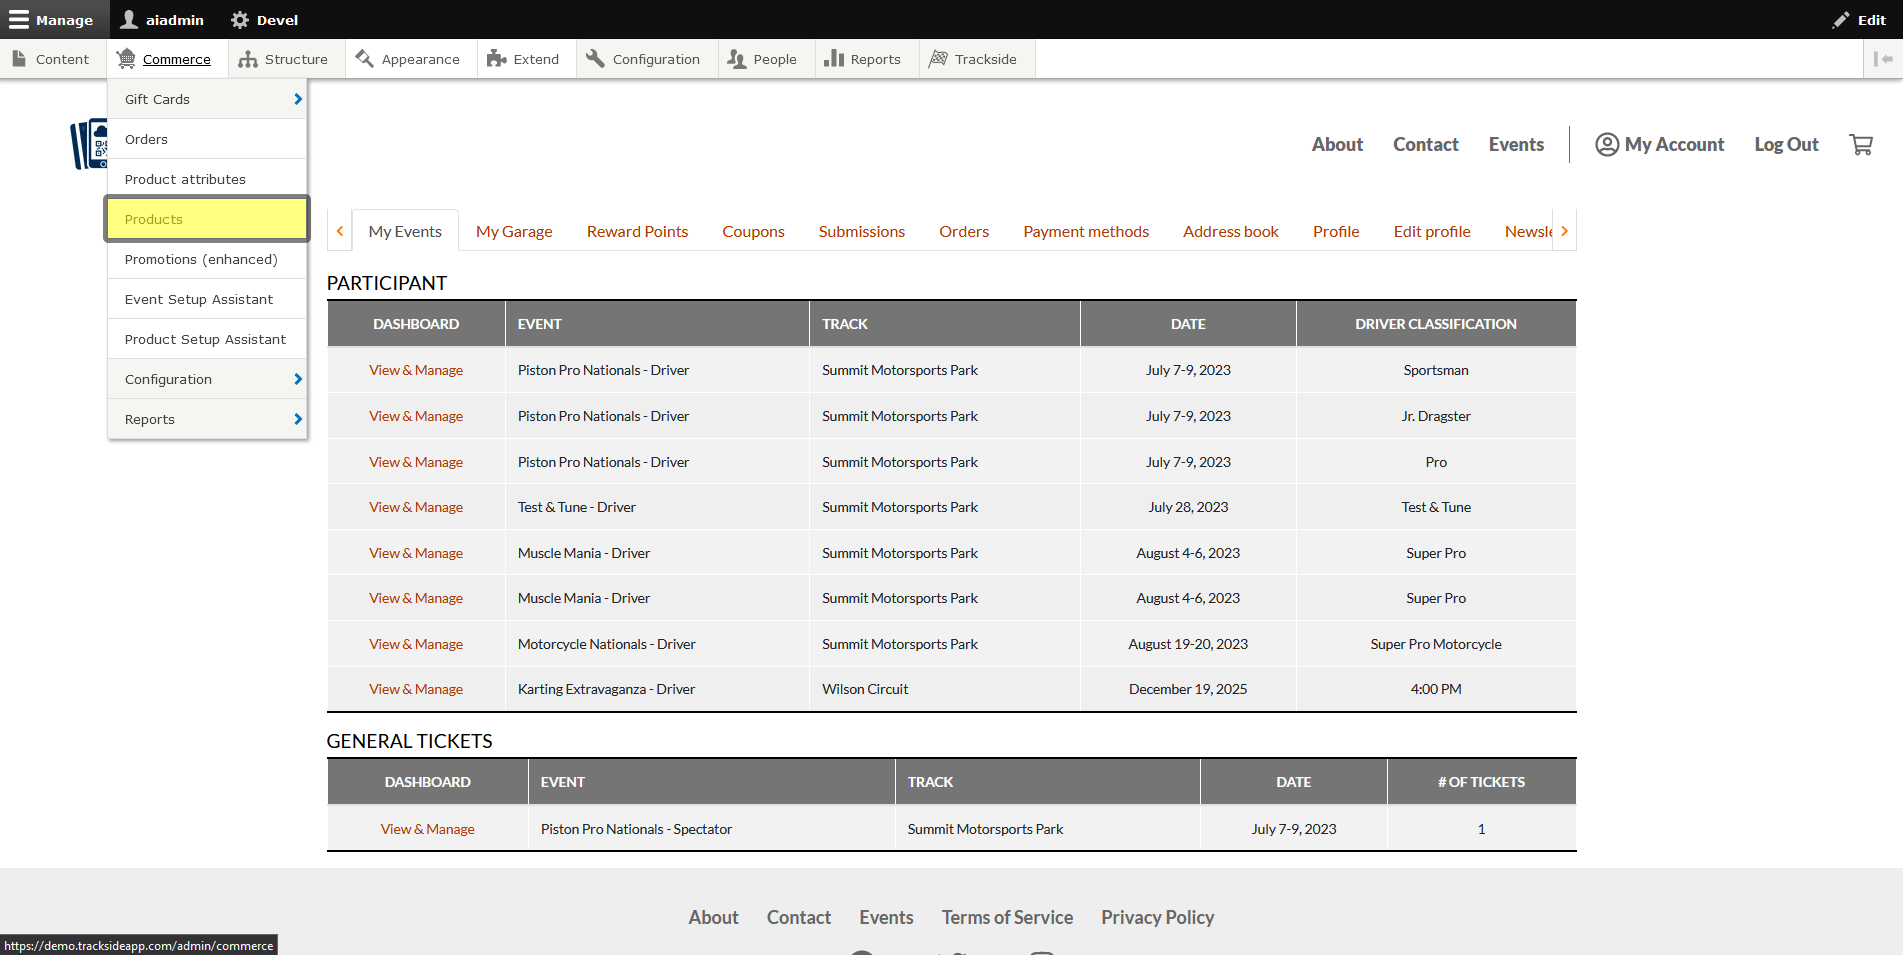
Once you're logged in, hover over Commerce in your Management Menu.
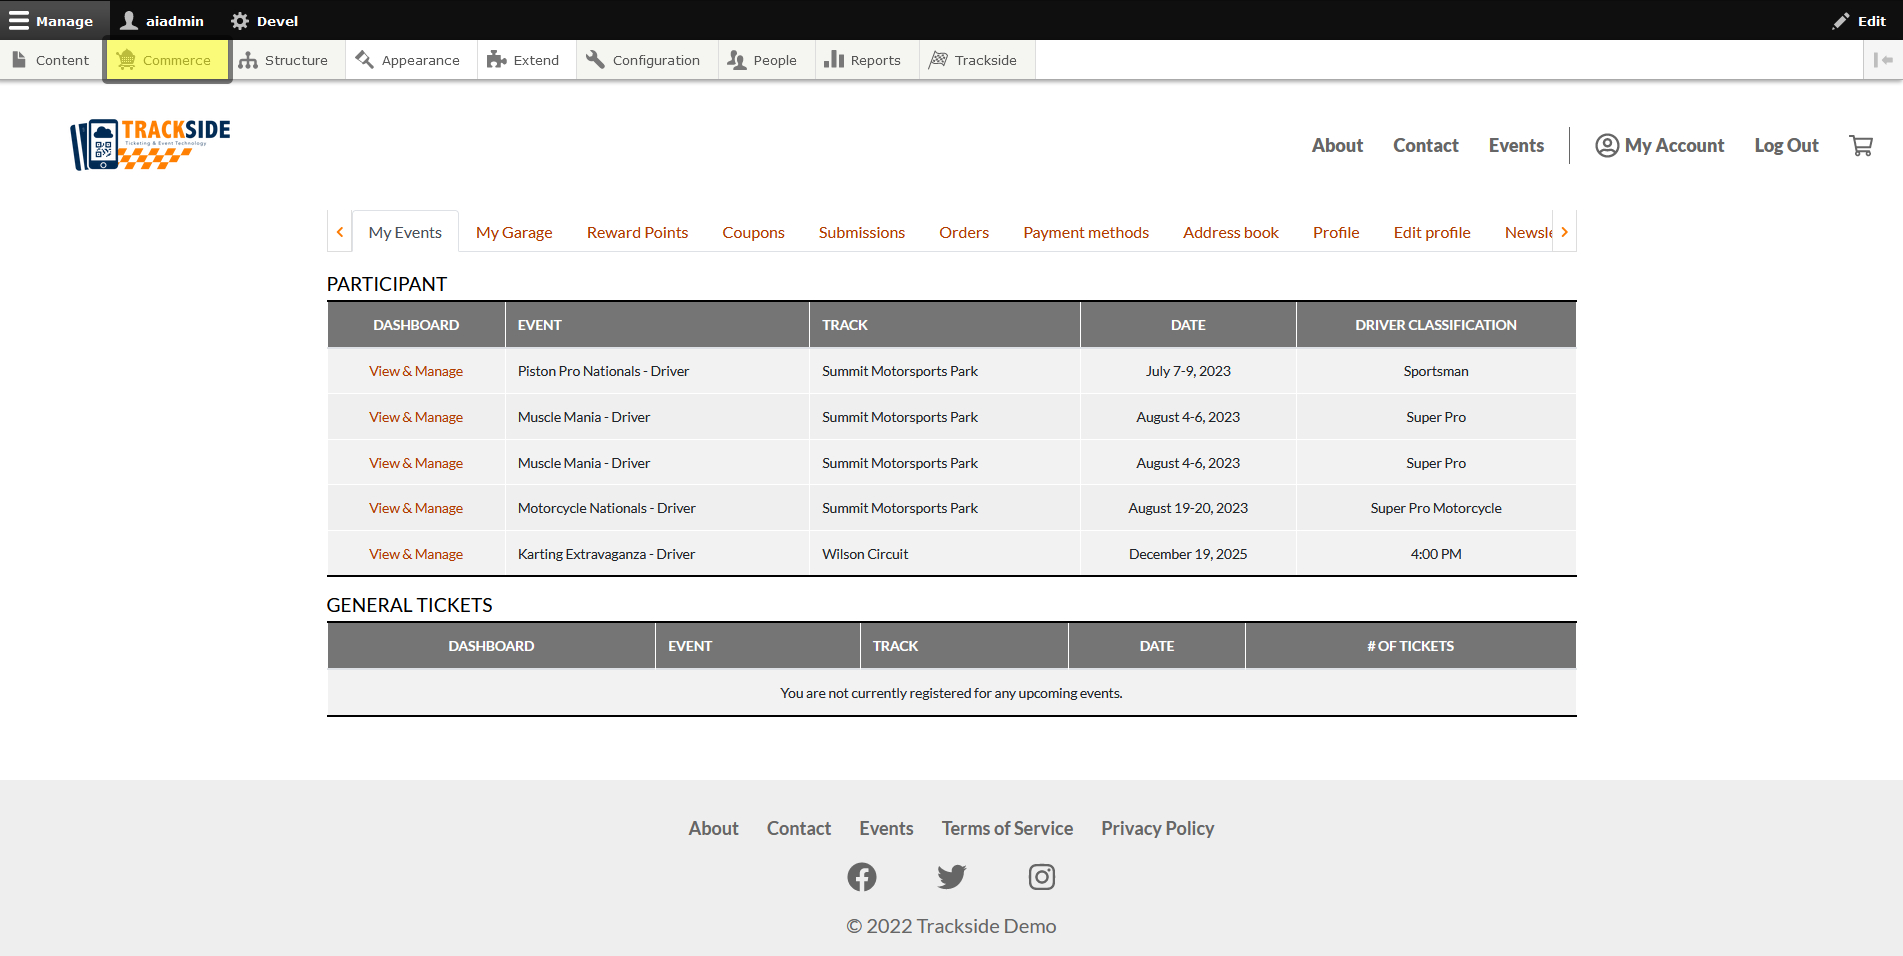
Then click on Products.
Step 2 - Assign Loyalty Points
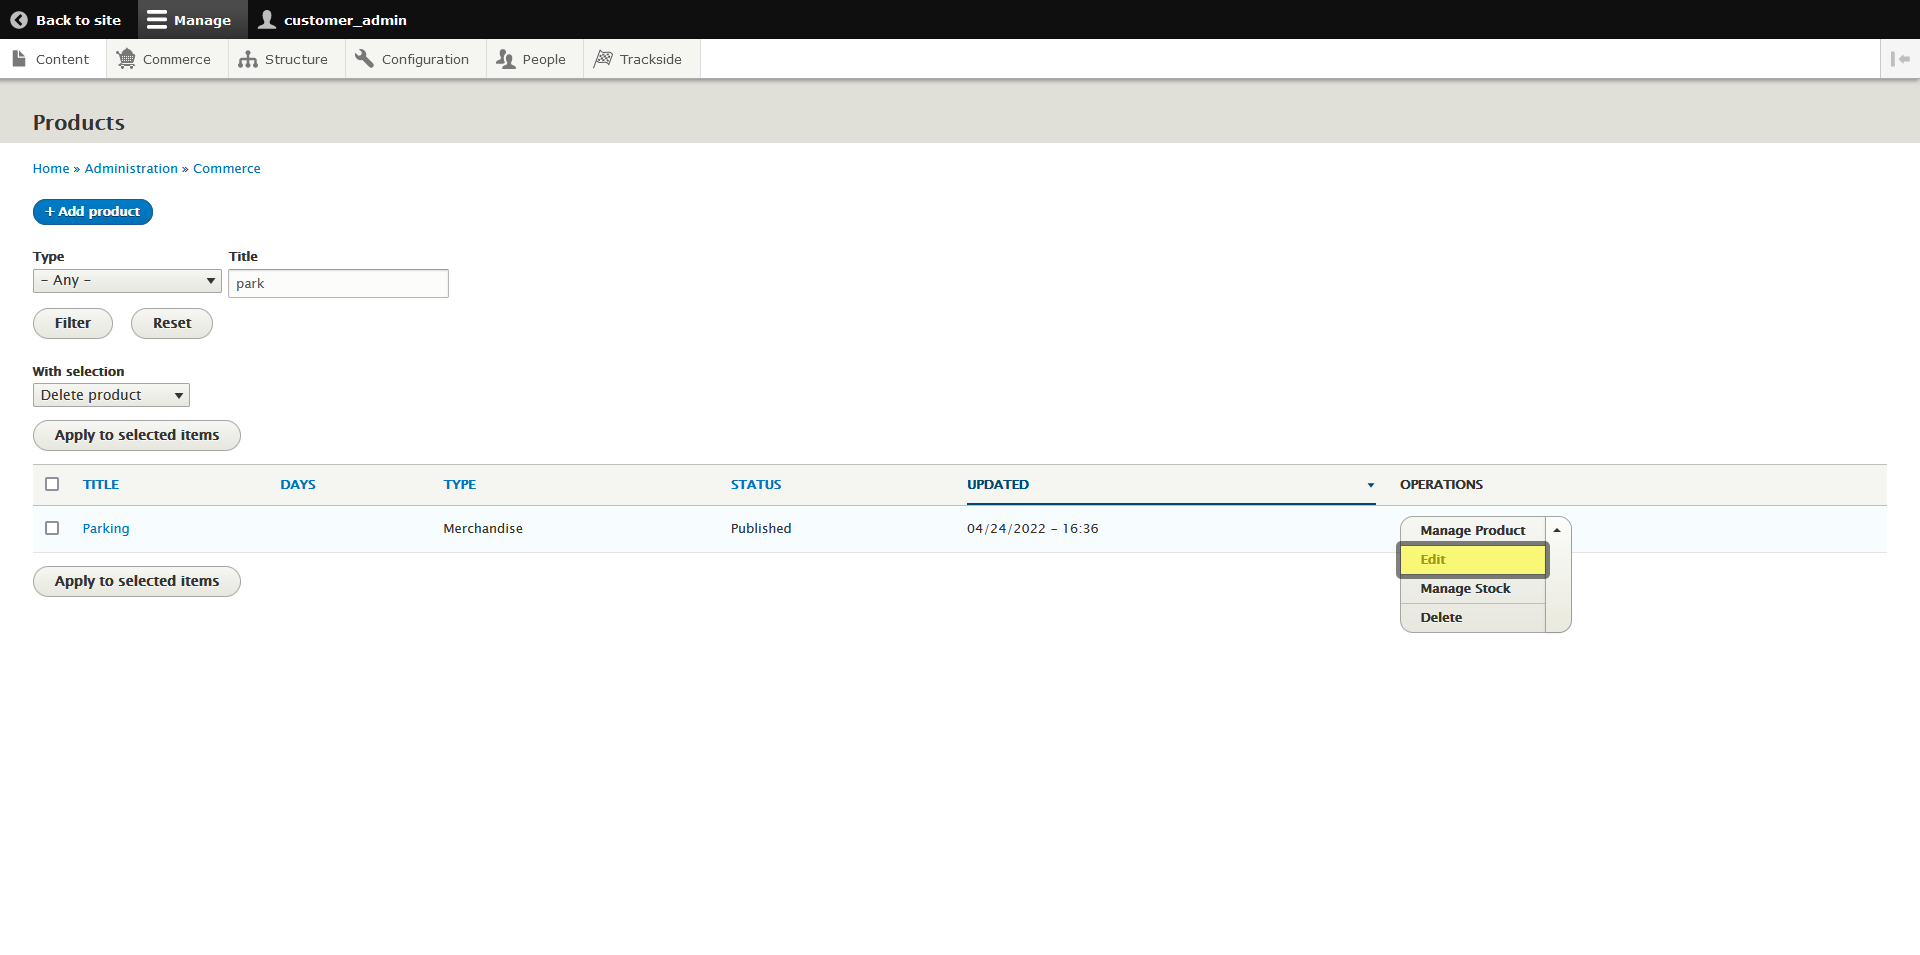
Once we're at the Product Page, you'll most likely need to search for the Product that you are assigning Loyalty Points to.
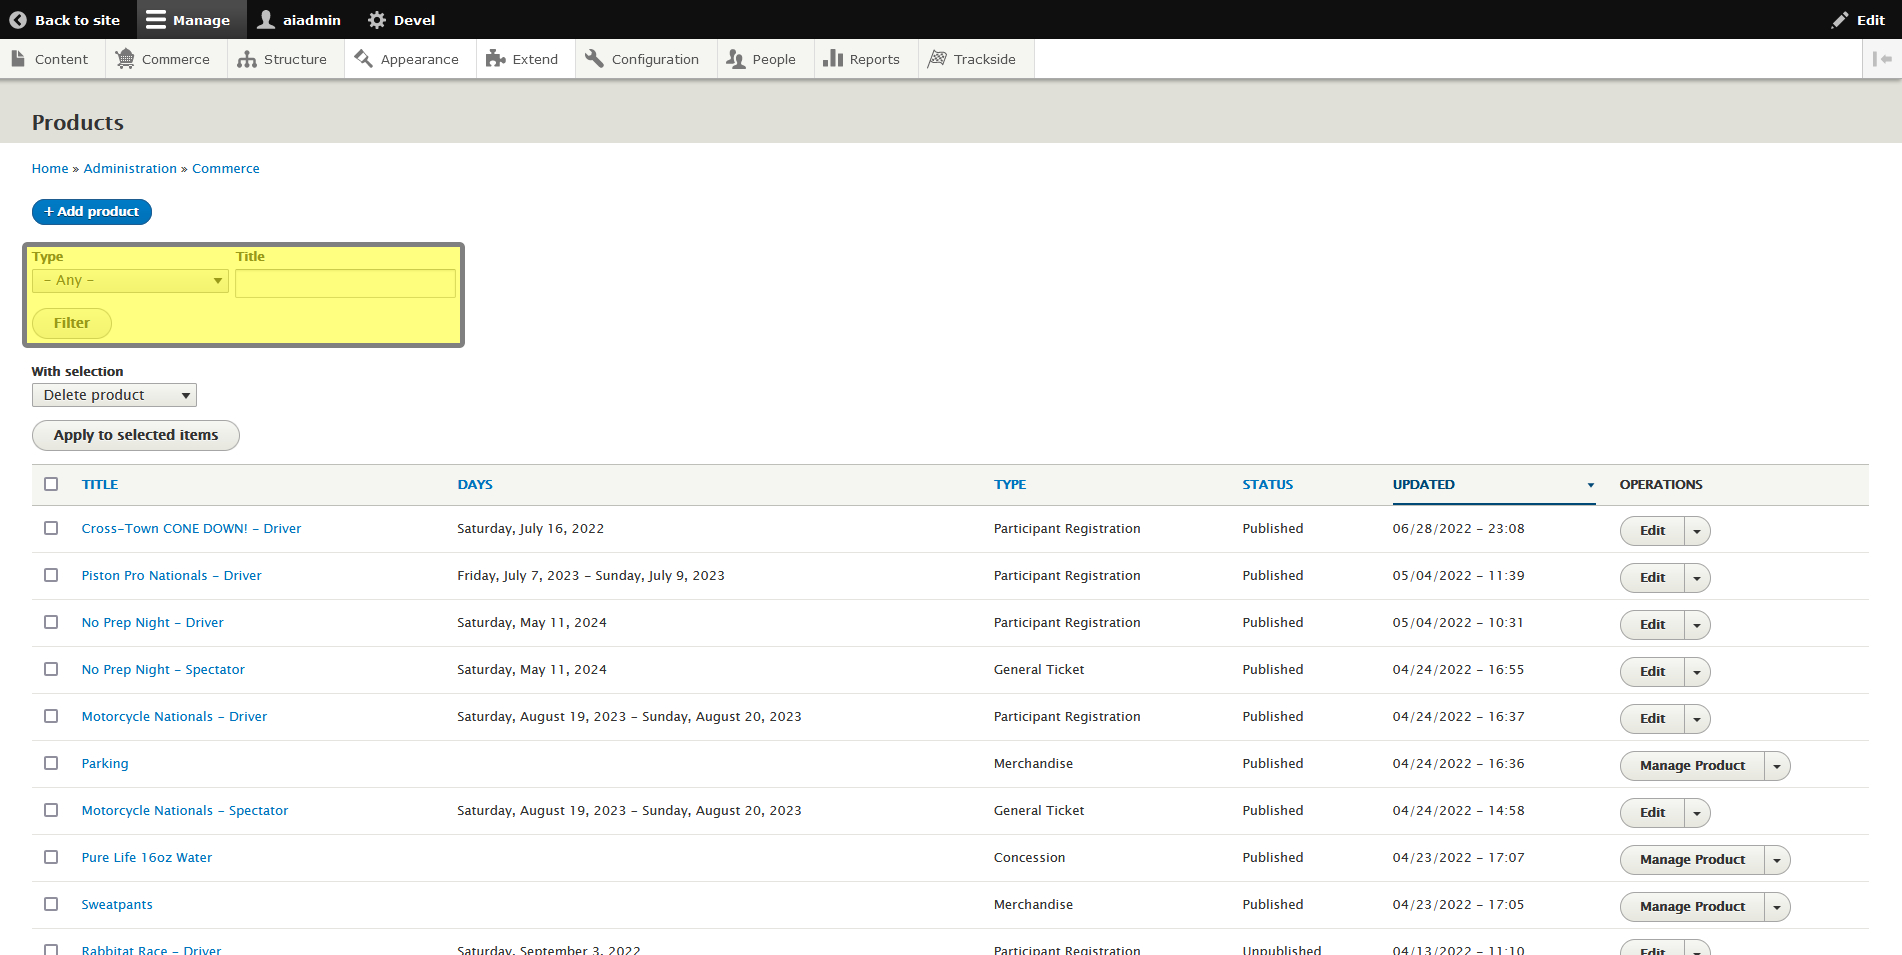
Any of your Products that are created in the Product Setup Assistant should have the Manage Product on the far right. Click the down arrow next to it, and select Edit.
Under the drop down menu on the right, there's a Clone button...
See the Clone tab? We don't talk about the Clone tab. We don't touch the Clone tab. DON'T USE THE CLONE TAB!
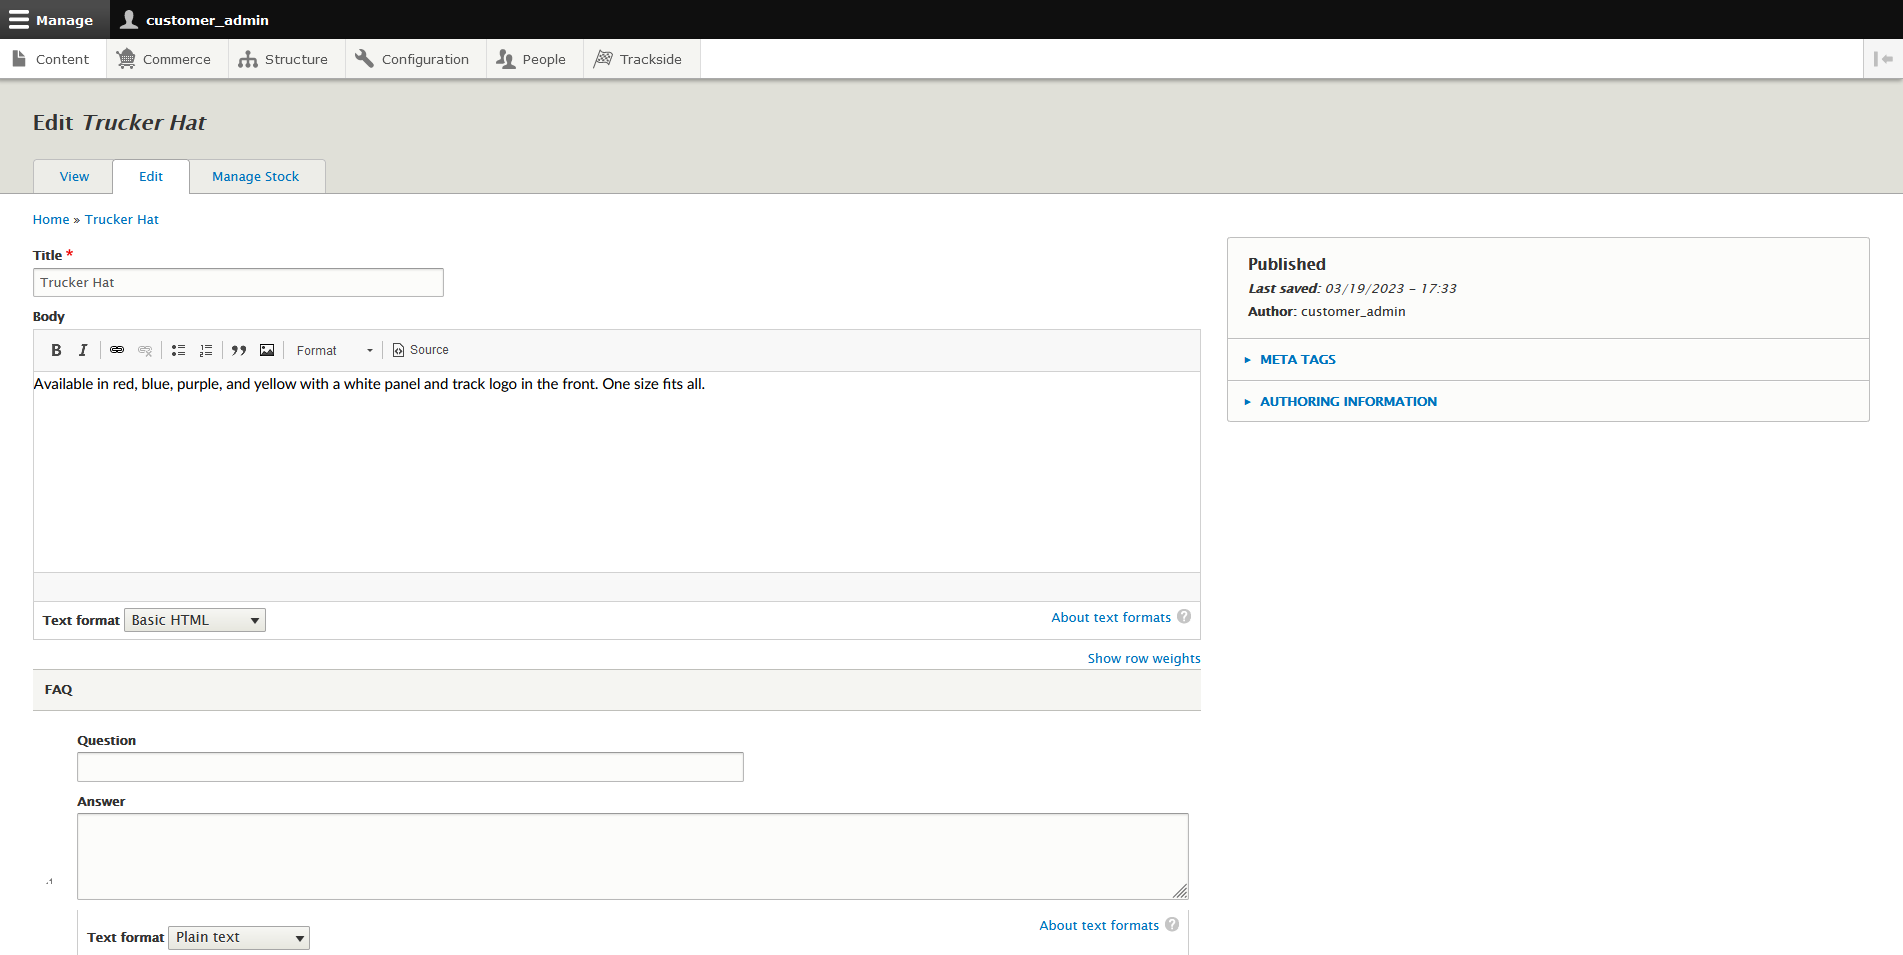
For the record, if you need to edit your Products created in the Product Setup Assistant, you generally want to click Manage Product, which will take you back to the Product Setup Assistant. This is an exception to that case. You'll find yourself in a screen similar to editing General Admission Ticket Products and Participant Registration Products.
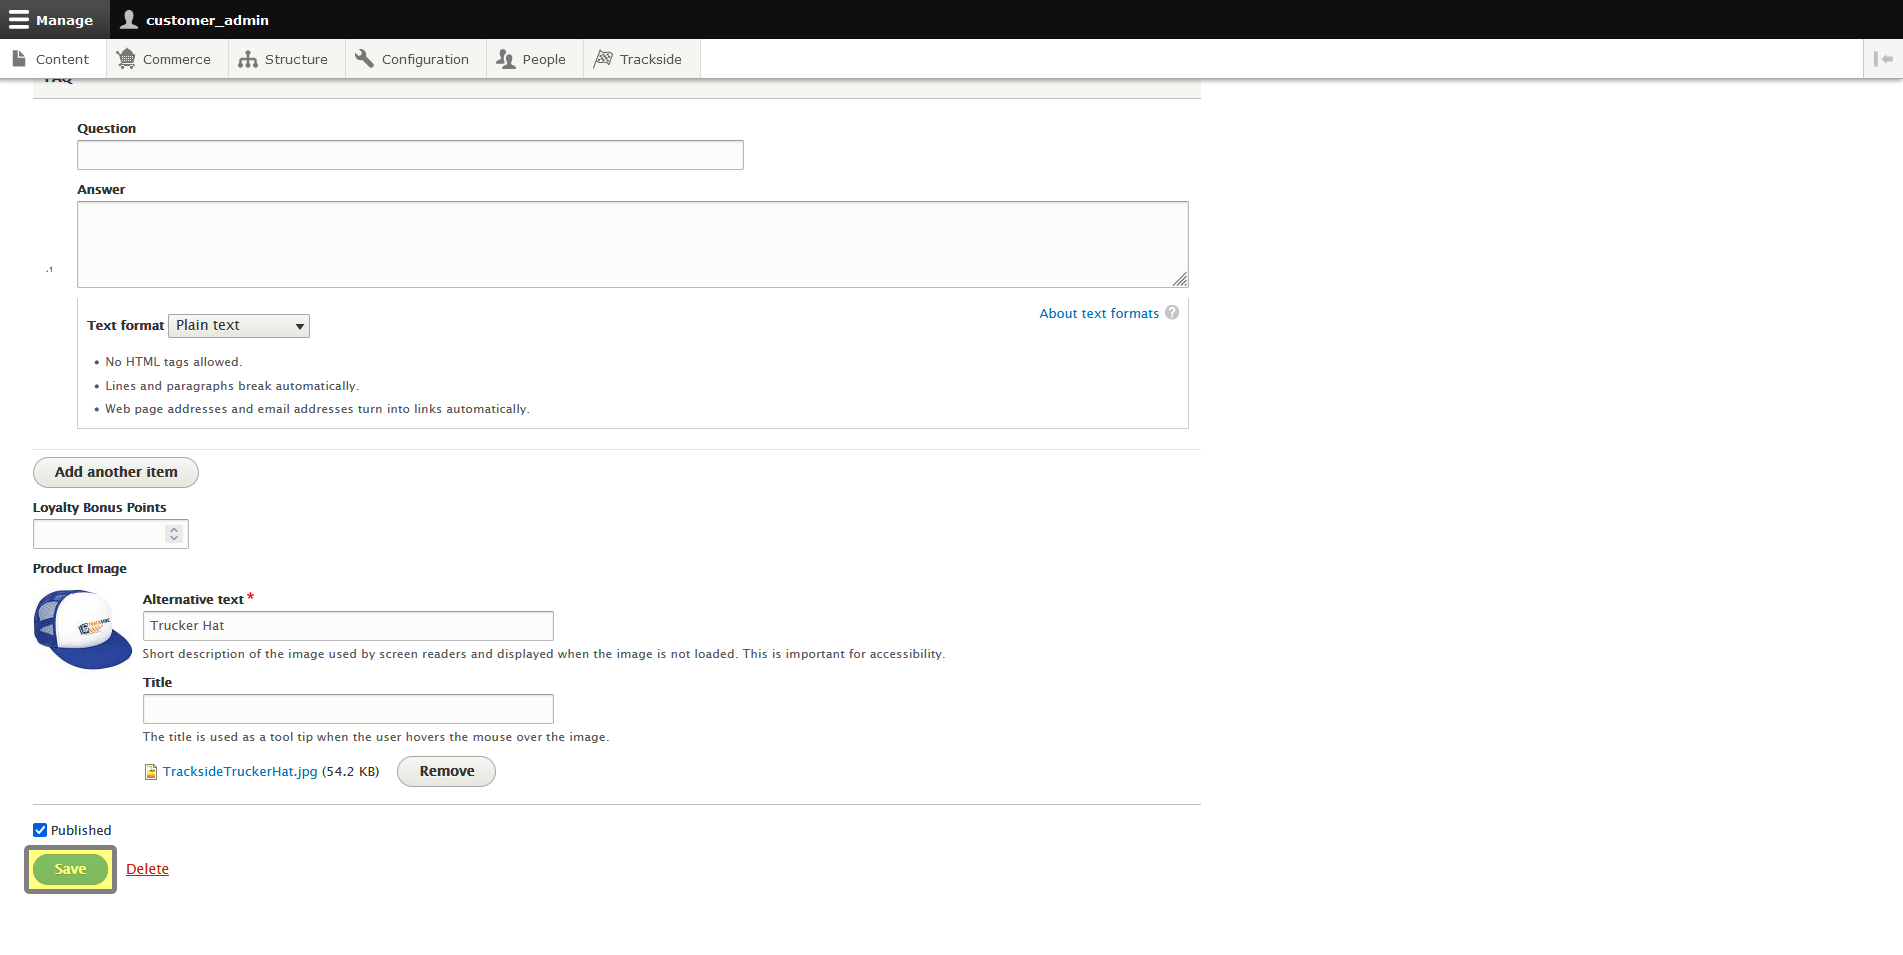
Toward the bottom, you'll find a box for Loyalty Bonus Points. You can enter the number of points you'd like to assign here.
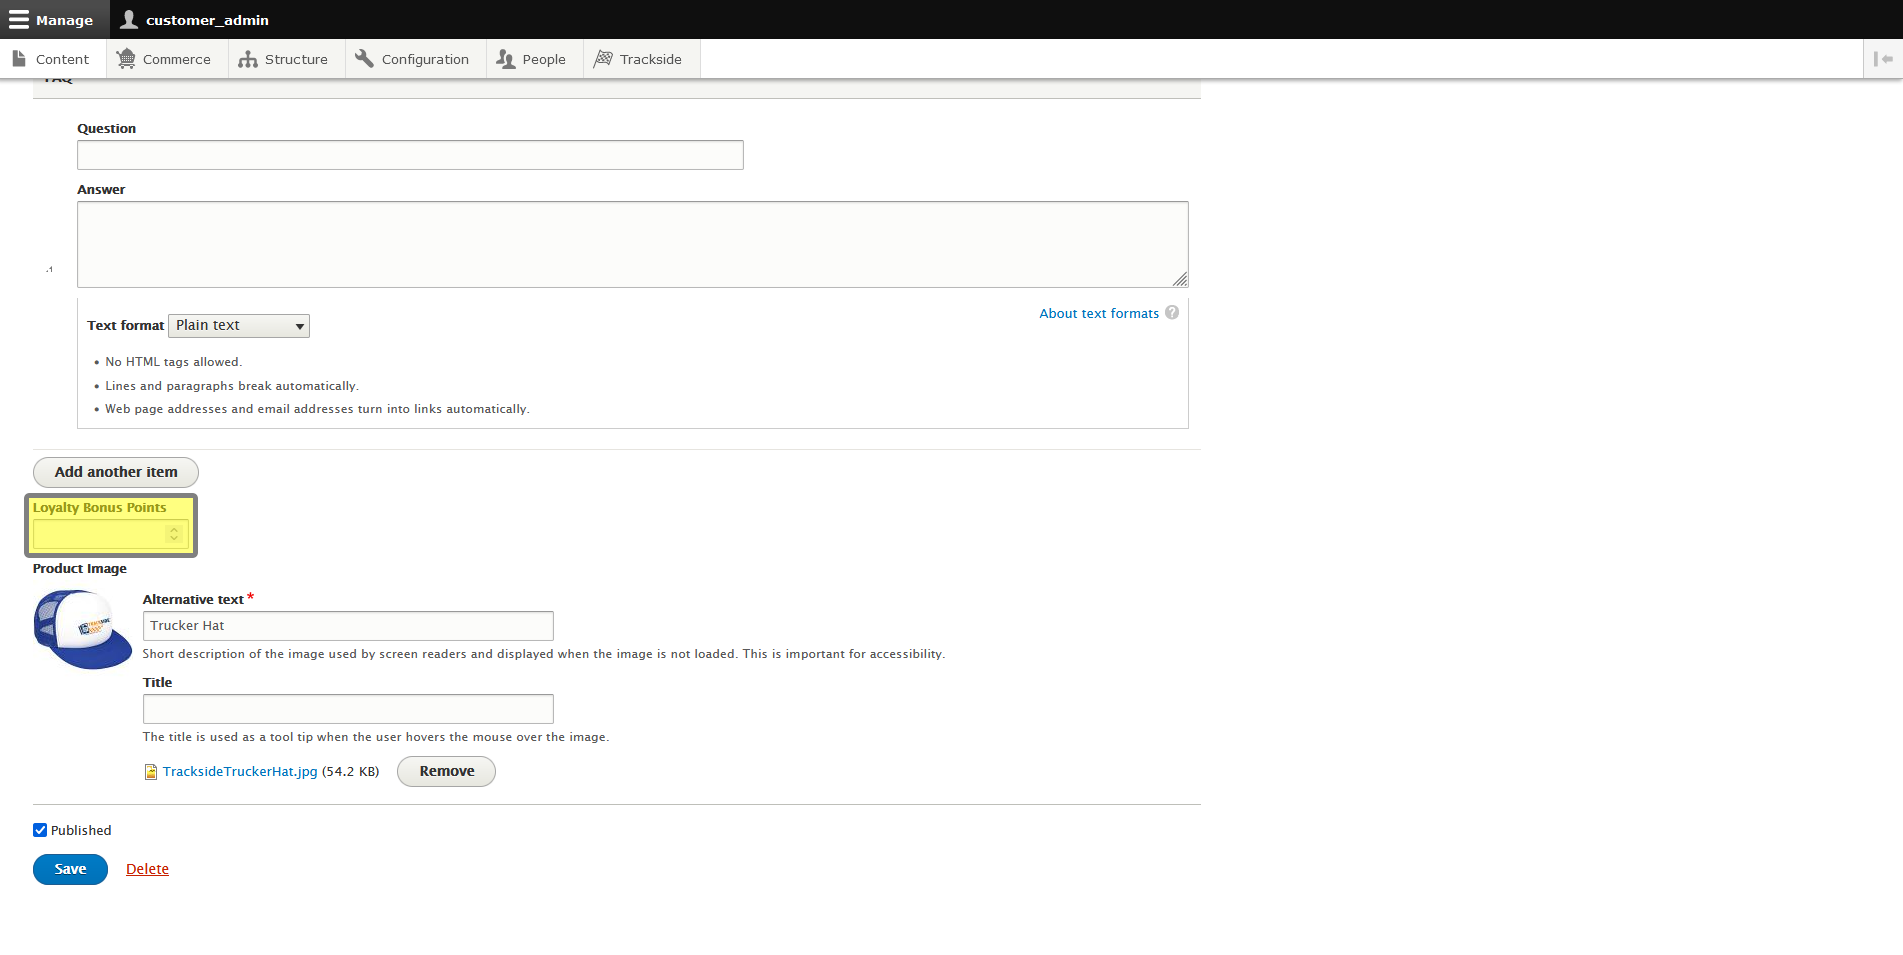
Once you're done, click Save at the bottom.