Find & Edit a Participant Registration Product from Product Page
This series of articles will help guide you through editing a Participant Registration Product after it's been created in the Event Setup Assistant. This article will show you how to begin editing your Participant Registration Product if the first method is unavailable to you. This method includes an extra step or so and a bit of sorting, but is useful in some instances such as when your event is unlisted.
Editing Participant Registration Products will only work on Participant Registration Products. For editing other Product Types, reference the following articles:
- For General Admission Ticket Products, see Edit a General Admission Ticket Product
- For Merchandise and Concessions, see Manage Product
- For Gift Cards, see Credits
- For Memebership Products, see Membership Programs
Step 1 - Navigate to Products Page
To view your Participant Registration Product, begin by hovering over Commerce in the Management Menu. Alternatively you can click and it will take you to a separate page where you can then click the following step as well.
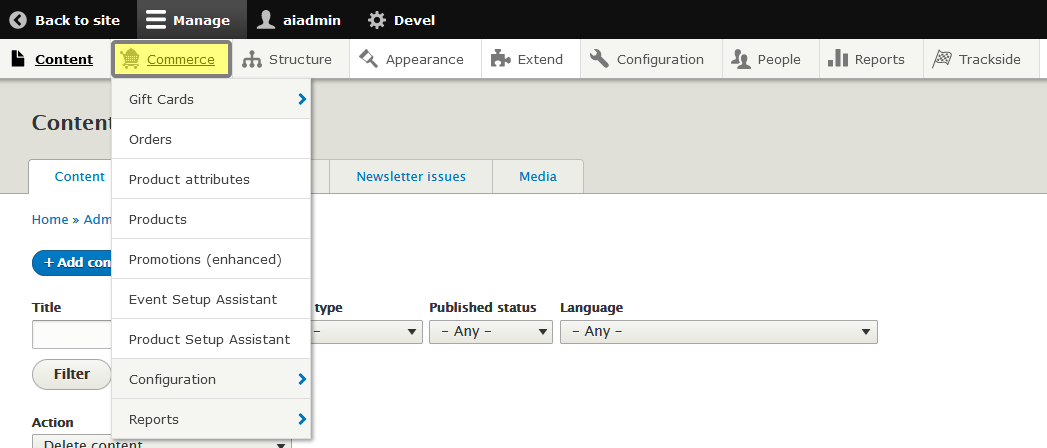
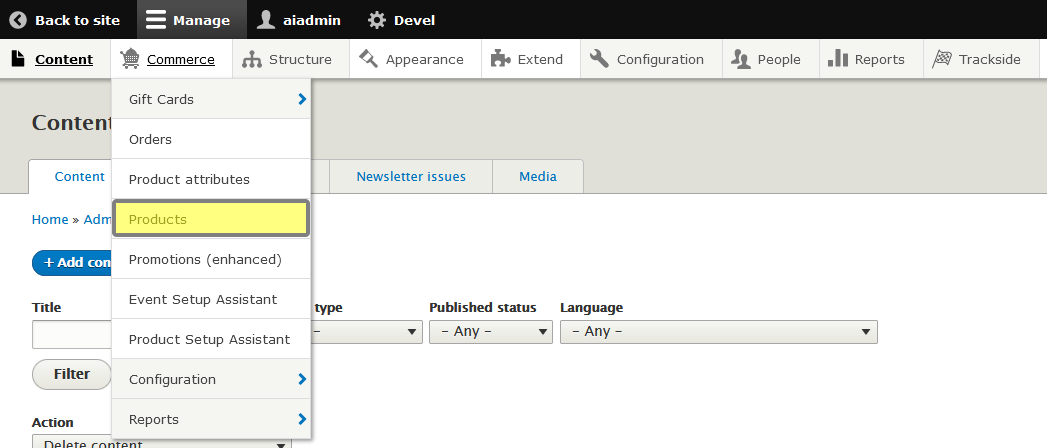
Click on Products in the Commerce menu.
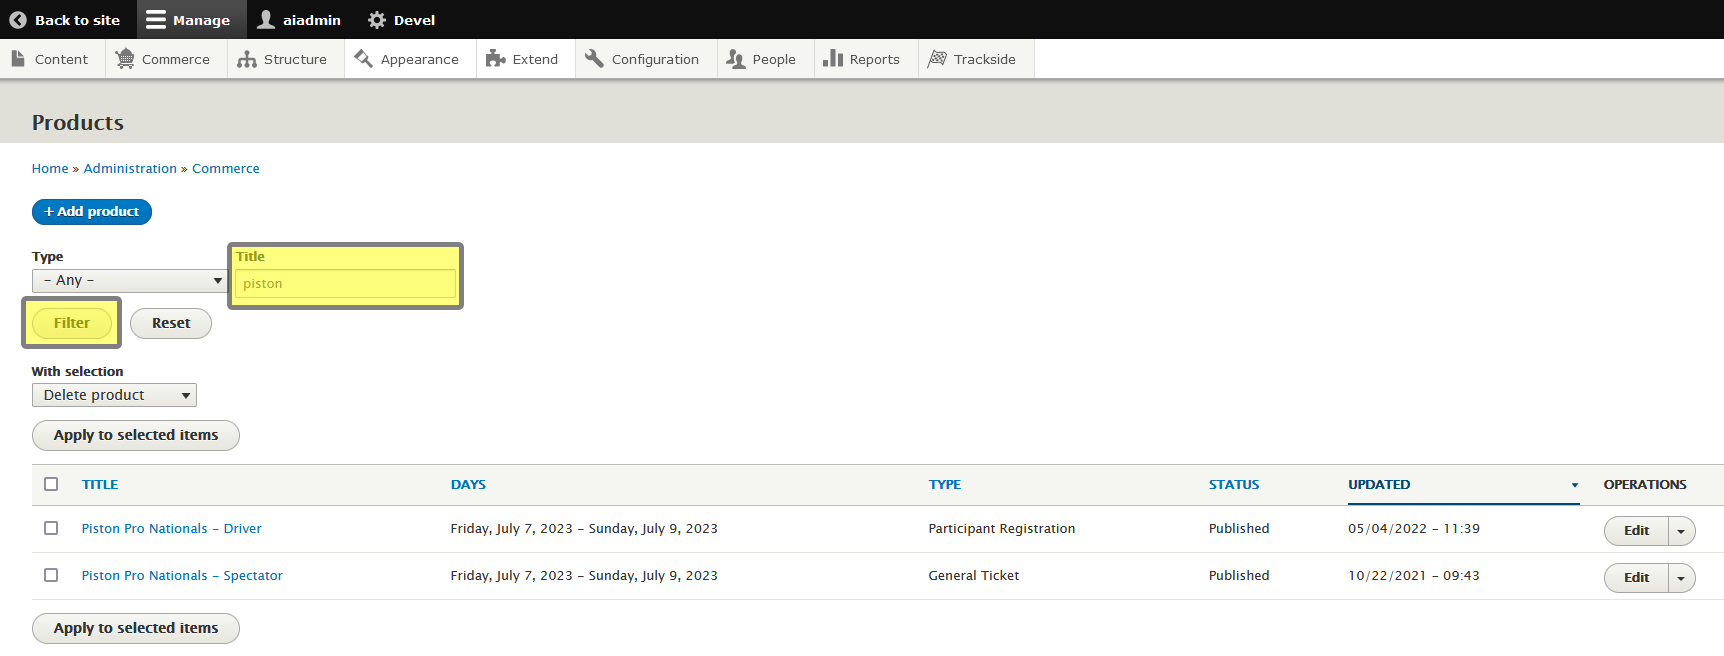
Step 2 - Filter Products
This will bring us to the Product Page. Put a word or two from your event name under the Title text box and then click Filter to filter your list. This should make your Participant Registration Product a lot easier to find.
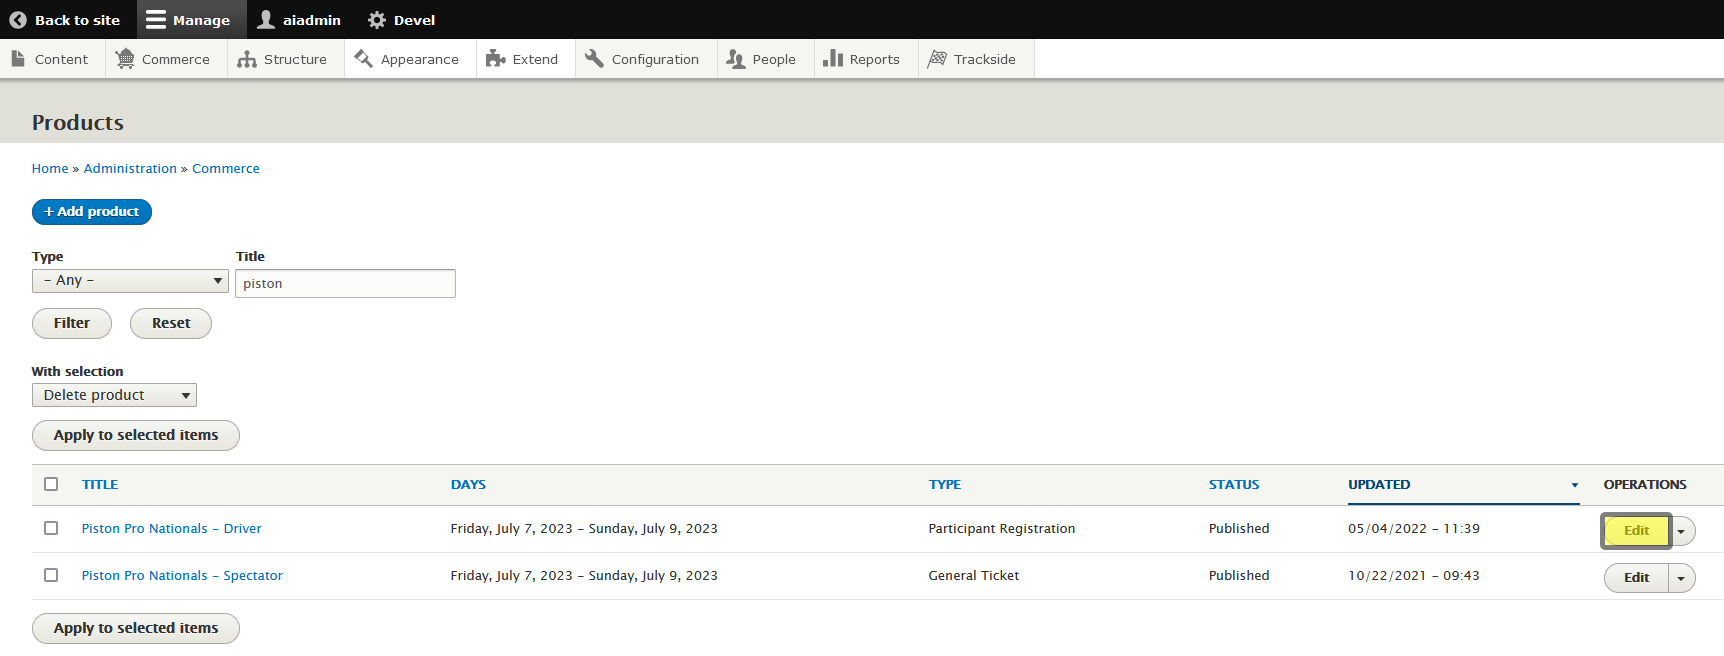
This should display the available products for your event. Make sure you're looking at the Participant Registration that should be marked as Driver!

Step 3 - Edit Product
You can click on the title to view it's associated Participant Registration Product Page, or click Edit on the far right to edit the Participant Registration Product.
Under the dropdown arrow next to edit, there's a Clone button...
See the Clone tab? We don't talk about the Clone tab. We don't touch the Clone tab. DON'T USE THE CLONE TAB!