Building an Order on the Trackside Handheld
This article will show you how to put an order together with the Trackside Handheld. This article is intended to supplement the Using the Point-Of-Sale chapter, beginning at the Add Item by Clicking a Button (Product or Ticket) article. The processes are the same, but how you interact with and the screens you see on the Handheld vary slightly from the full size hardware Points-of-Sale.
If you're looking for gift cards & coupons, those will be under the next article, Payment on the Trackside Handheld.
Step 1 – Select User Account Making the Order
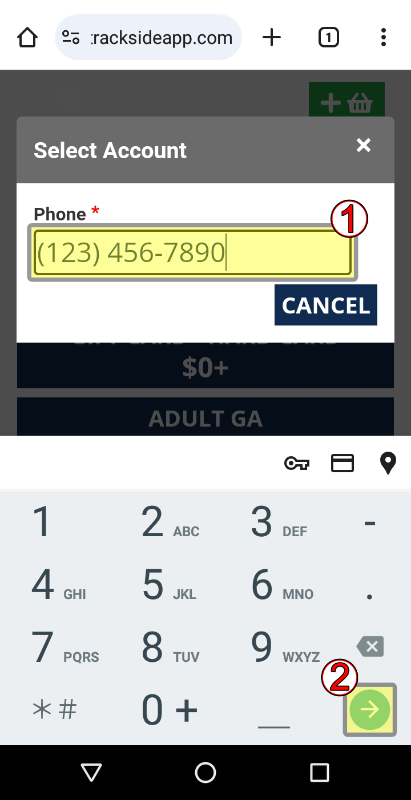
This step is not mandatory for all transactions, but consider the rewards programs and discounts your organization may be offering. It is mandatory for tabs & participant registrations. You can look up the user account of the customer making the order by tapping the silhouette at the top of the screen.
You will then enter the phone number associated with the account to find the user. Press enter on the number pad to continue.
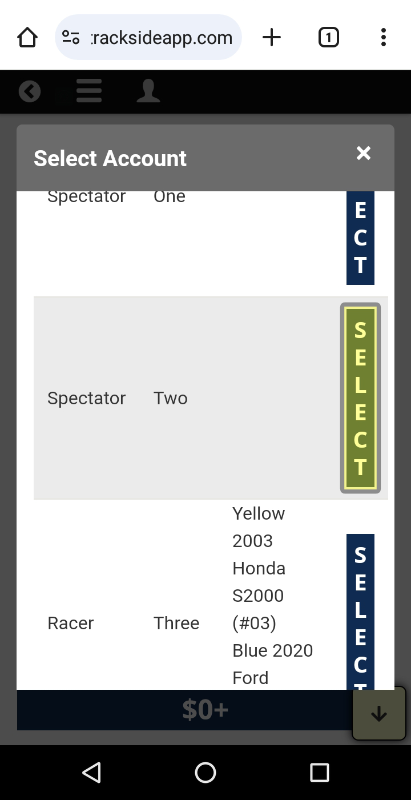
Select the desired user.
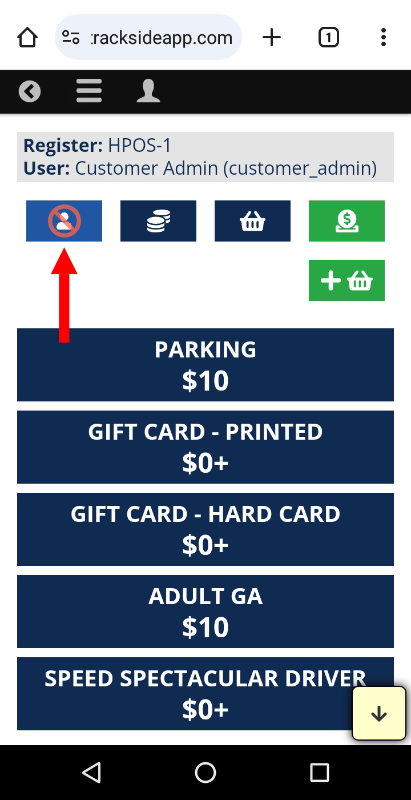
Once you have a user selected, you may remove that customer from the order by tapping the silhouette button again.
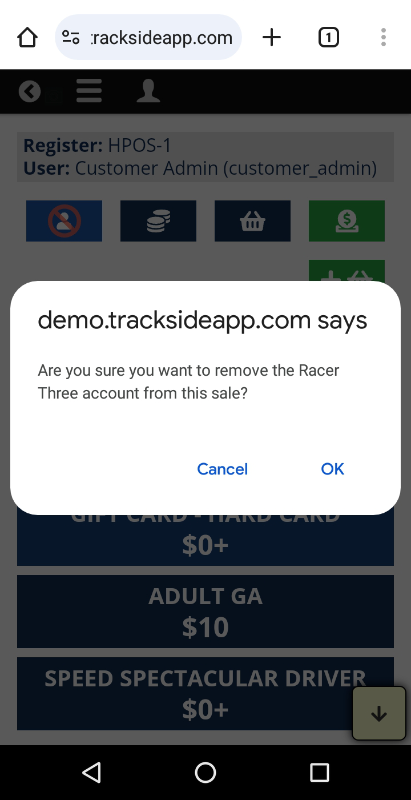
You'll get a confirmation window just to make sure you didn't tap the button by accident.
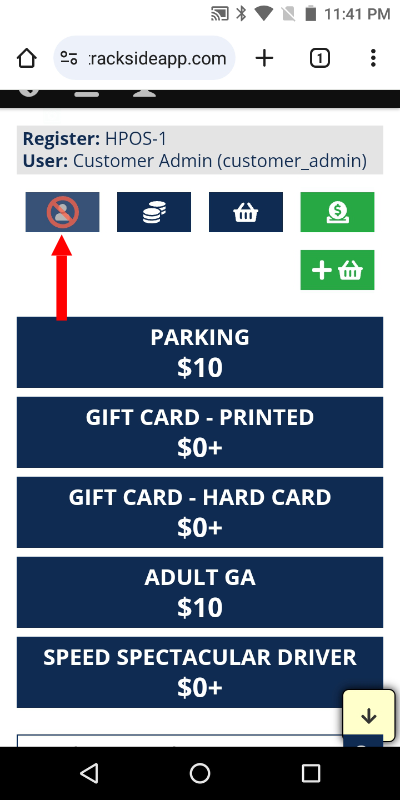
Note that once certain product types are added, the button becomes darker, denoting that the customer is no longer unselectable and the sale will need to be cancelled in order to clear them (or if tabs are enabled, you may temporarily shelf the order by turning it into a tab, See Tabs on the Handheld.)
Step 2 – Add Order Items to Cart
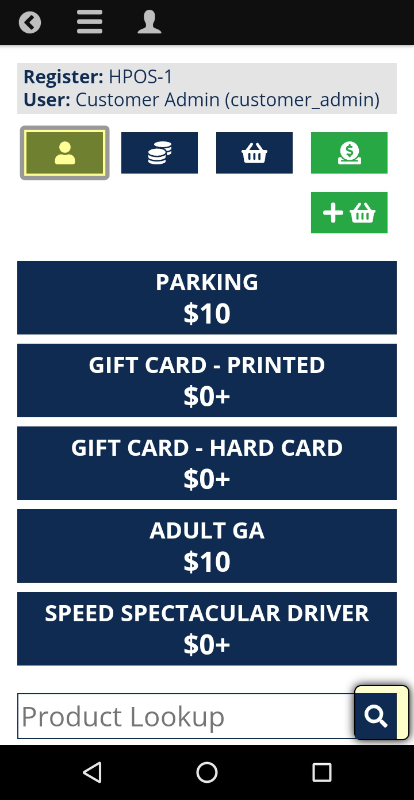
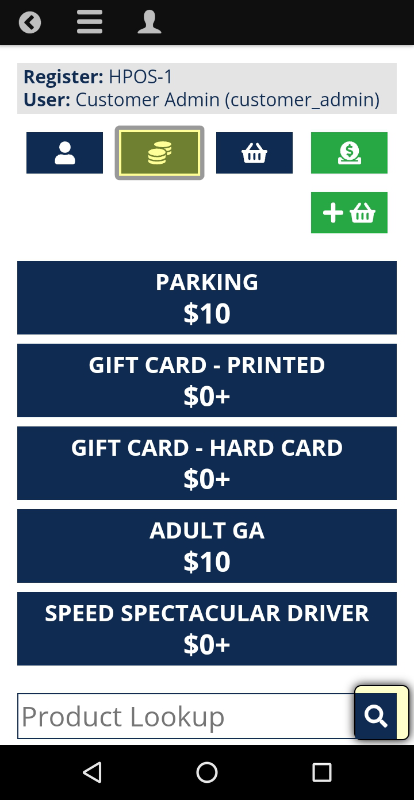
A) The first method to add items to the customer's cart is going to be by simply clicking the buttons in the Virtual Point-of-Sale. These are the Products that have been mapped to your Register Group as was outlined in Product Mapping (Add Buttons to POS Screen). These should be your most common items throughout the day.
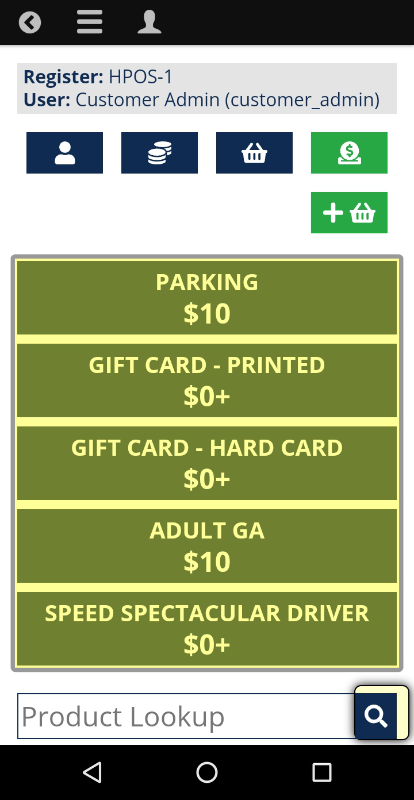
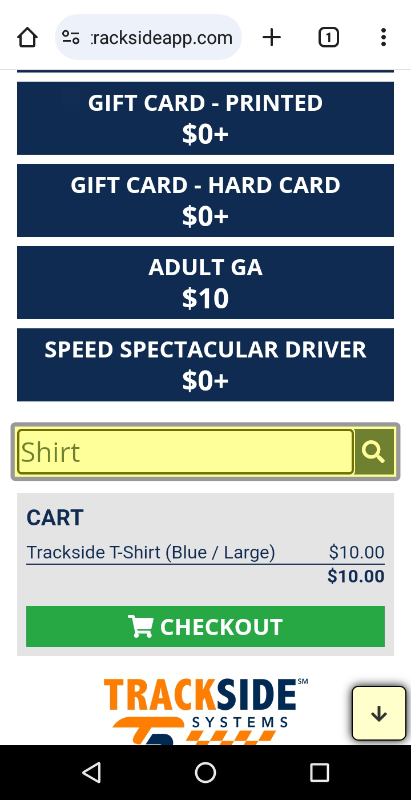
B) When the item is not in your list of buttons, your next option should be using the Product Lookup. Here you want to enter a search term, and the lookup will search the titles of your library of Products for that term. If it's too specific, the search may come back with a notice for no search results found, in which case you may want to generalize your search term a little more, or verify you're inputting the right term that was used for the title of the Product. If it's too general, you may come back with a long list of results with your item buried somewhere in them.
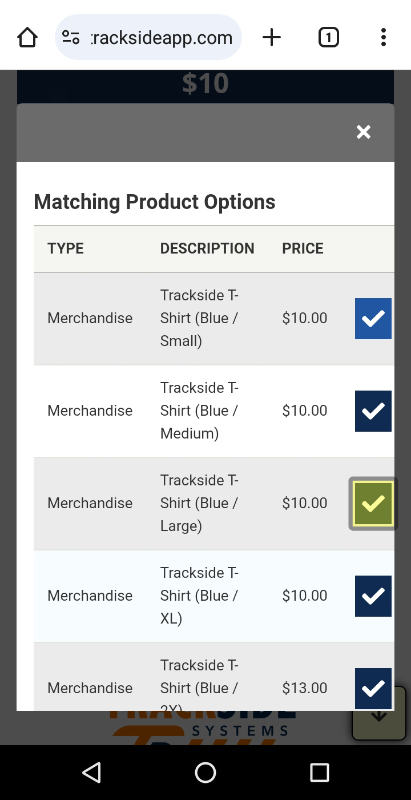
If there are product Options like sizes or colors, make sure you match those up as well to prevent giving whoever inventories the merchandise a bad day. Tap the check next to the item to add it to the cart.
Step 3 – Adding Miscellaneous Charges / Discounts
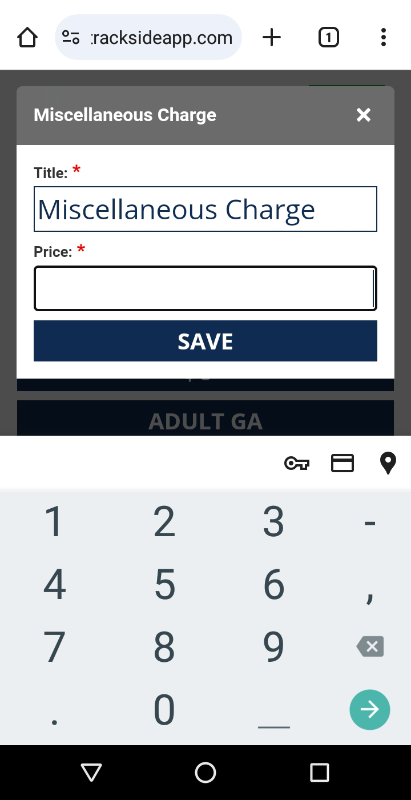
C) The last option you have is to enter an item as a Miscellaneous Charge. That is accessed with the button with the stack of coins near the top of the screen.
These can either be positive for an additional charge to the order, or negative if you need to add a discount. It's always a good idea to add a description to the charge so both whoever's reconciling the drawer and the customer will both have information available to them on what that extra line item was besides just "miscellaneous charge."
Step 4 – Cancel Sale
If at any point you need to cancel the sale and start a new transaction, you will scroll to the bottom of the page and tap the red dollar sign with the universal no symbol over it.
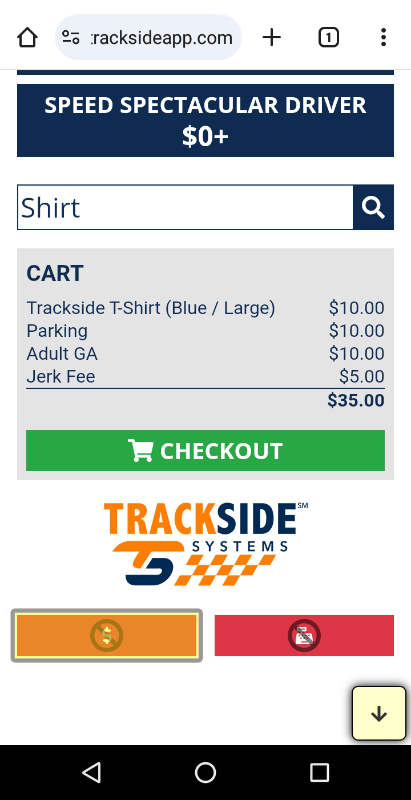
The one with the cash register is the Close Till button. We're not looking for that yet, and will cover it in the Closing Till on the Trackside Handheld article. If you accidentally tap it, it will take you to the close till screen and print the slip, but you can hit Cancel and it will take you right back to where you were.
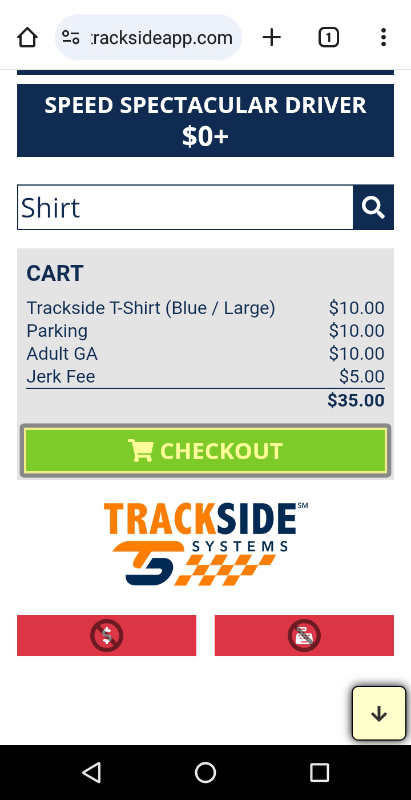
Step 5 – Continue to Checkout
Once the list of items the customer has requested looks correct, and you're satisfied you've entered all the information needed for the transaction, we can move on to processing payment. Tap Checkout to begin the checkout process.