Scanning Pre-Sold Tickets at the Gate
This article will show you how to check in racers & spectators and accept tickets for your event using Trackside.
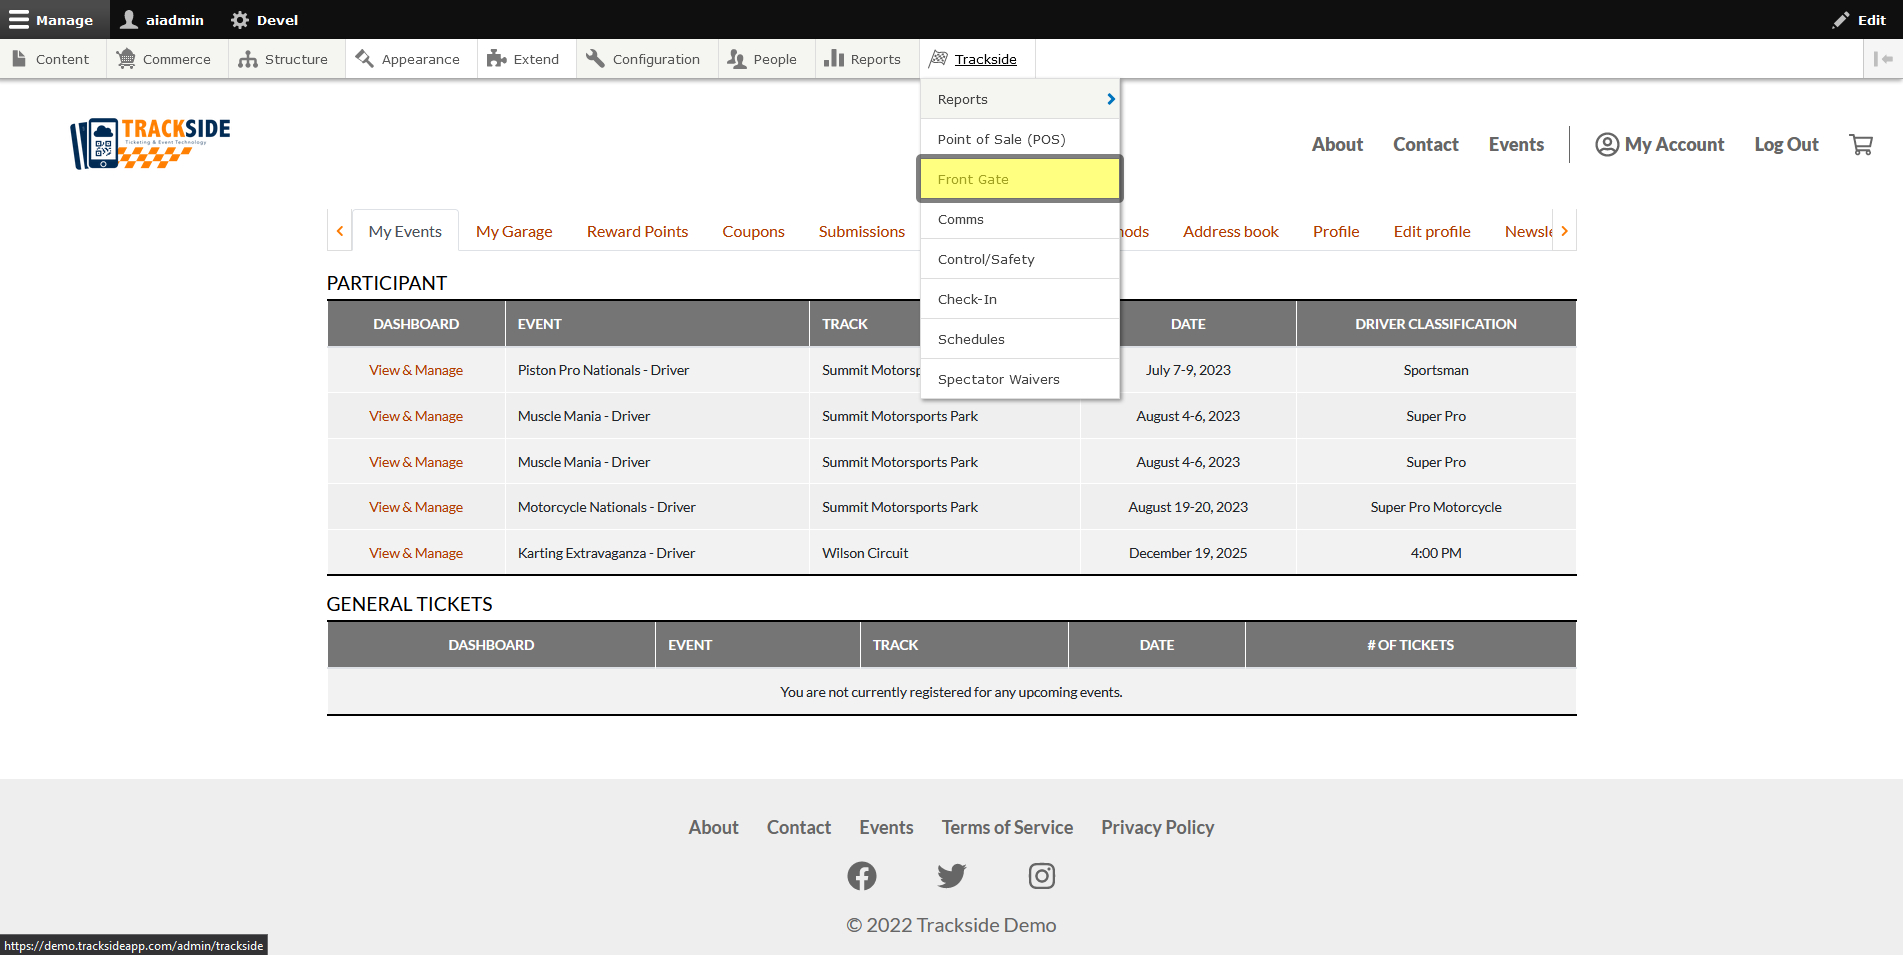
Step 1 - Navigate to Front Gate
Once logged in, you will need to navigate to Front Gate within Trackside. Start by hovering over Trackside in the Management Menu, then once the menu expands, click on Front Gate.
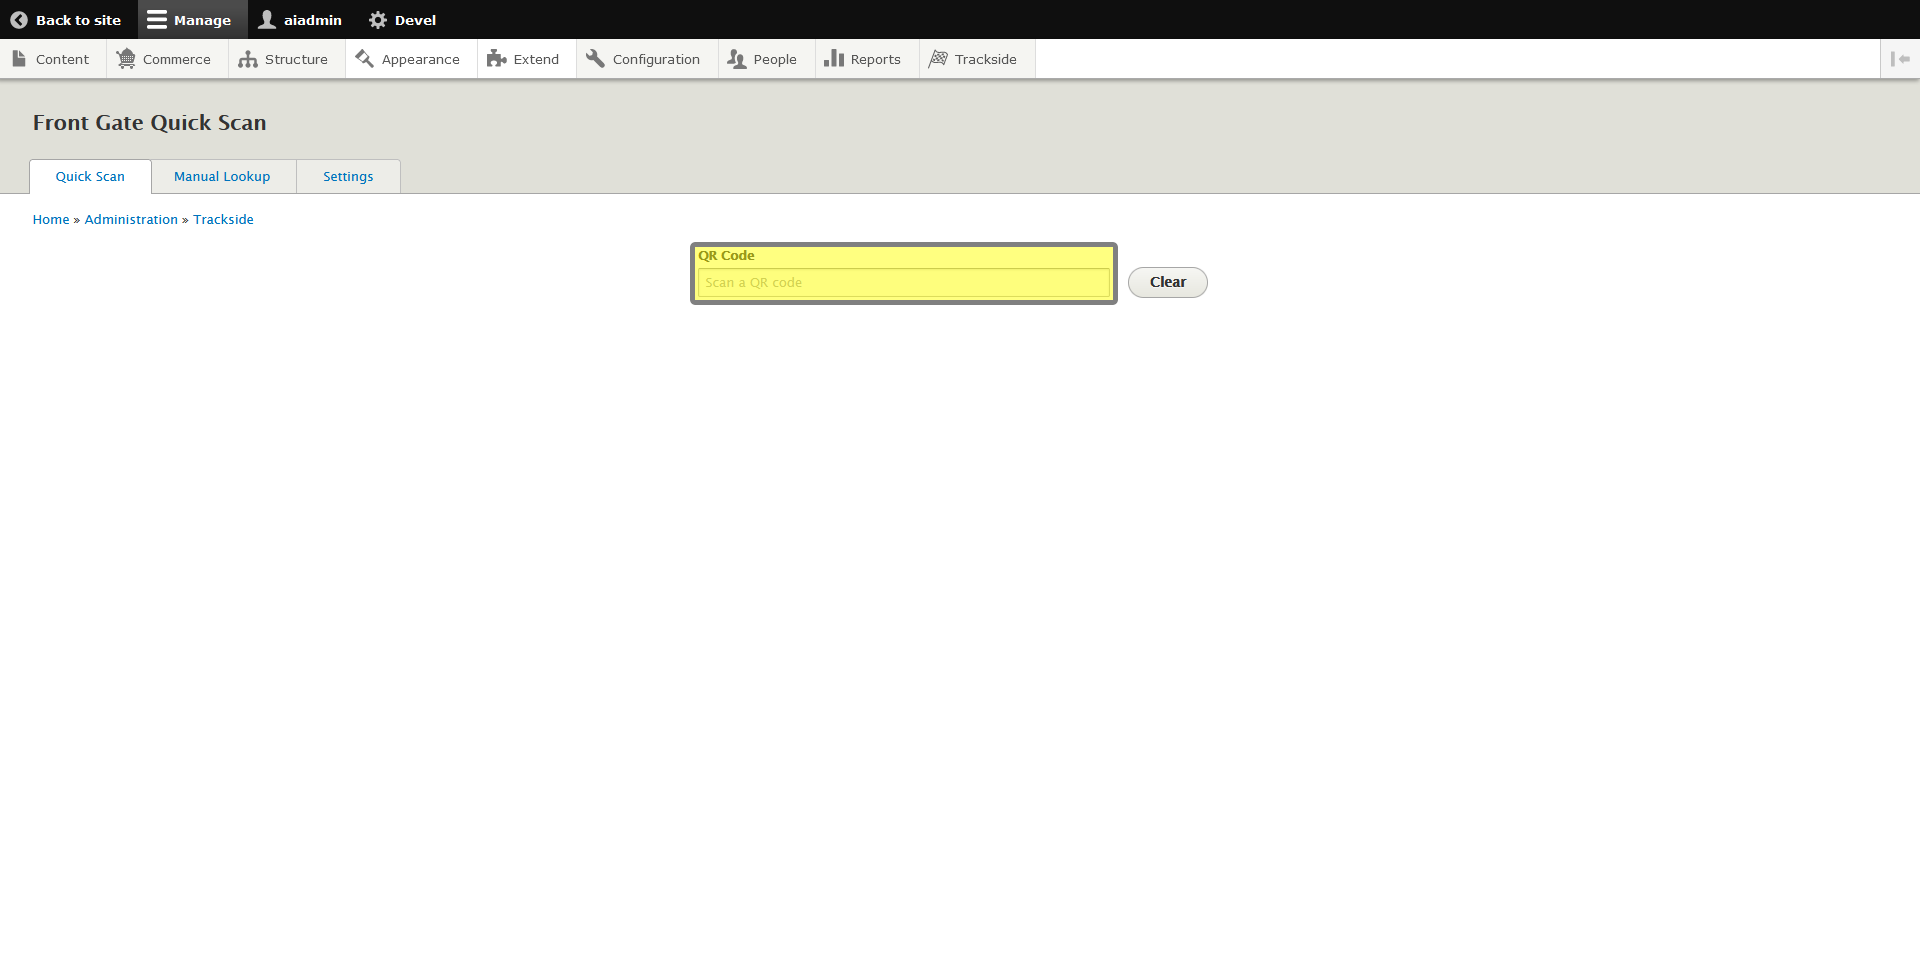
Method A - Have Participant / Spectator Present Ticket & Scan
Once the page has loaded, you will be placed in Quick Scan. This mode is used for scanning customer ticket QR Codes. Just place your cursor in the QR Code box, and using the Trackside Bluetooth QR Scanner scan the QR Code Ticket.
The customer can find their QR code ticket by logging into their account and clicking on My Account -> My Events, or finding their ticket email which was sent to them after they purchased the ticket.
Note: If you need help connecting your Trackside Bluetooth QR Scanner, see the articles in Connecting a Scanner.
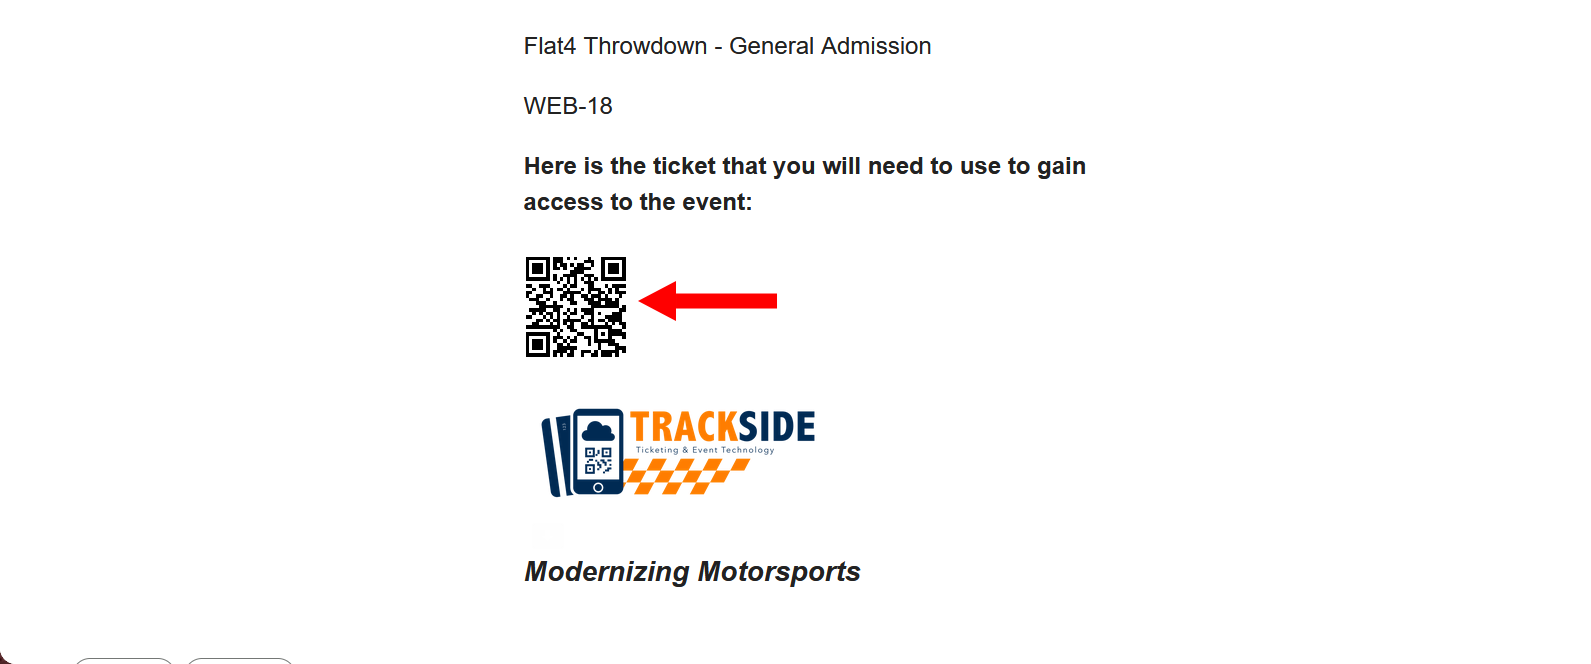
You should also note that when a customer makes a purchase through Trackside, the system will generate two emails. One is an order confirmation, and the second contains the QR Coded ticket. The email the customer presents should look similar to this one. Some may have multiple codes in a single email, so make sure you scan the correct code.
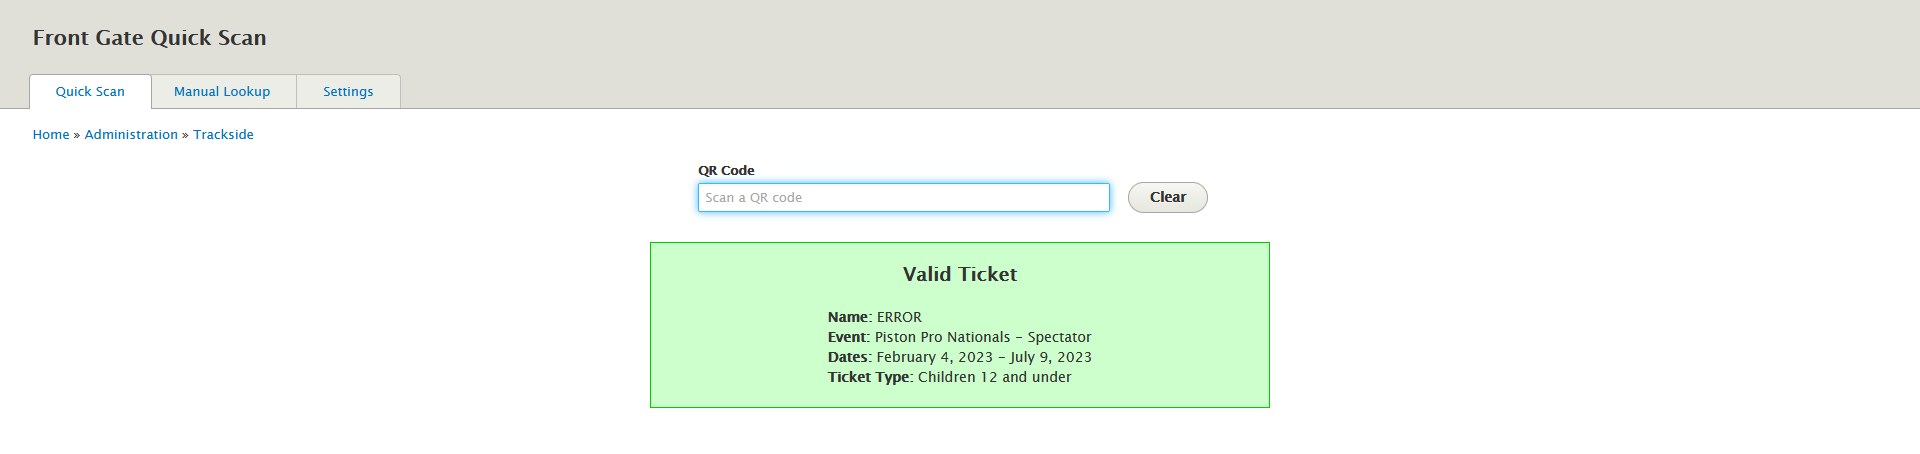
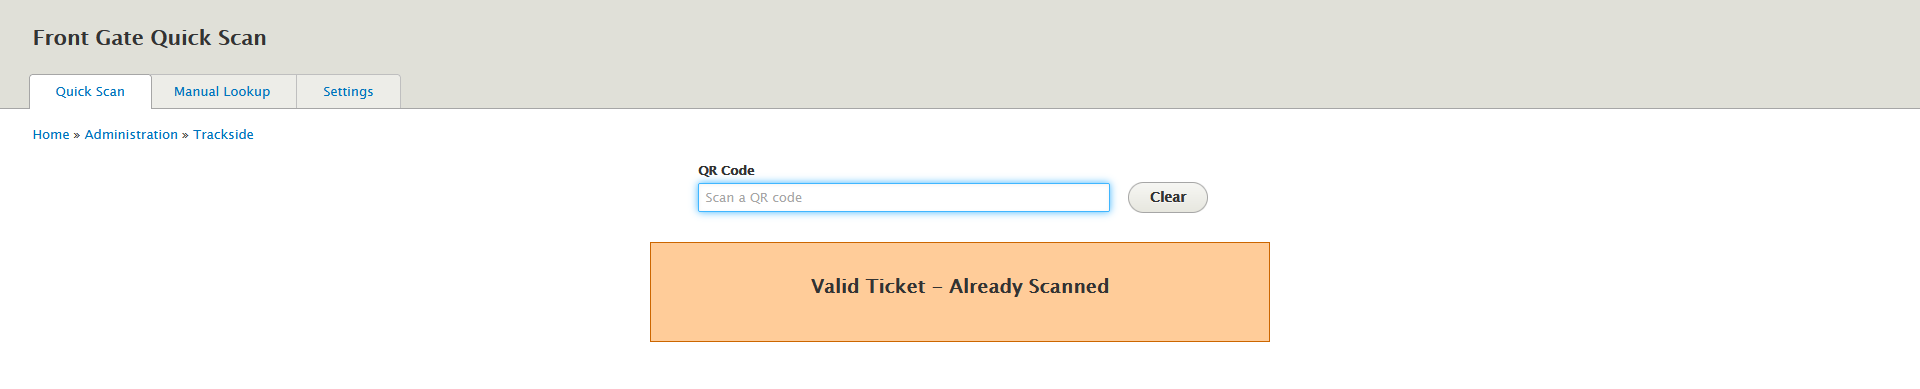
The QR Code should scan as a valid ticket. If you're having issues, check the Front Gate Troubleshooting section for help. The three results from scanning are going to be either Invalid ticket, Valid ticket, or Valid ticket - already scanned. They'll look like one of the 3 options below.

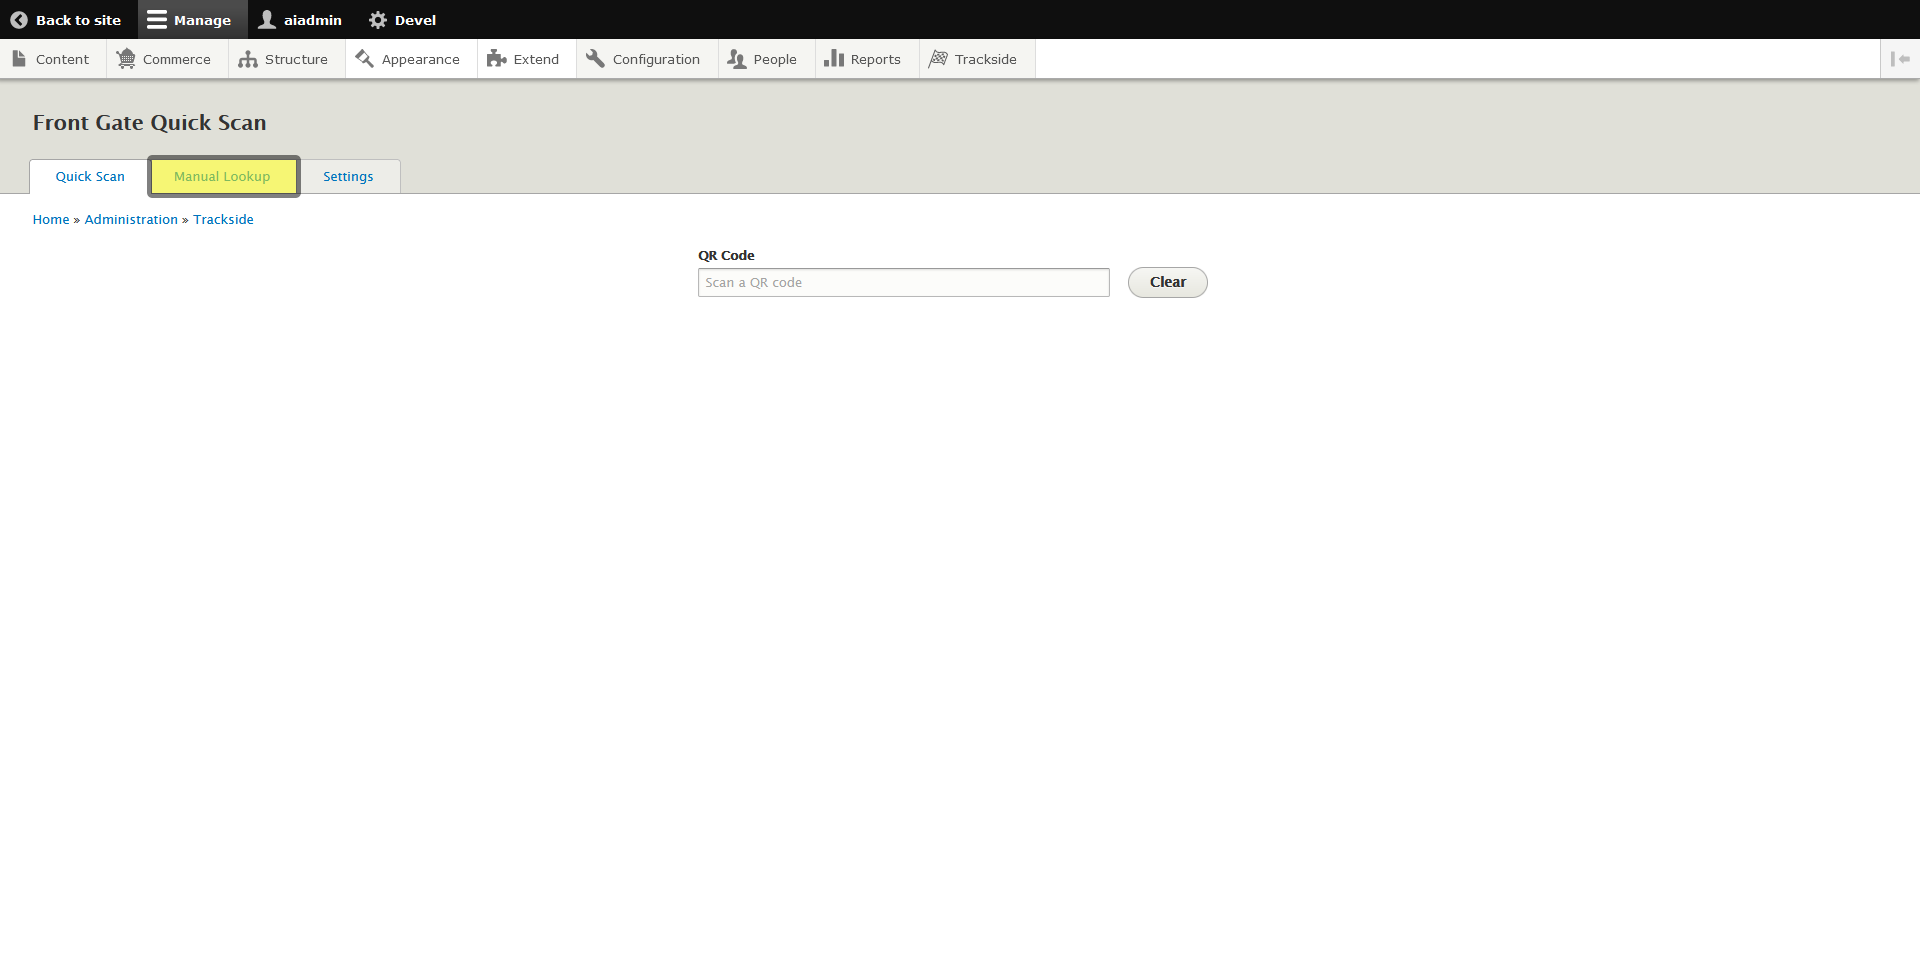
Method B - Manual Lookup
This method is slower and is intended to be used only as a backup (for example, if the customer can not find their ticket or if your scanner needs charged).
From Quick Scan screen, click the Manual Lookup tab.
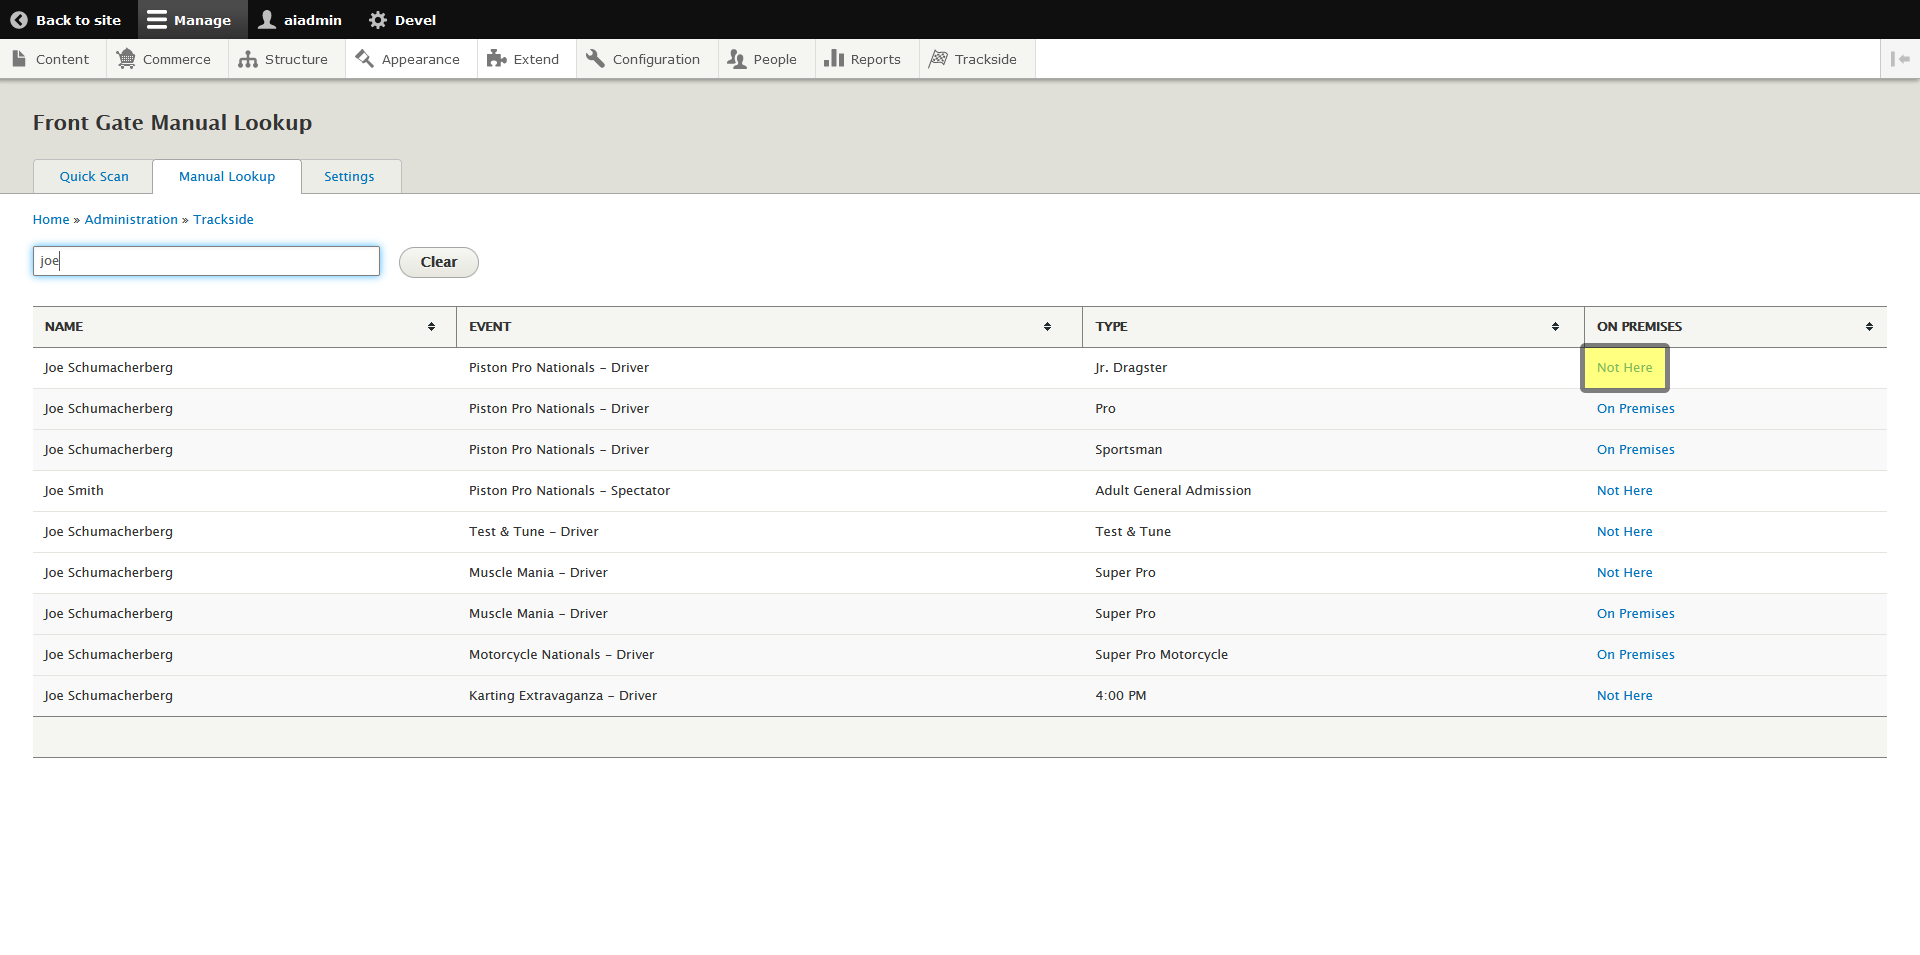
From here, you may search by name or ticket type to find a customer. You may also sort by categories, but be aware this screen is going to have all of the tickets you've sold, so more than likely searching by name will be your best bet. Enter a search in the search bar.
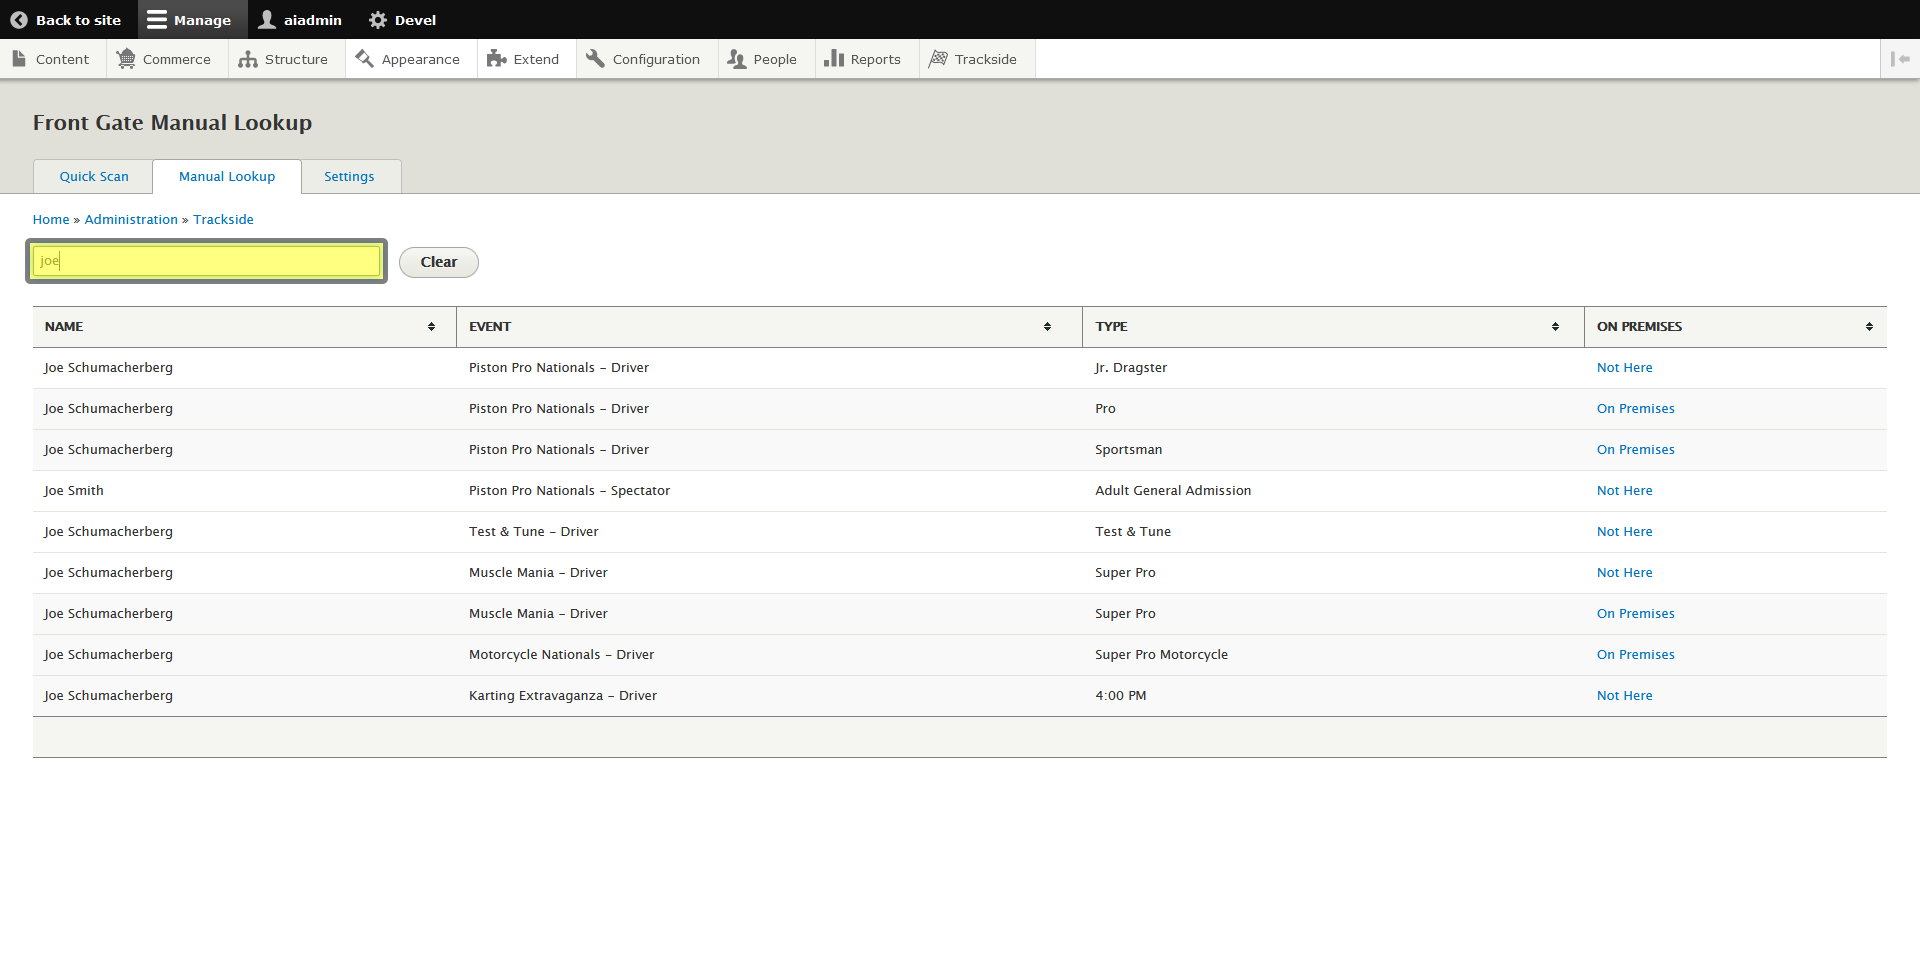
Once you find your customer, their status under On Premises should show as Not Here. Click on Not Here to check them in. This will then change to On Premises, which will also consume their ticket.
If for some reason their status already shows as On Premises, then their ticket has already been consumed (either scanned already or sold at the point of sale with auto-consumption turned on).