Starting a Point-of-sale Session on the Trackside Handheld
This article will show you how to begin your point of sale session on the Trackside Handheld.
See Prerequisites for a list of conditions to be met before preparing your session.
Step 1 – Open Trackside
Continuing from Turning on and Accessing the Trackside Handheld, once you are on the home screen, tap Chrome.


Step 2 – Log into User Account
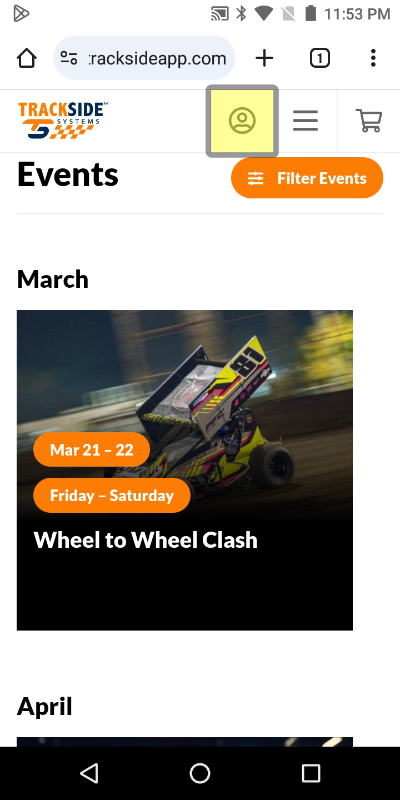
Once on your track's Trackside Home Page, tap on the person in the circle at the top of the page to go to the Log In screen.
You will then log in from here.
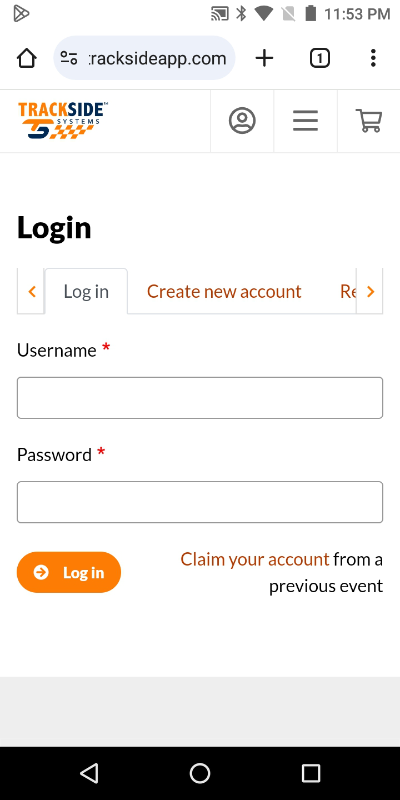
Log into a user account with Point of Sale User, Point of Sale Admin, Customer Admin, or Admin privileges.
It is very important that you are logging into different user accounts for each Register and Handheld unit. Do not open a till on multiple units with the same user account.
Step 3 – Open Virtual Point-of-Sale
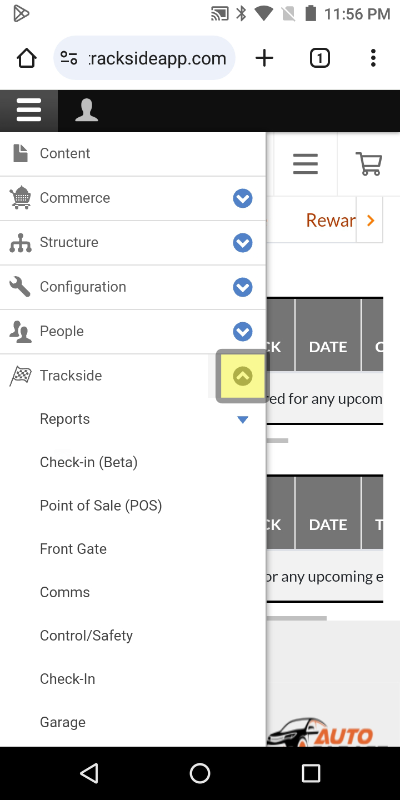
Once logged into a user account with permissions, the Management Menu will appear along the top of the page.
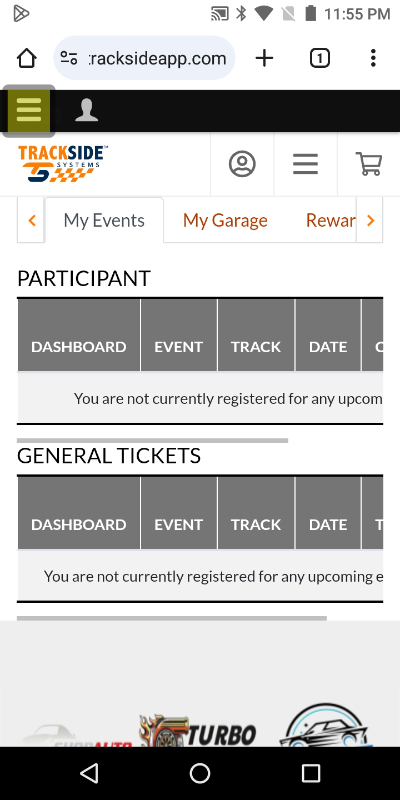
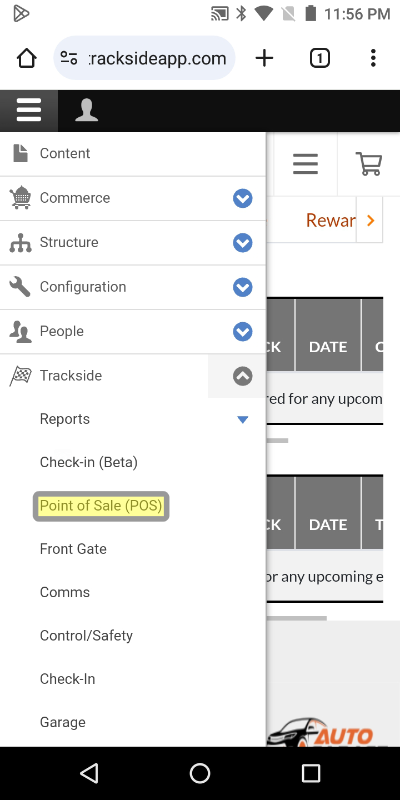
To access the Virtual Point-of-sale, in this menu, tap the down arrow next to Trackside.
Then you will tap Point of Sale.
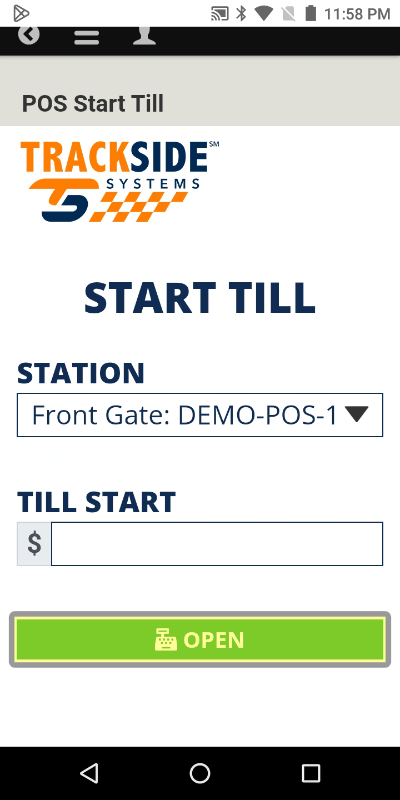
Step 4 – Choose your Register
Select your register from the Station drop down menu. Your organization should have a standard in place for this. The Trackside recommendation for Handhelds is to label the Register the same as the label on the Handheld. Do not select a register another user is logged into.

Step 5 – Enter Your Start Till Amount
Enter the amount you're opening your register with in the Till Start box.
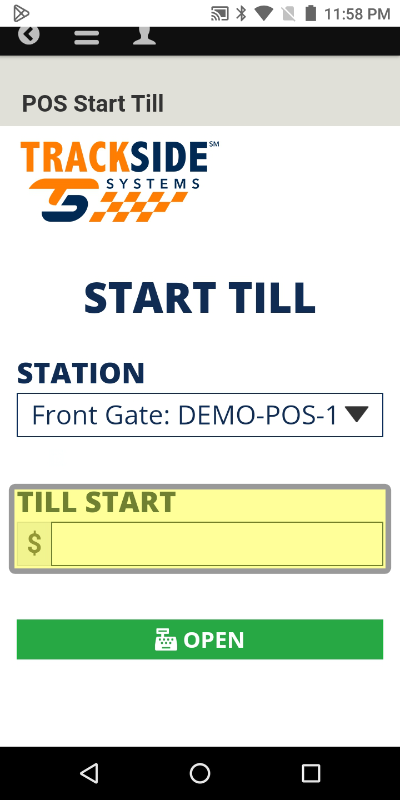
Step 6 – Start your Session
Click Open to accept the settings and begin your Virtual Point-of-sale session.