
Open Till
Step 1 - Navigate to Point of Sale
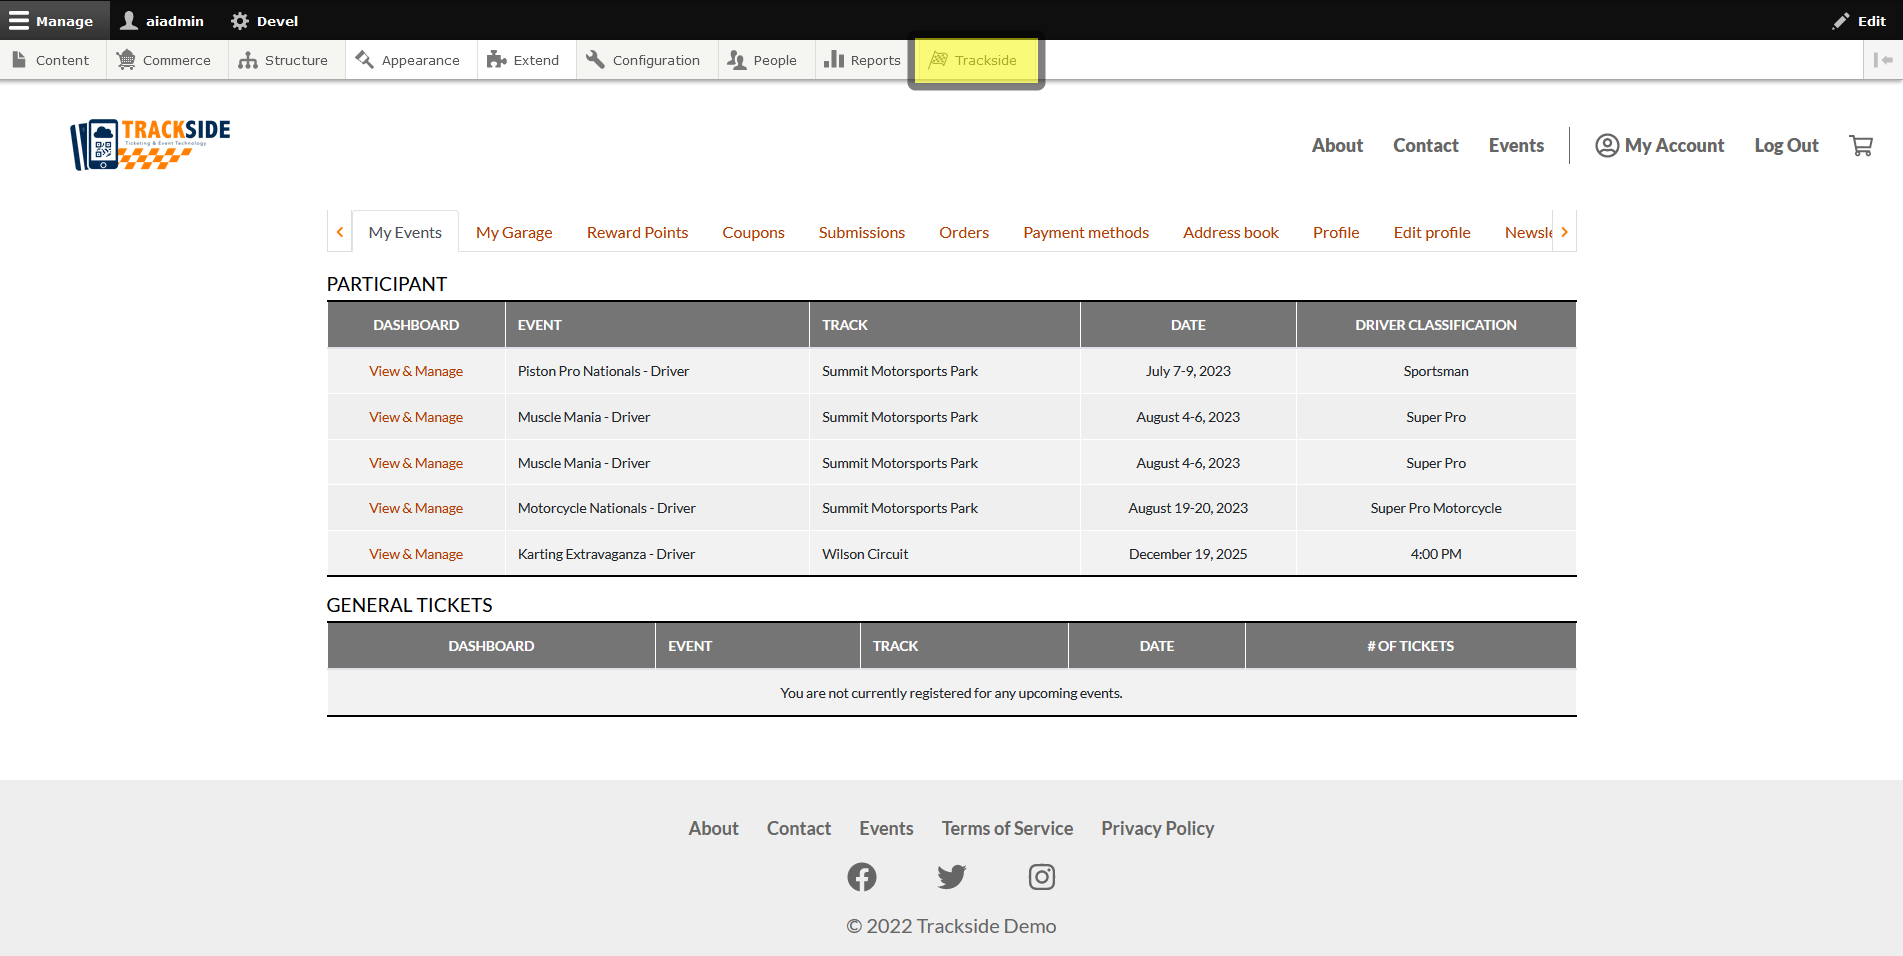
Sign In & Hover Over Trackside
After signing in, Hover over Trackside. Alternatively you can click on this and it will take you to a separate page with the link for the next step on it. This method will get you to the same place as the next few steps.
Click on Point of Sale (POS)
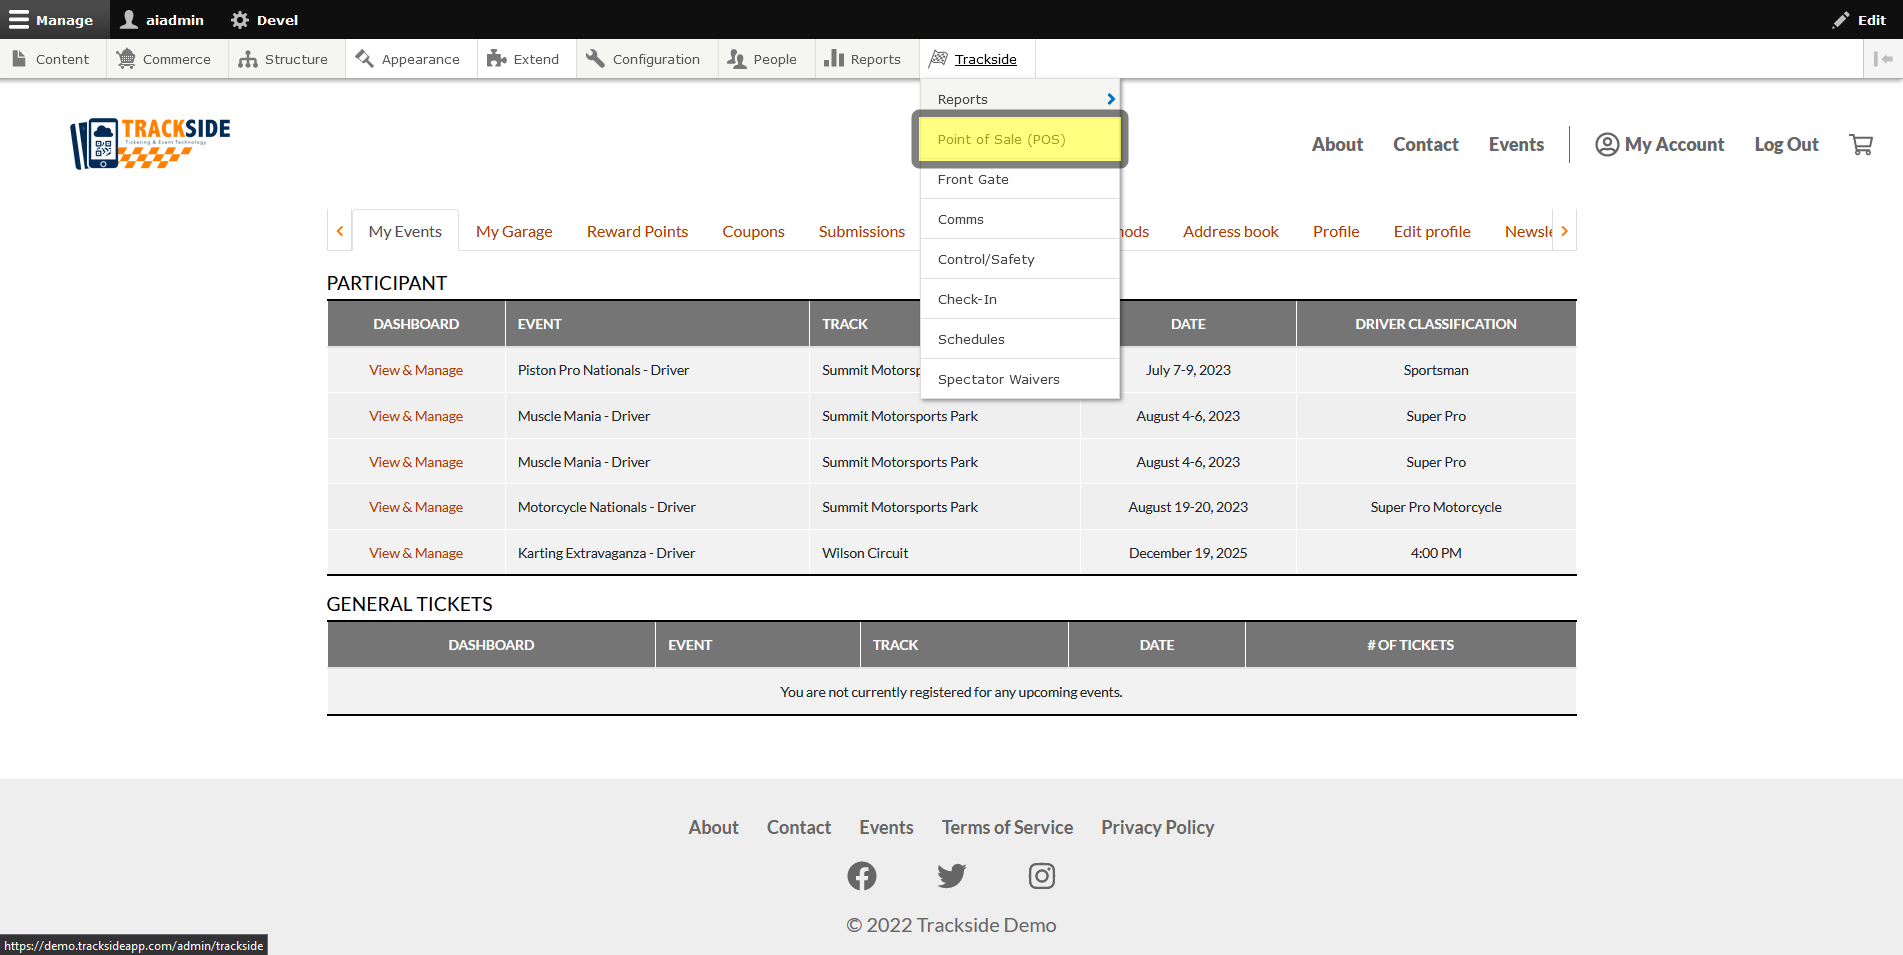
Note
If you don't have the following screens appear for you when you begin your Point-Of-Sale session, it's possible the previous user had not closed the till. You may continue to operate from their till or if you would like to verify your cash drawer amounts, you may close till, then return here to start your till and begin a new session.
Step 2 - Select Register Group: Register
Start by selecting the Register Group and Register you intend to sell products from in the drop down list.
If these are not yet set up, see Prerequisites.
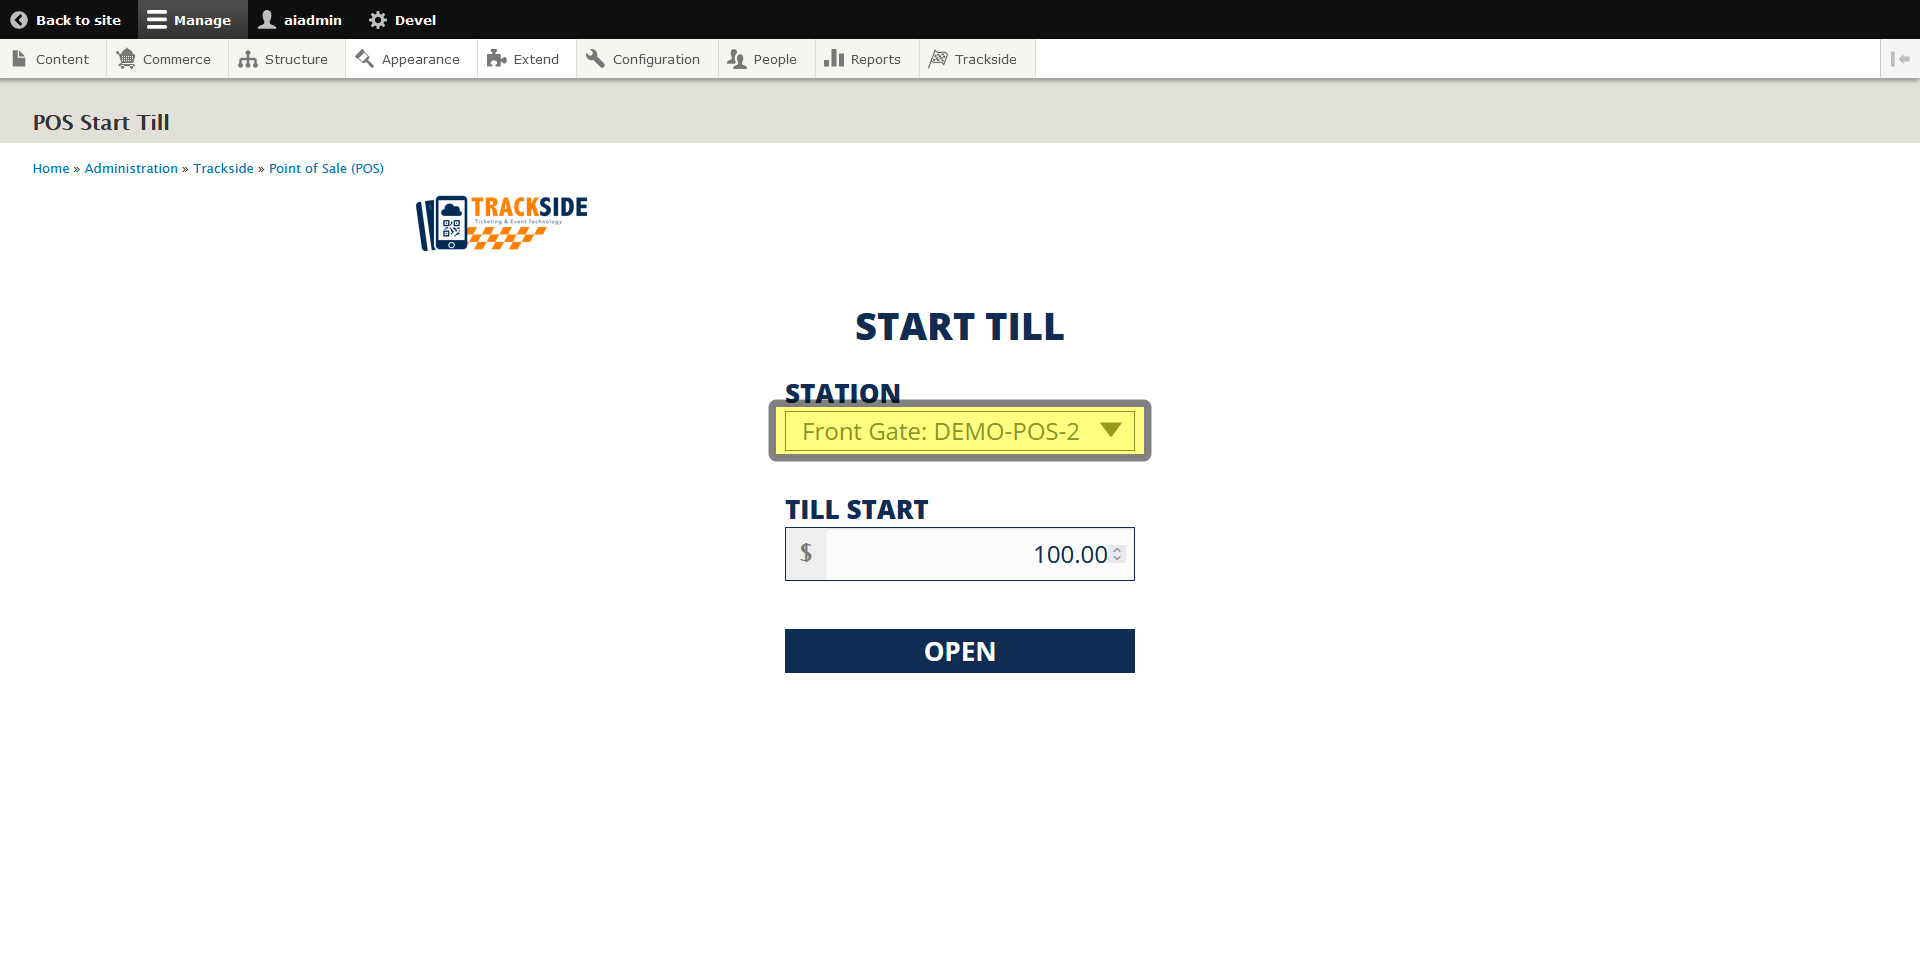
Step 3 - Enter Start Till Amount
Enter your Till Start amount, or how much money you're starting out with in the cash drawer.

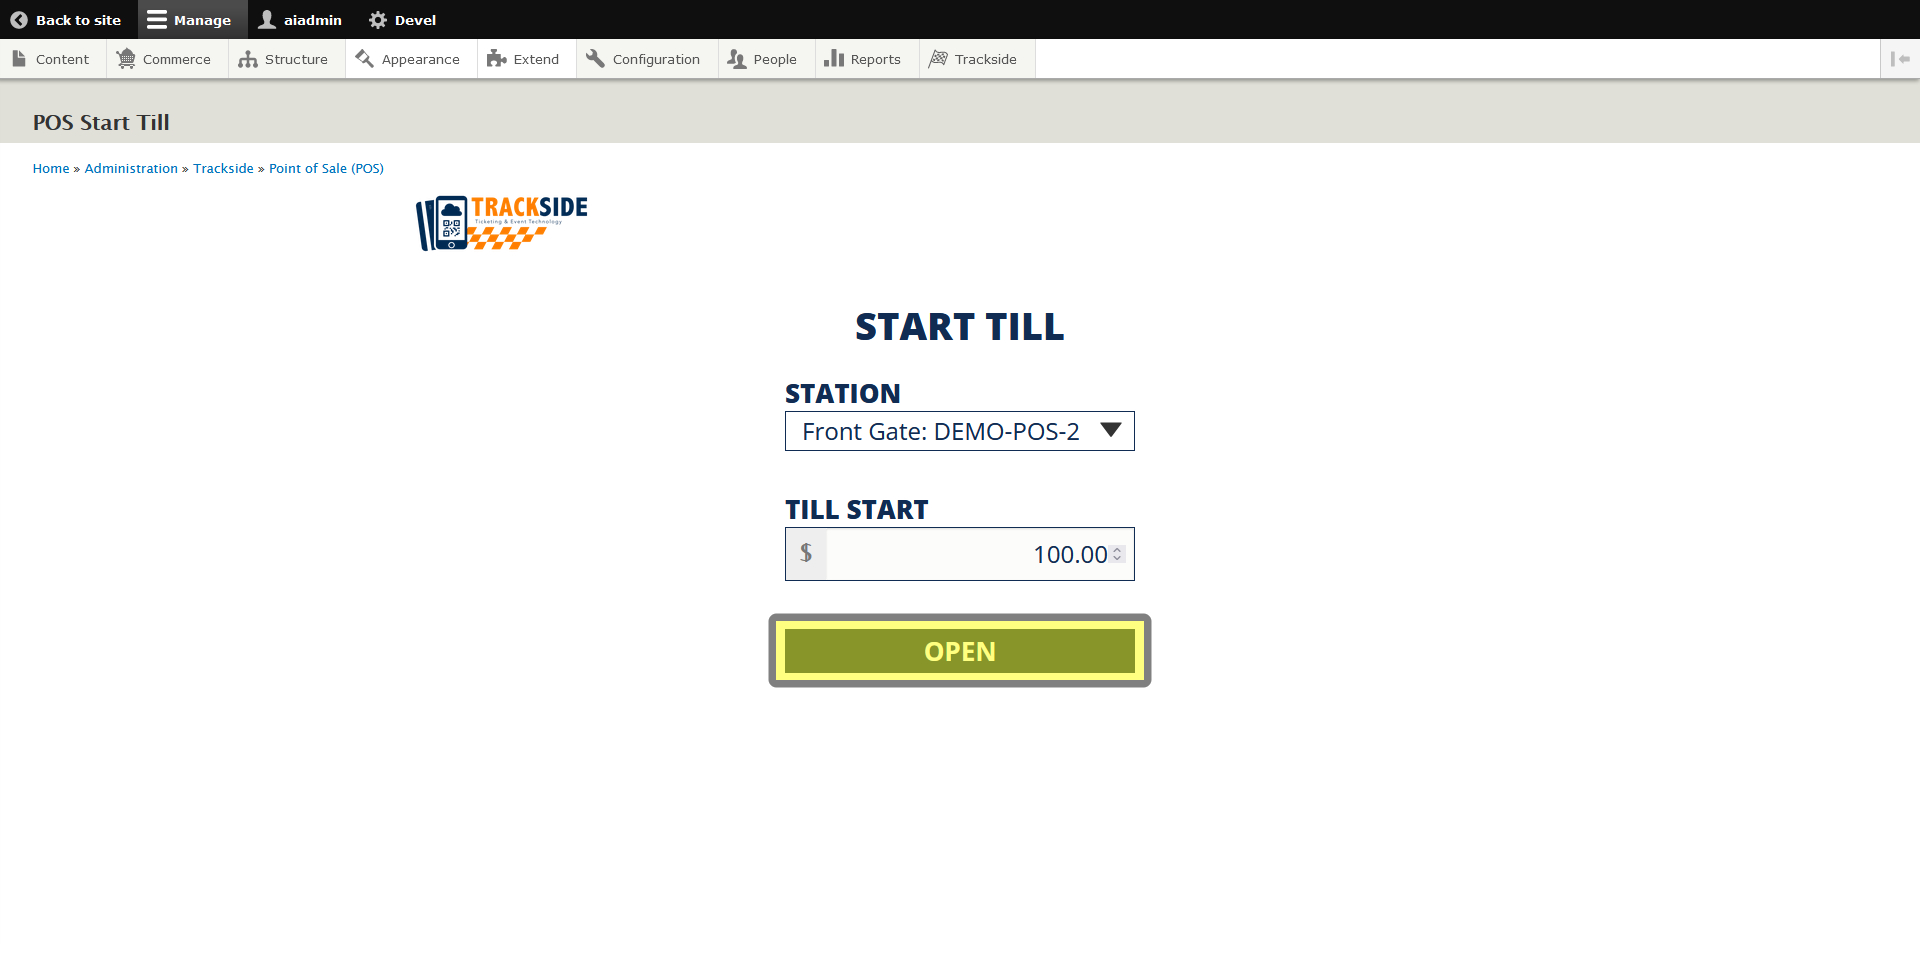
Step 5 - Open
Once you have those two settings input correctly, click on Open to start your till and open your Register so you can begin processing transactions.
Note
There should be one Register per physical device being used (full size, handheld, PC).
Each point of sale user should be opening a till for their Register. There should not be two individuals opening a till for the same Register.
It is possible to open a till through a normal PC/laptop or any other device that can access your Trackside site. You may find this useful for accounting purposes or to close tills that were left open by mistake.